How to Prime & Set Up a Water Pitcher Filter
Getting clean, great-tasting water from your Crystal Quest pitcher starts with proper setup. This guide walks you through every step, from unboxing to your first filtered glass.
Why Proper Setup Matters
Skipping the priming process is the most common mistake new pitcher owners make. Without it, you'll notice black carbon particles in your first few glasses and the filter won't perform at its full capacity.
Crystal Quest Water Pitcher Filter System
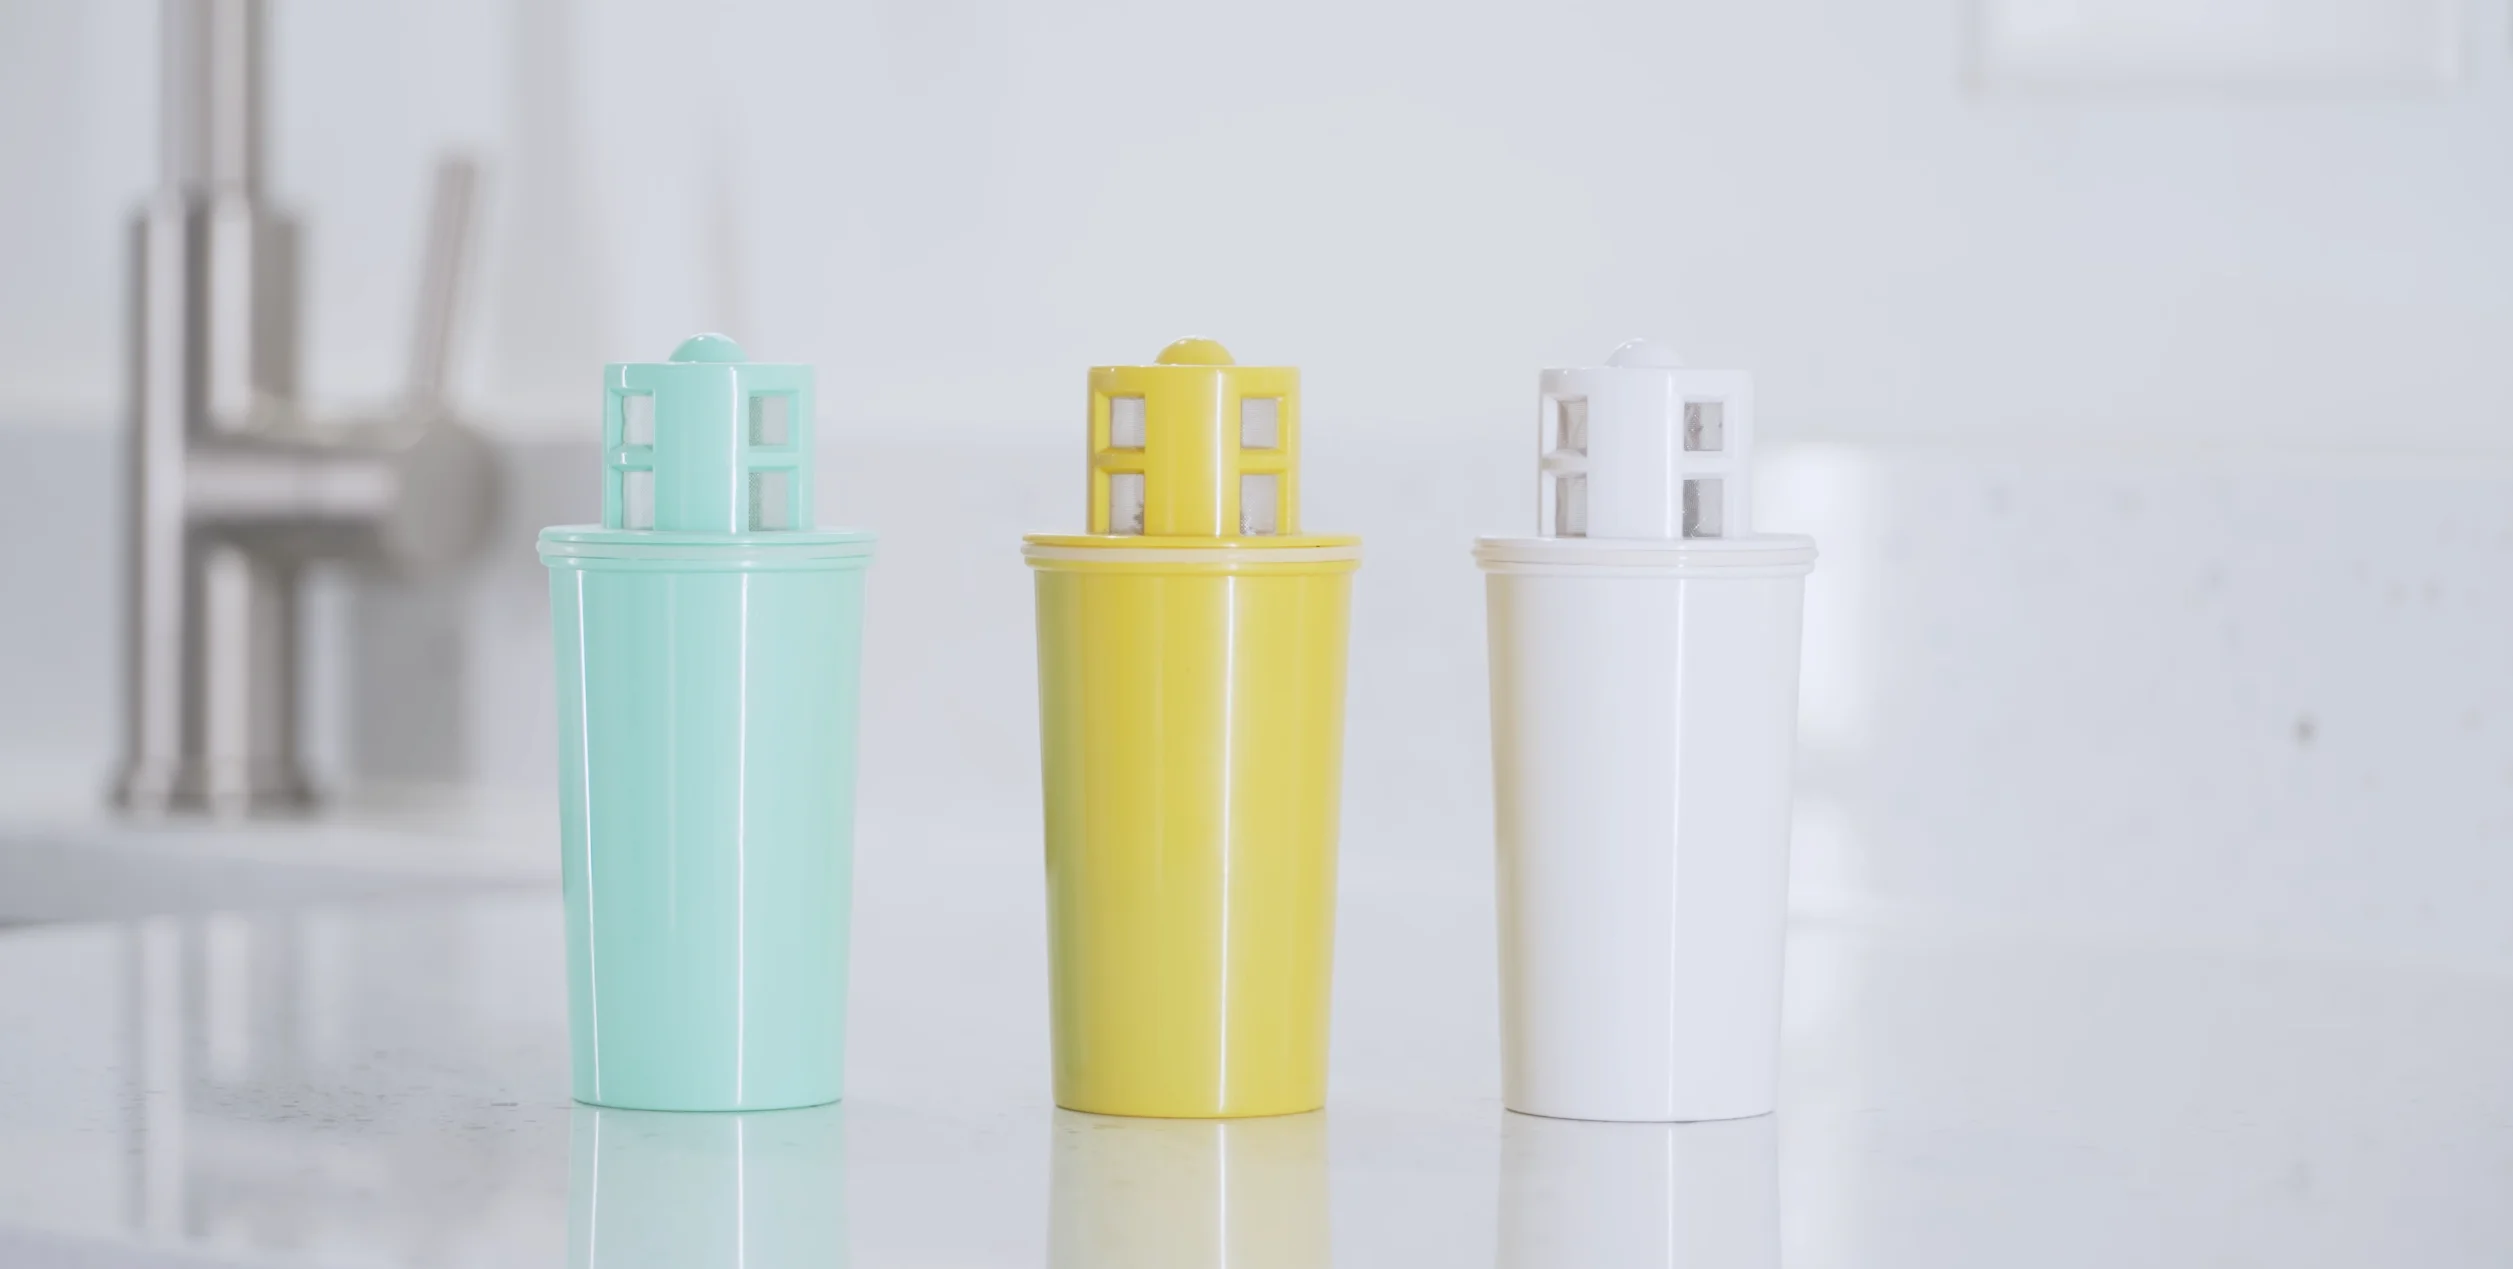
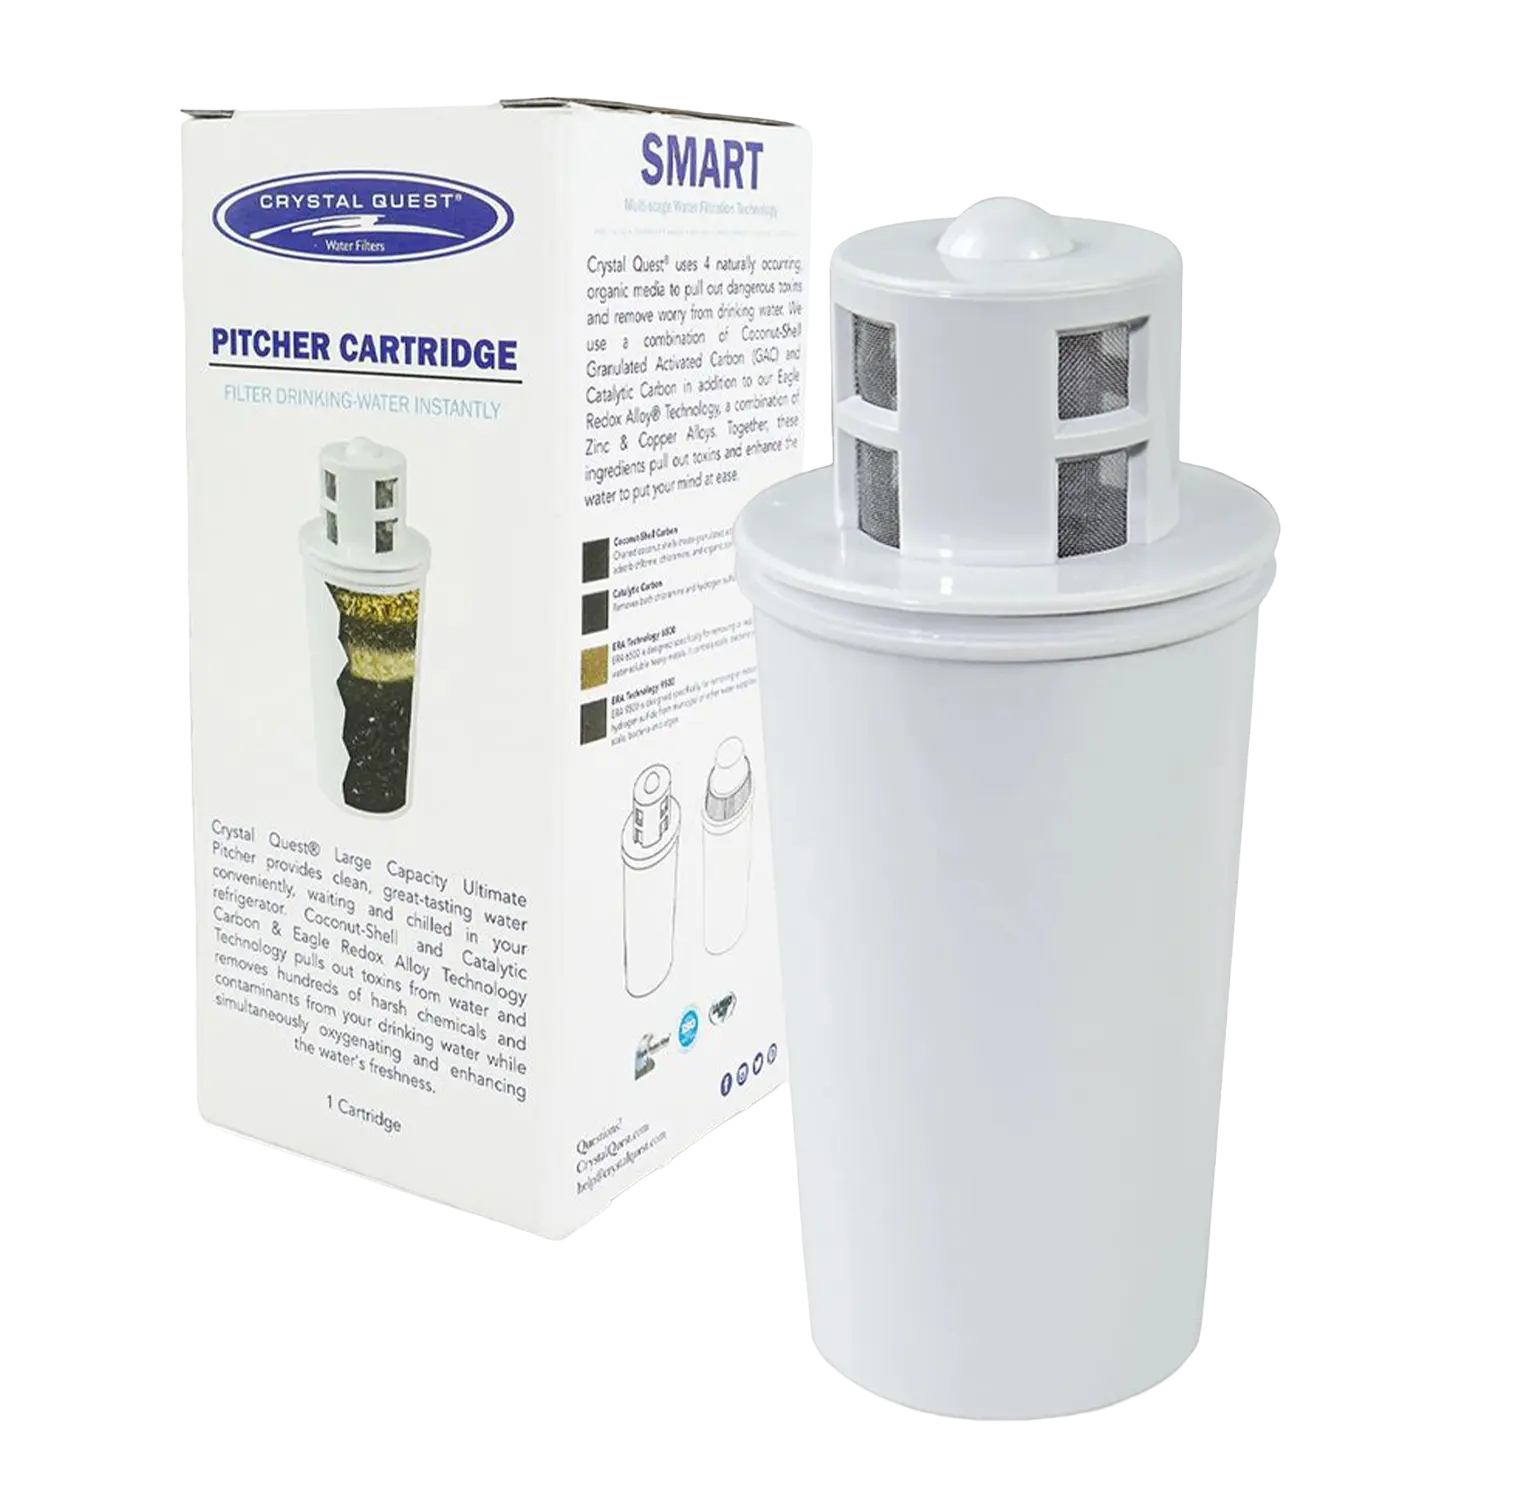
The Crystal Quest pitcher uses a multi-stage filtration cartridge to reduce chlorine, heavy metals, VOCs, and other common tap water contaminants. Unlike basic carbon pitchers, the CQ cartridge combines coconut shell activated carbon with ion exchange media for broader contaminant removal. The pitcher cartridge service interval is 6 to 12 months, depending on usage and water conditions.
Step-by-Step
Complete Walkthrough
Unbox and Wash
0:07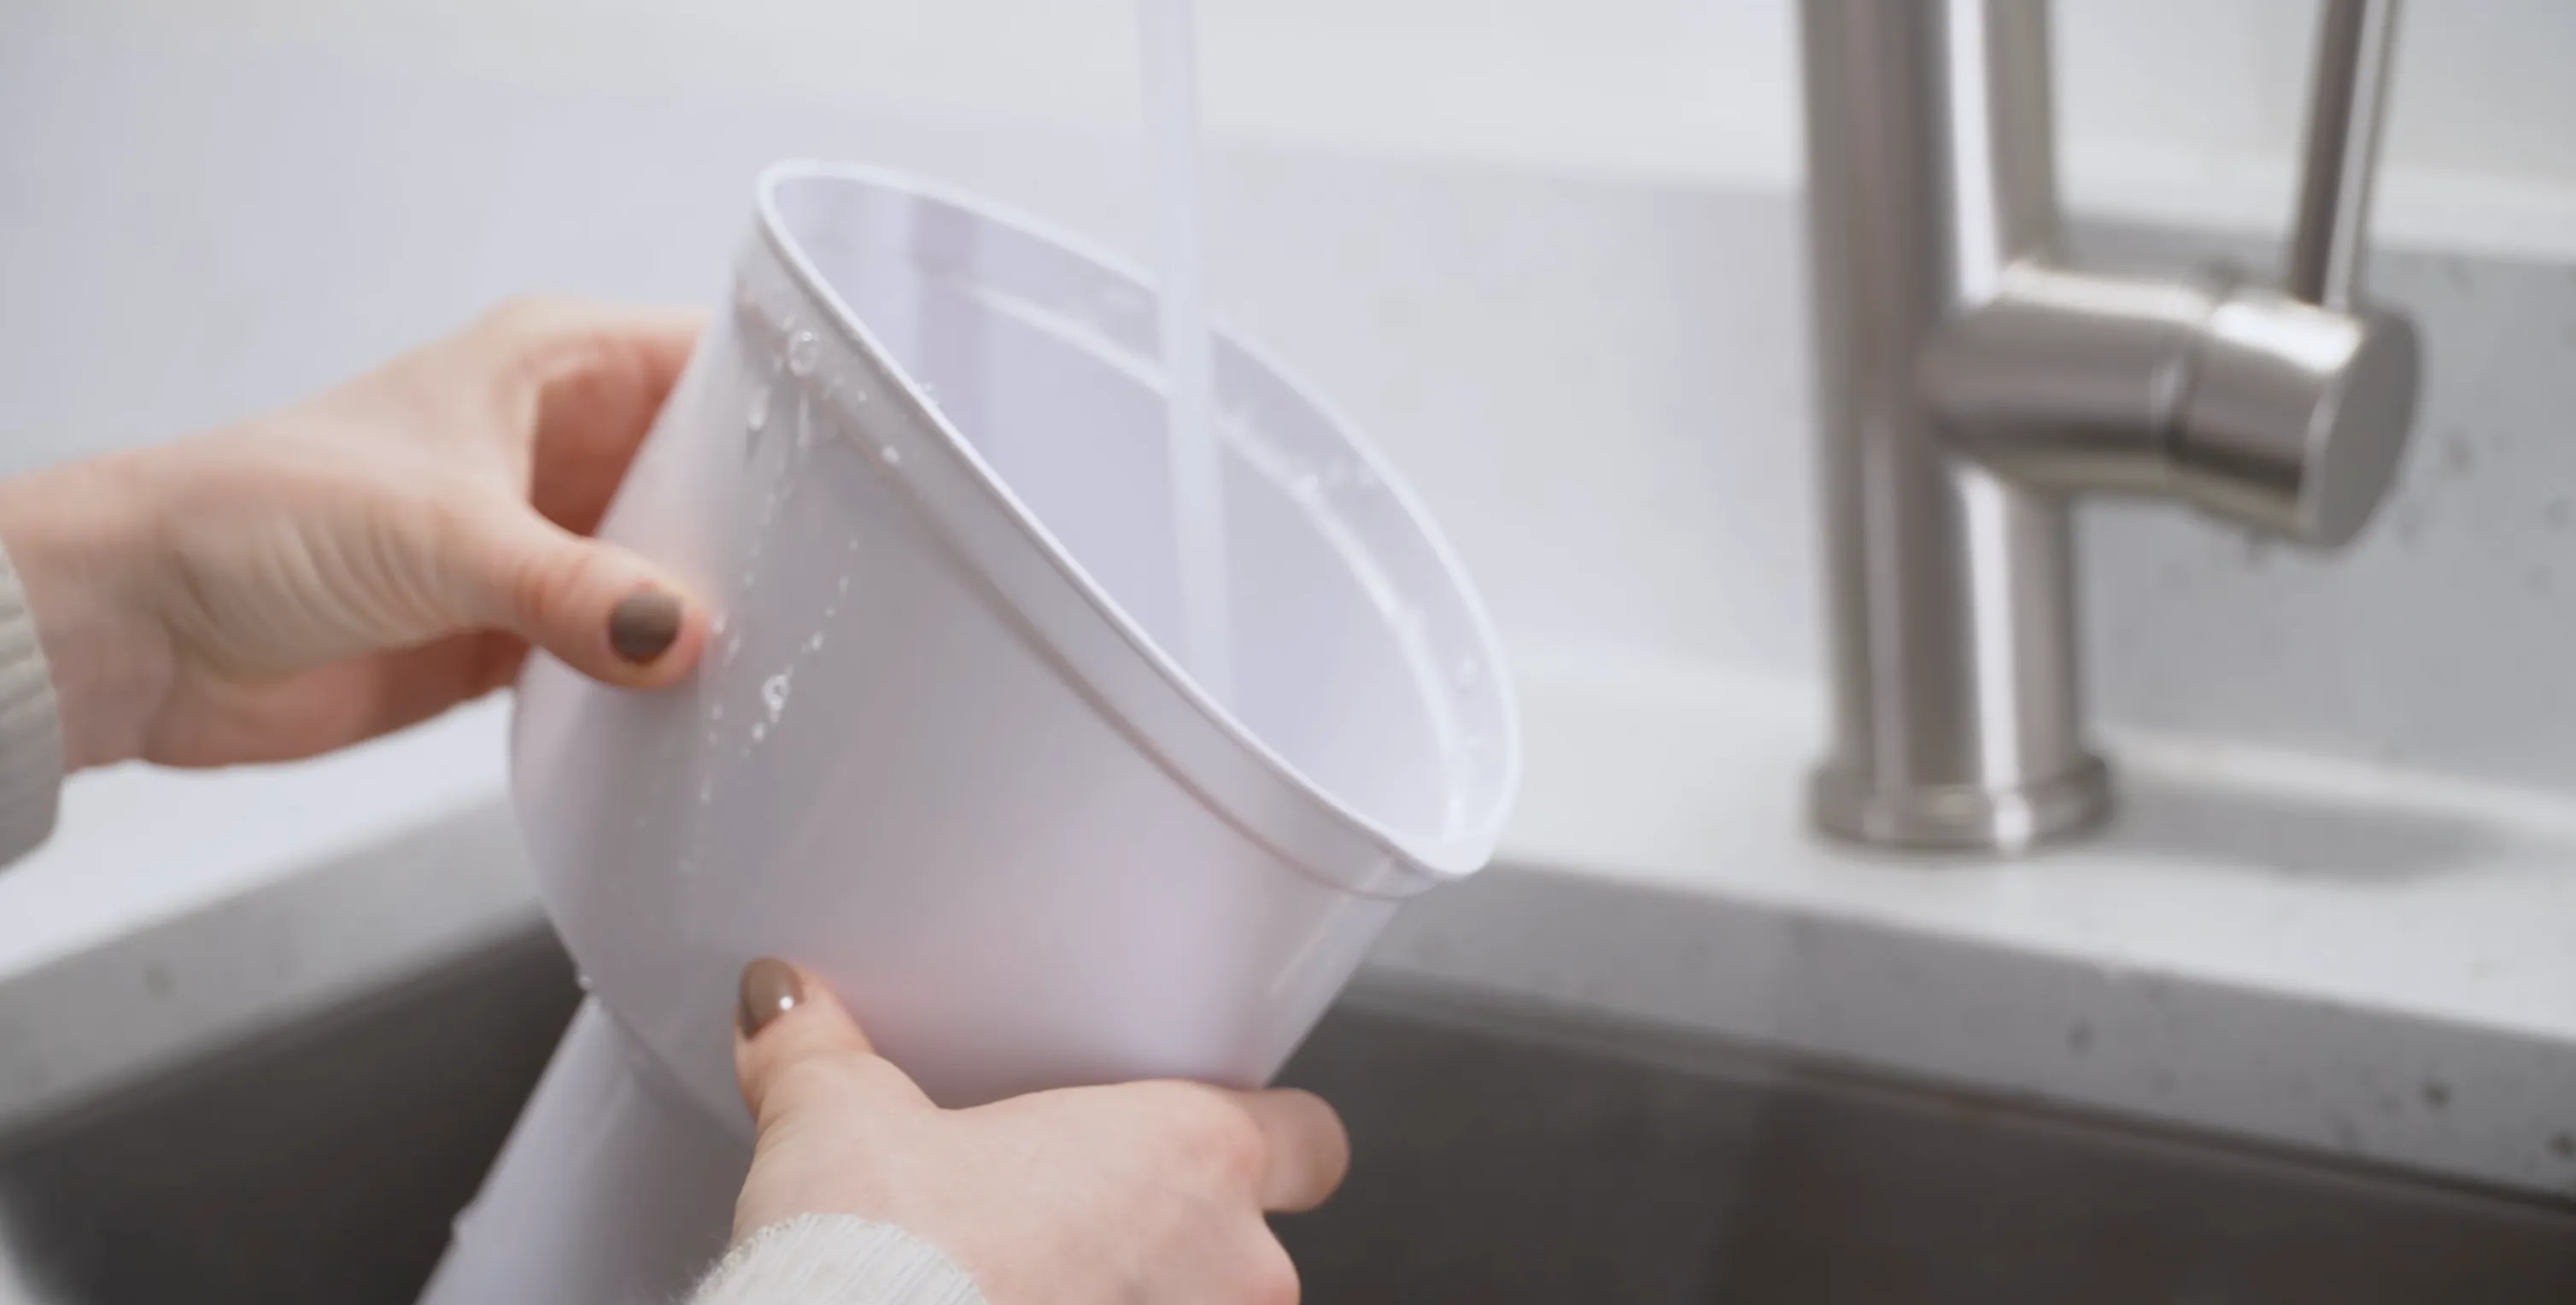
Remove the pitcher from its packaging. Take off the lid, lift out the reservoir, and set the filter cartridge aside. Give the lid and reservoir a quick wash with mild soap and water, this removes any dust or residue from manufacturing and shipping.
Soak the Filter Cartridge
0:23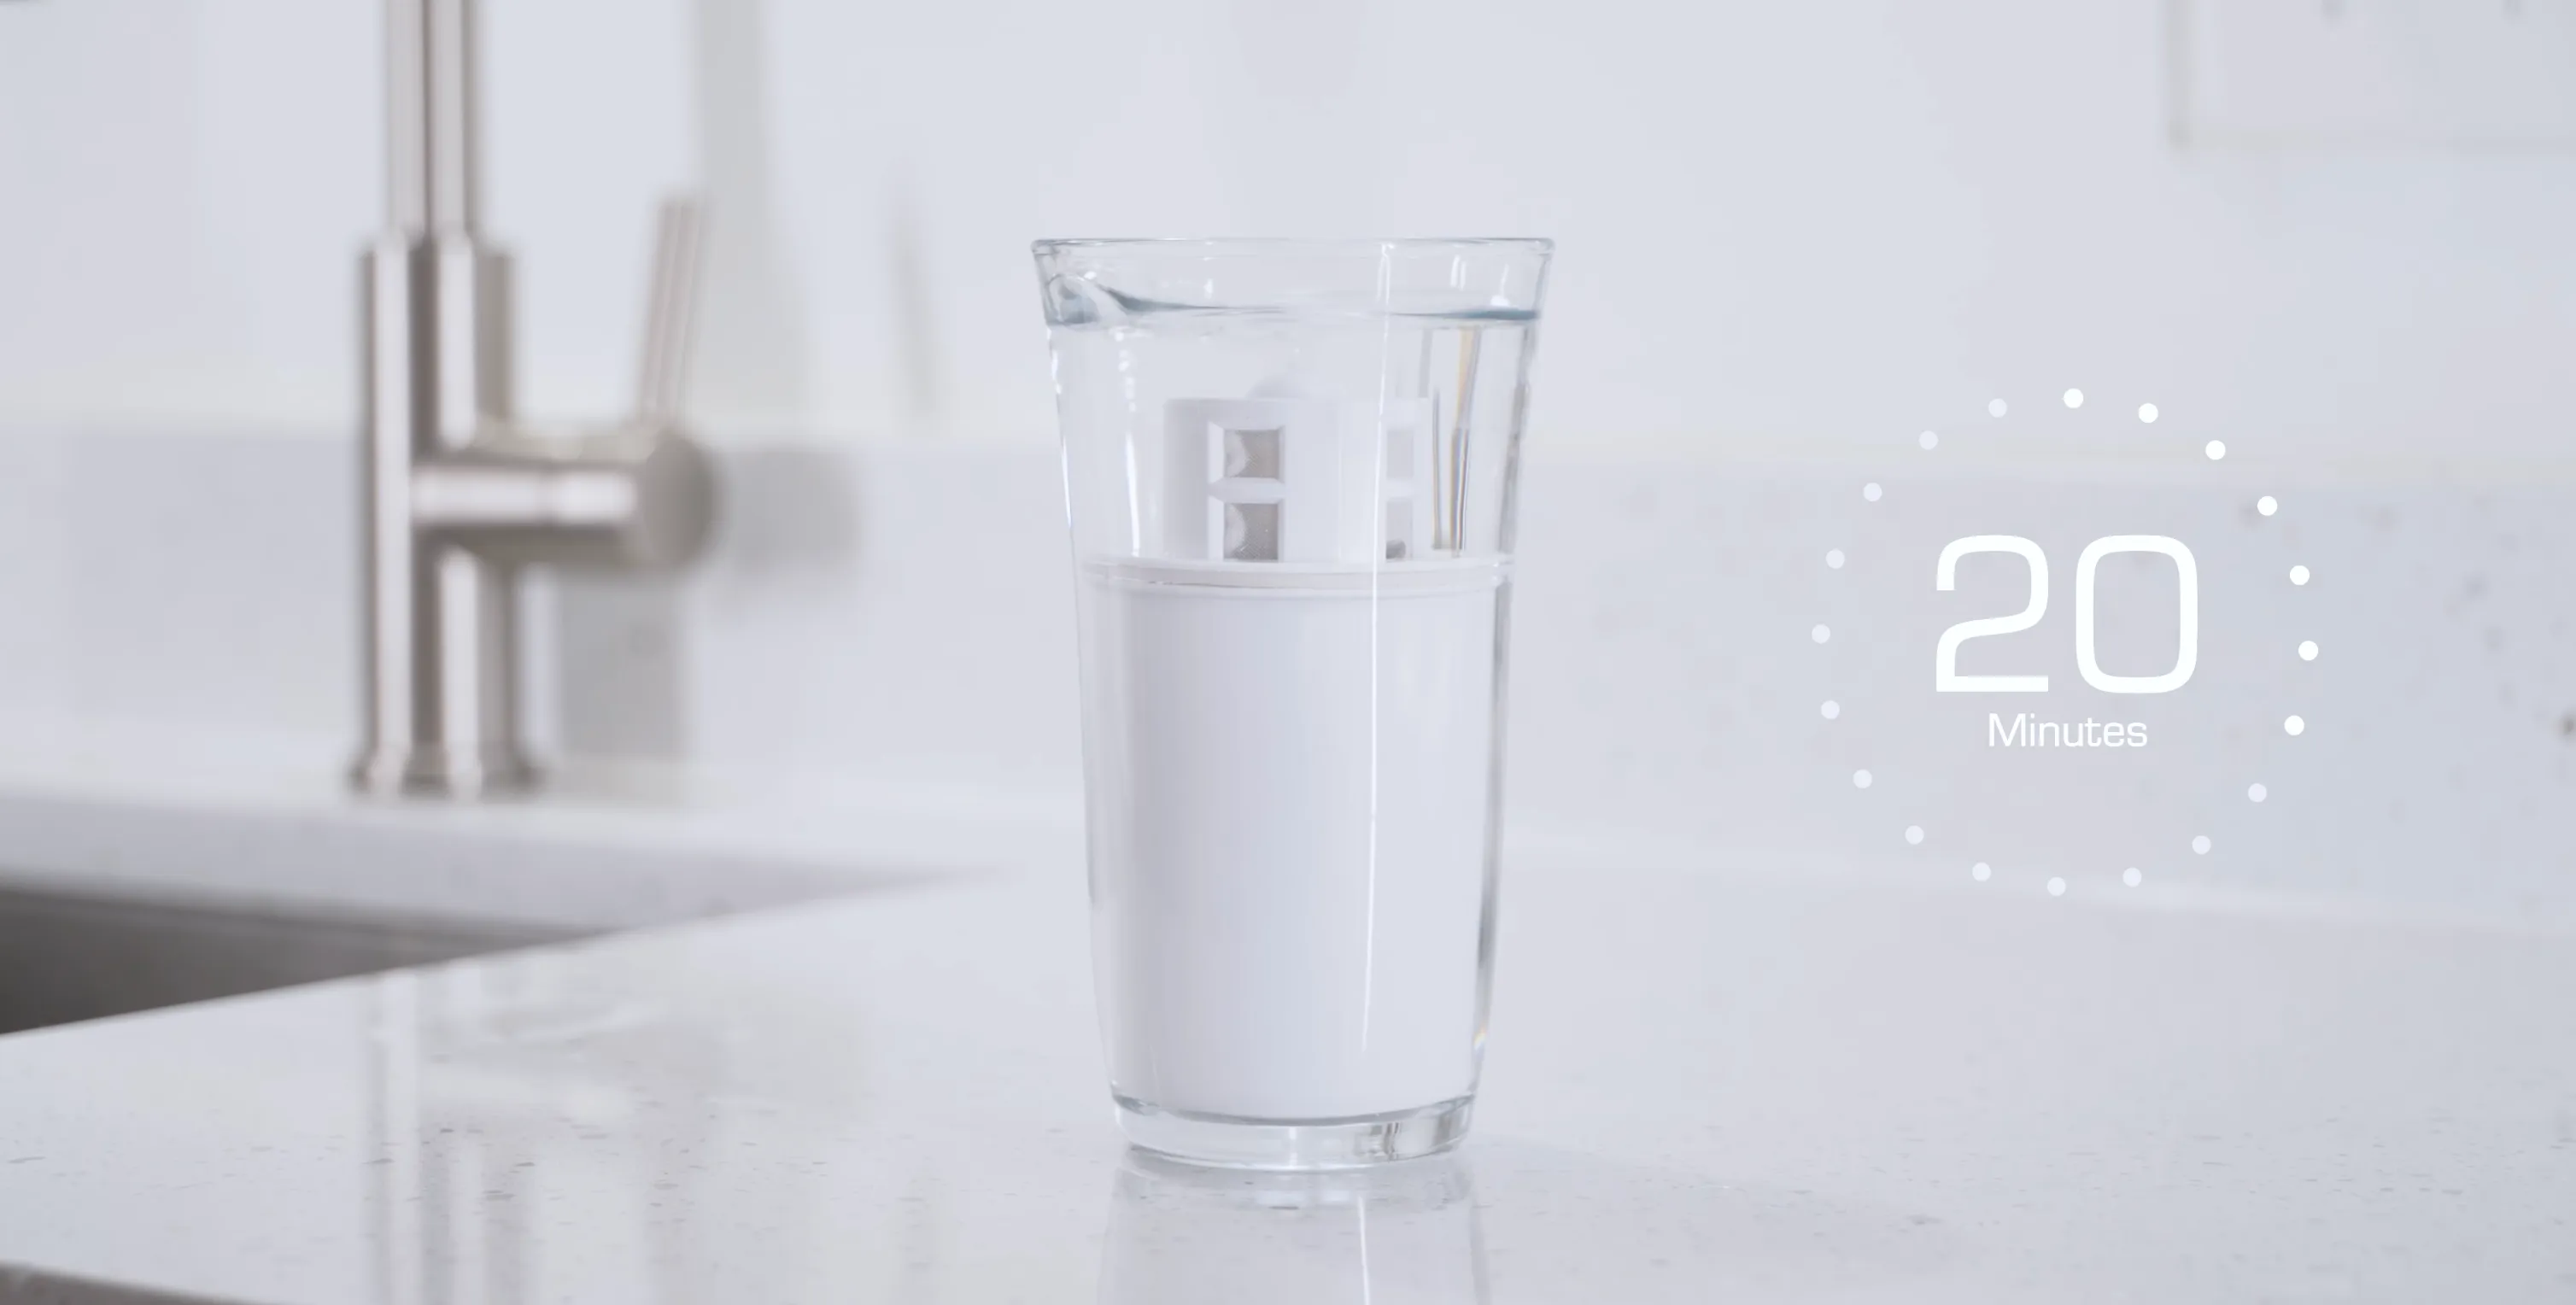
Place the filter cartridge upright in a bowl of cold water and let it soak for 20 minutes. This is the most important step, the water saturates the carbon media, opening up its pores and activating its ability to absorb contaminants. You'll notice tiny bubbles rising as air escapes from the carbon structure.
Tip: This step is only needed on first use. Regular refills don't require re-priming.
Rinse Under Running Water
0:39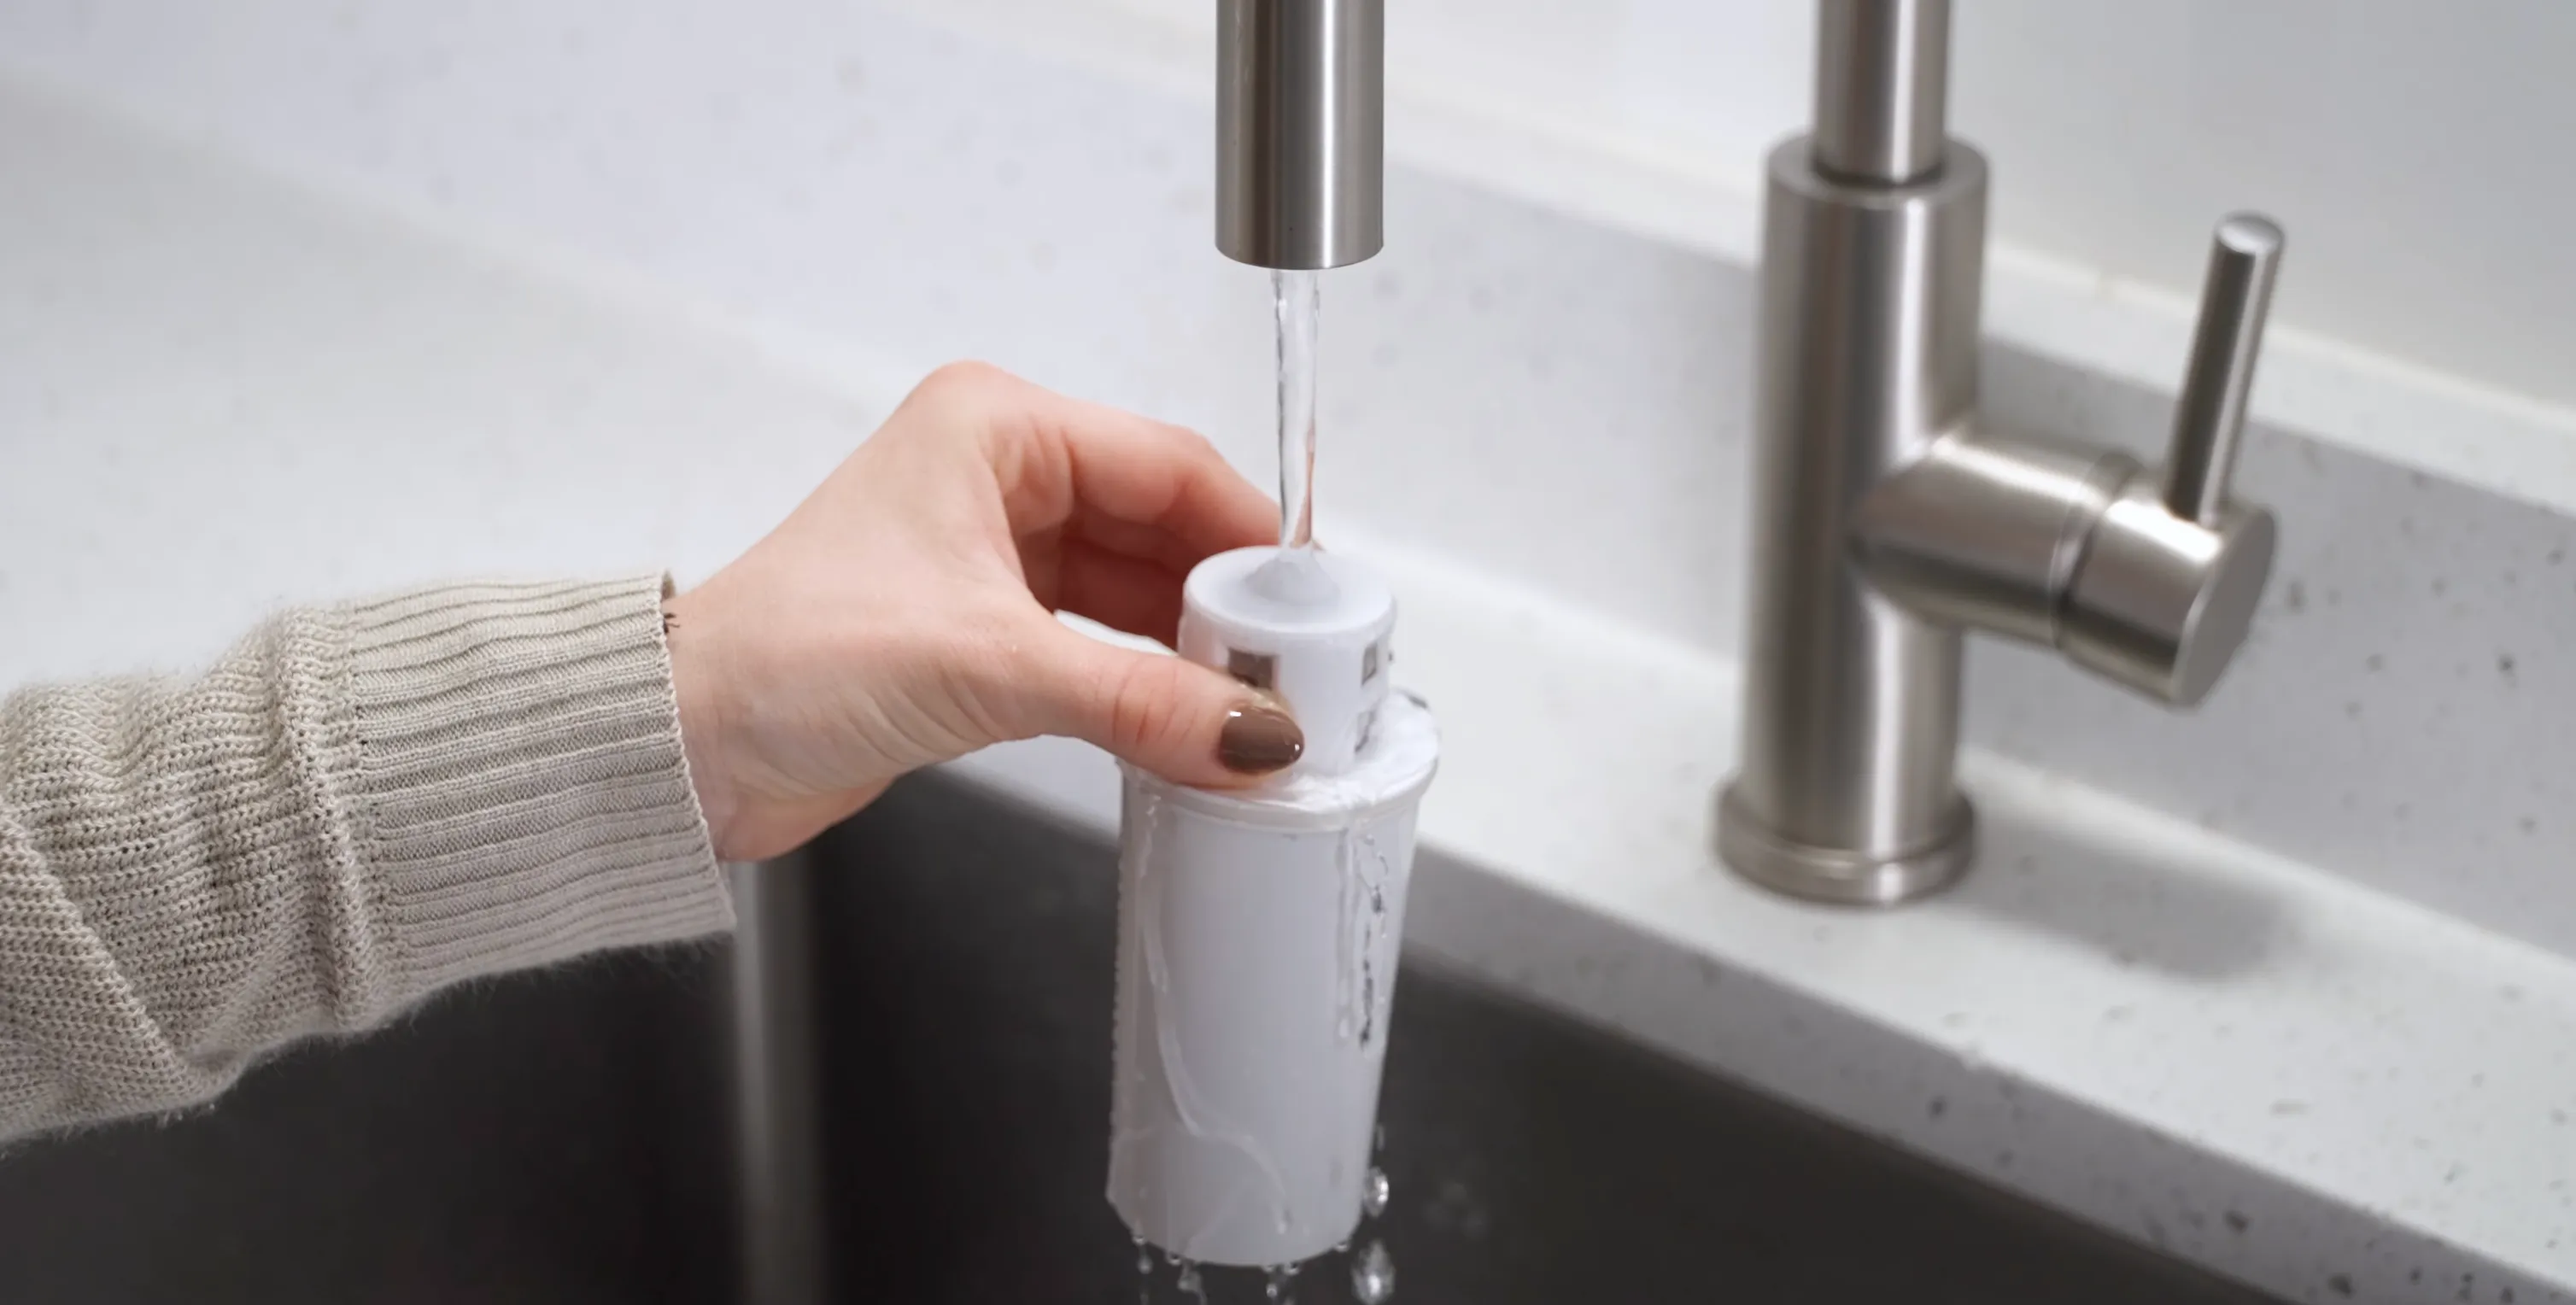
After 20 minutes, hold the cartridge under cold running water for 10 to 15 seconds. This flushes out any remaining loose carbon fines, the harmless black particles that are a natural byproduct of activated carbon manufacturing.
Assemble the Pitcher
0:47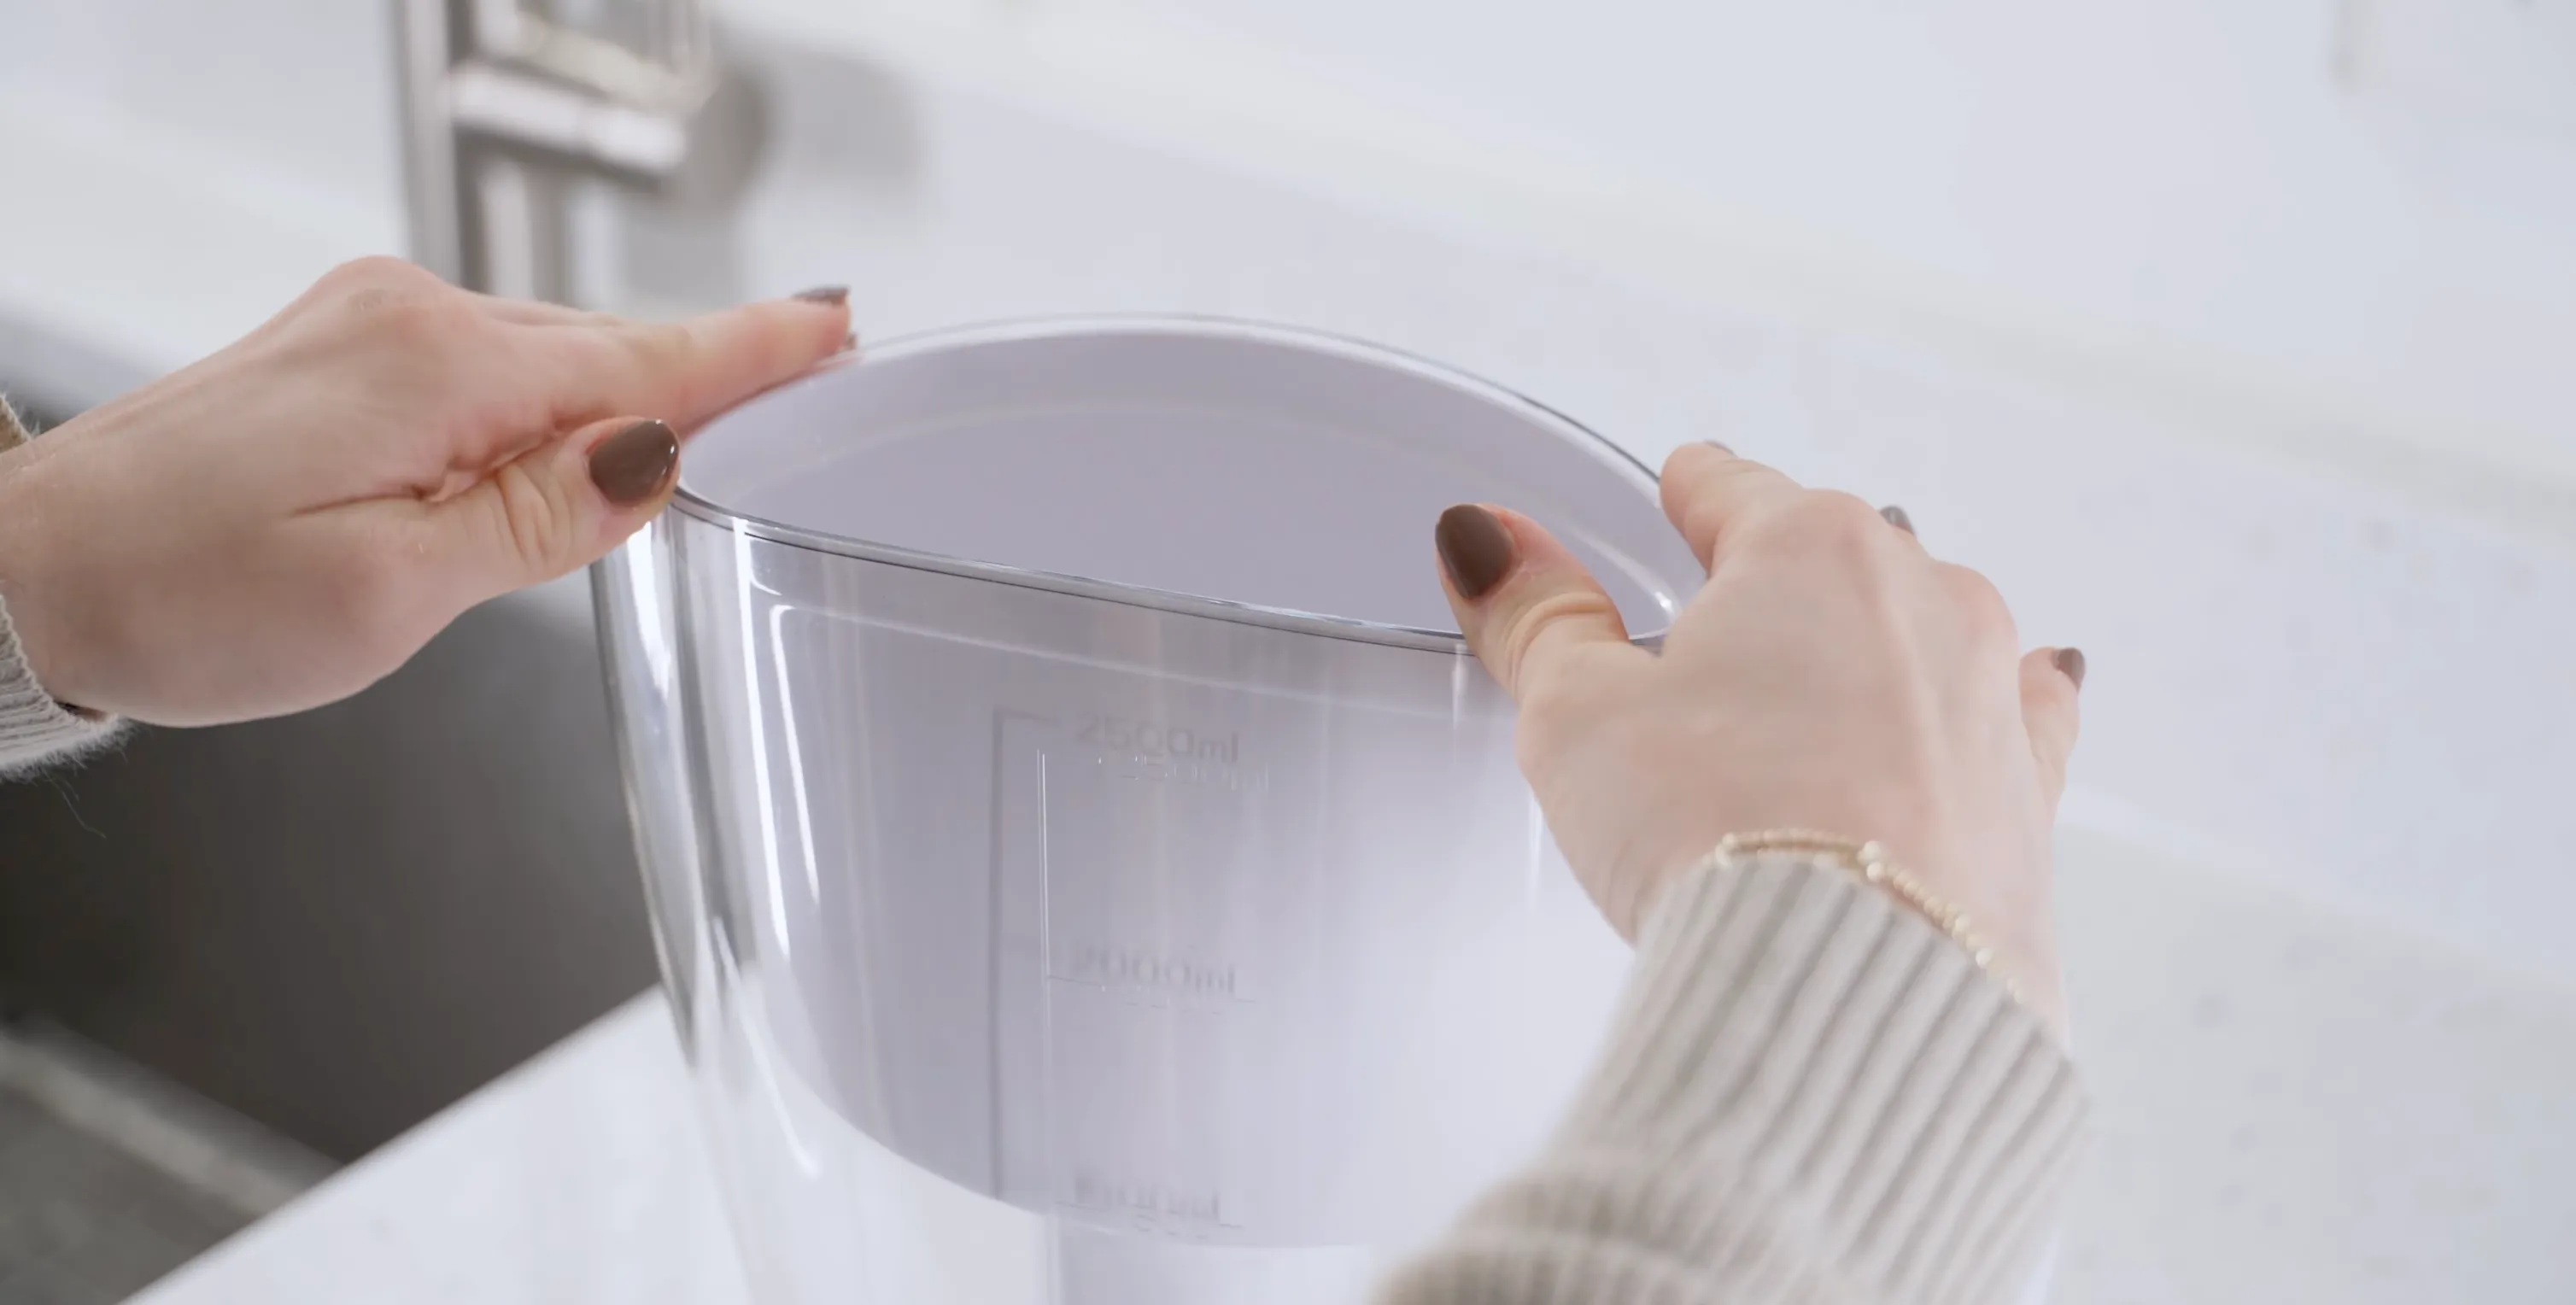
Place the reservoir back into the pitcher body, making sure it sits level and flush. Then insert the filter cartridge into the reservoir opening and press firmly until you feel it lock into place. A secure seal is essential, any gap allows unfiltered water to bypass the cartridge.
Tip: You should feel a slight click or firm resistance when the cartridge is properly seated.
Set Your Replacement Reminder
1:00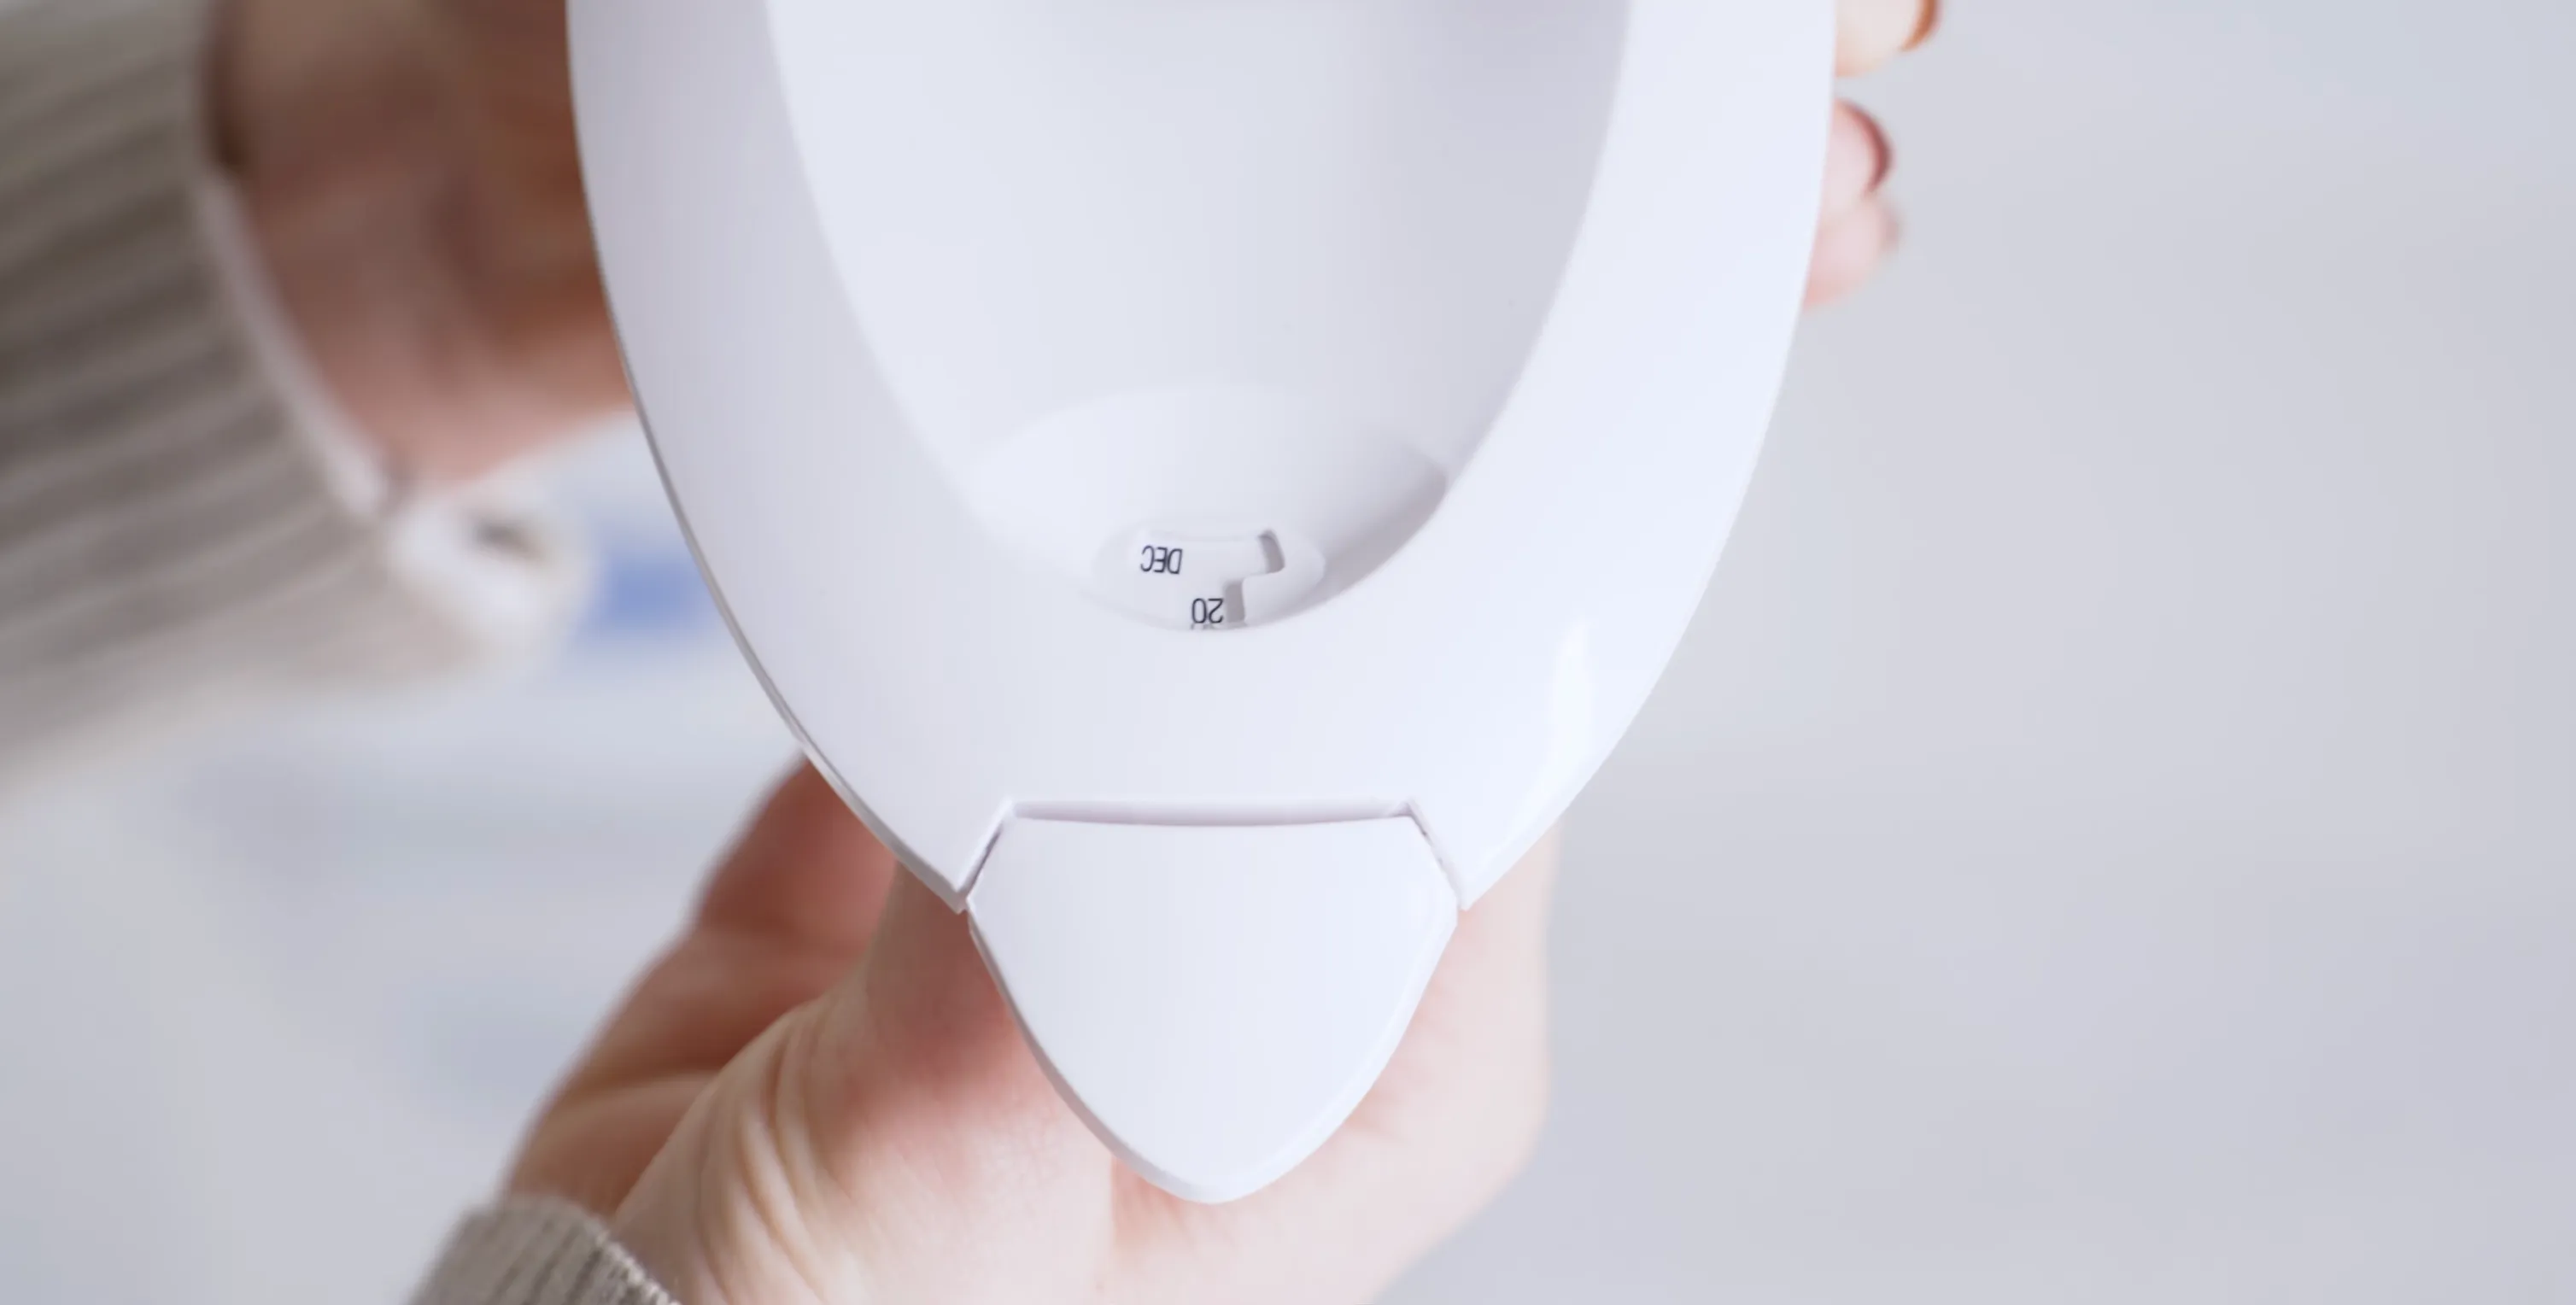
Turn the dial on the pitcher lid to 6 to 12 months from today. Daily users should lean toward the 6-month mark, while occasional users can stretch closer to 12 months. The filter will still work after this period, but contaminant removal effectiveness decreases over time as the carbon becomes saturated.
First Fill and Flush
1:07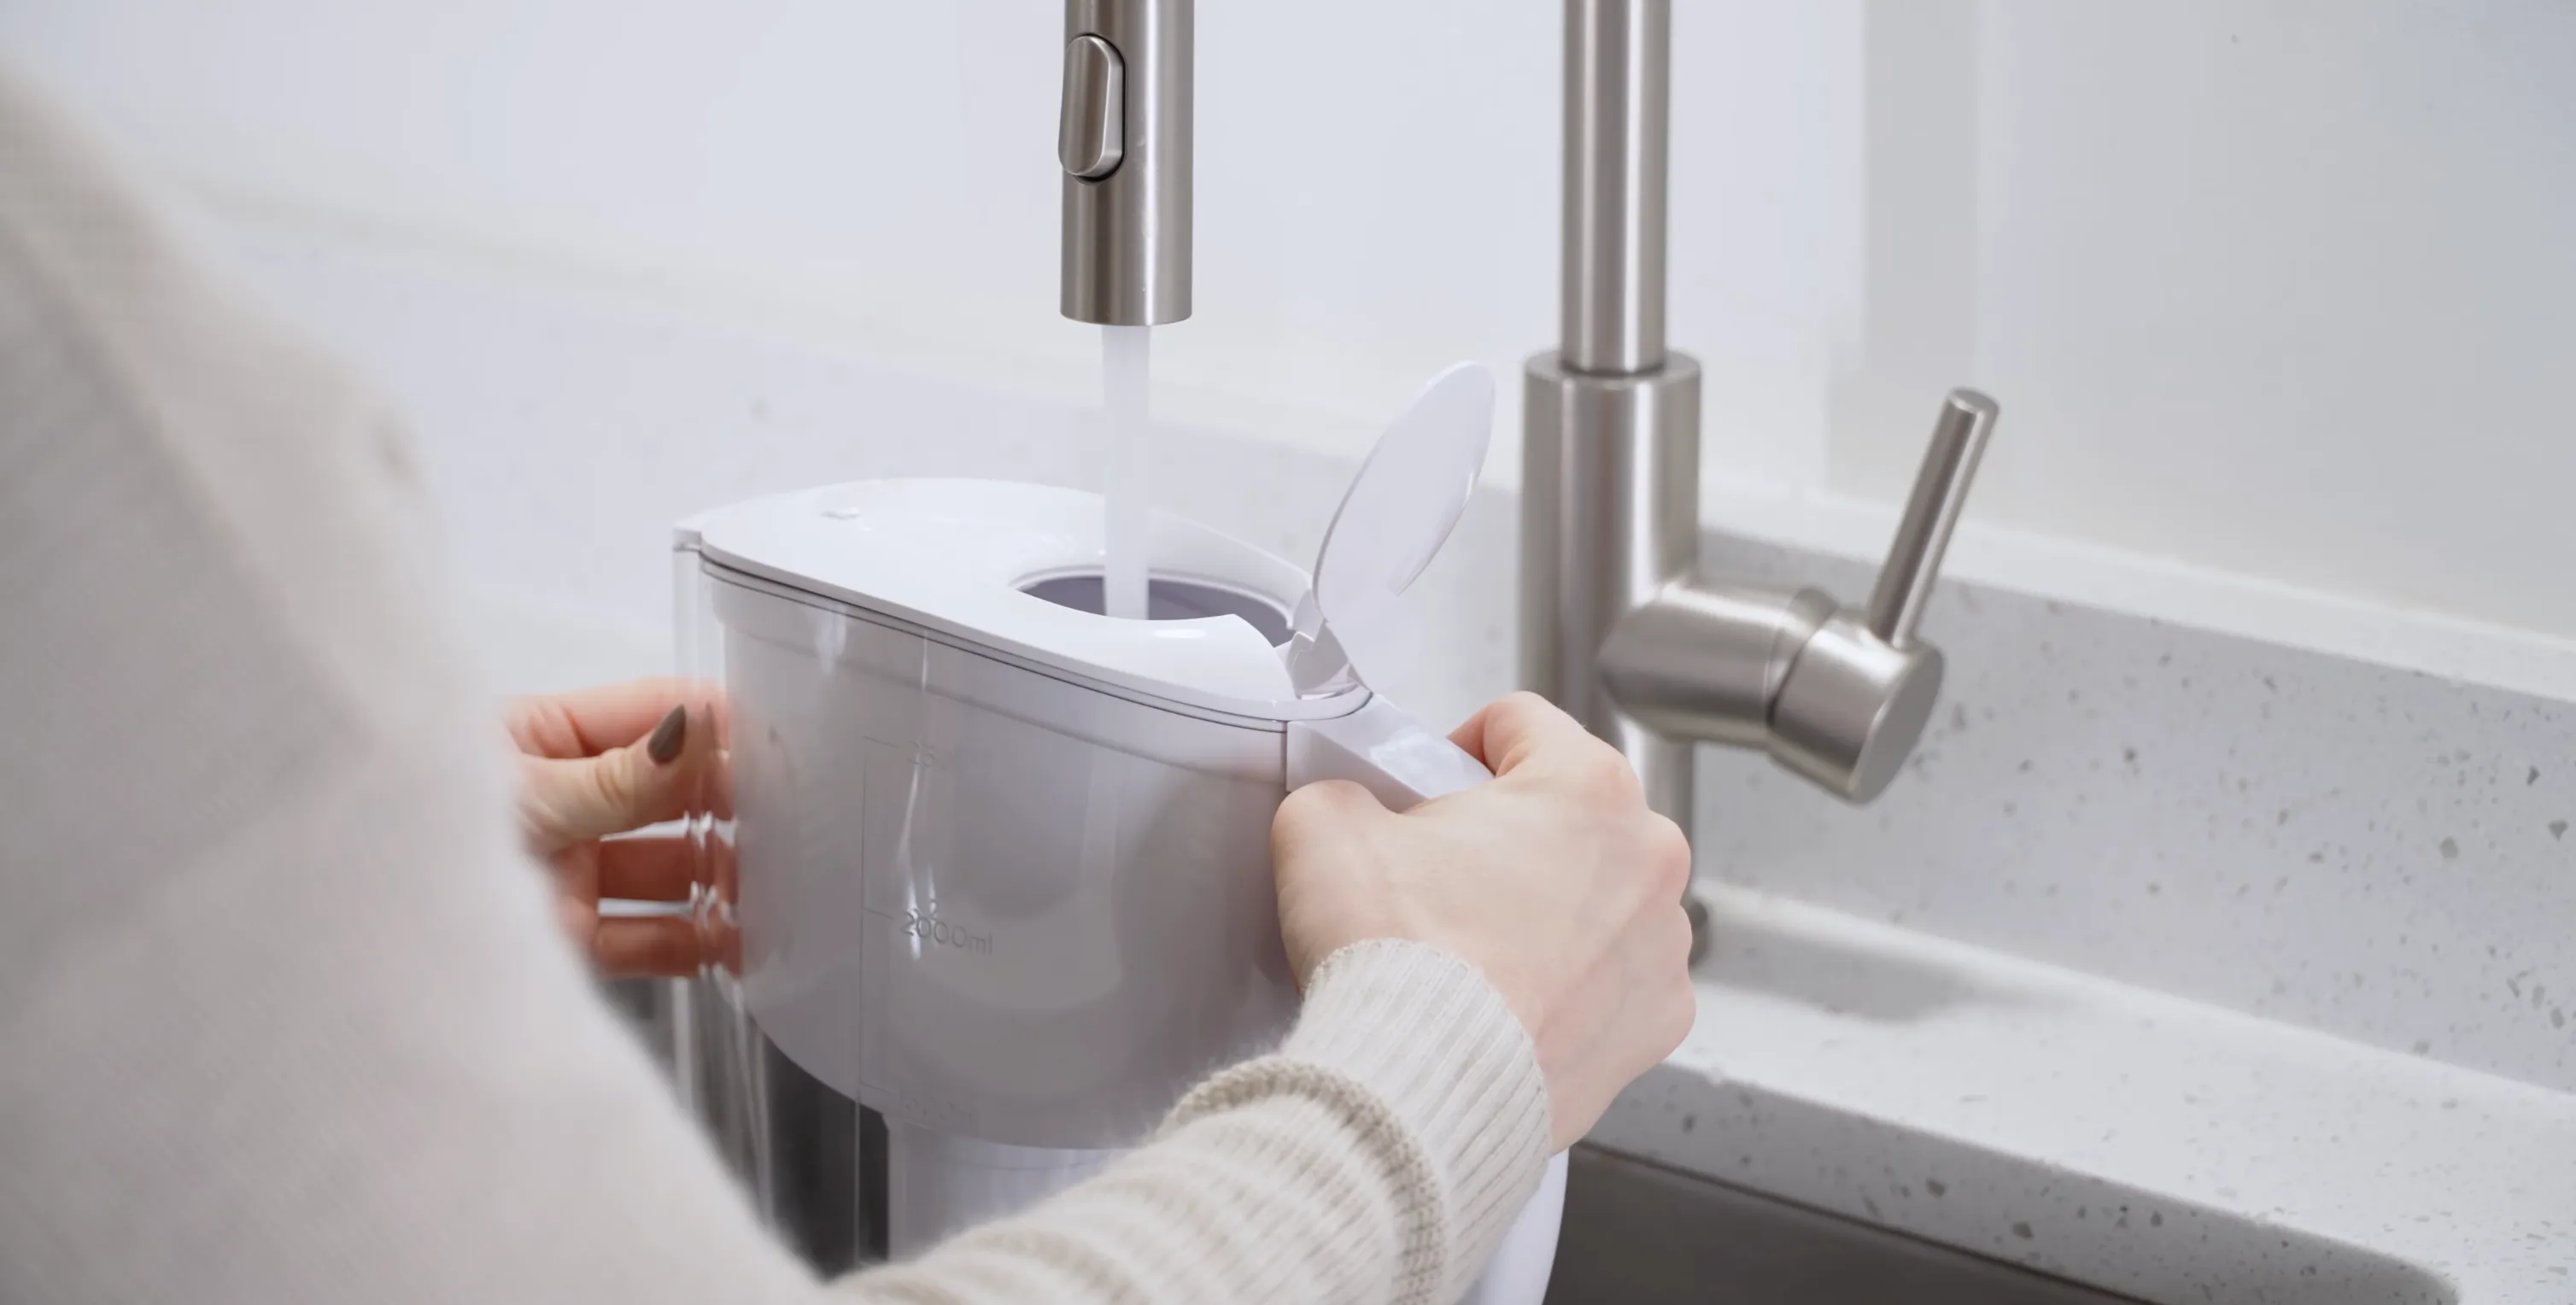
Fill the reservoir with cold tap water and let it filter through completely. Then pour it out, don't drink this batch. Repeat one more time. These two flush cycles ensure any remaining carbon fines are cleared and the filter is fully activated for optimal performance.
Ready to Use
1:18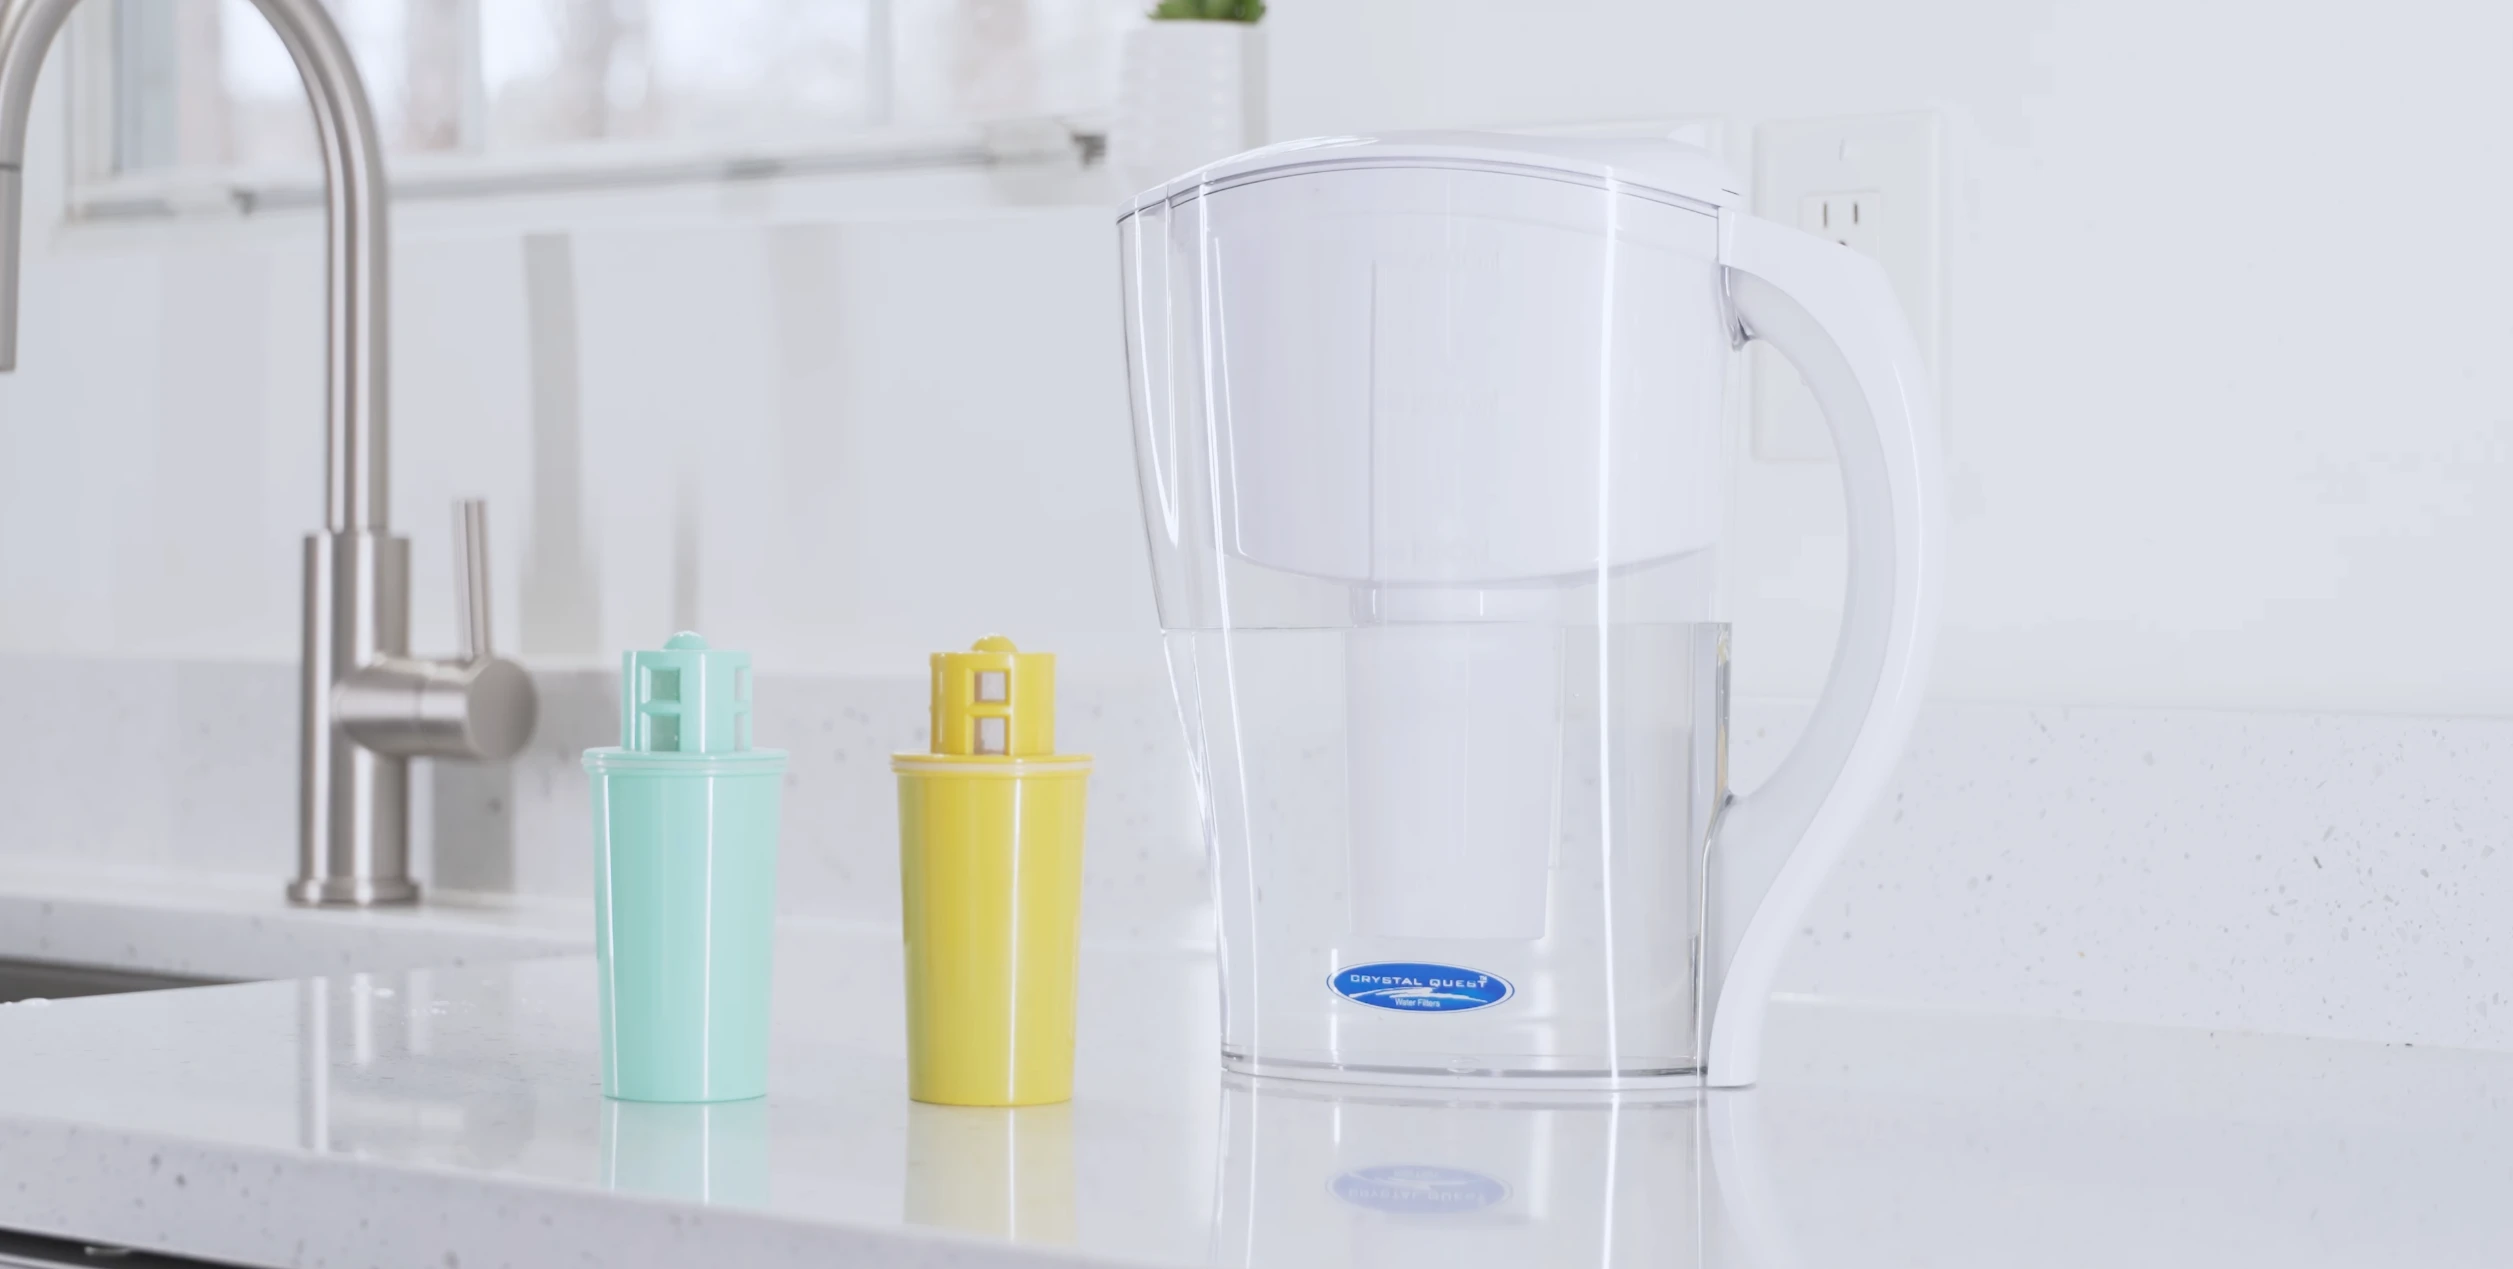
Your Crystal Quest pitcher is now fully set up and ready to deliver clean, filtered water. From here on out, just fill and pour, no additional priming or special steps needed between refills.
Transcript
Read the video transcript
Transcript
Read the video transcript
Let's take a look at how to set up your Crystal Quest water pitcher. Start by taking the pitcher out of its packaging. Remove the lid, lift out the reservoir, and set the filter cartridge aside. Be sure to give the lid and reservoir a quick wash with mild soap and water. Grab your filter cartridge, place it upright in cold water, and let it soak for 20 minutes.
This only needs to be done on the first use, helping activate the carbon within the filter and removing any granular fines. When 20 minutes is up, go ahead and rinse your cartridge under cold running water for 10 to 15 seconds. With everything primed, it's time to put it back together. First, we'll place the reservoir back into the pitcher, making sure it's positioned correctly. Then, we can place the filter cartridge into the reservoir, giving it a firm press to ensure a tight seal.
Don't forget to set your replacement dial 6 to 12 months out, depending on how often you use your pitcher. With that done, fill your new pitcher with water. When installing a new cartridge, we recommend filling and emptying the pitcher twice before regular use to ensure it's been thoroughly activated. And that's it. Your Crystal Quest pitcher is ready to deliver fresh, clean, great-tasting water.
If you have any questions, we're here to help. Leave a comment below, give us a call, or visit us at crystalquest.com.