How to Replace a Shower Filter Cartridge (2 Minutes)
Replacing your Crystal Quest shower filter cartridge is a quick, tool-free process. This guide covers the full swap, from removing the old cartridge to testing the new one for leaks.
Why Timely Cartridge Replacement Matters
A shower filter cartridge has a finite capacity. Once the media is saturated, contaminants pass through unfiltered. Regular replacement ensures your shower water stays clean and your skin and hair continue to benefit from chlorine-free water.
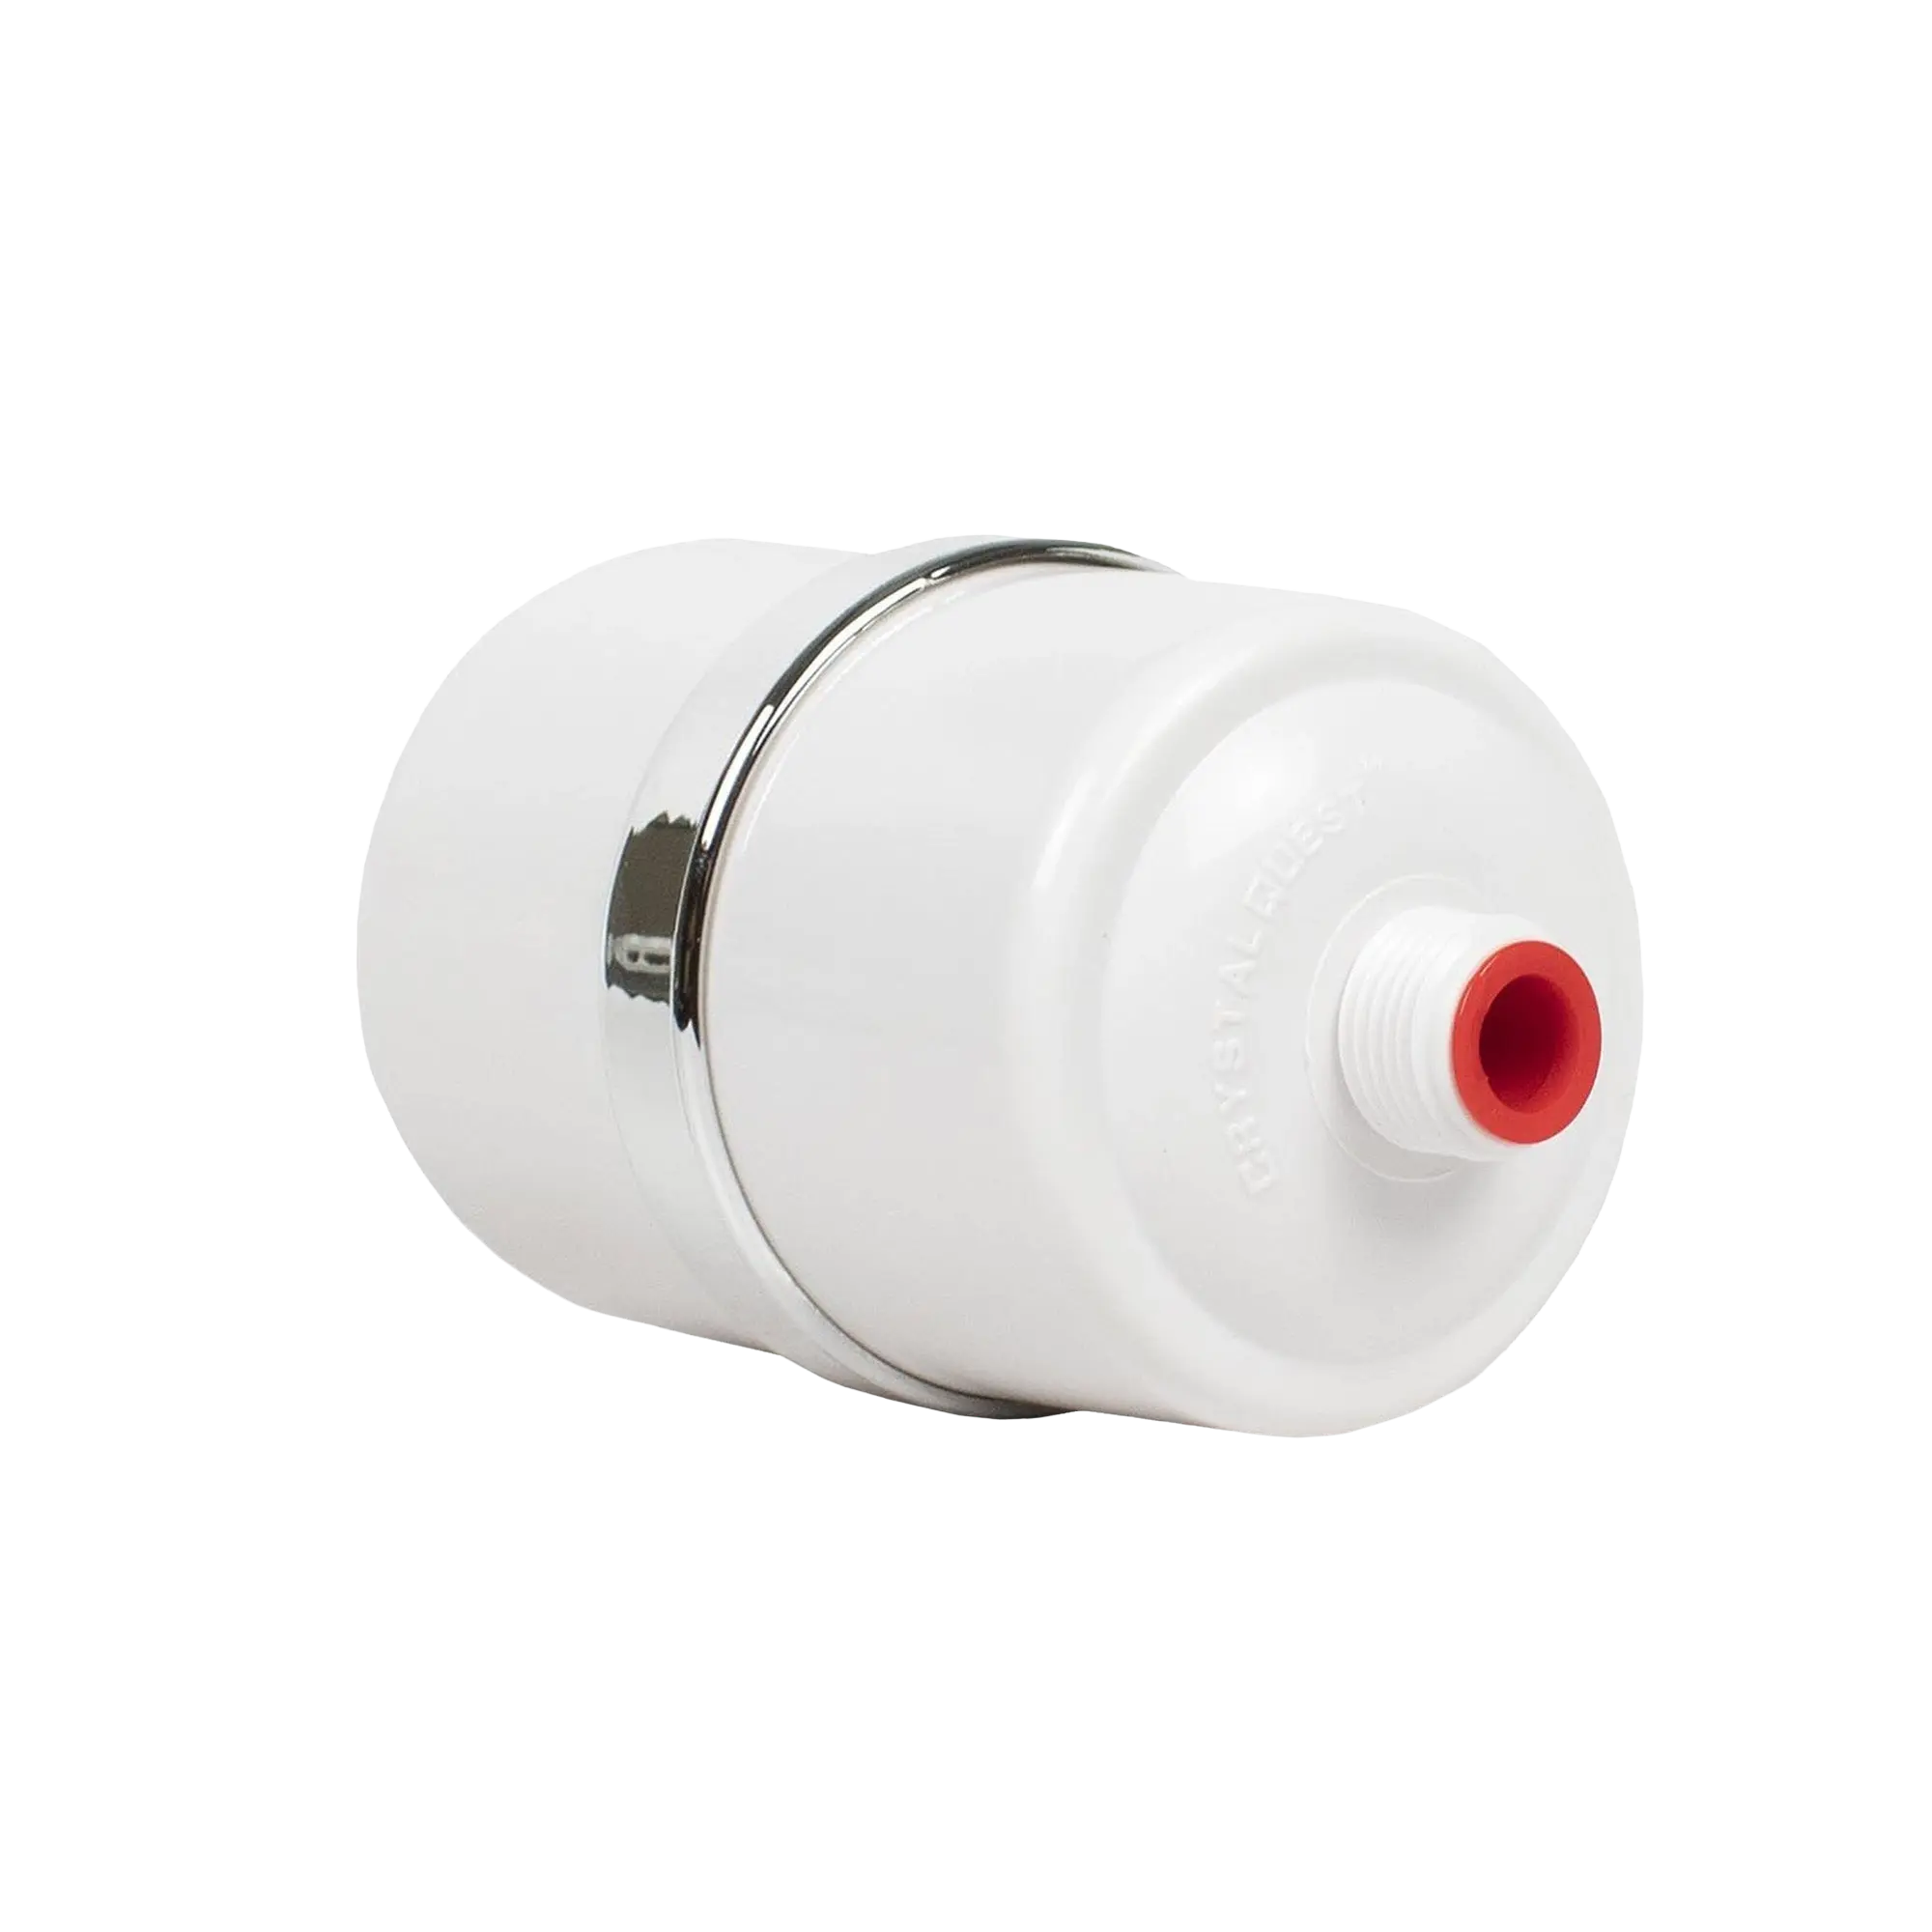
Crystal Quest Premium Shower Filter
The Crystal Quest Premium Shower Filter uses a replaceable multi-stage cartridge to reduce chlorine, heavy metals, and chemical vapors from shower water. The cartridge is designed for quick, tool-free swaps, just unscrew the housing, pull the old one out, and drop the new one in.
Step-by-Step
Complete Walkthrough
Unscrew the Front Housing
0:10
Grip the front section of the shower filter housing and twist it counterclockwise to unscrew it from the back section. The housing is designed for hand removal, no tools needed. If it is stuck from mineral buildup, wrap a rubber grip or cloth around it for extra traction.
Remove the Old Cartridge
0:16
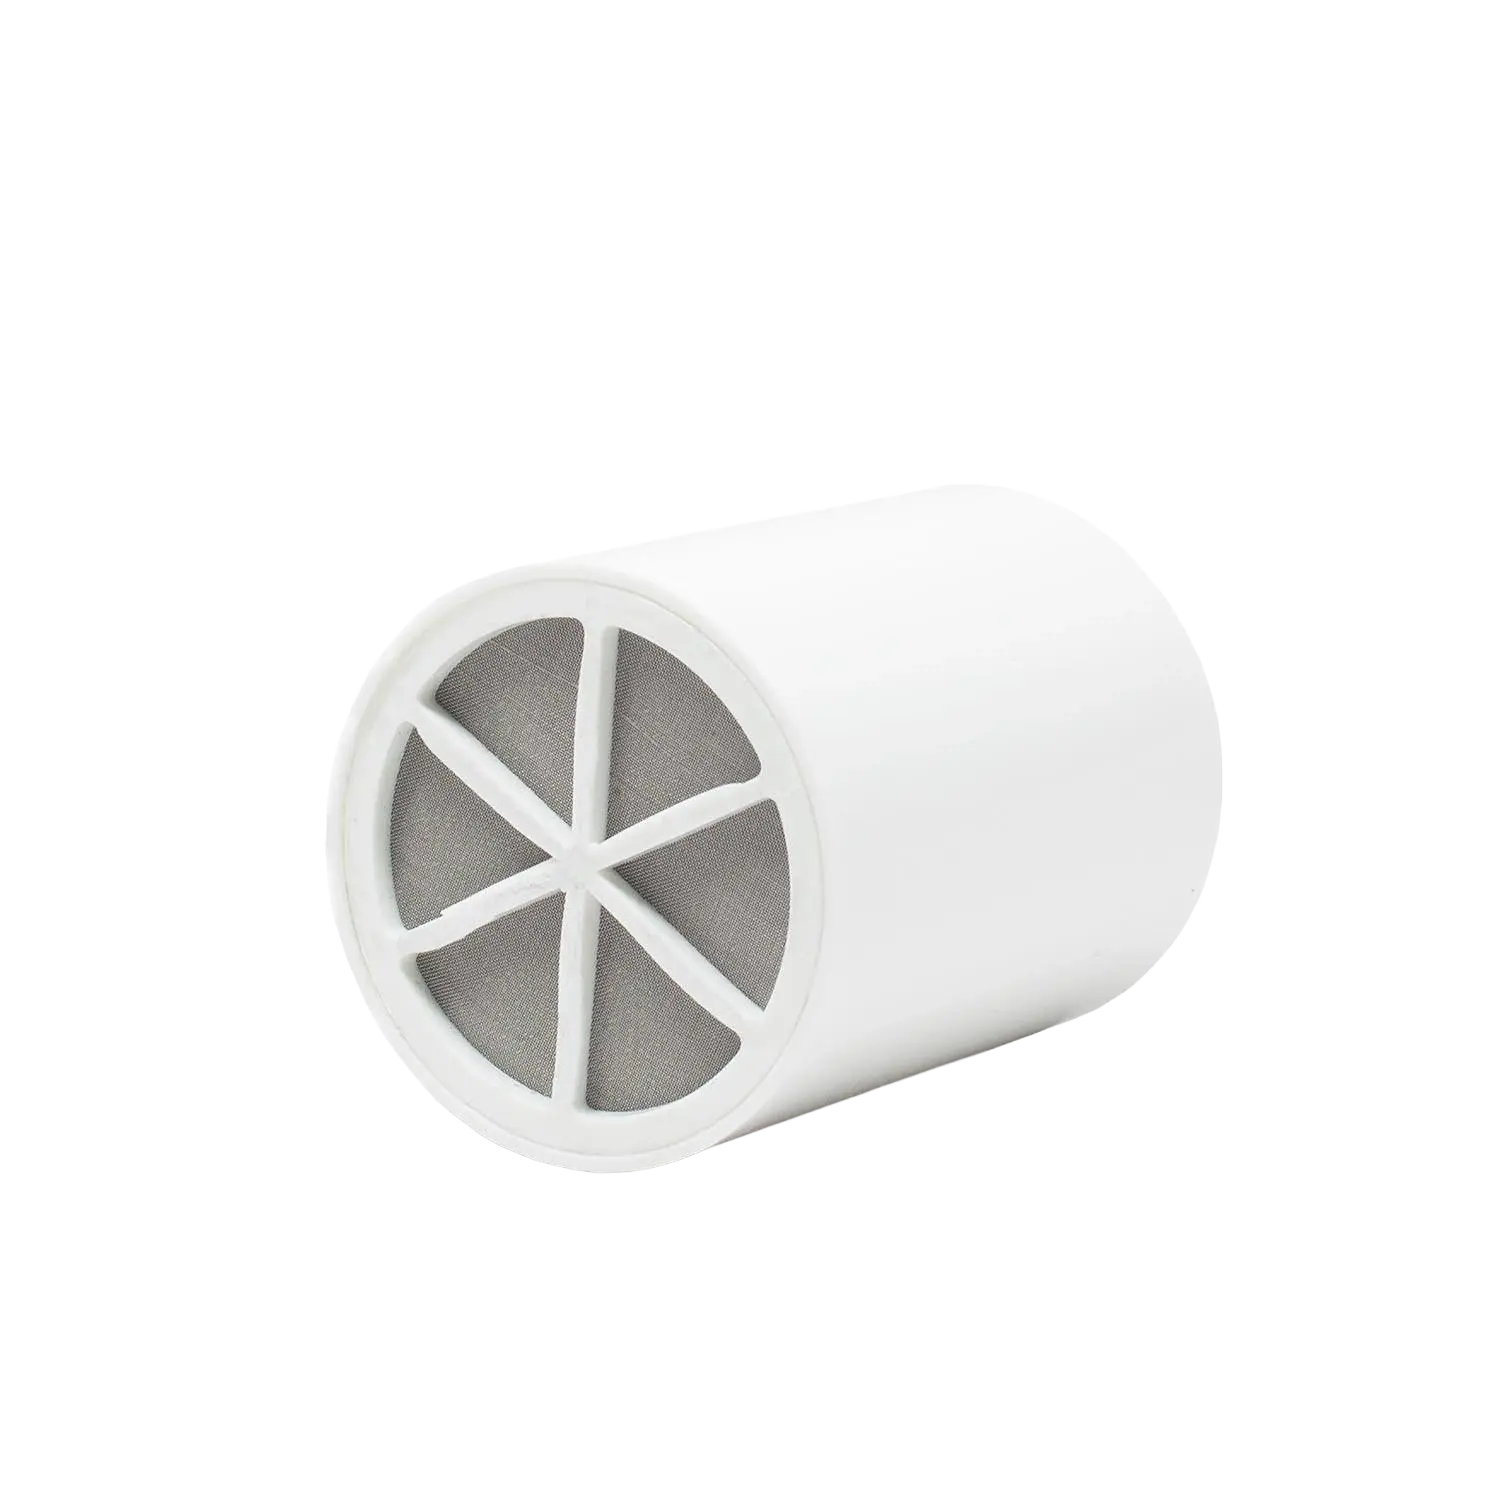
Pull the spent cartridge out of the housing. Note how it was oriented so you can insert the replacement the same way. The old cartridge will likely show visible discoloration, this is normal and shows the media has been actively capturing contaminants.
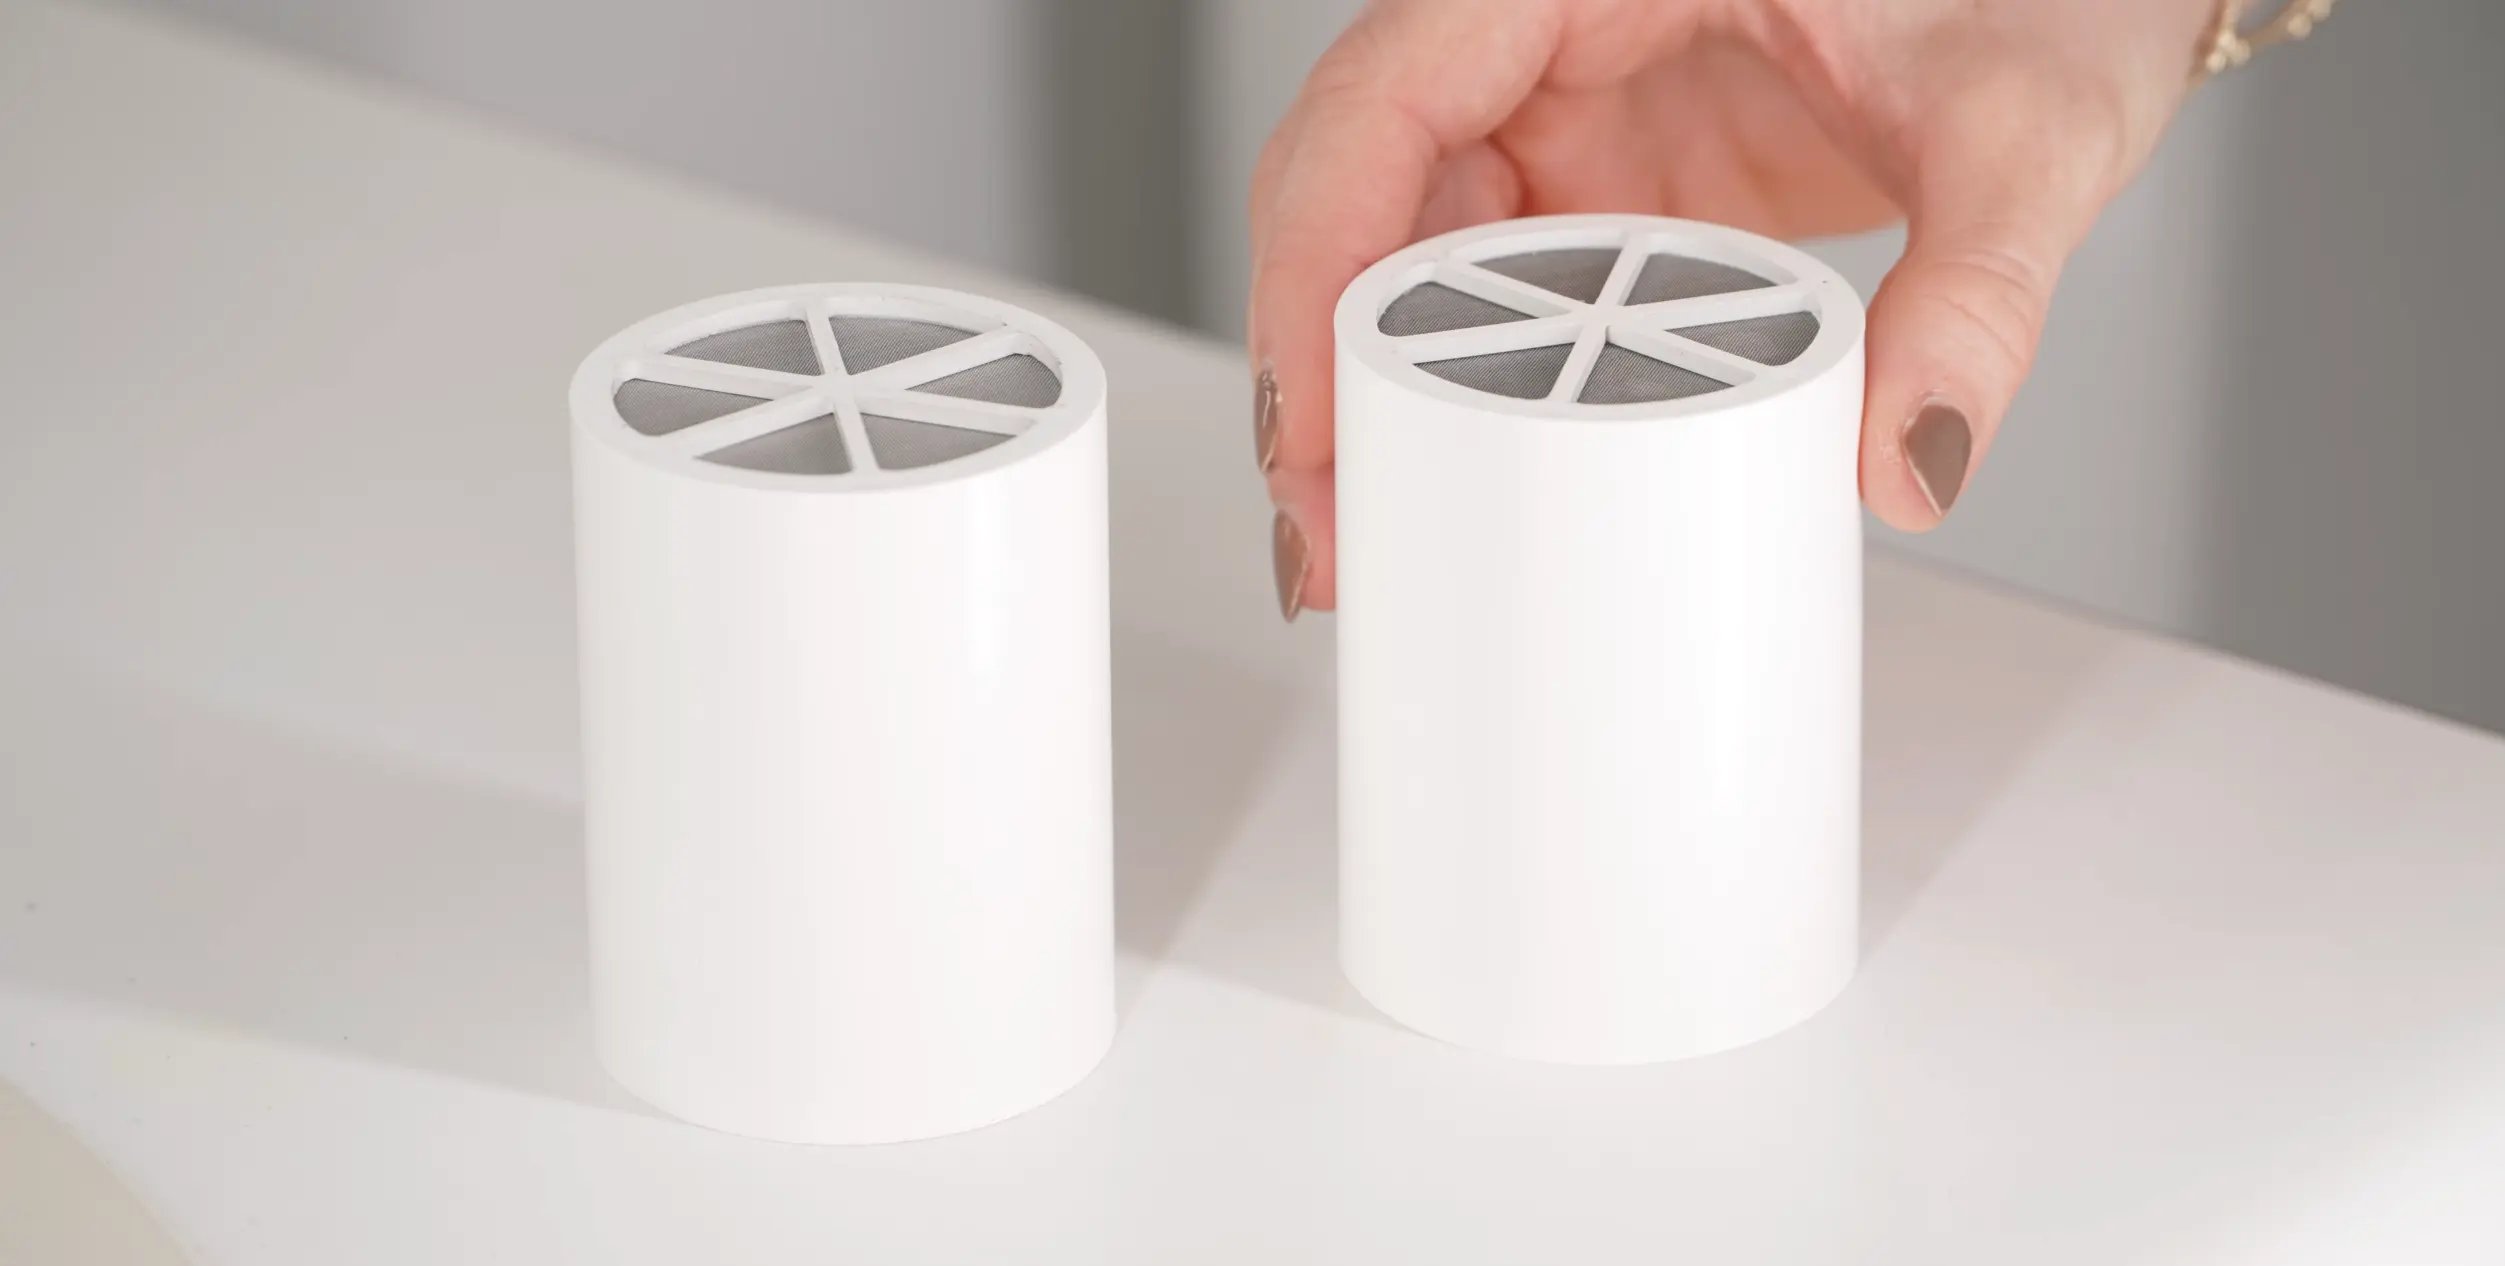
Compare Old and New Cartridges
0:20
Hold the old cartridge next to the new one. The difference in color is a clear visual indicator of how much work the filter has been doing. A heavily discolored cartridge confirms it was time for replacement and that the filter is performing as designed.
Insert the New Cartridge
0:24
Drop the new cartridge into the housing in the same orientation as the old one. It should sit flush and centered. Make sure it is fully seated, a cartridge that sits crooked can allow unfiltered water to bypass the media.
Check the O-Ring
0:29
Before reattaching the housing, inspect the O-ring that seals the joint between the front and back sections. Make sure it is clean, properly seated in its groove, and free of cracks or deformation. A damaged O-ring is the most common cause of leaks after cartridge replacement.
Tip: Keep a spare O-ring on hand. If yours shows any wear, replace it now rather than waiting for a leak.
Reattach the Housing
0:37
Thread the front housing back onto the rear section and turn clockwise until hand-tight. Do not over-tighten, the O-ring provides the seal, and excessive force can damage the threads or deform the ring.
Test for Leaks
0:48
Turn on the shower and check both connection points, where the filter meets the pipe and where the front housing joins the back. Watch for drips for 15 to 20 seconds. If you see any moisture, turn off the water, verify the O-ring position, and re-tighten by hand. Once dry, the replacement is complete.
Transcript
Read the video transcript
Transcript
Read the video transcript
Today, we'll show you how easy it is to replace your Crystal Quest shower filter cartridge. The entire process only takes about 2 minutes. First, we'll start by unscrewing the front of the filter housing by turning it counterclockwise. Take out the used cartridge and set it aside. Then, grab your new Crystal Quest cartridge and slide it into place.
Before putting everything back together, take a quick look at the O-rings on both sides of the housing. Make sure they're seated properly. This helps ensure a good seal and prevents leaks. Now, screw the front of the filter housing back on. Be sure to tighten it snugly, but not too tight.
Now you have a freshly installed filter cartridge ready to deliver cleaner water every time you shower. If you have any questions, we're here to help. Leave a comment below, give us a call, or visit us at crystalqu quest.com.