Fleck 5600SXT Water Softener Brine Tank Installation
The brine tank supplies the salt solution your water softener needs to regenerate. This guide covers assembling the compression fittings, connecting tubing to both the control valve and the brine tank float switch, and preparing the tank for its first regeneration cycle.
Why Proper Brine Tank Installation Matters
The brine connection is the lifeline of your water softener's regeneration cycle. If the tubing leaks, the fittings are loose, or the float switch isn't connected properly, your softener won't regenerate, and hard water will pass through unchecked.
Vtrol control head Control Head
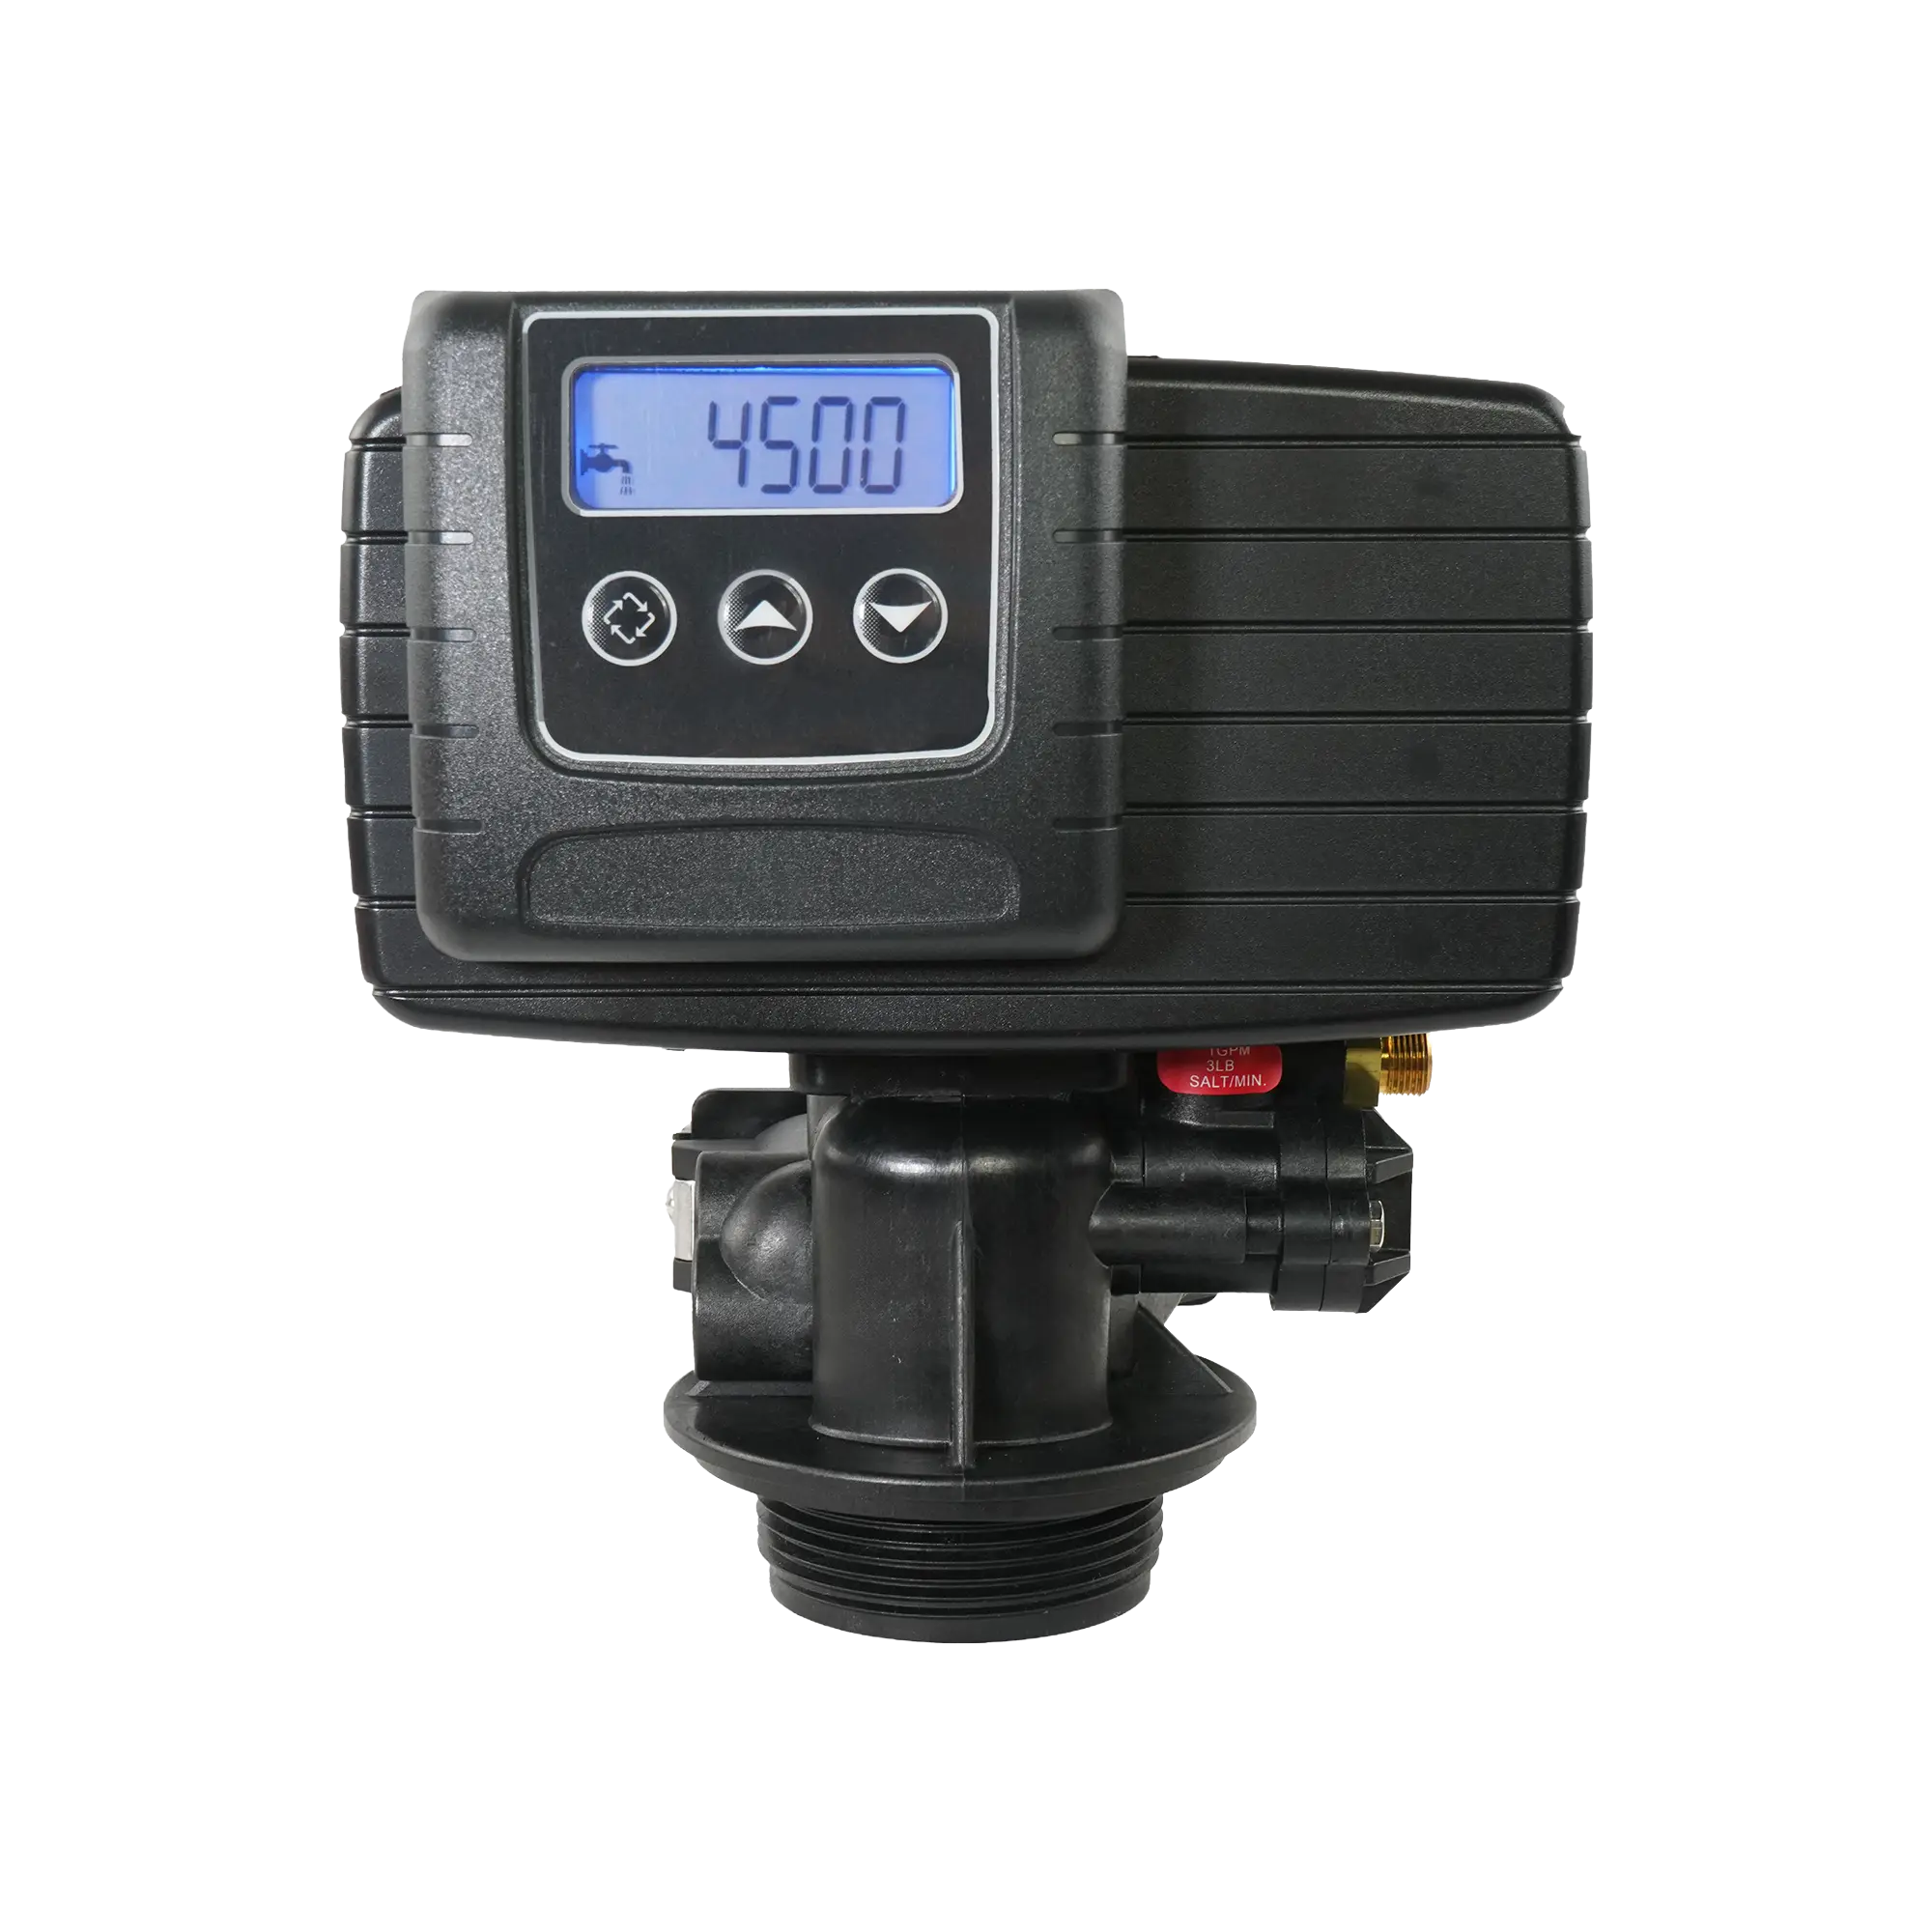
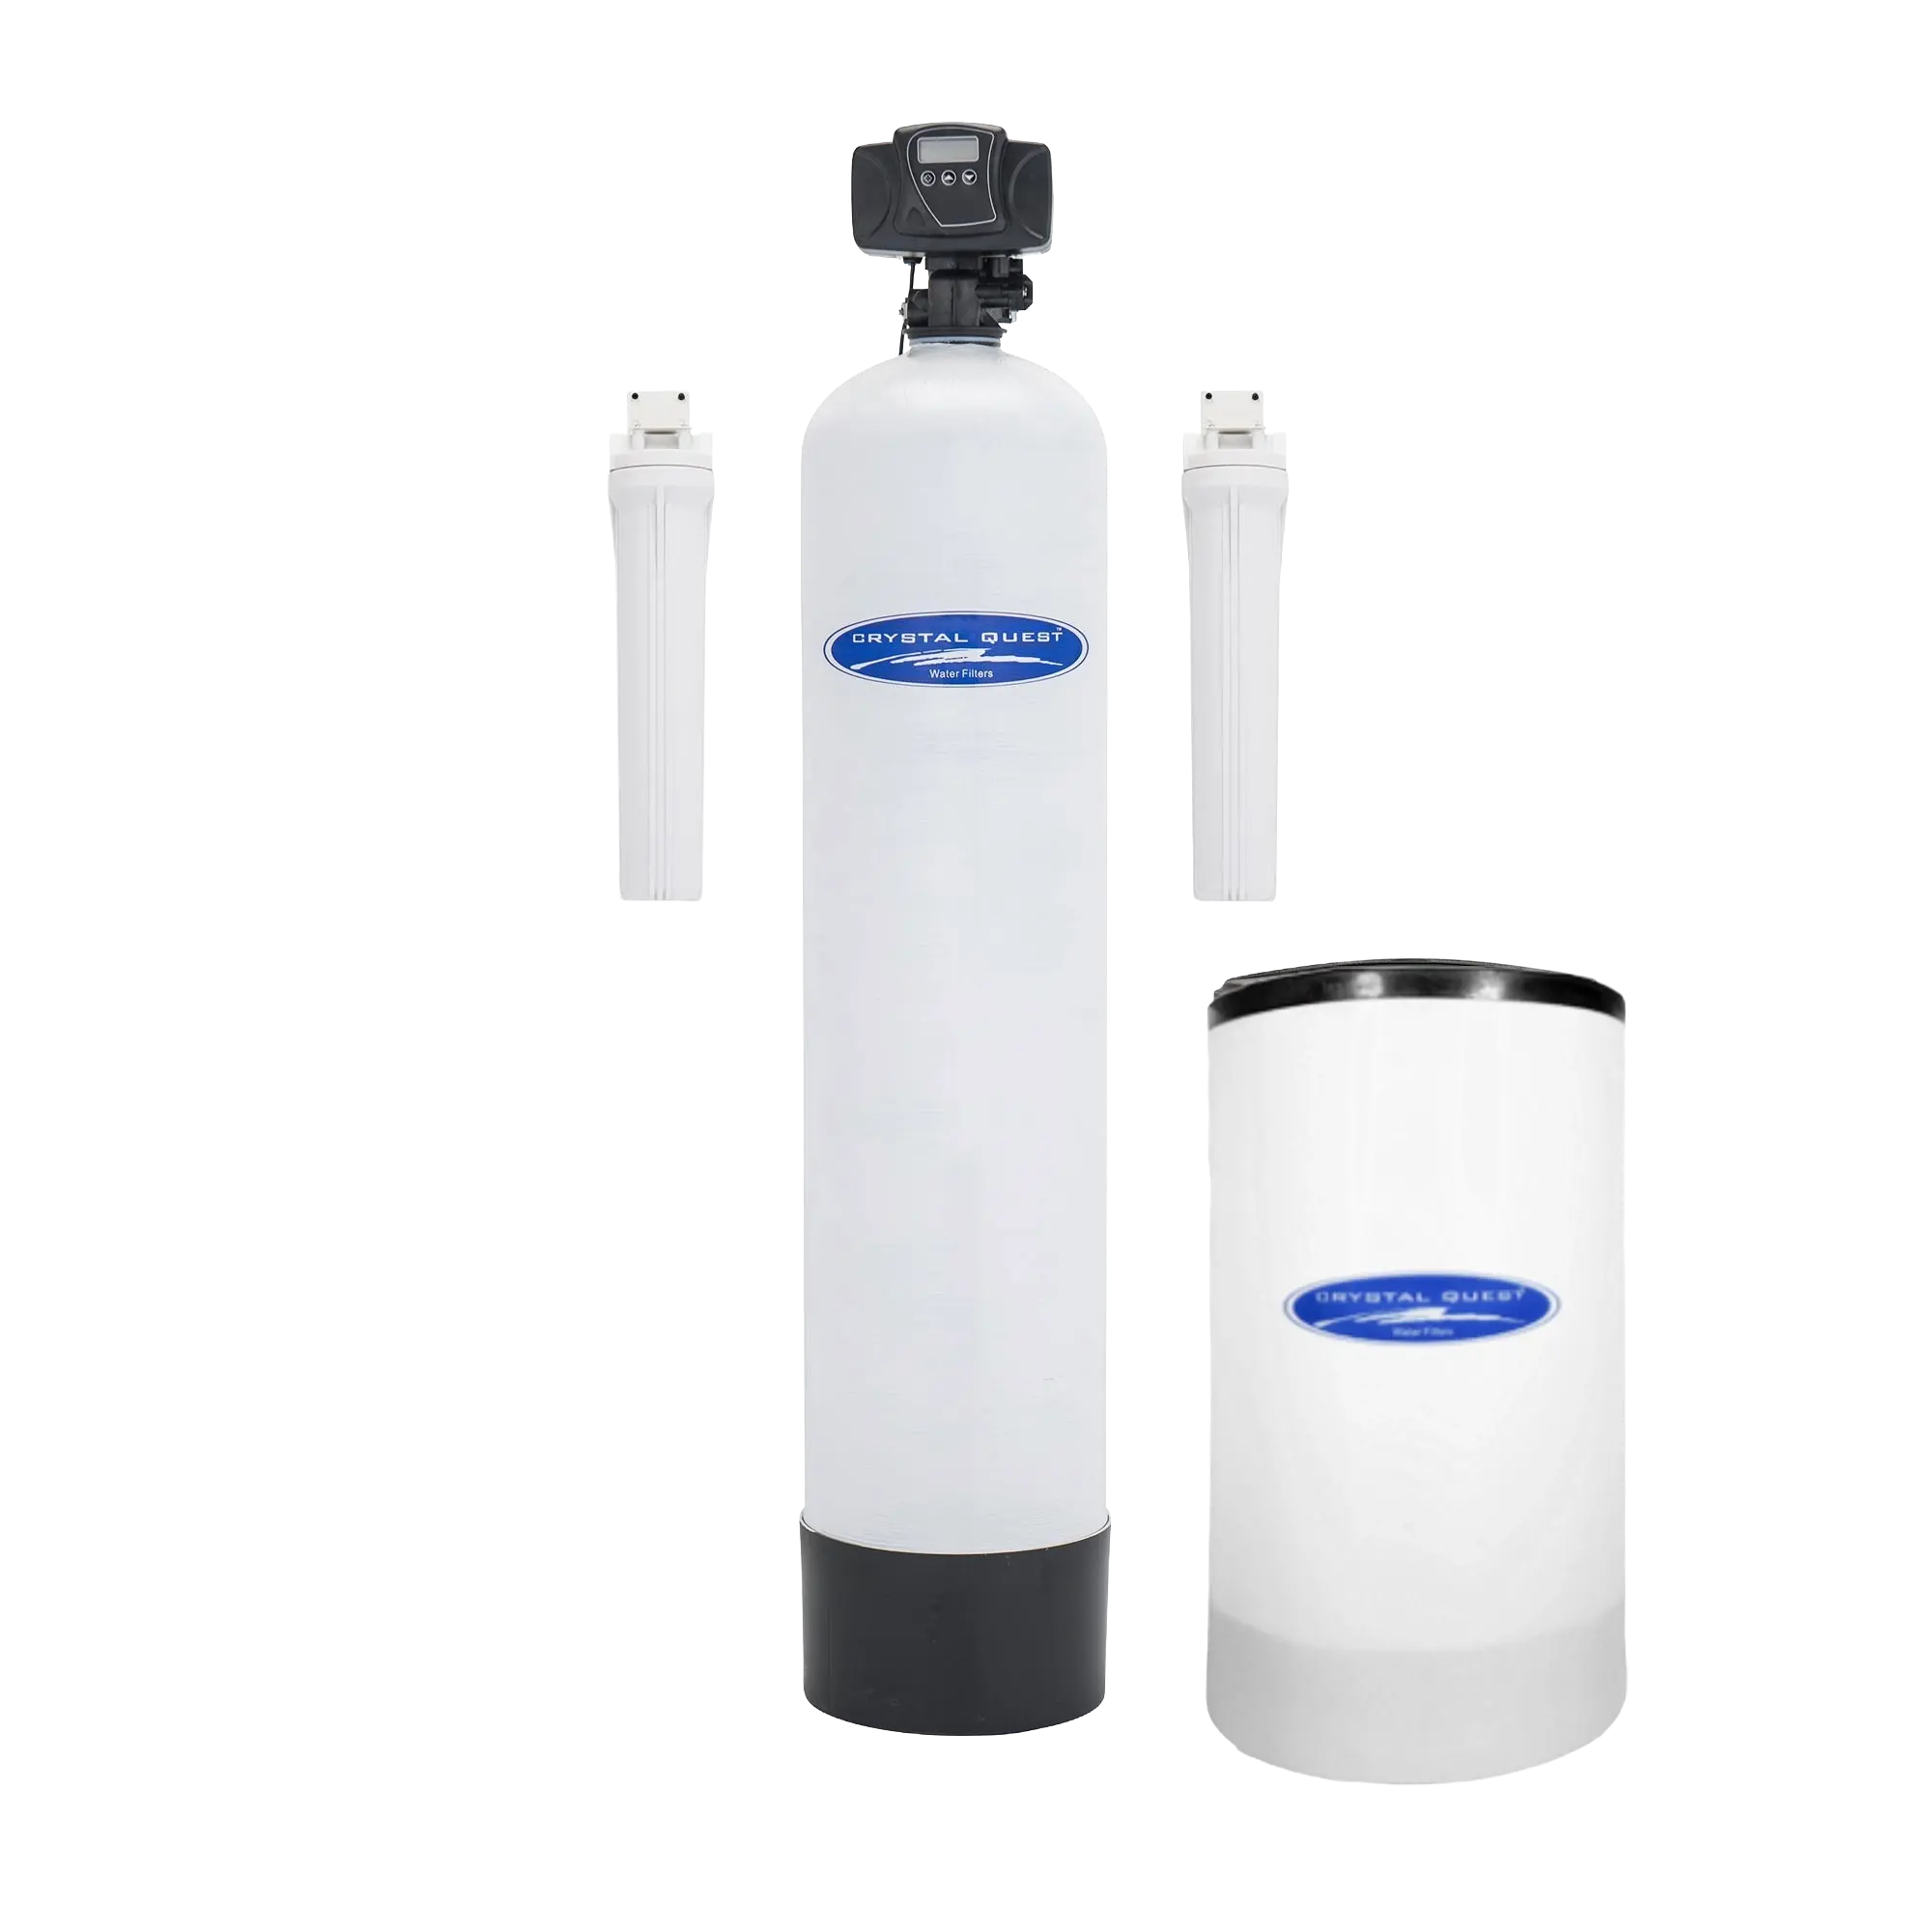
The Vtrol control head by Crystal Quest is a digital control valve for residential water softeners and whole house filtration systems. The Vtrol control head is a Fleck 5600. It manages automatic regeneration cycles based on time or flow metering, and connects to a brine tank for softener applications.
Step-by-Step
Complete Walkthrough
Components Overview
0:39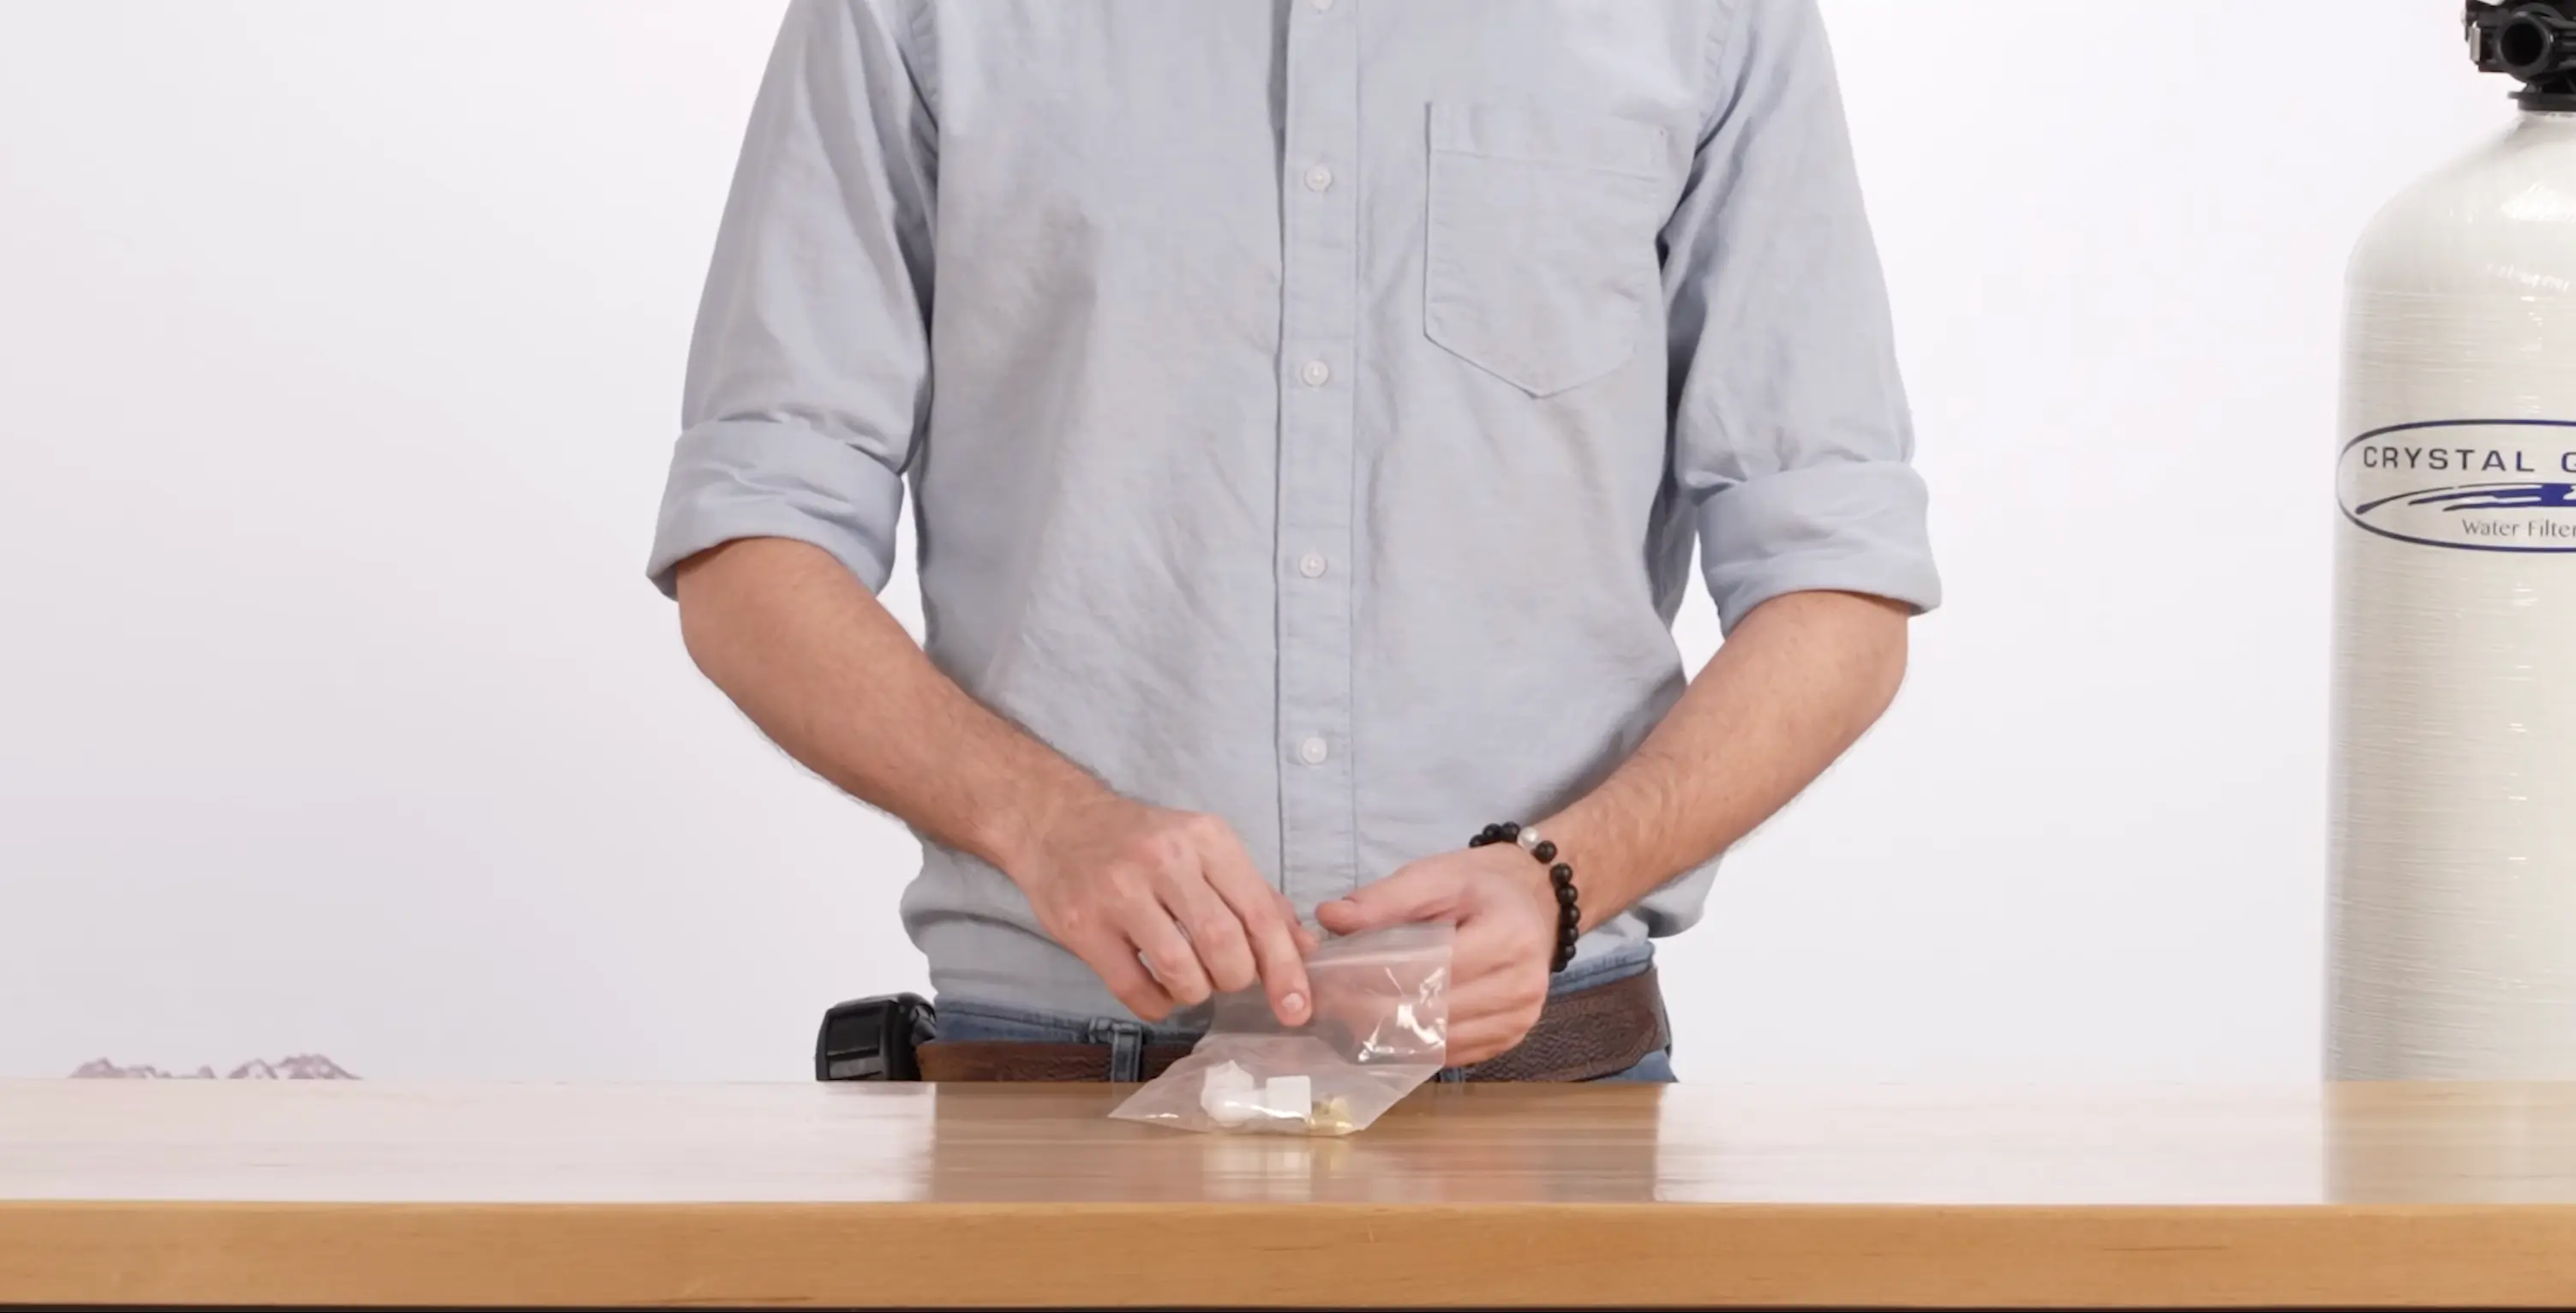
Open the hardware bag included with your system. Inside you'll find a compression nut, a ferrule, a tubing spacer, a screen, and a spare compression elbow. You'll also need the brine tubing from inside your brine tank. The only tool required is a good pair of pliers.
Compression Nut, Ferrule, and Tubing Spacer
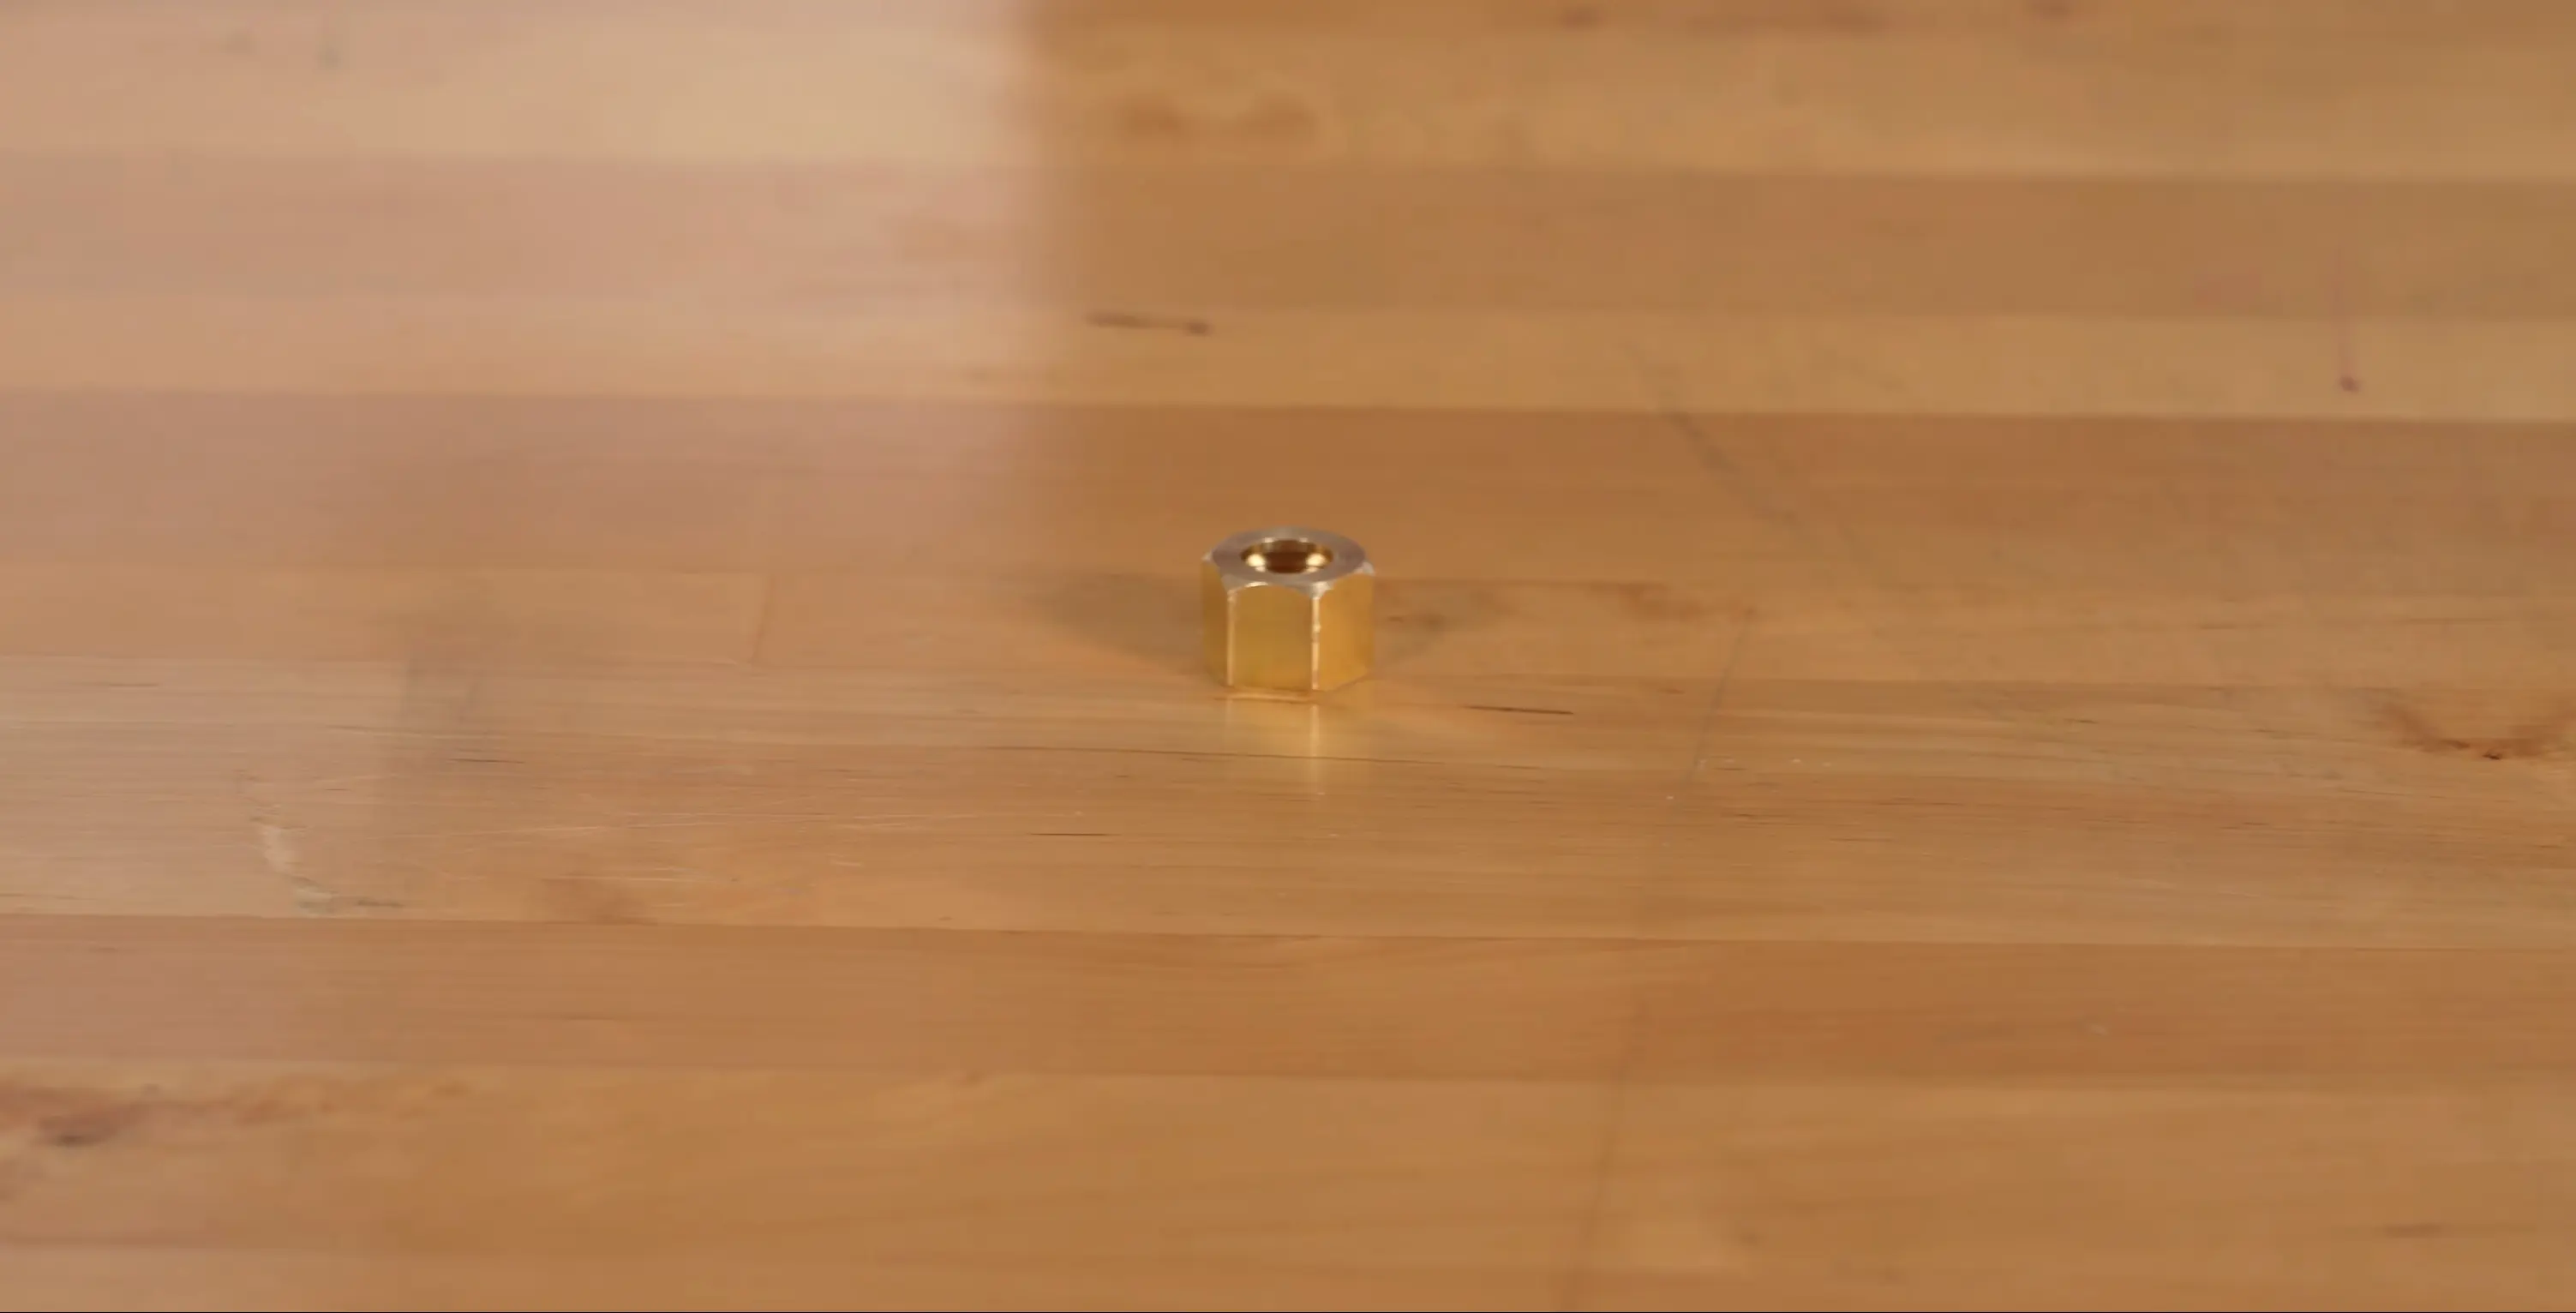
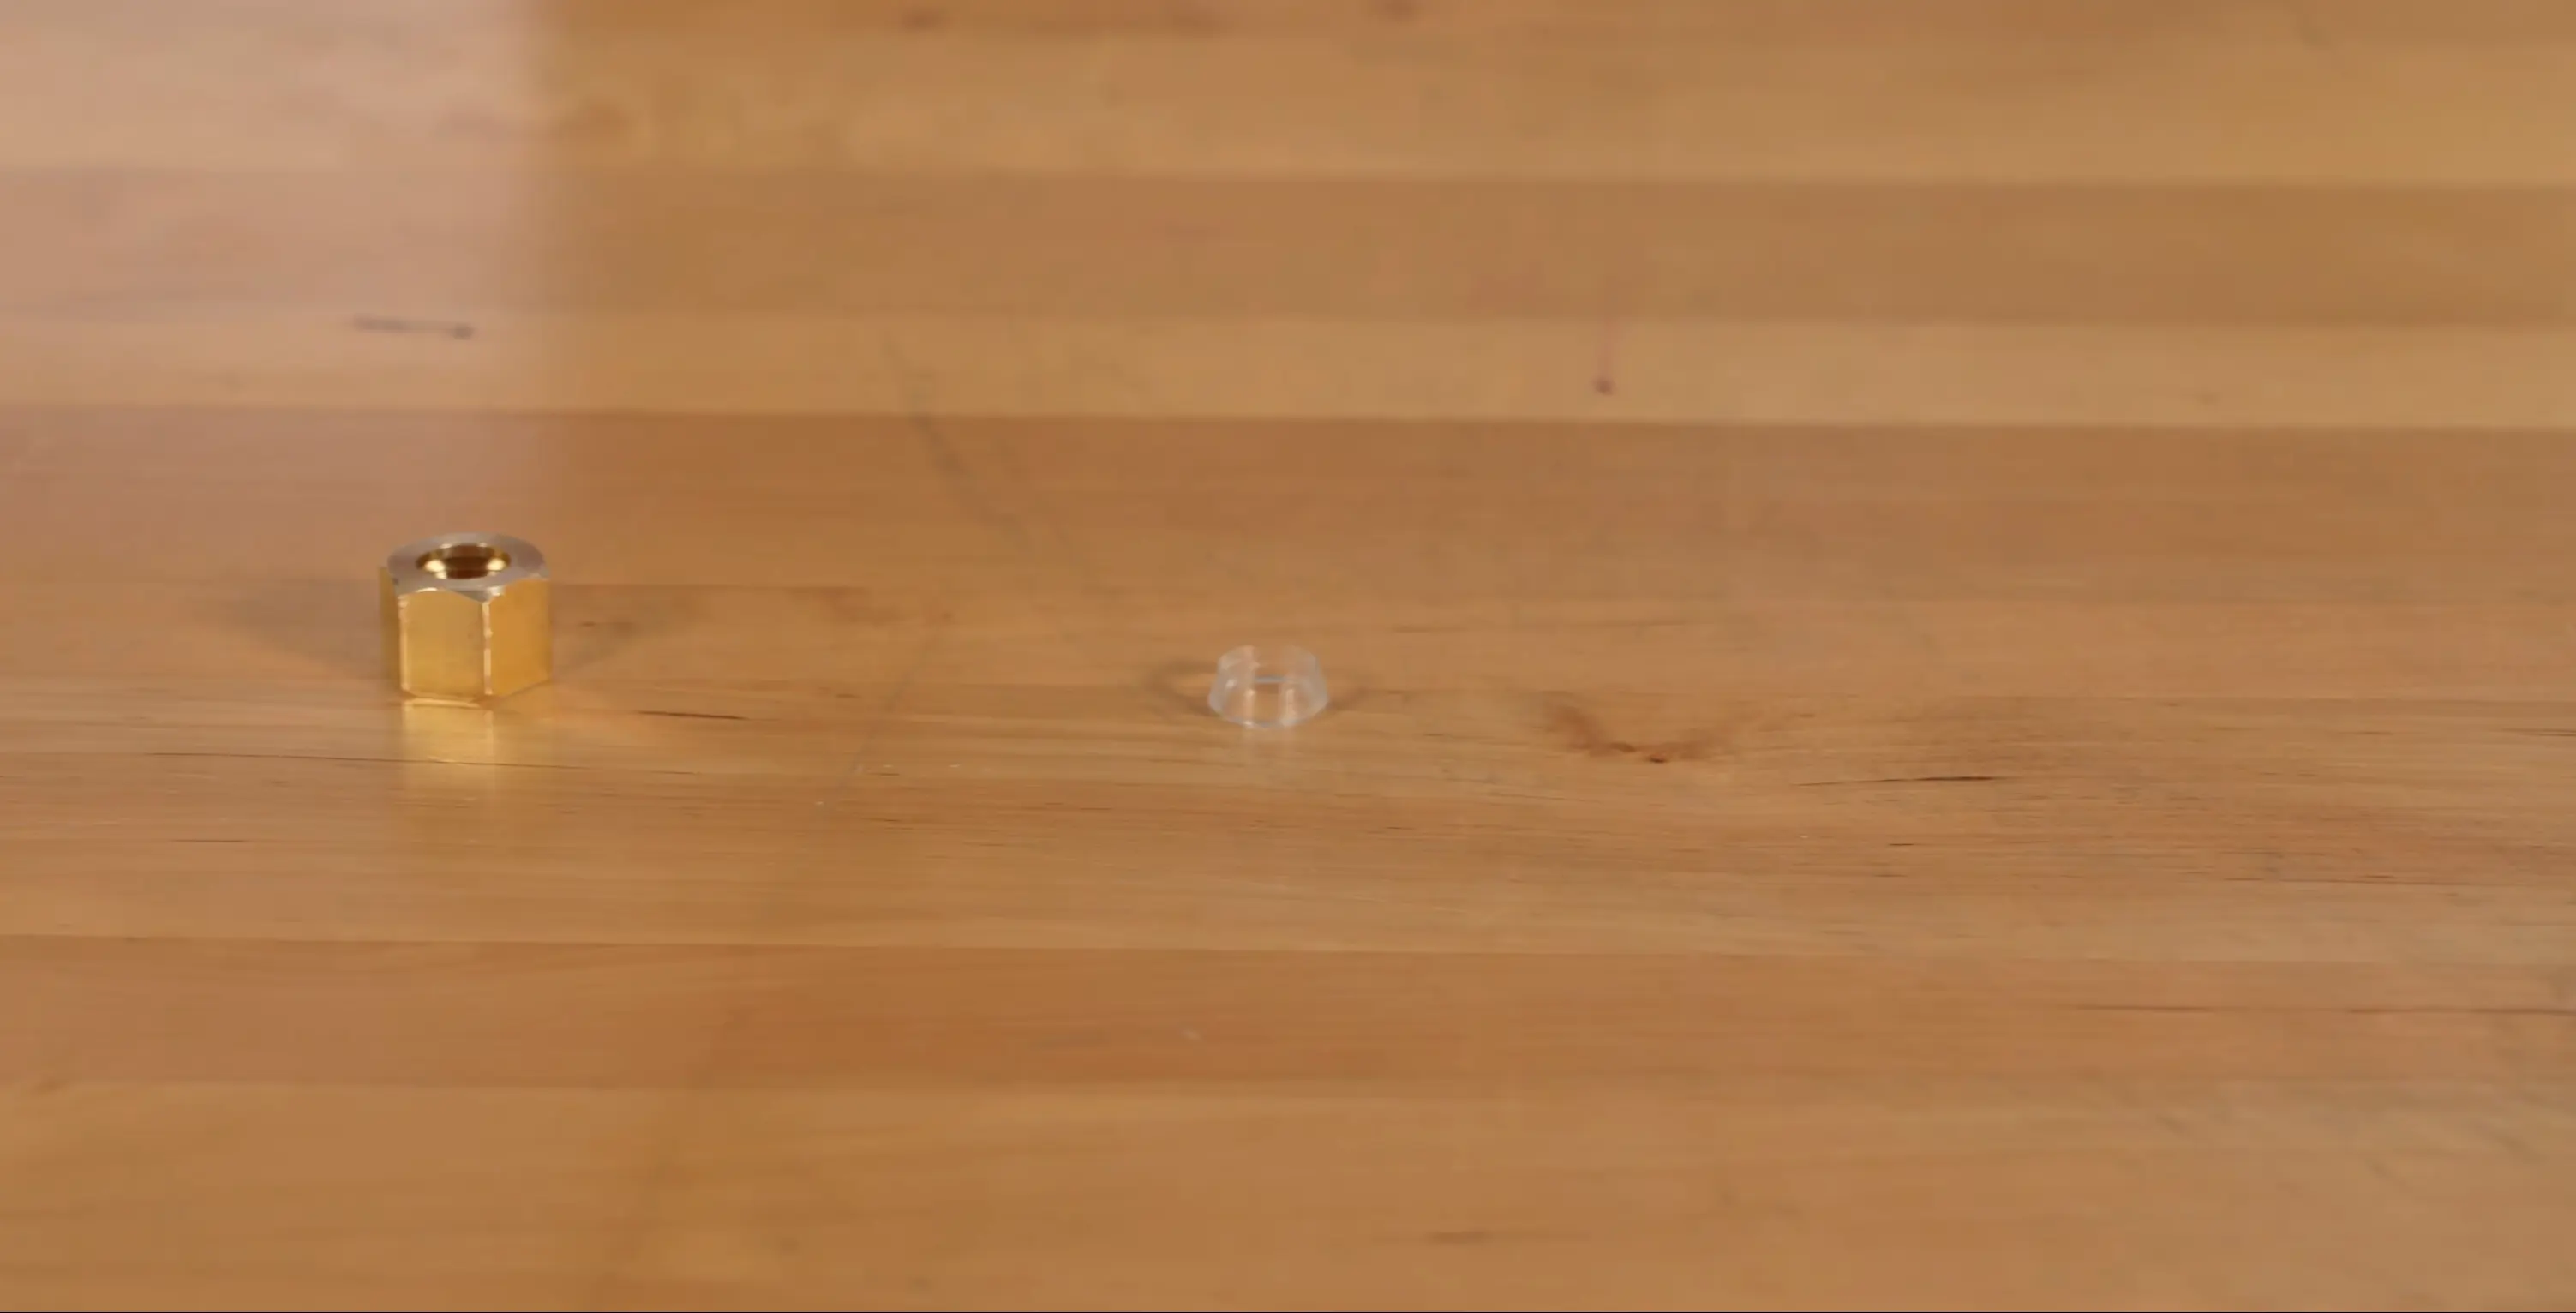
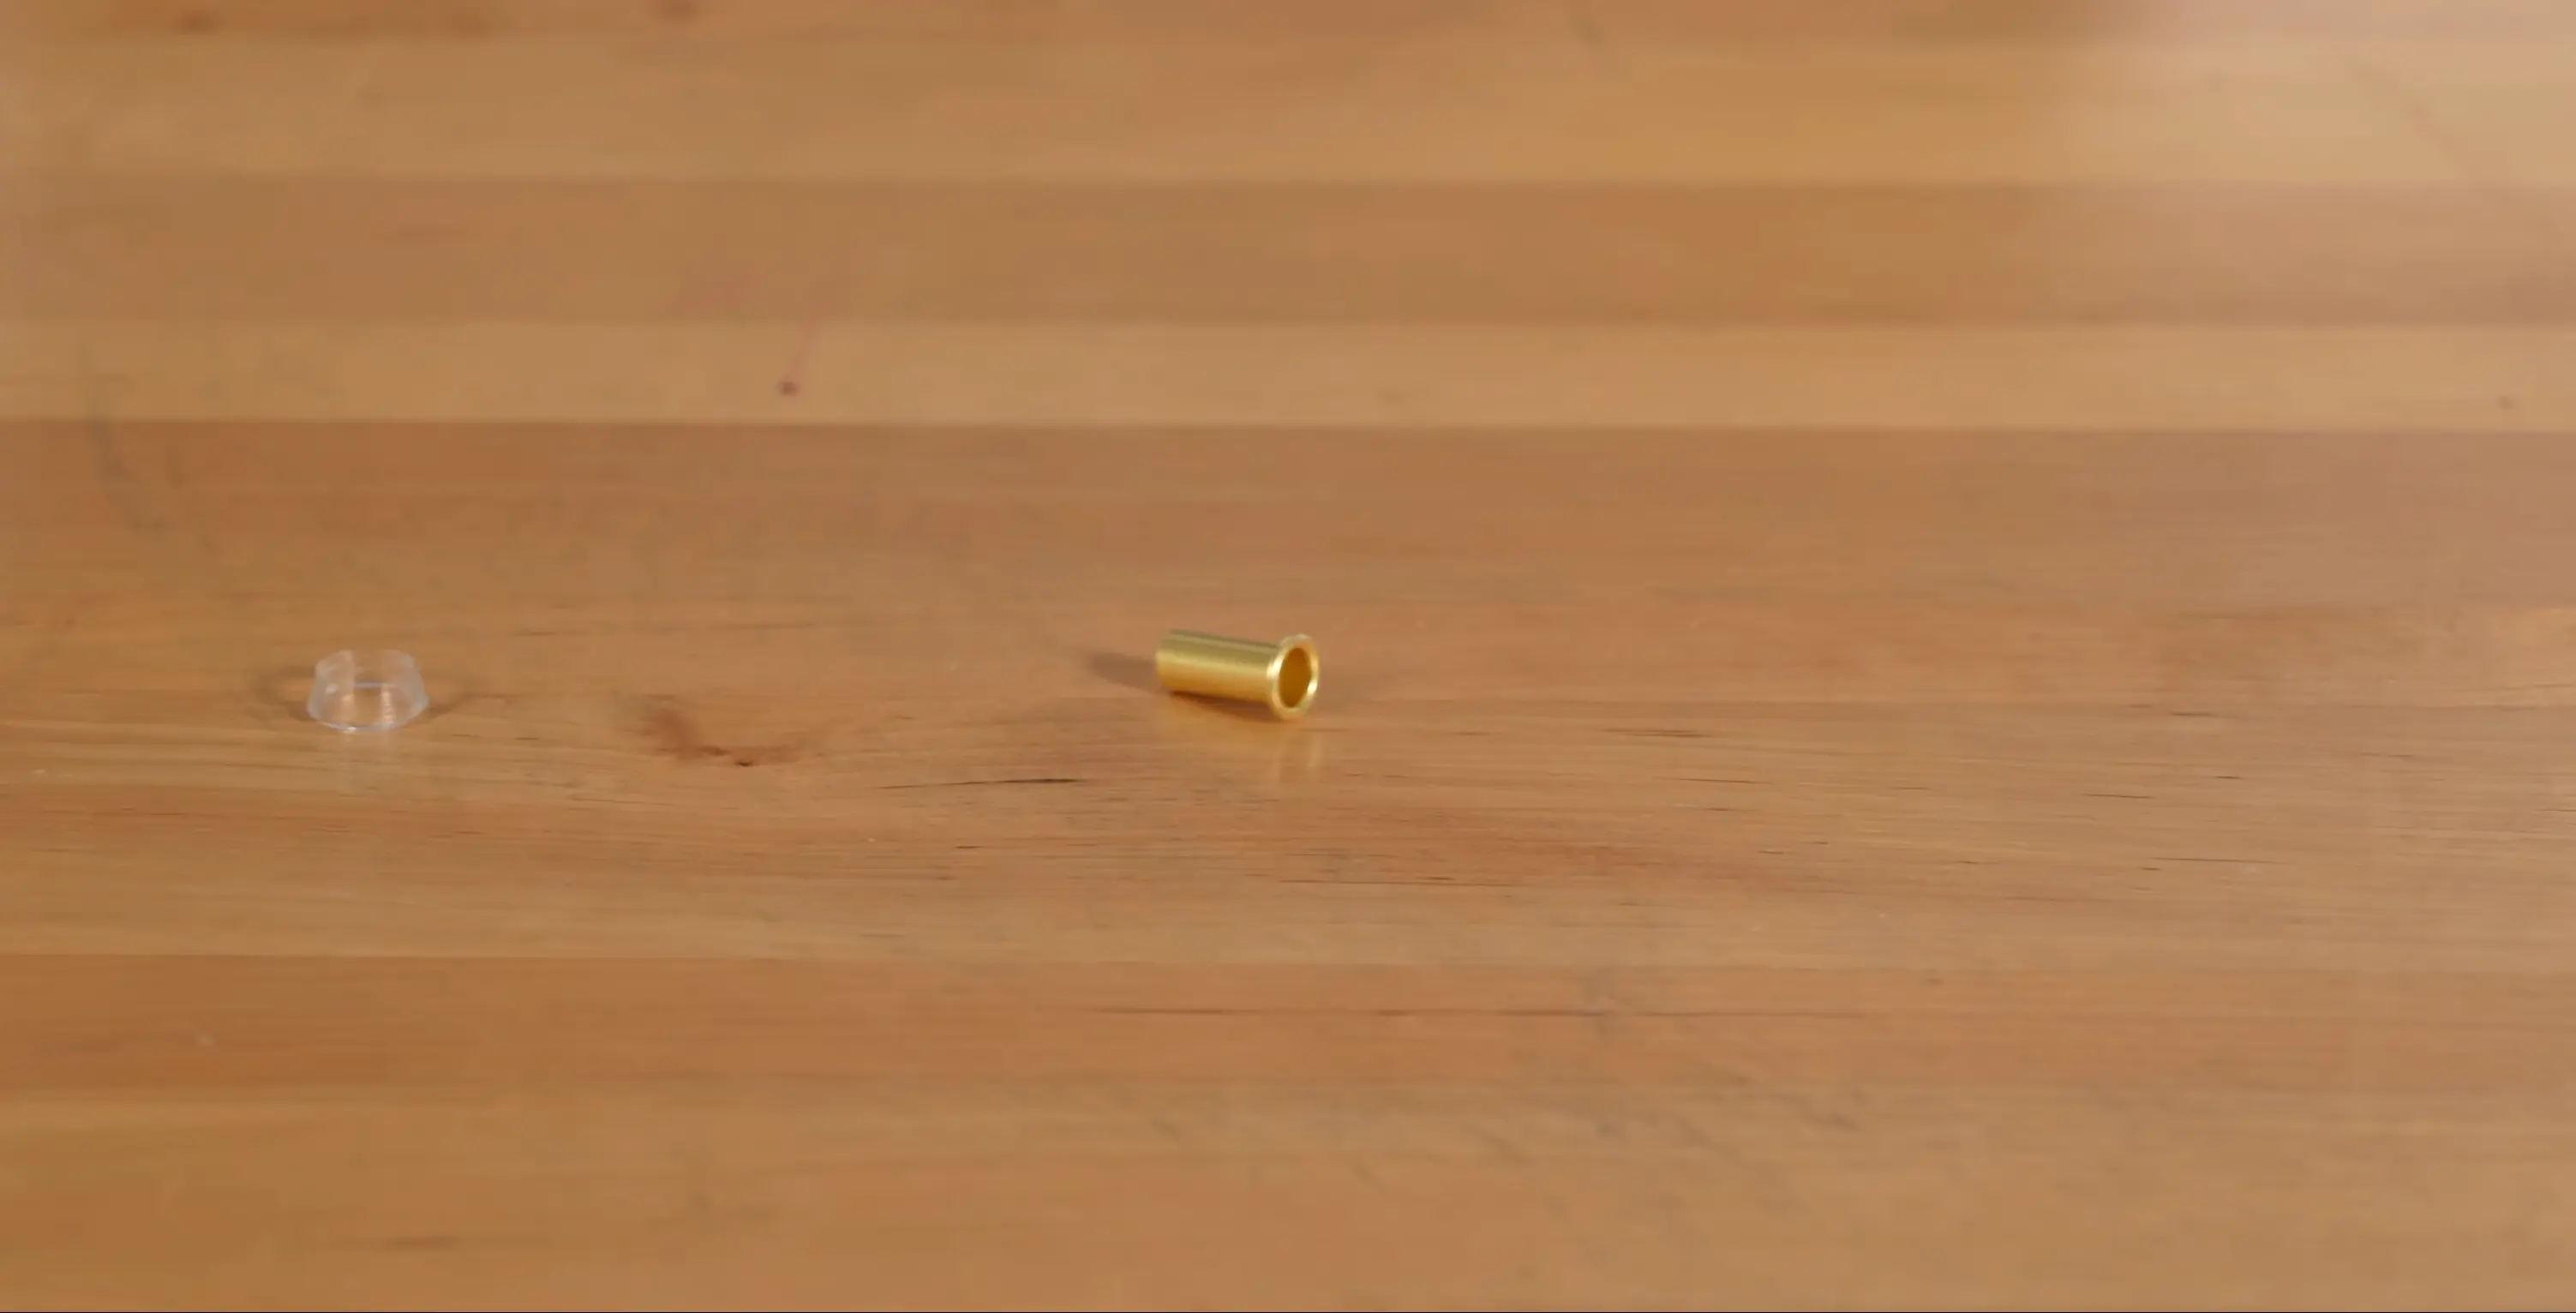
The brass compression nut threads onto the injection port to hold the tubing in place. The clear plastic ferrule sits behind it and creates a watertight seal when compressed. The brass tubing spacer inserts inside the tubing to reinforce it so it doesn't collapse under compression.
Mesh Screen and Compression Elbow
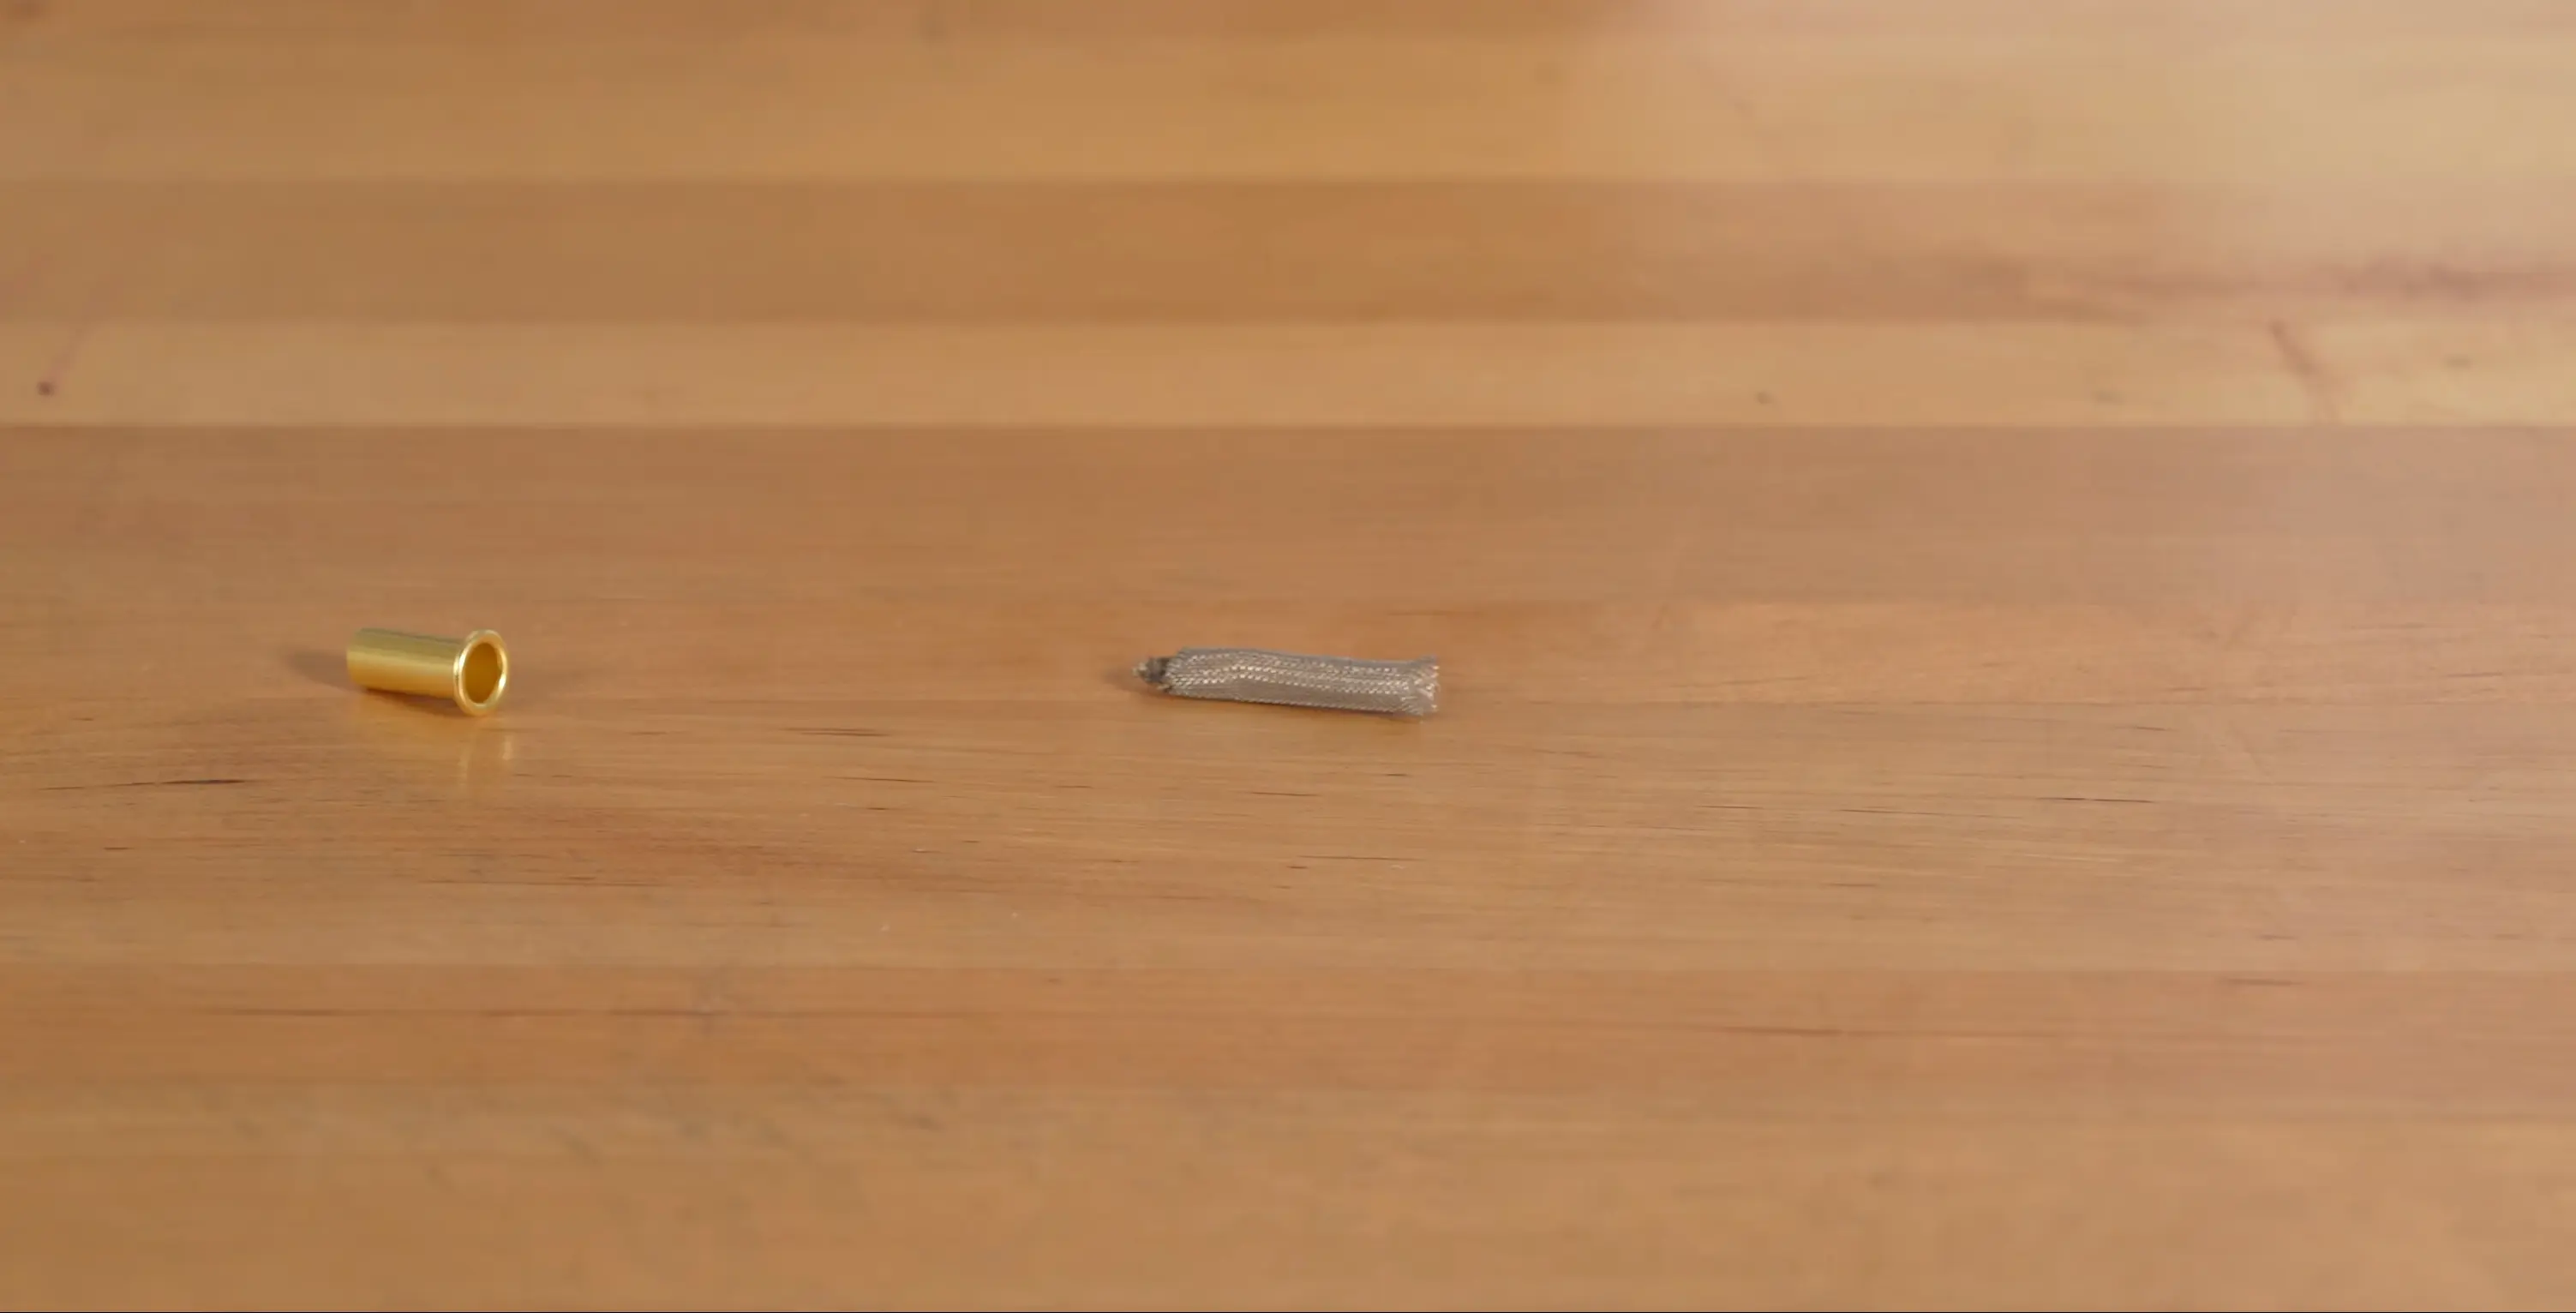
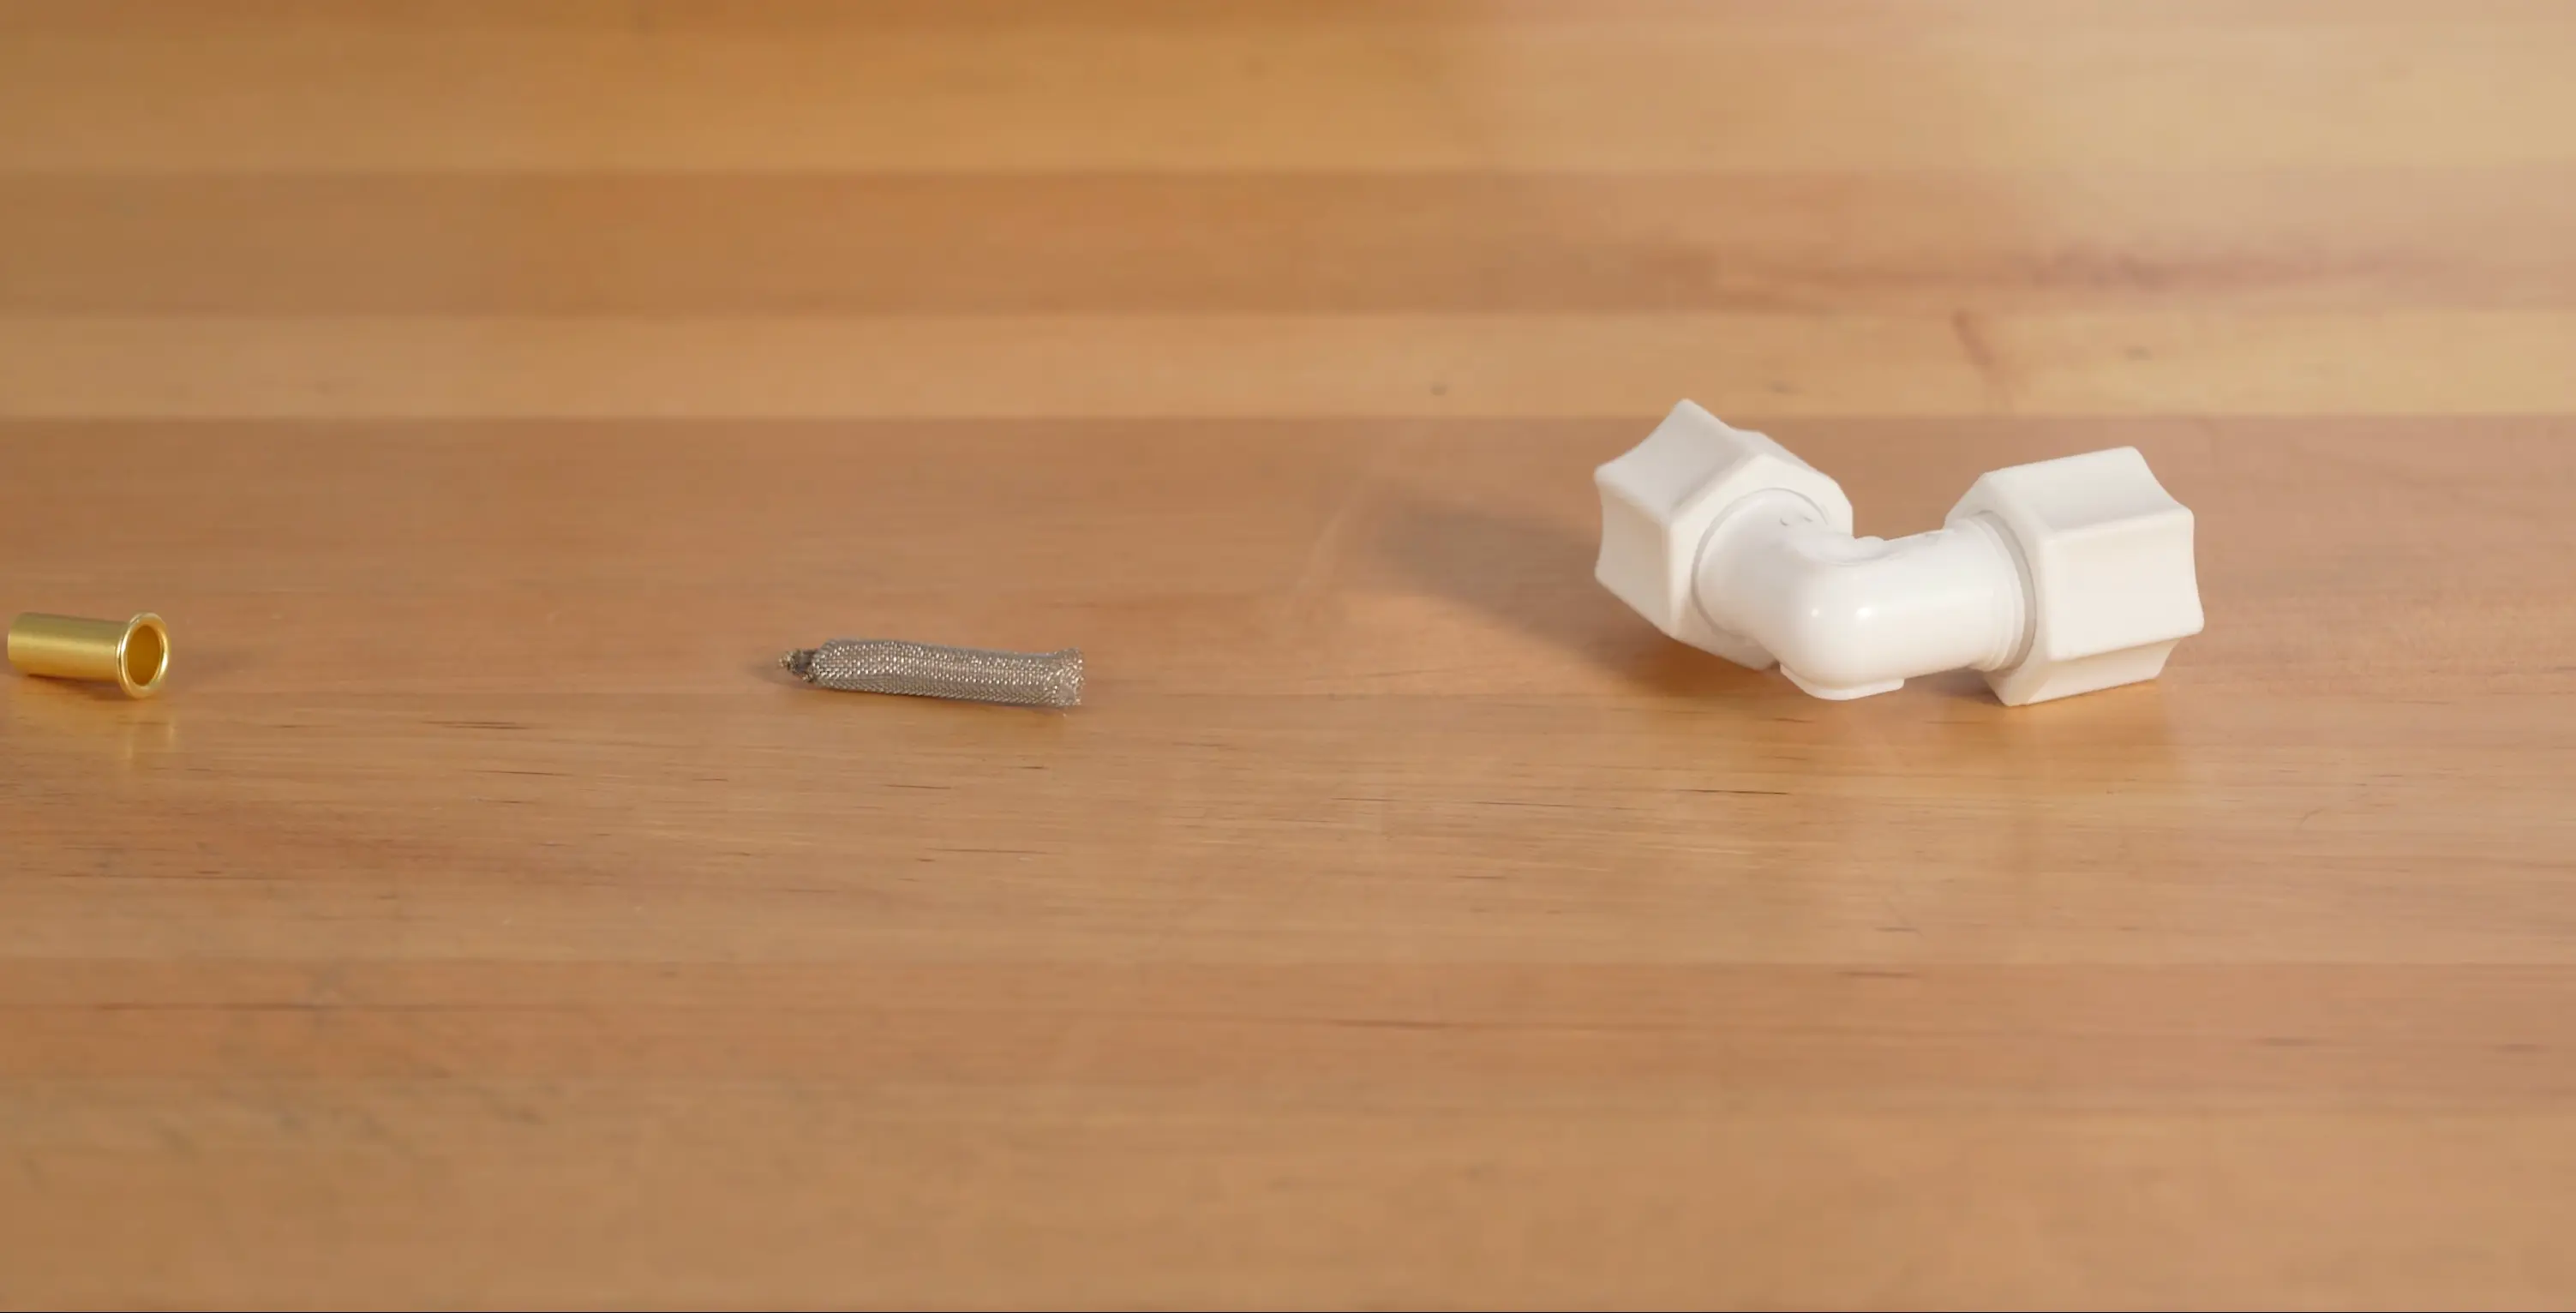
The mesh screen sits inside the tubing spacer and acts as a debris filter, it prevents sediment or mineral buildup from reaching the injection port. The white compression elbow is a spare that connects to the float switch inside the brine tank. Keep it handy in case the original needs replacement.
Remove the Injection Port Cap
1:25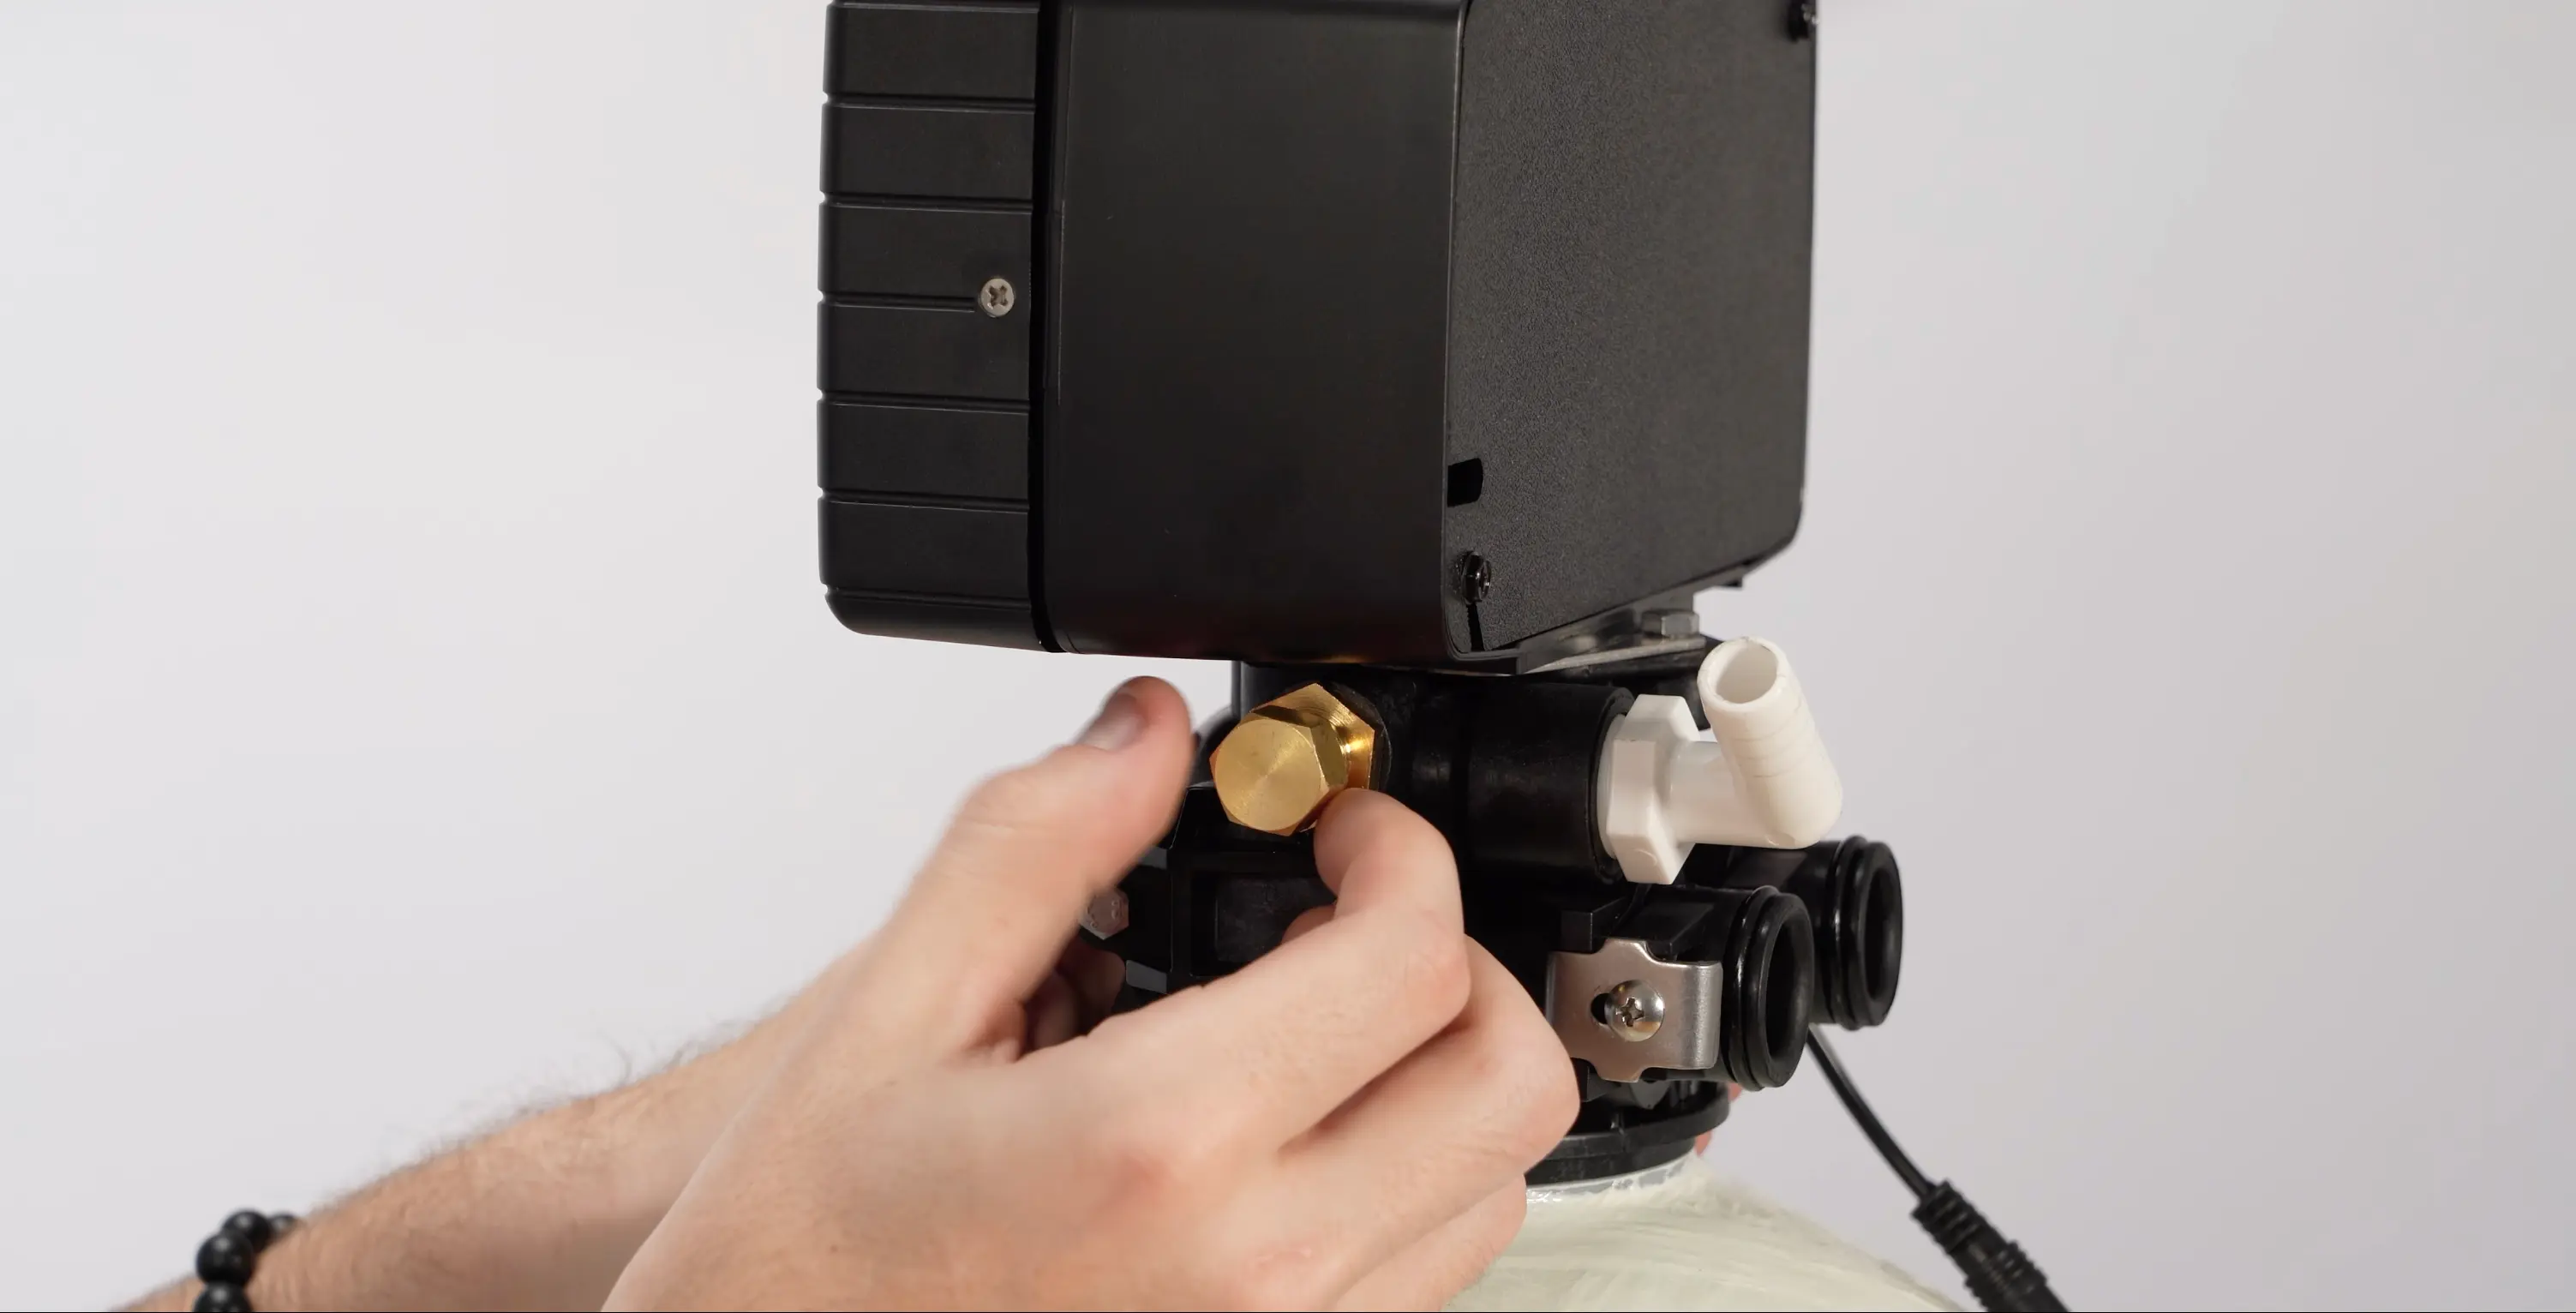
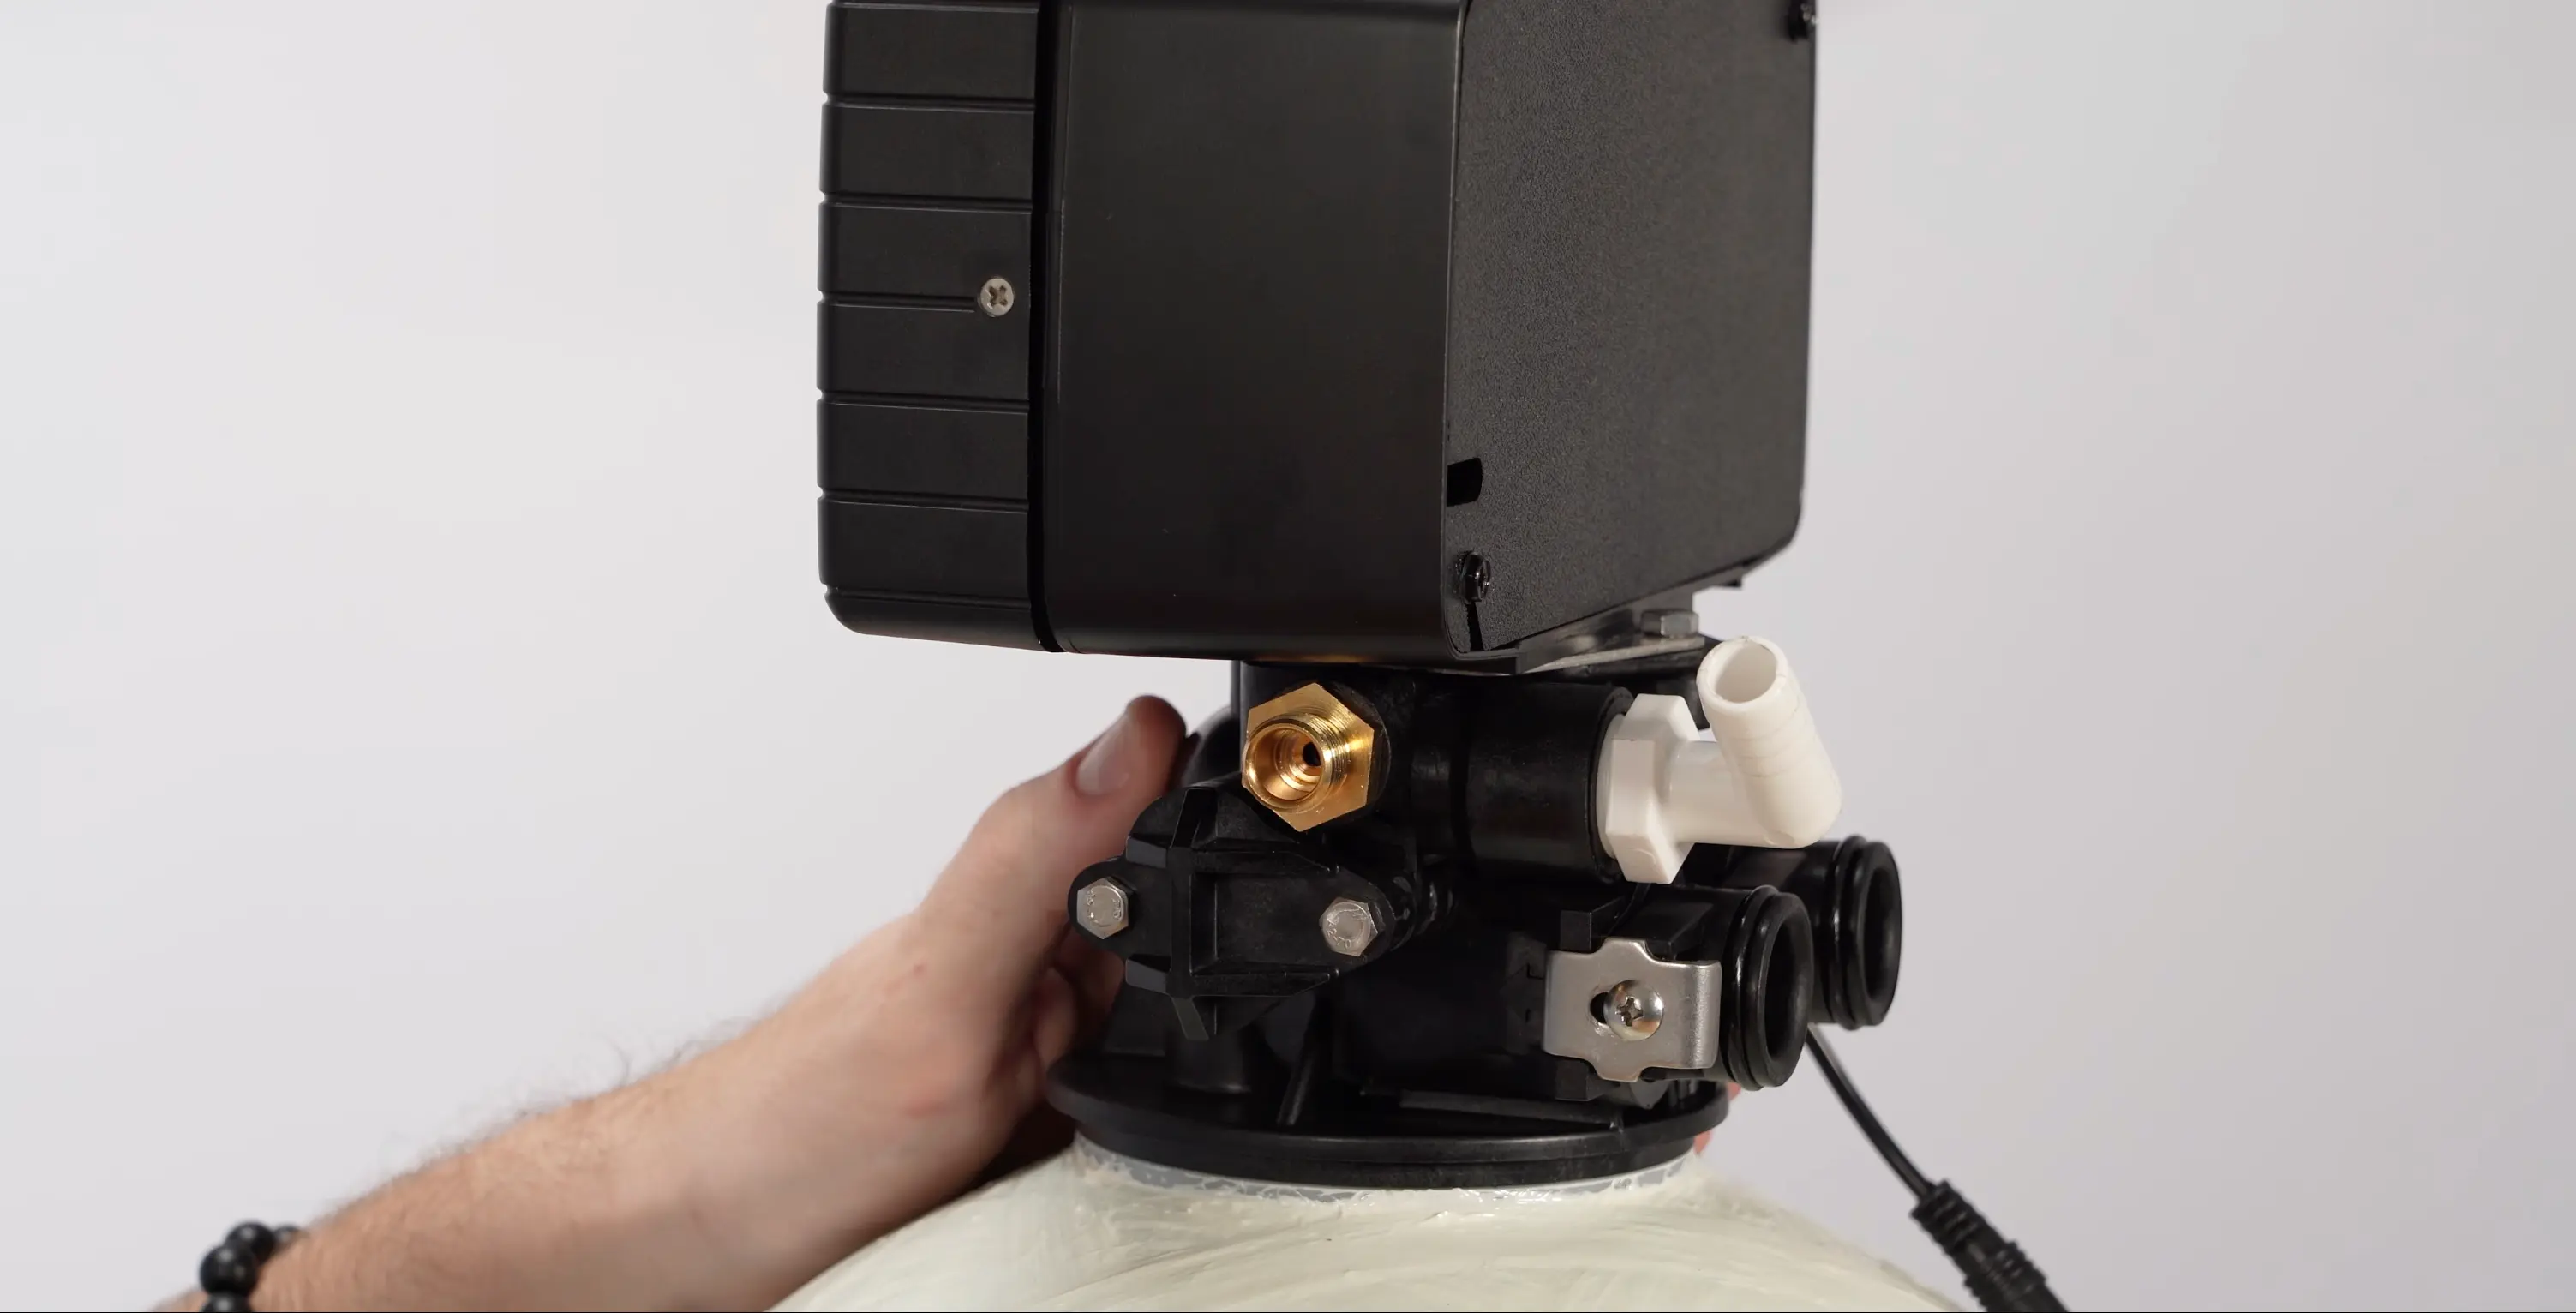
Locate the injection port on the back of the control head and remove the protective cap. Set it aside, you won't need it again once the brine tubing is connected. The port has internal threads that accept the compression nut.
Assemble the Compression Fitting
1:49Thread the compression nut onto the tubing first. Then slide the ferrule onto the tubing with the thicker end facing the nut. Push the tubing spacer inside the end of the tubing, and finally insert the screen into the spacer. The screen prevents debris from entering the injection port during operation.
Thread the Nut and Ferrule
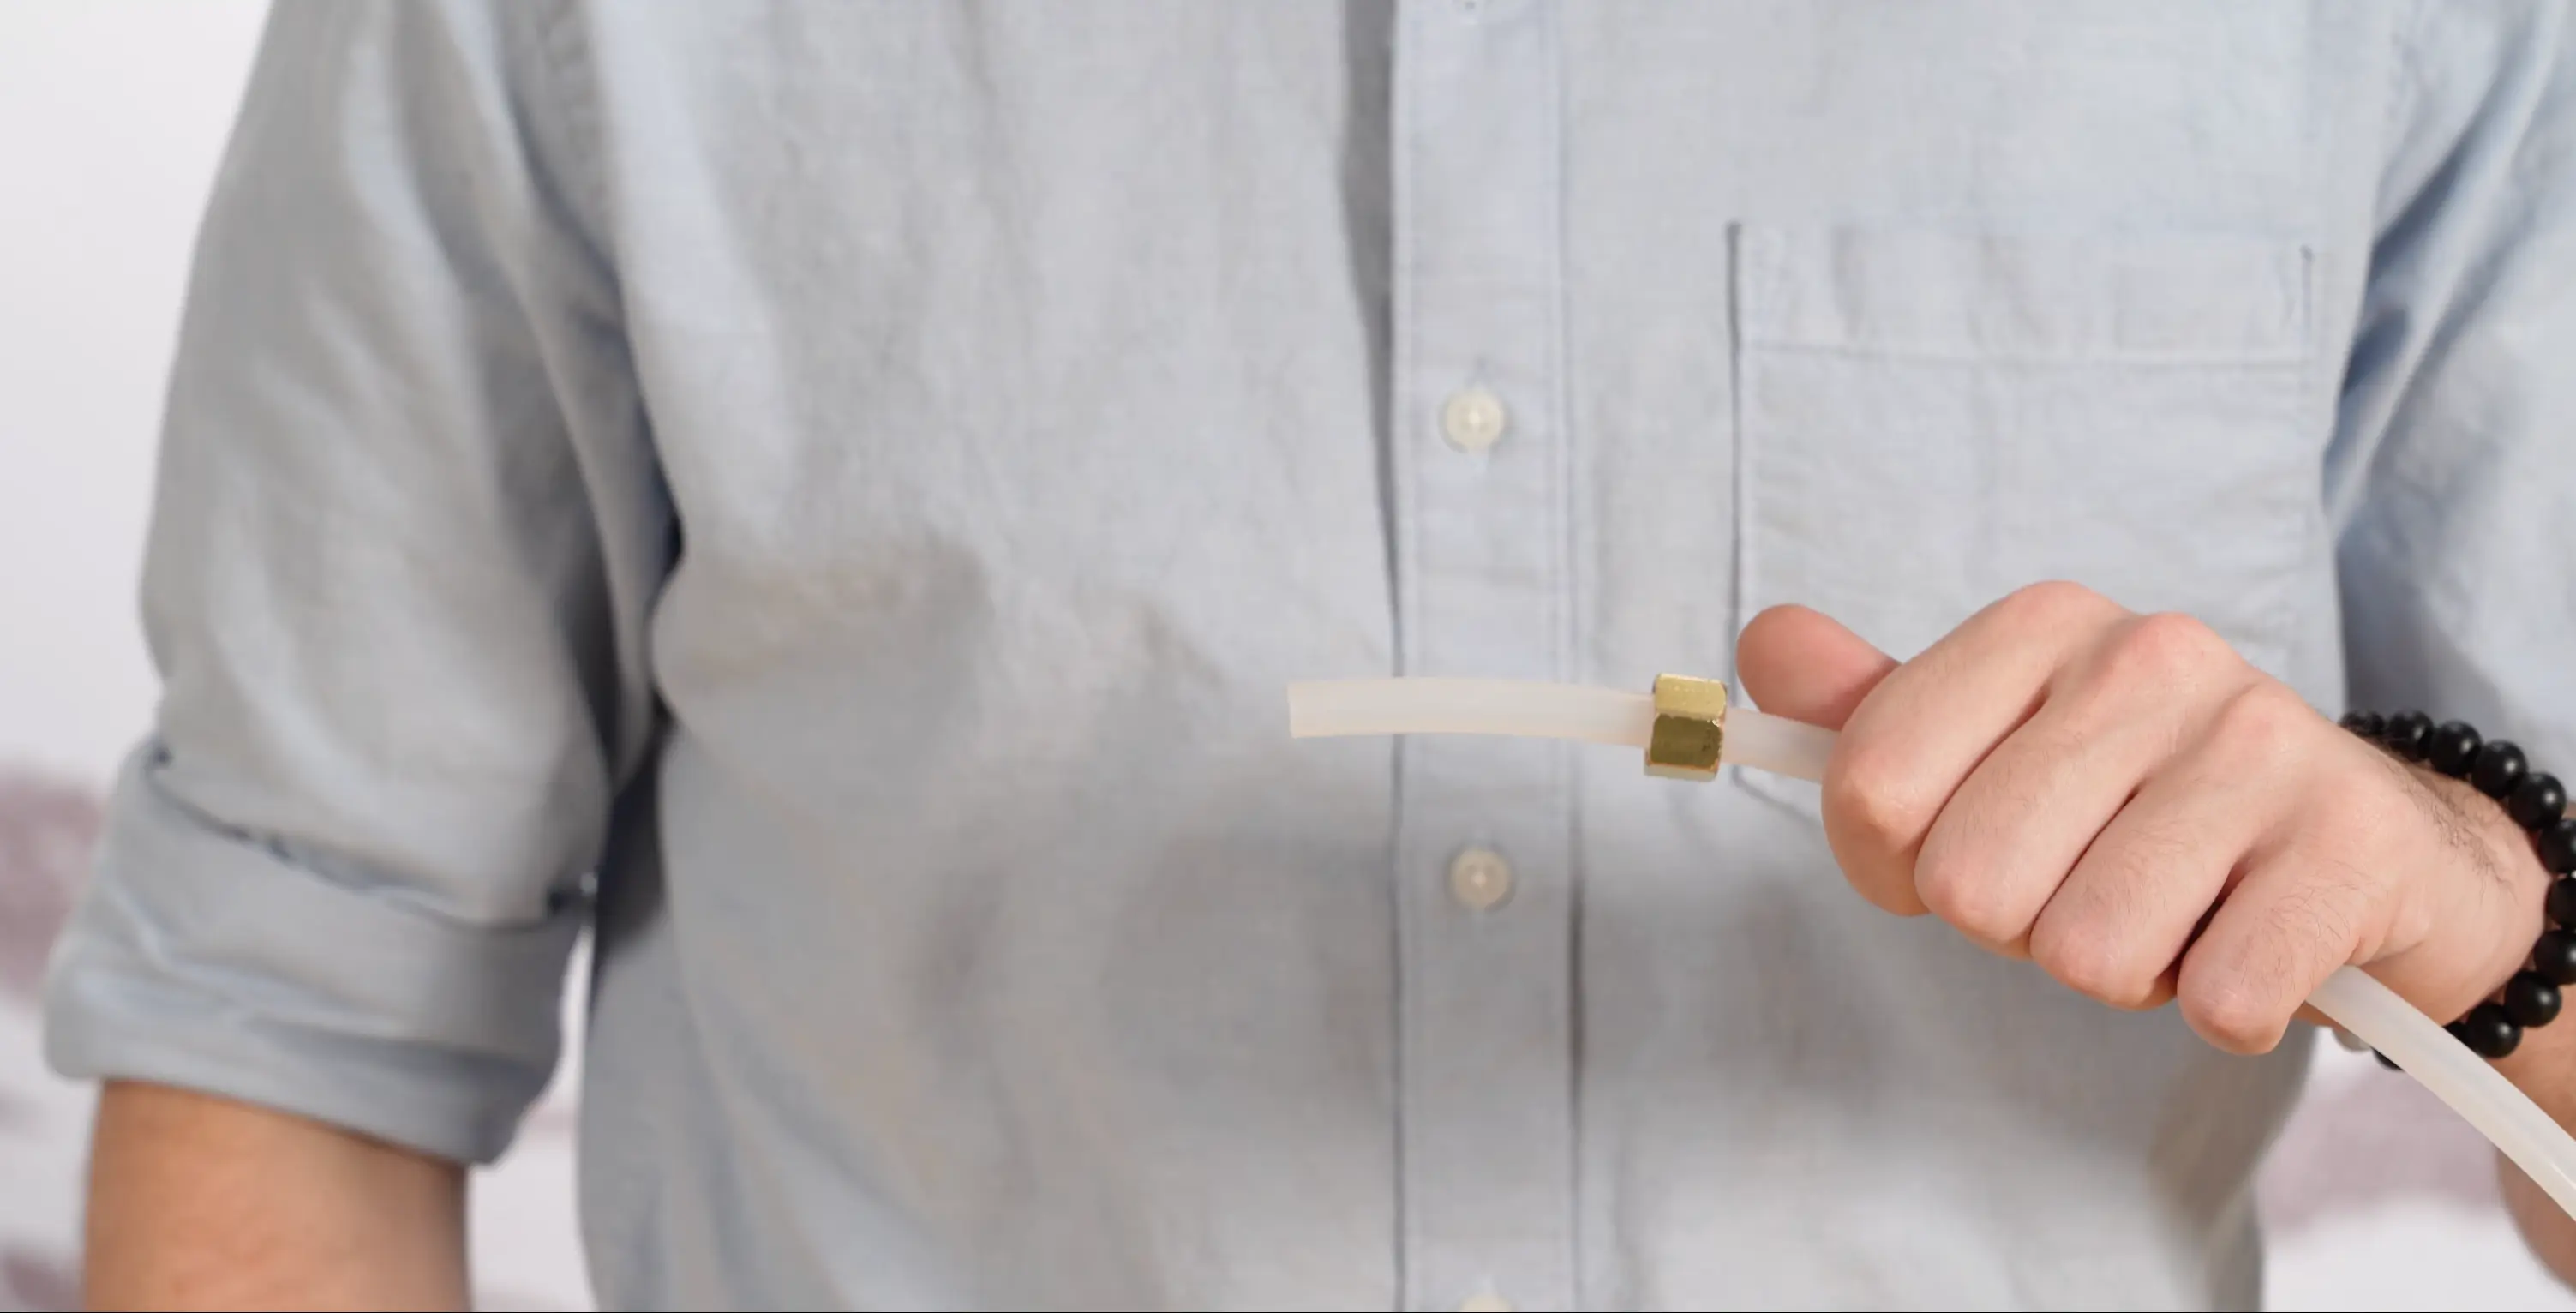
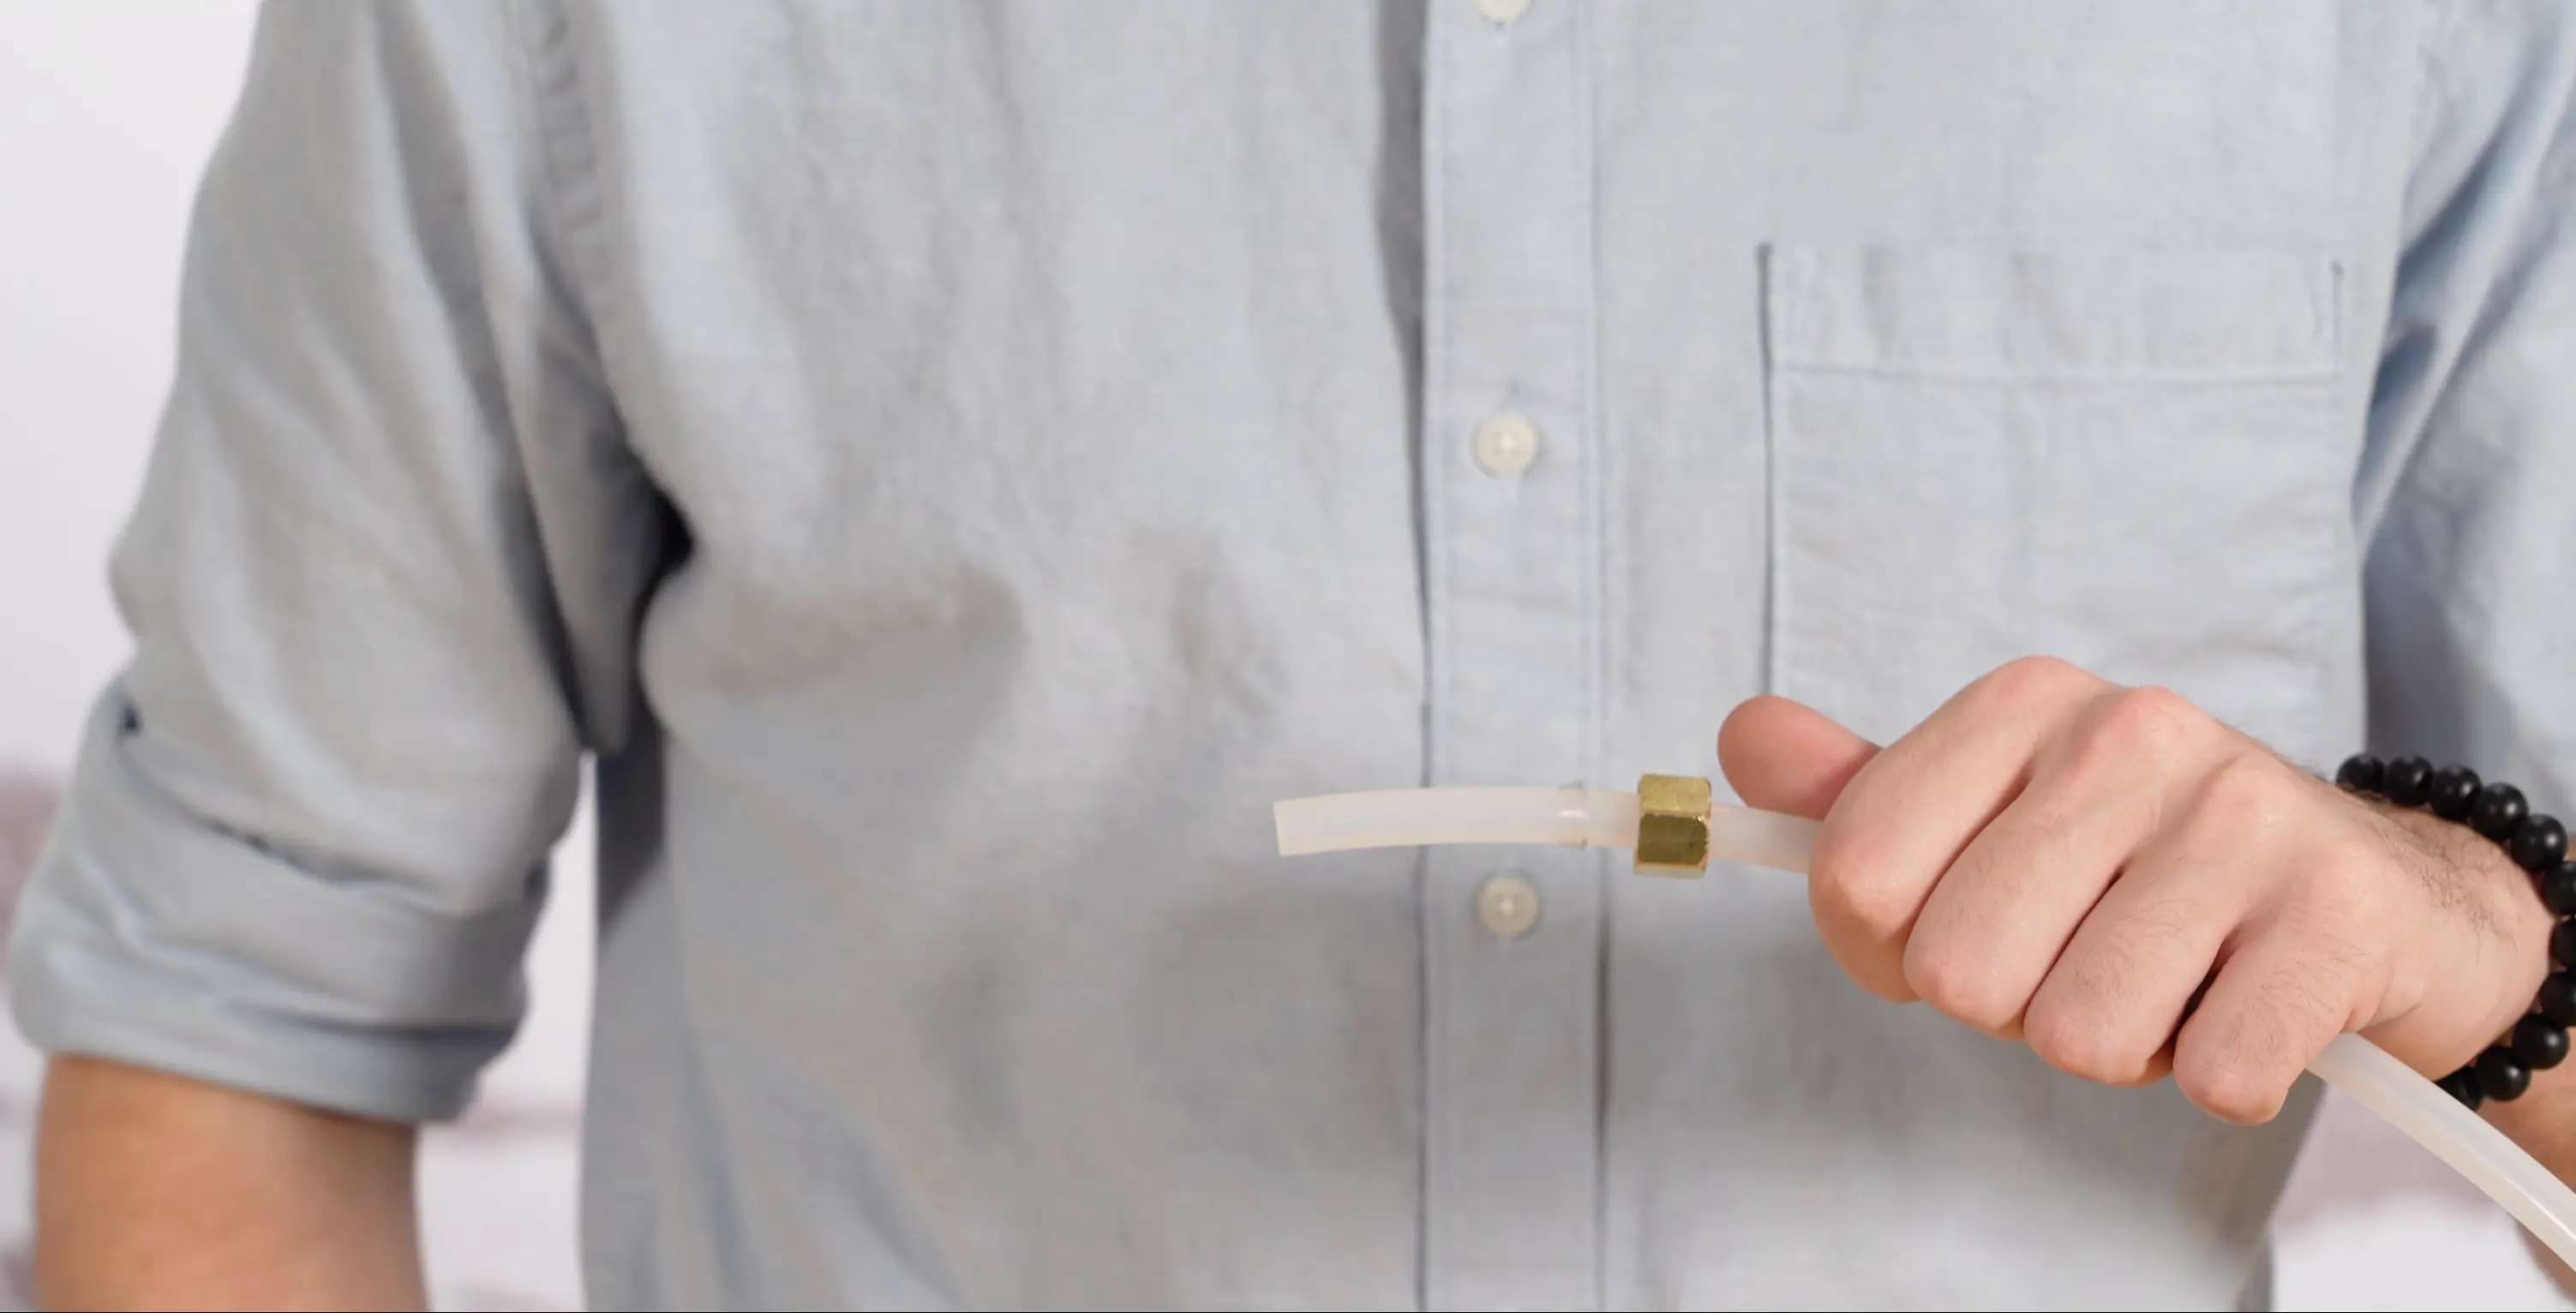
Slide the brass compression nut onto the brine tubing first, thread end facing the tubing tip. Then slide the clear plastic ferrule onto the tubing with the thicker tapered end facing the nut. These two components work together to create a leak-proof seal when tightened against the injection port.
Insert the Spacer and Screen
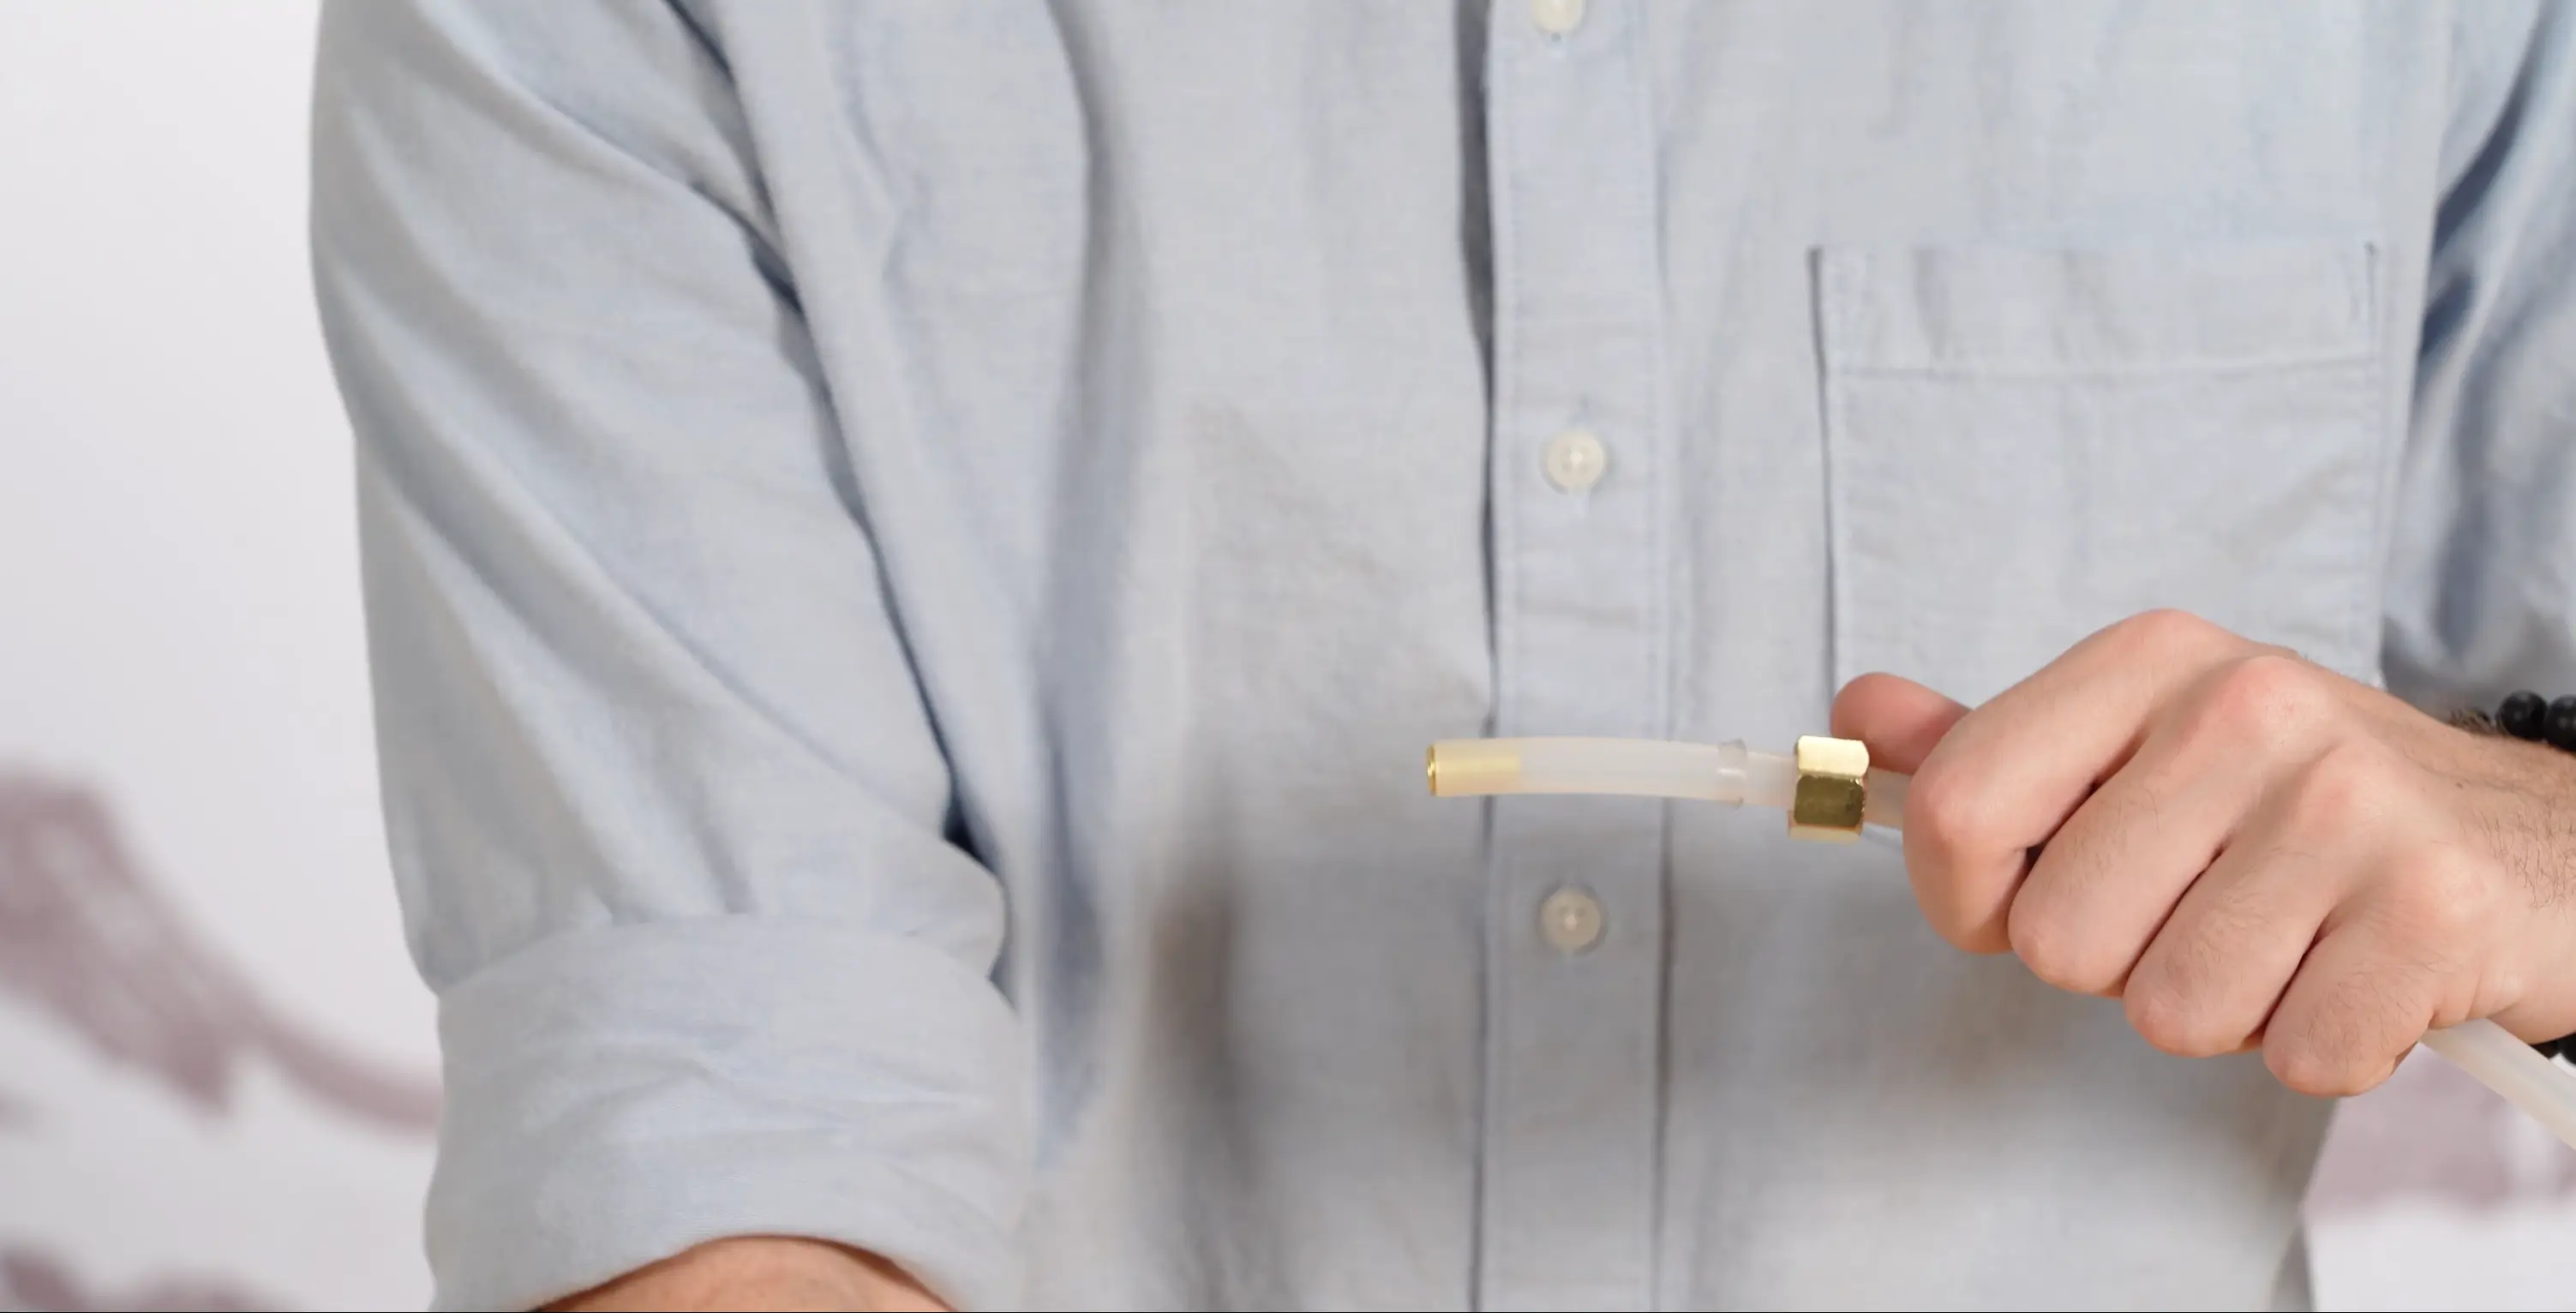
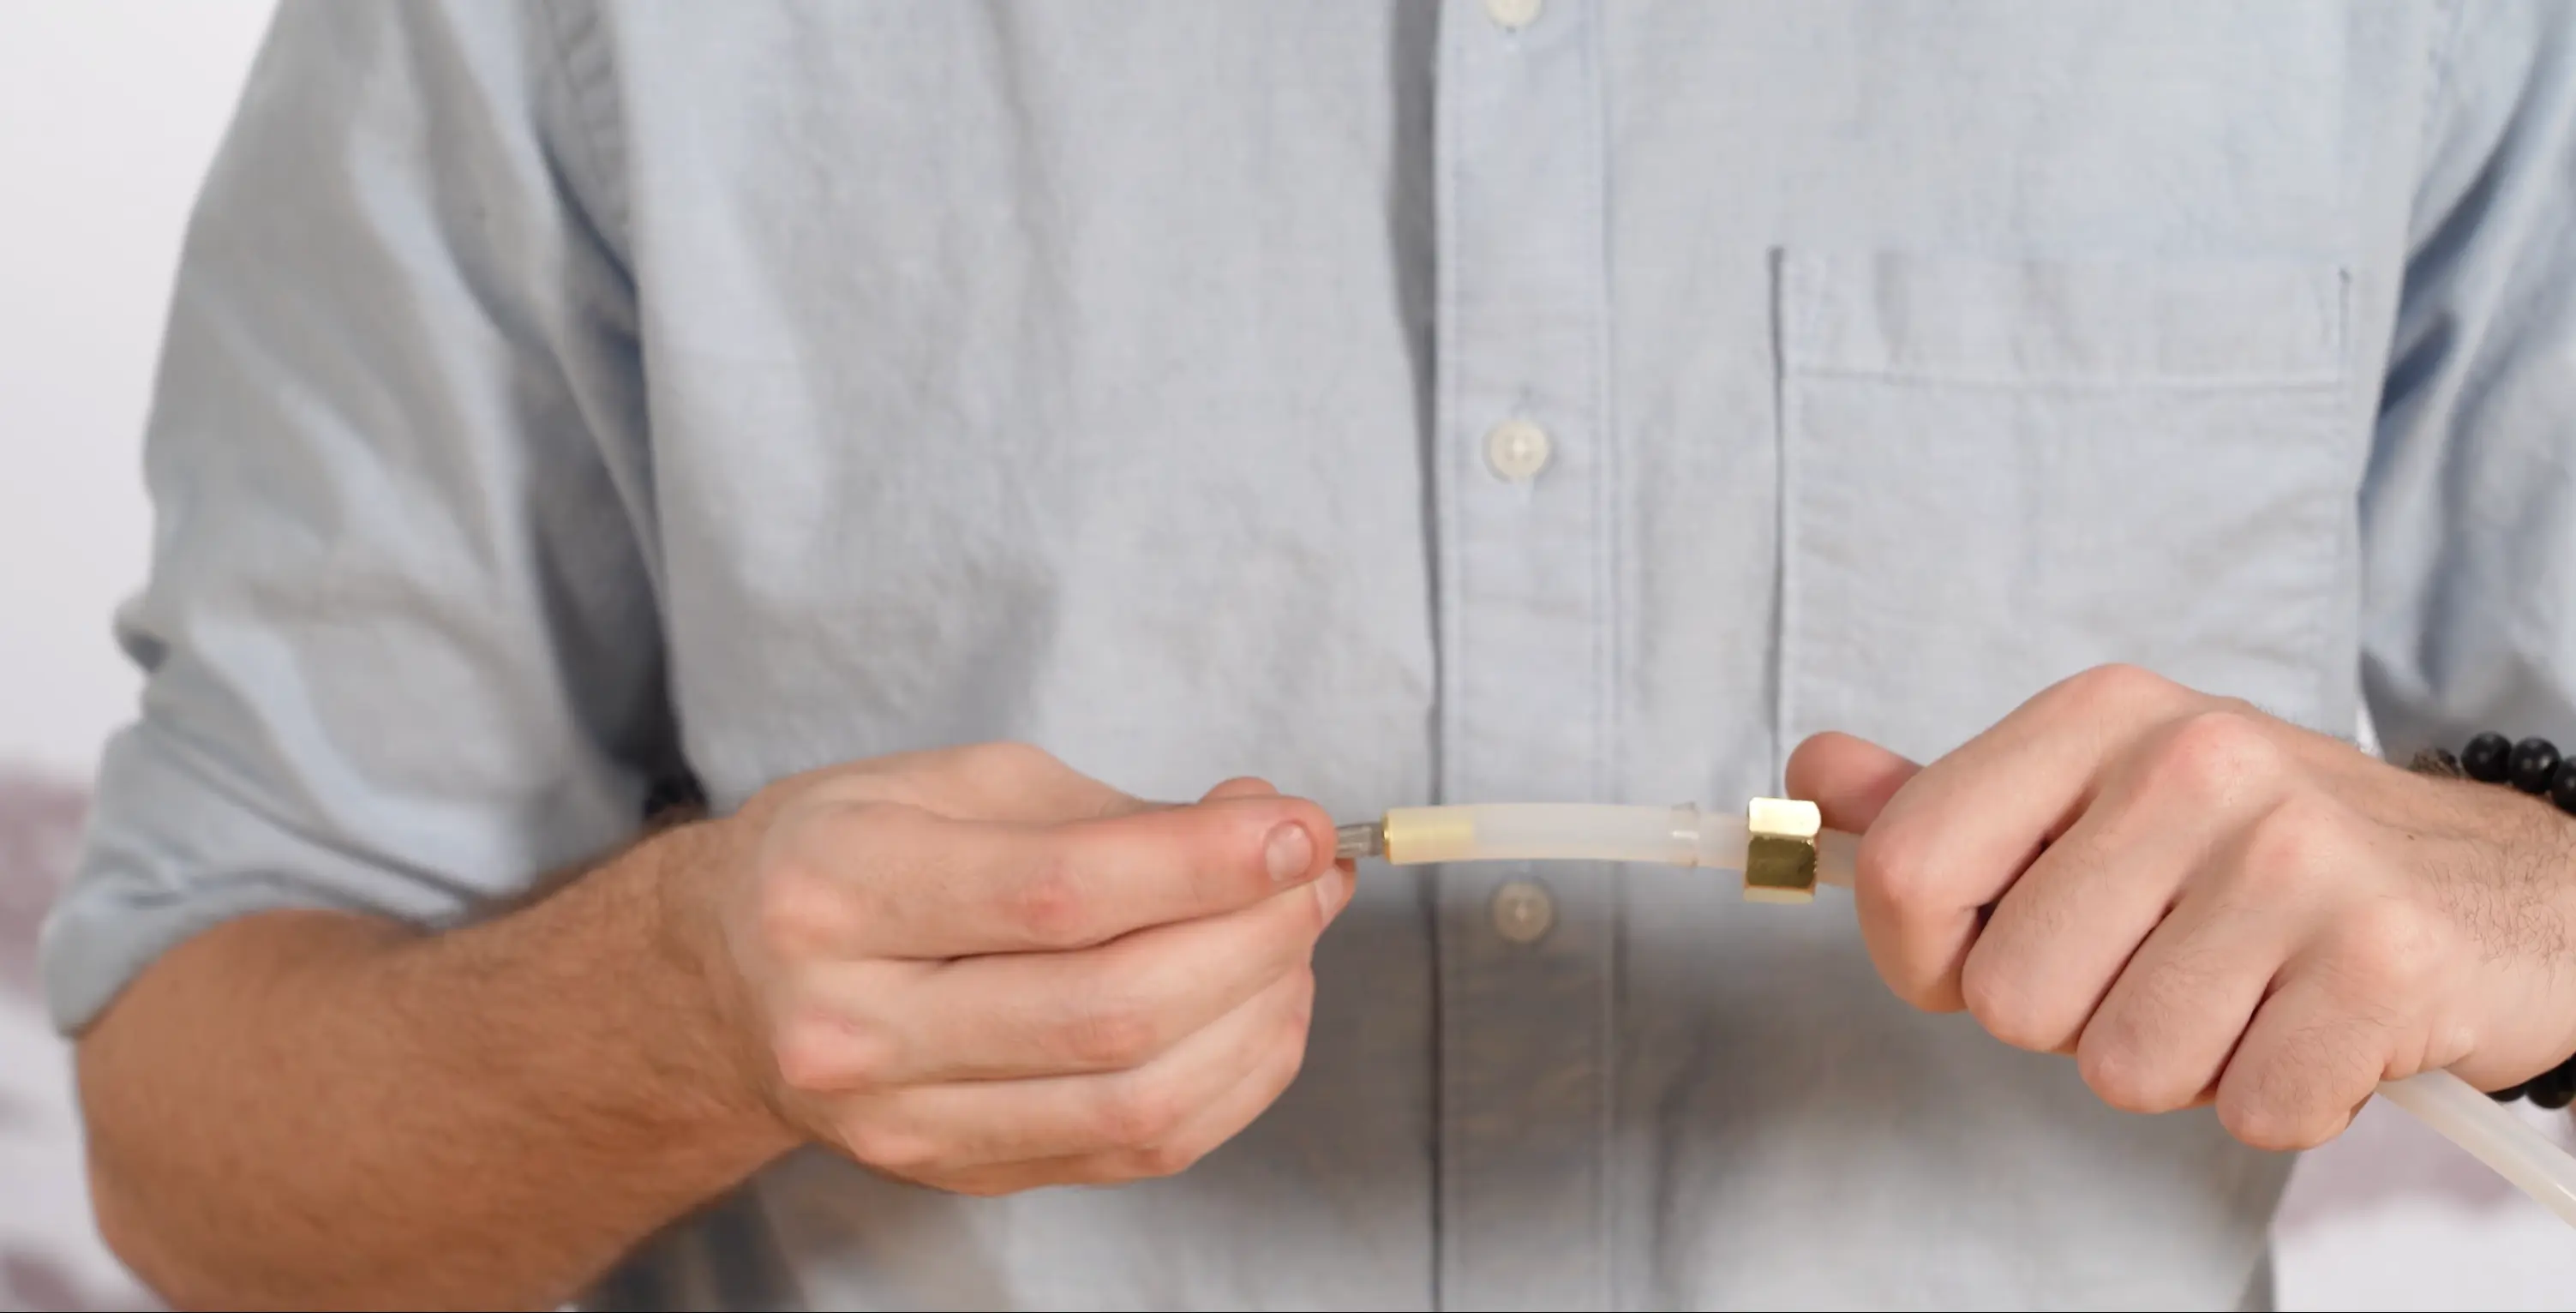
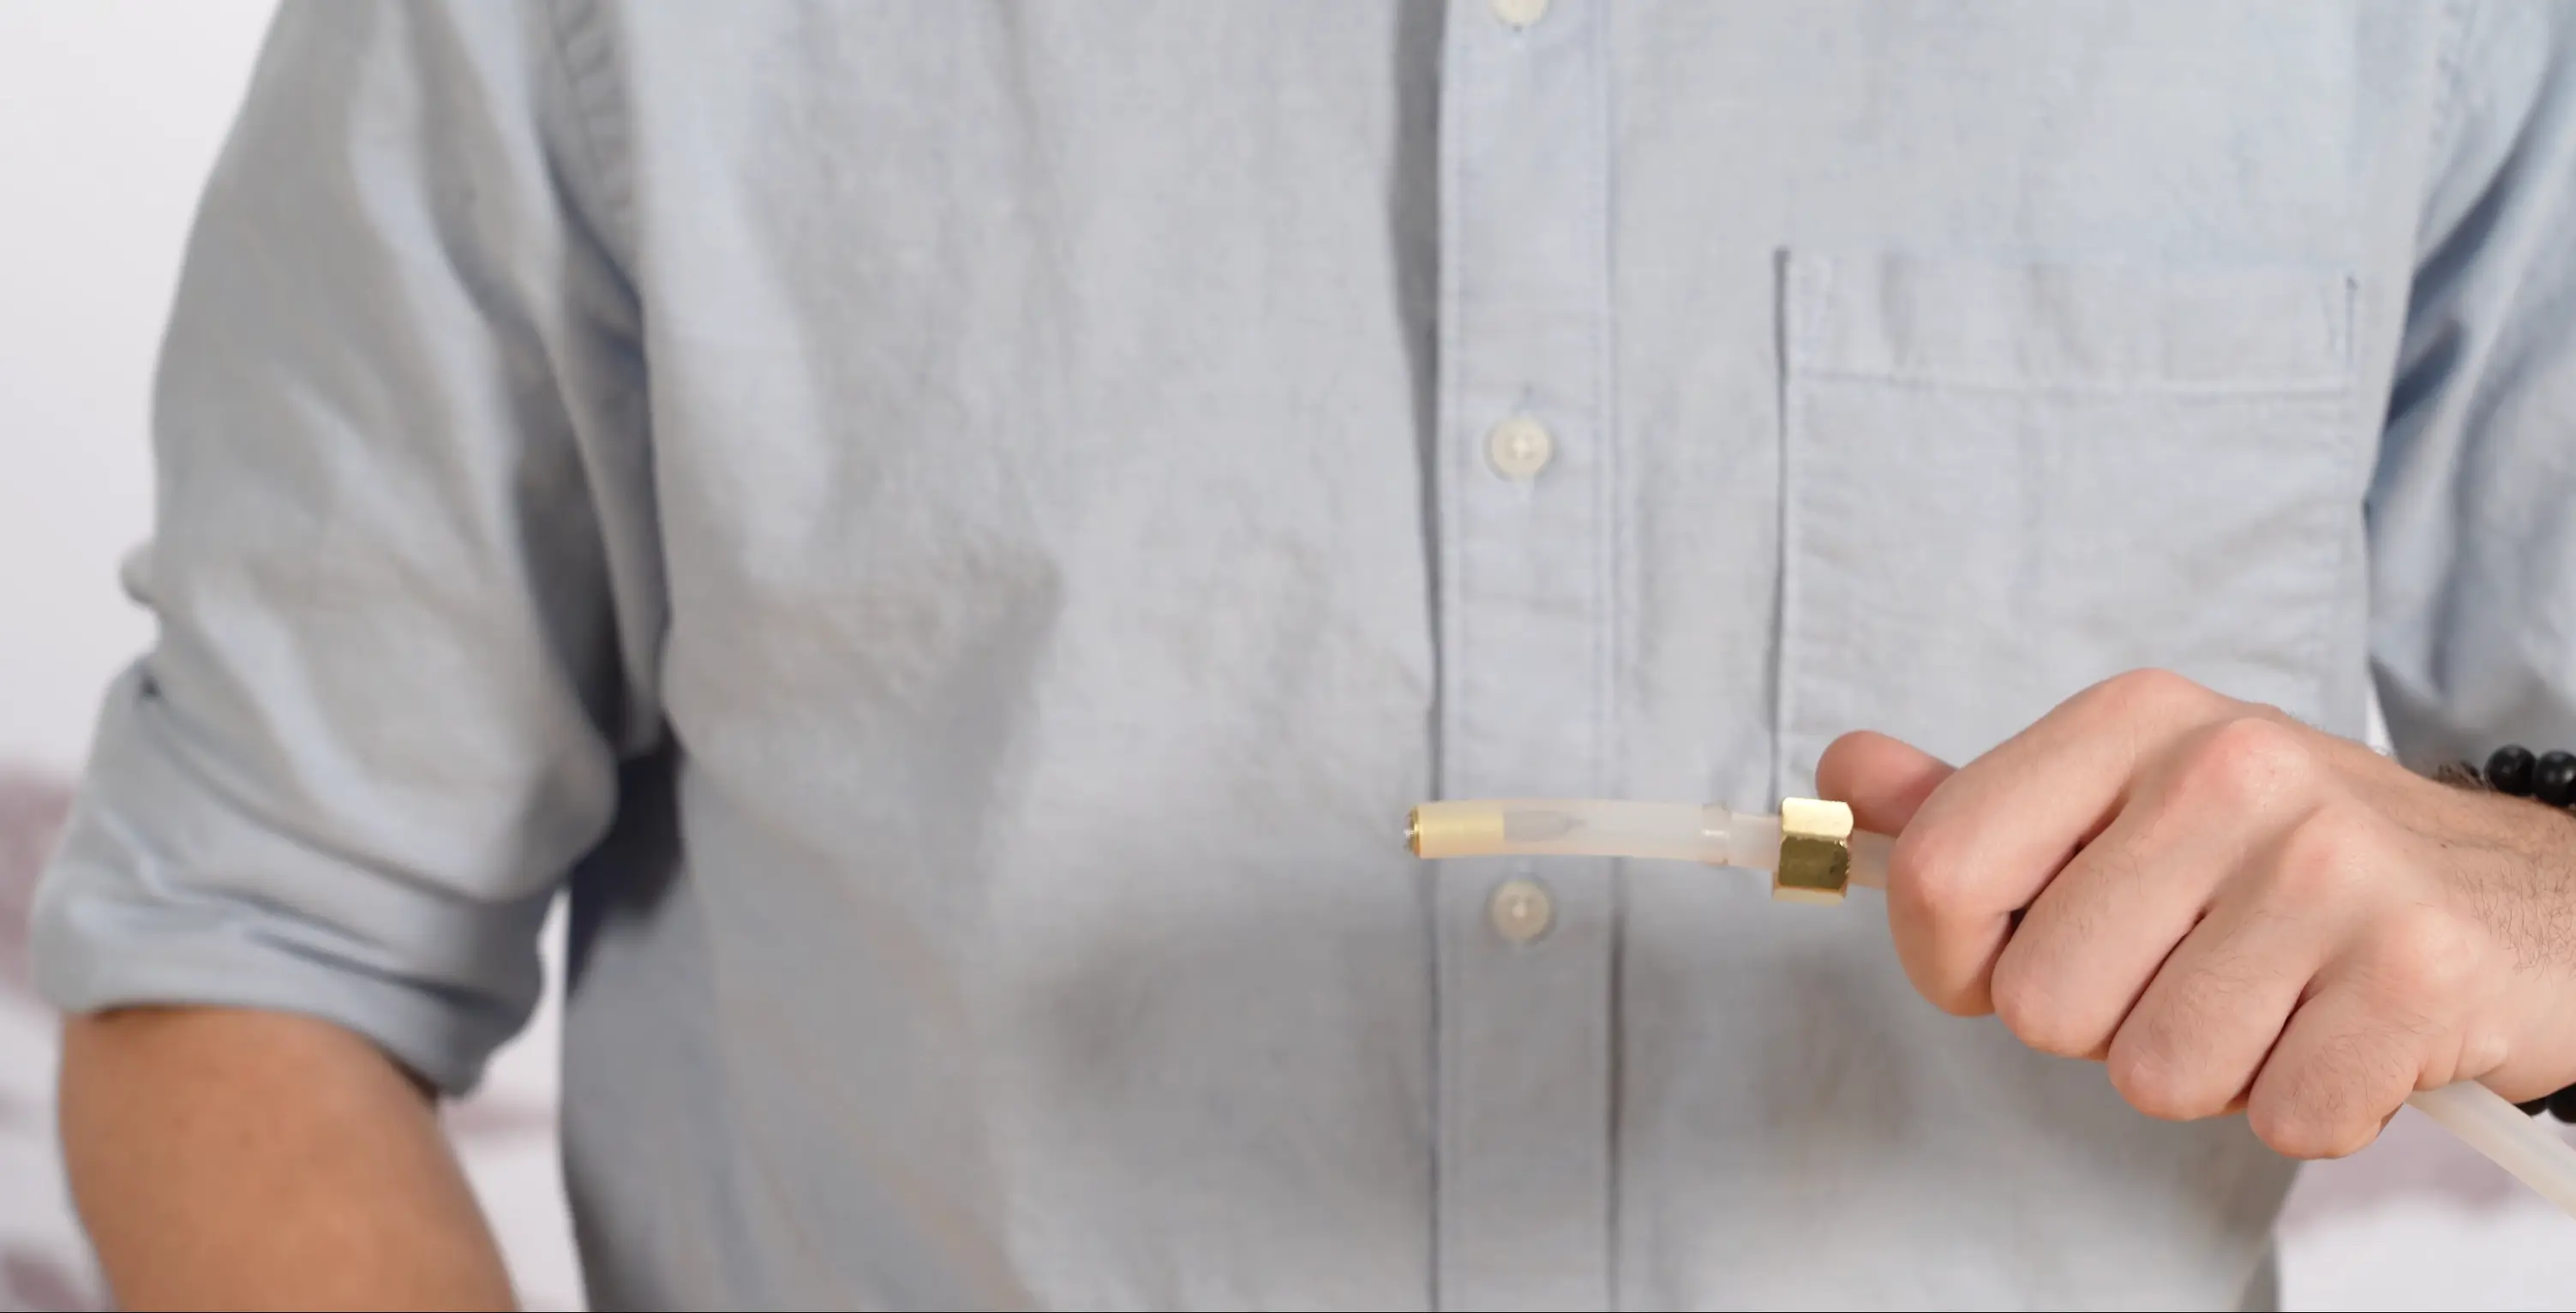
Push the brass tubing spacer into the open end of the brine tubing. The spacer reinforces the tubing wall so it holds its shape under compression. Finally, insert the mesh screen into the spacer opening. The screen must be fully seated to filter properly.
Tip: Make sure the screen is fully seated inside the spacer, if it's loose, it can shift and restrict flow.
Connect Tubing to the Control Valve
2:20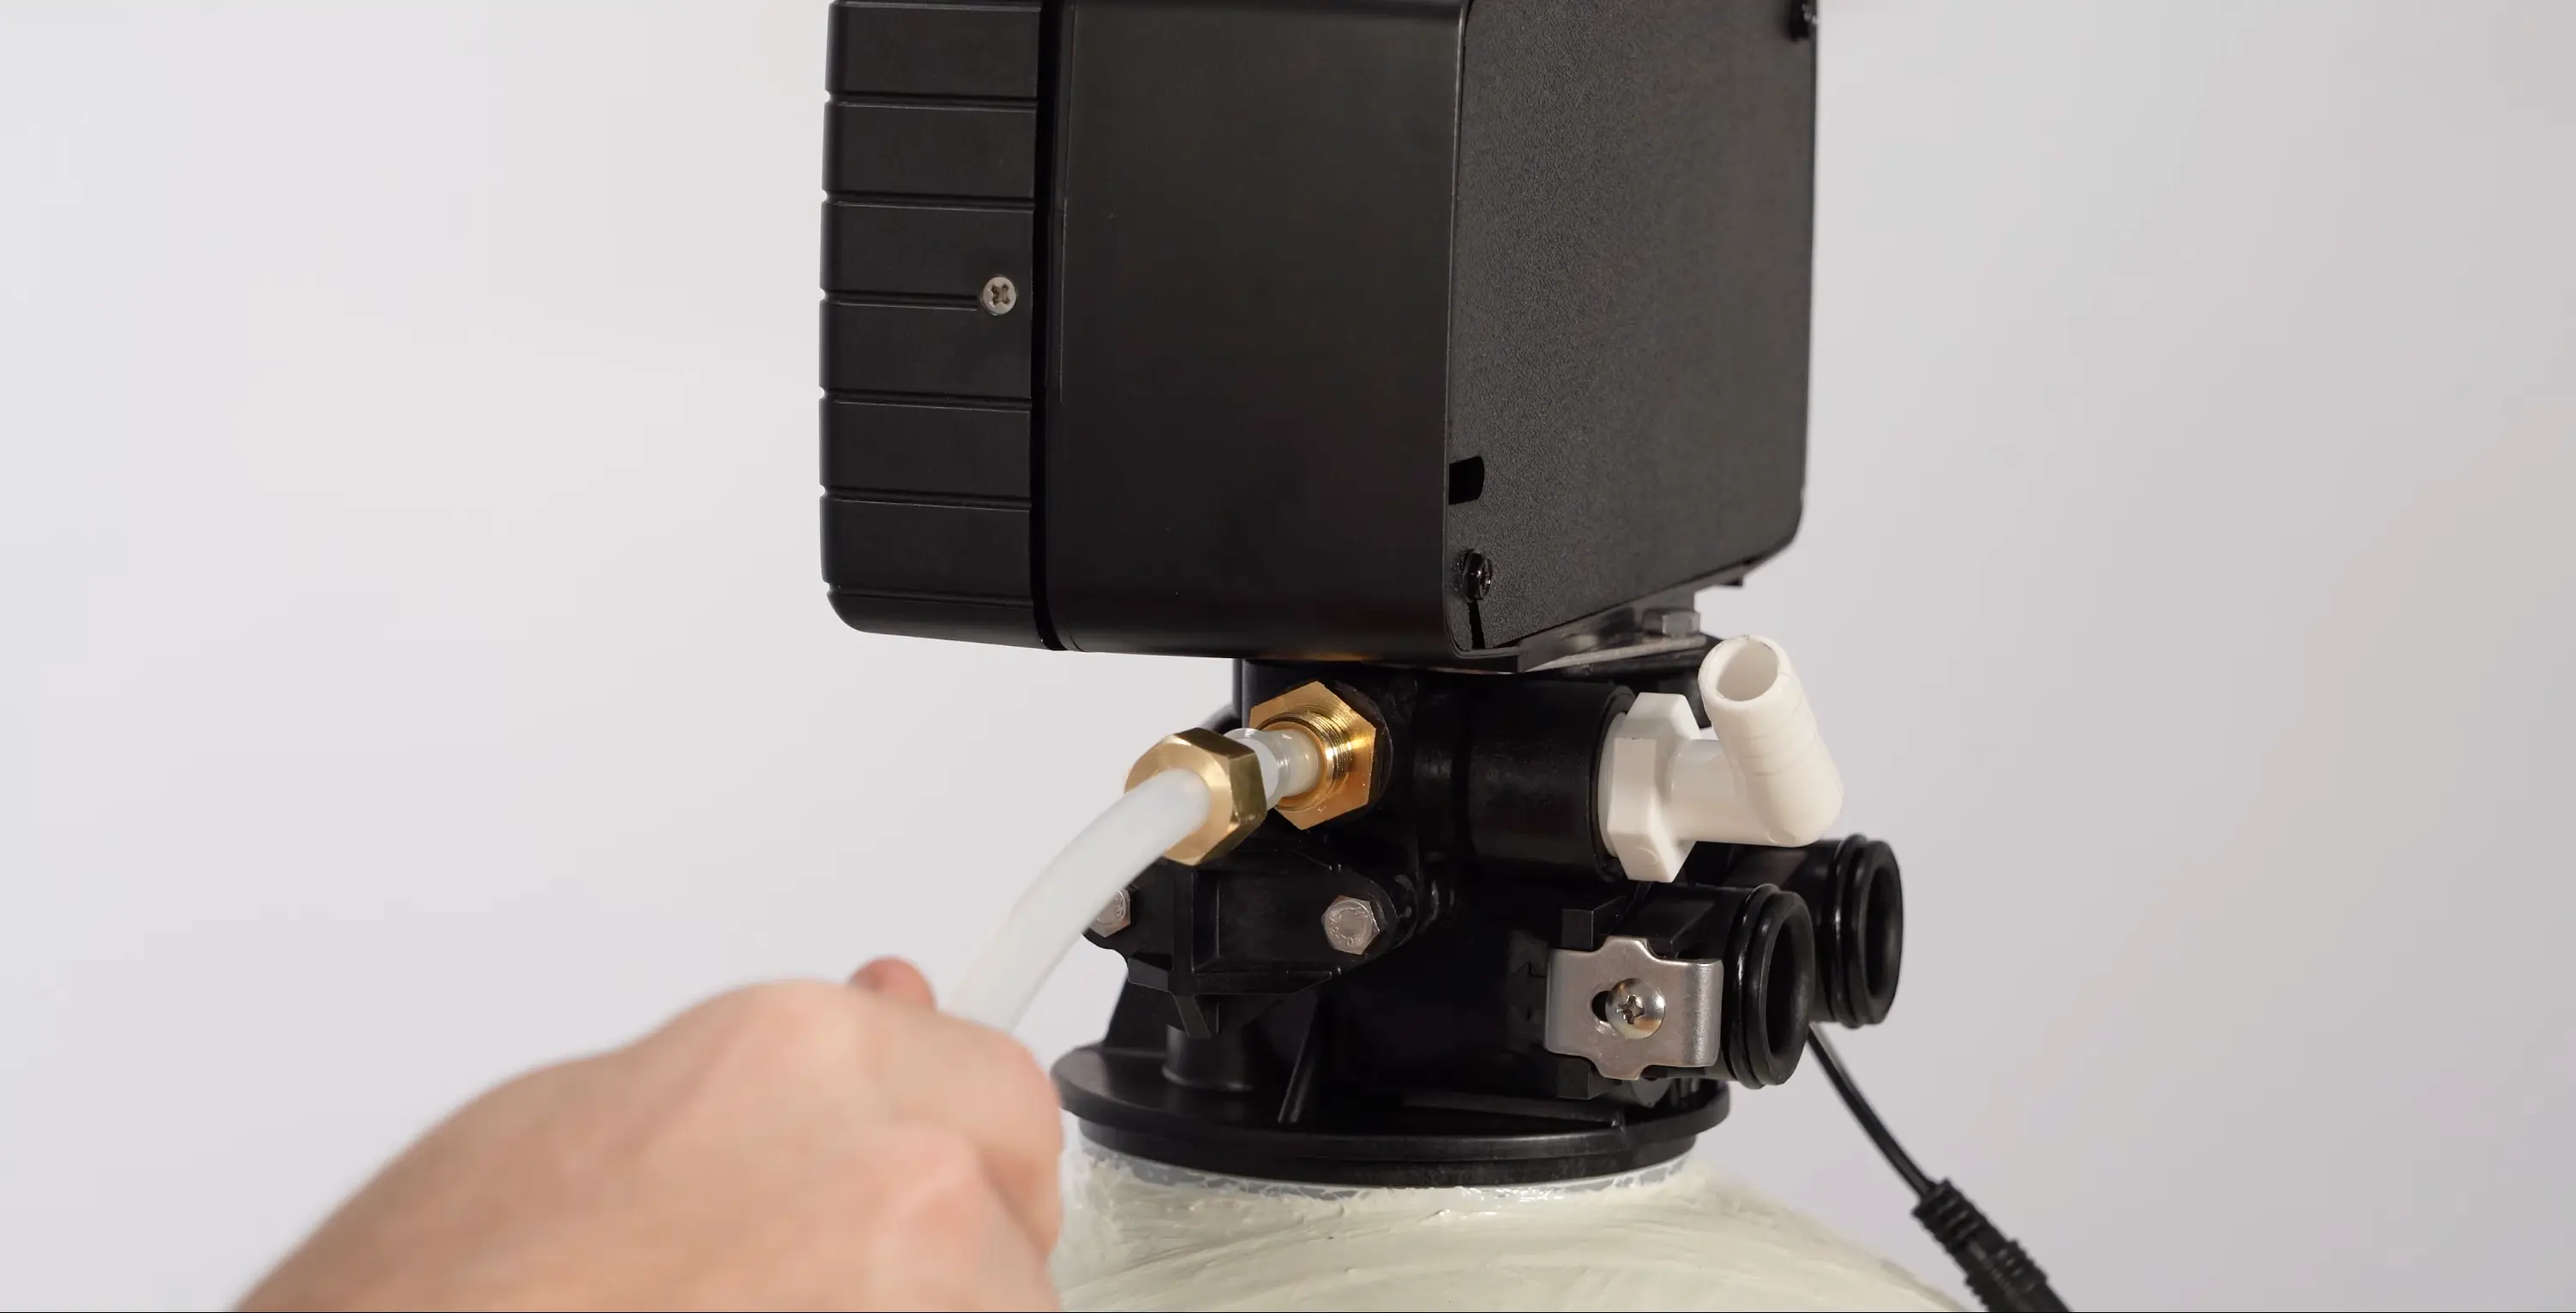
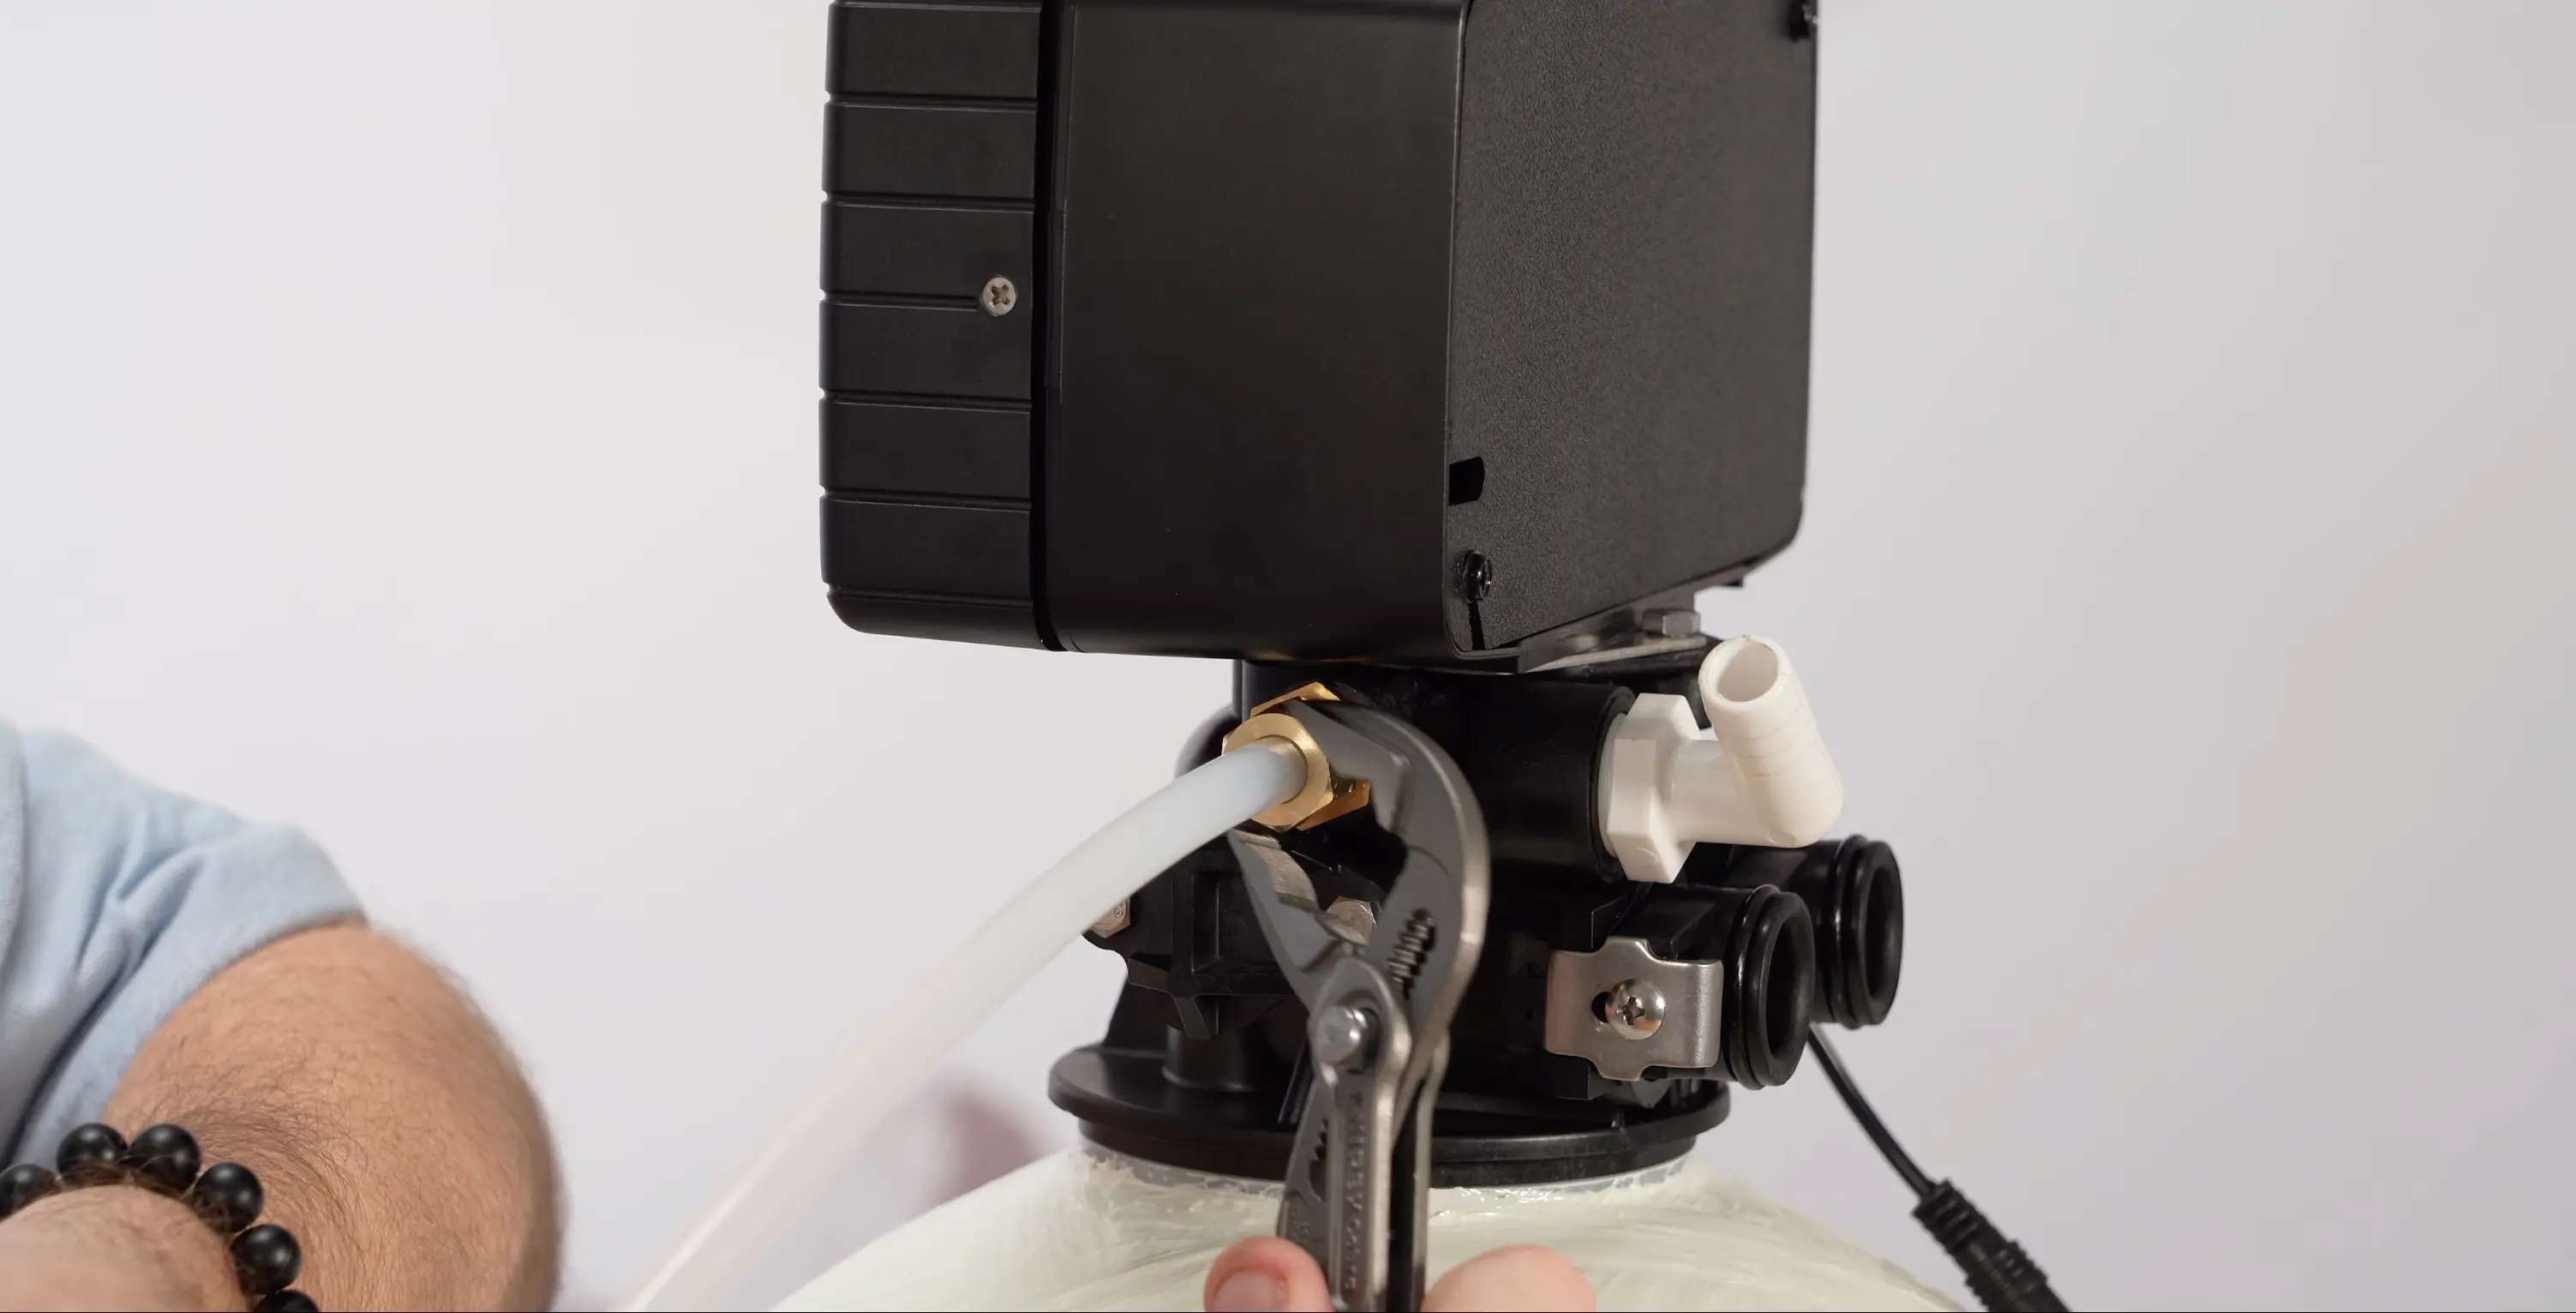
Push the assembled tubing end all the way into the injection port. Thread the compression nut onto the port by hand, then push the tubing in once more to make sure it's fully seated. Use pliers to tighten the nut until the tubing is secure and cannot be pulled out.
Connect Tubing to the Brine Tank
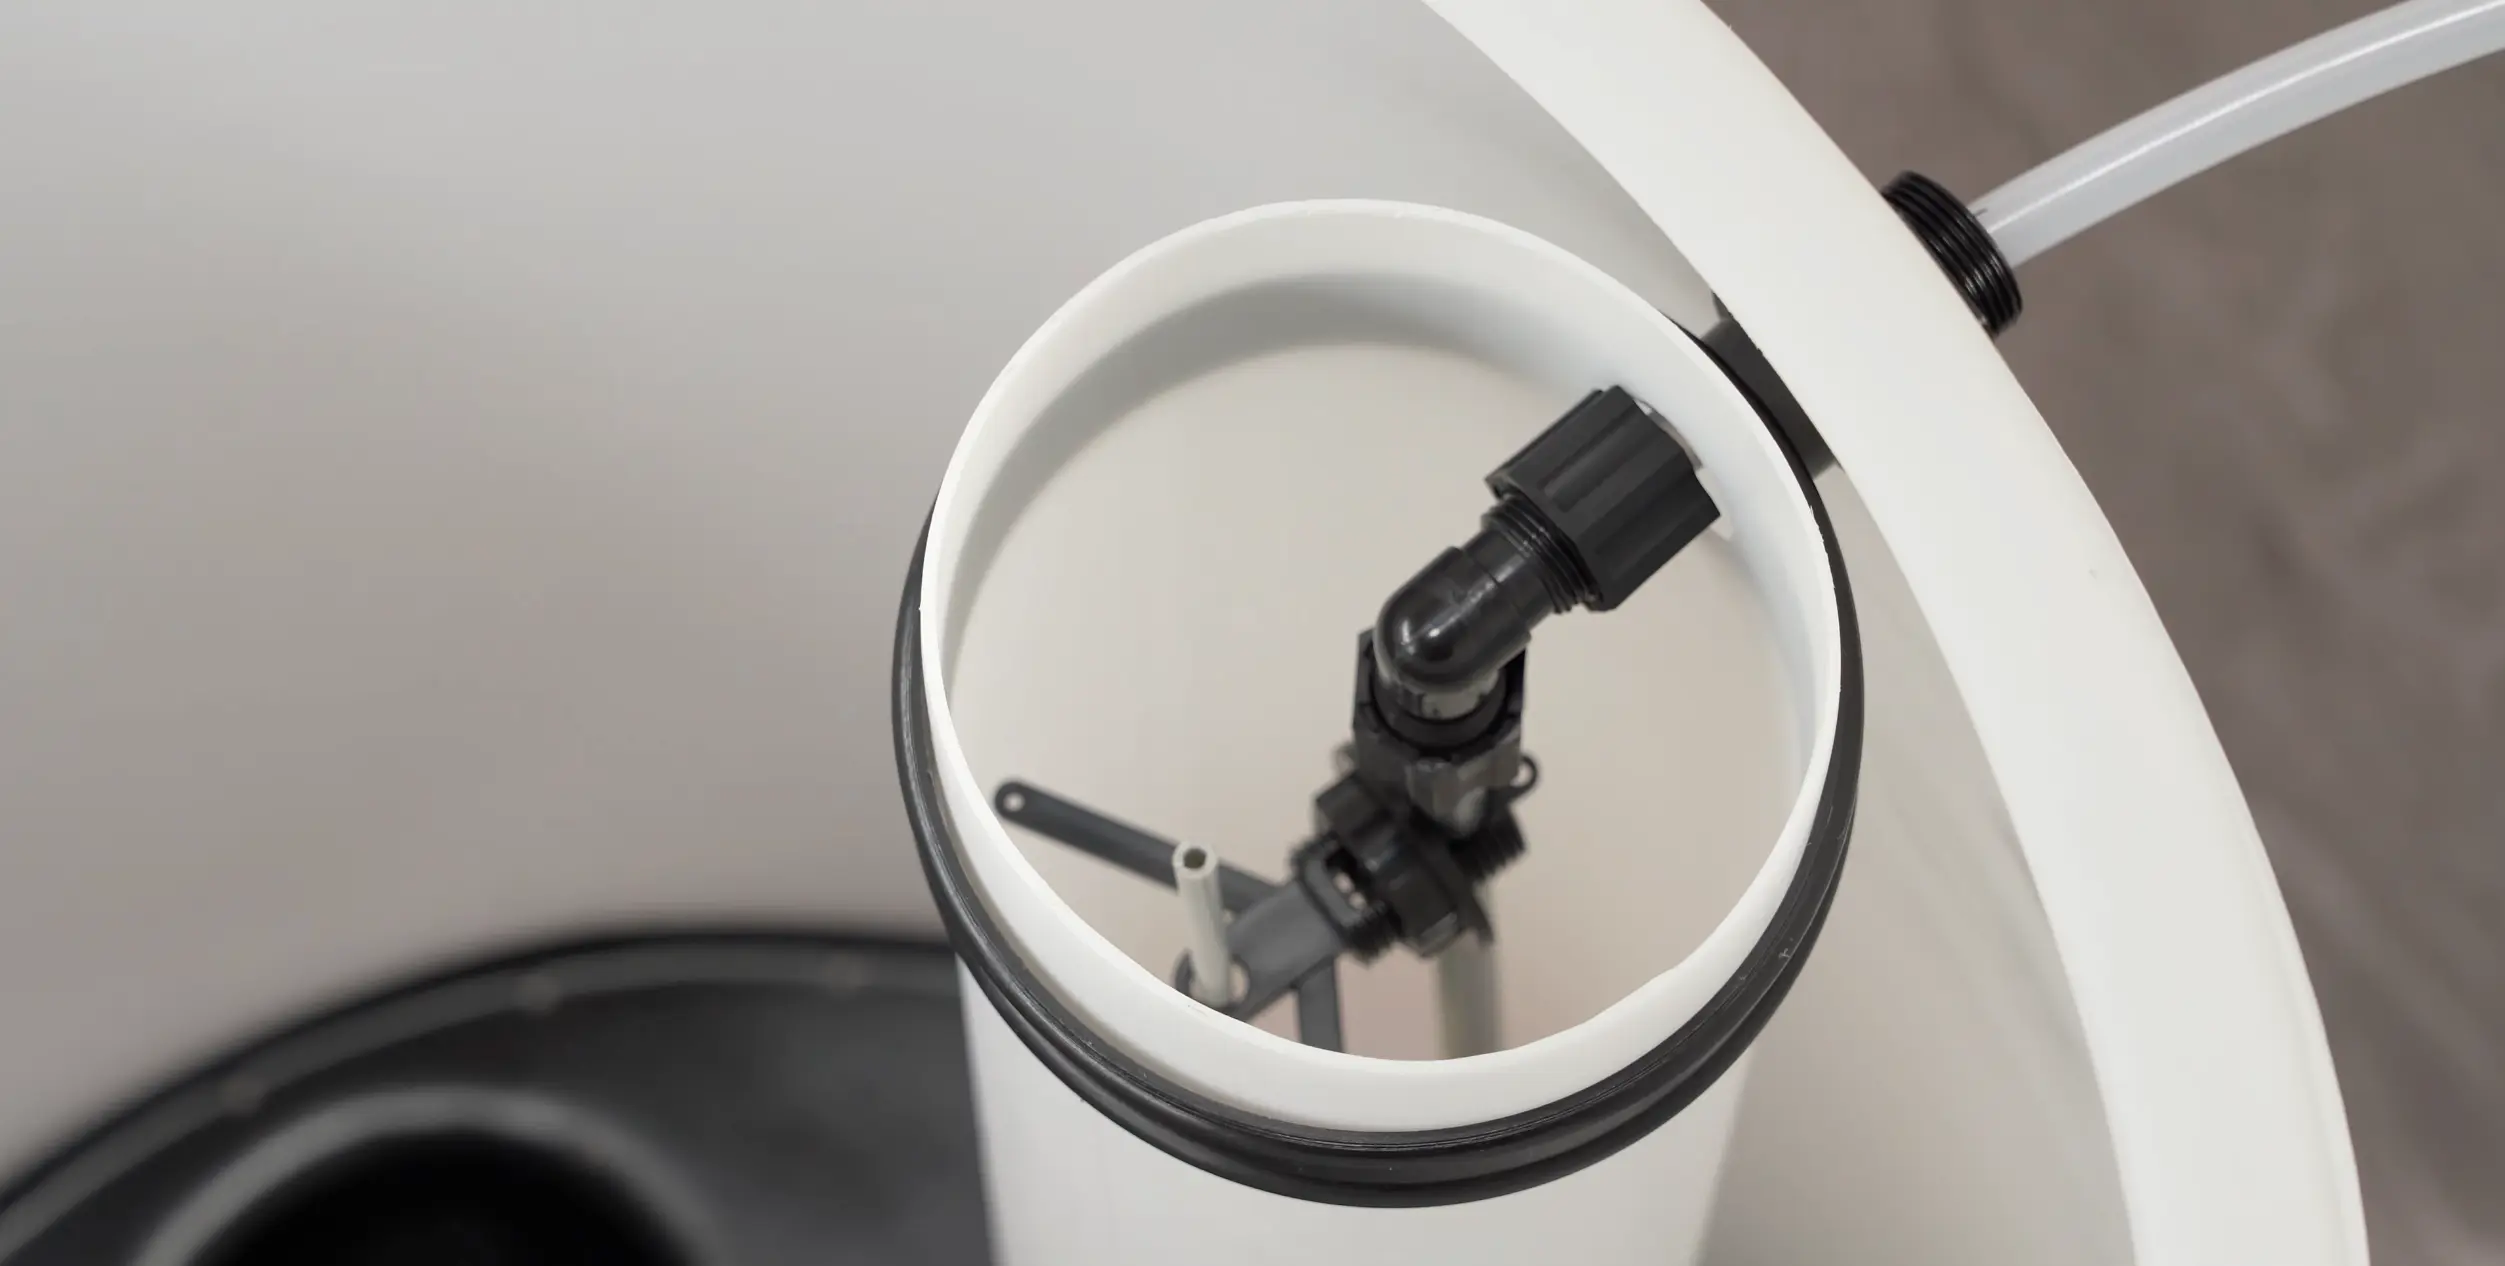
3:00Remove the brine tank cap to access the internal cylinder and float switch. Disconnect the top compression elbow from the float switch, inside you'll find another tubing spacer that you'll need. Insert the spacer into the free end of the brine tubing, thread the nut back onto the compression elbow, slide the tubing in, and tighten with pliers.
Access the Float Switch
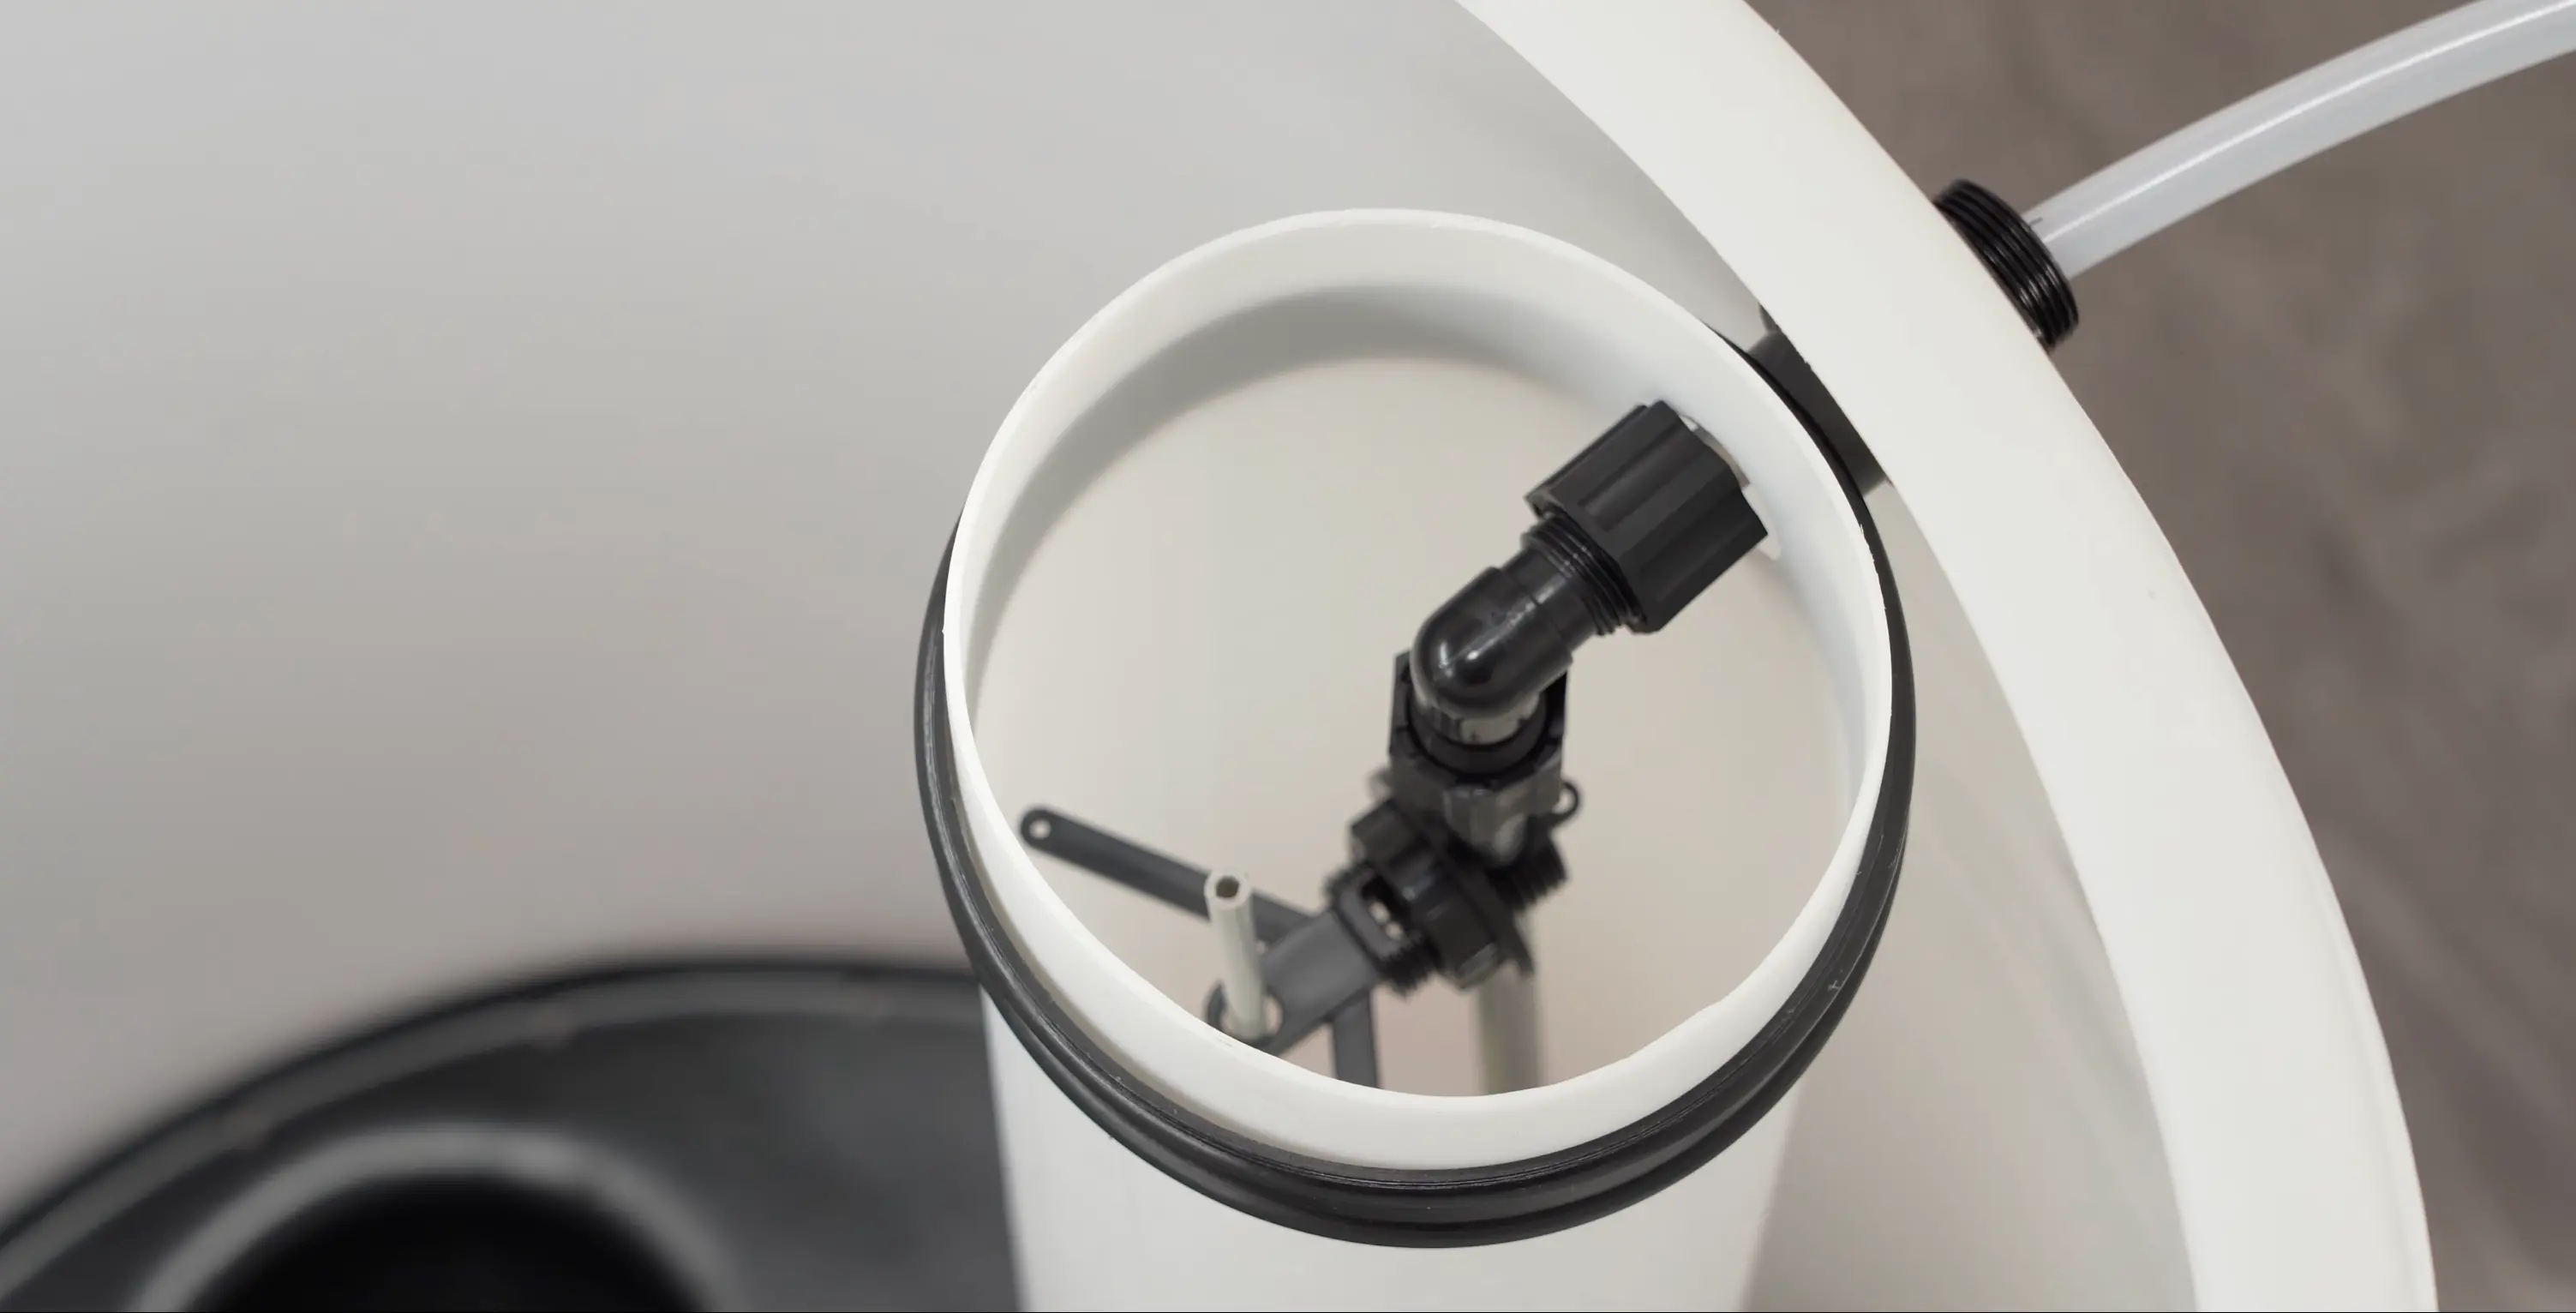
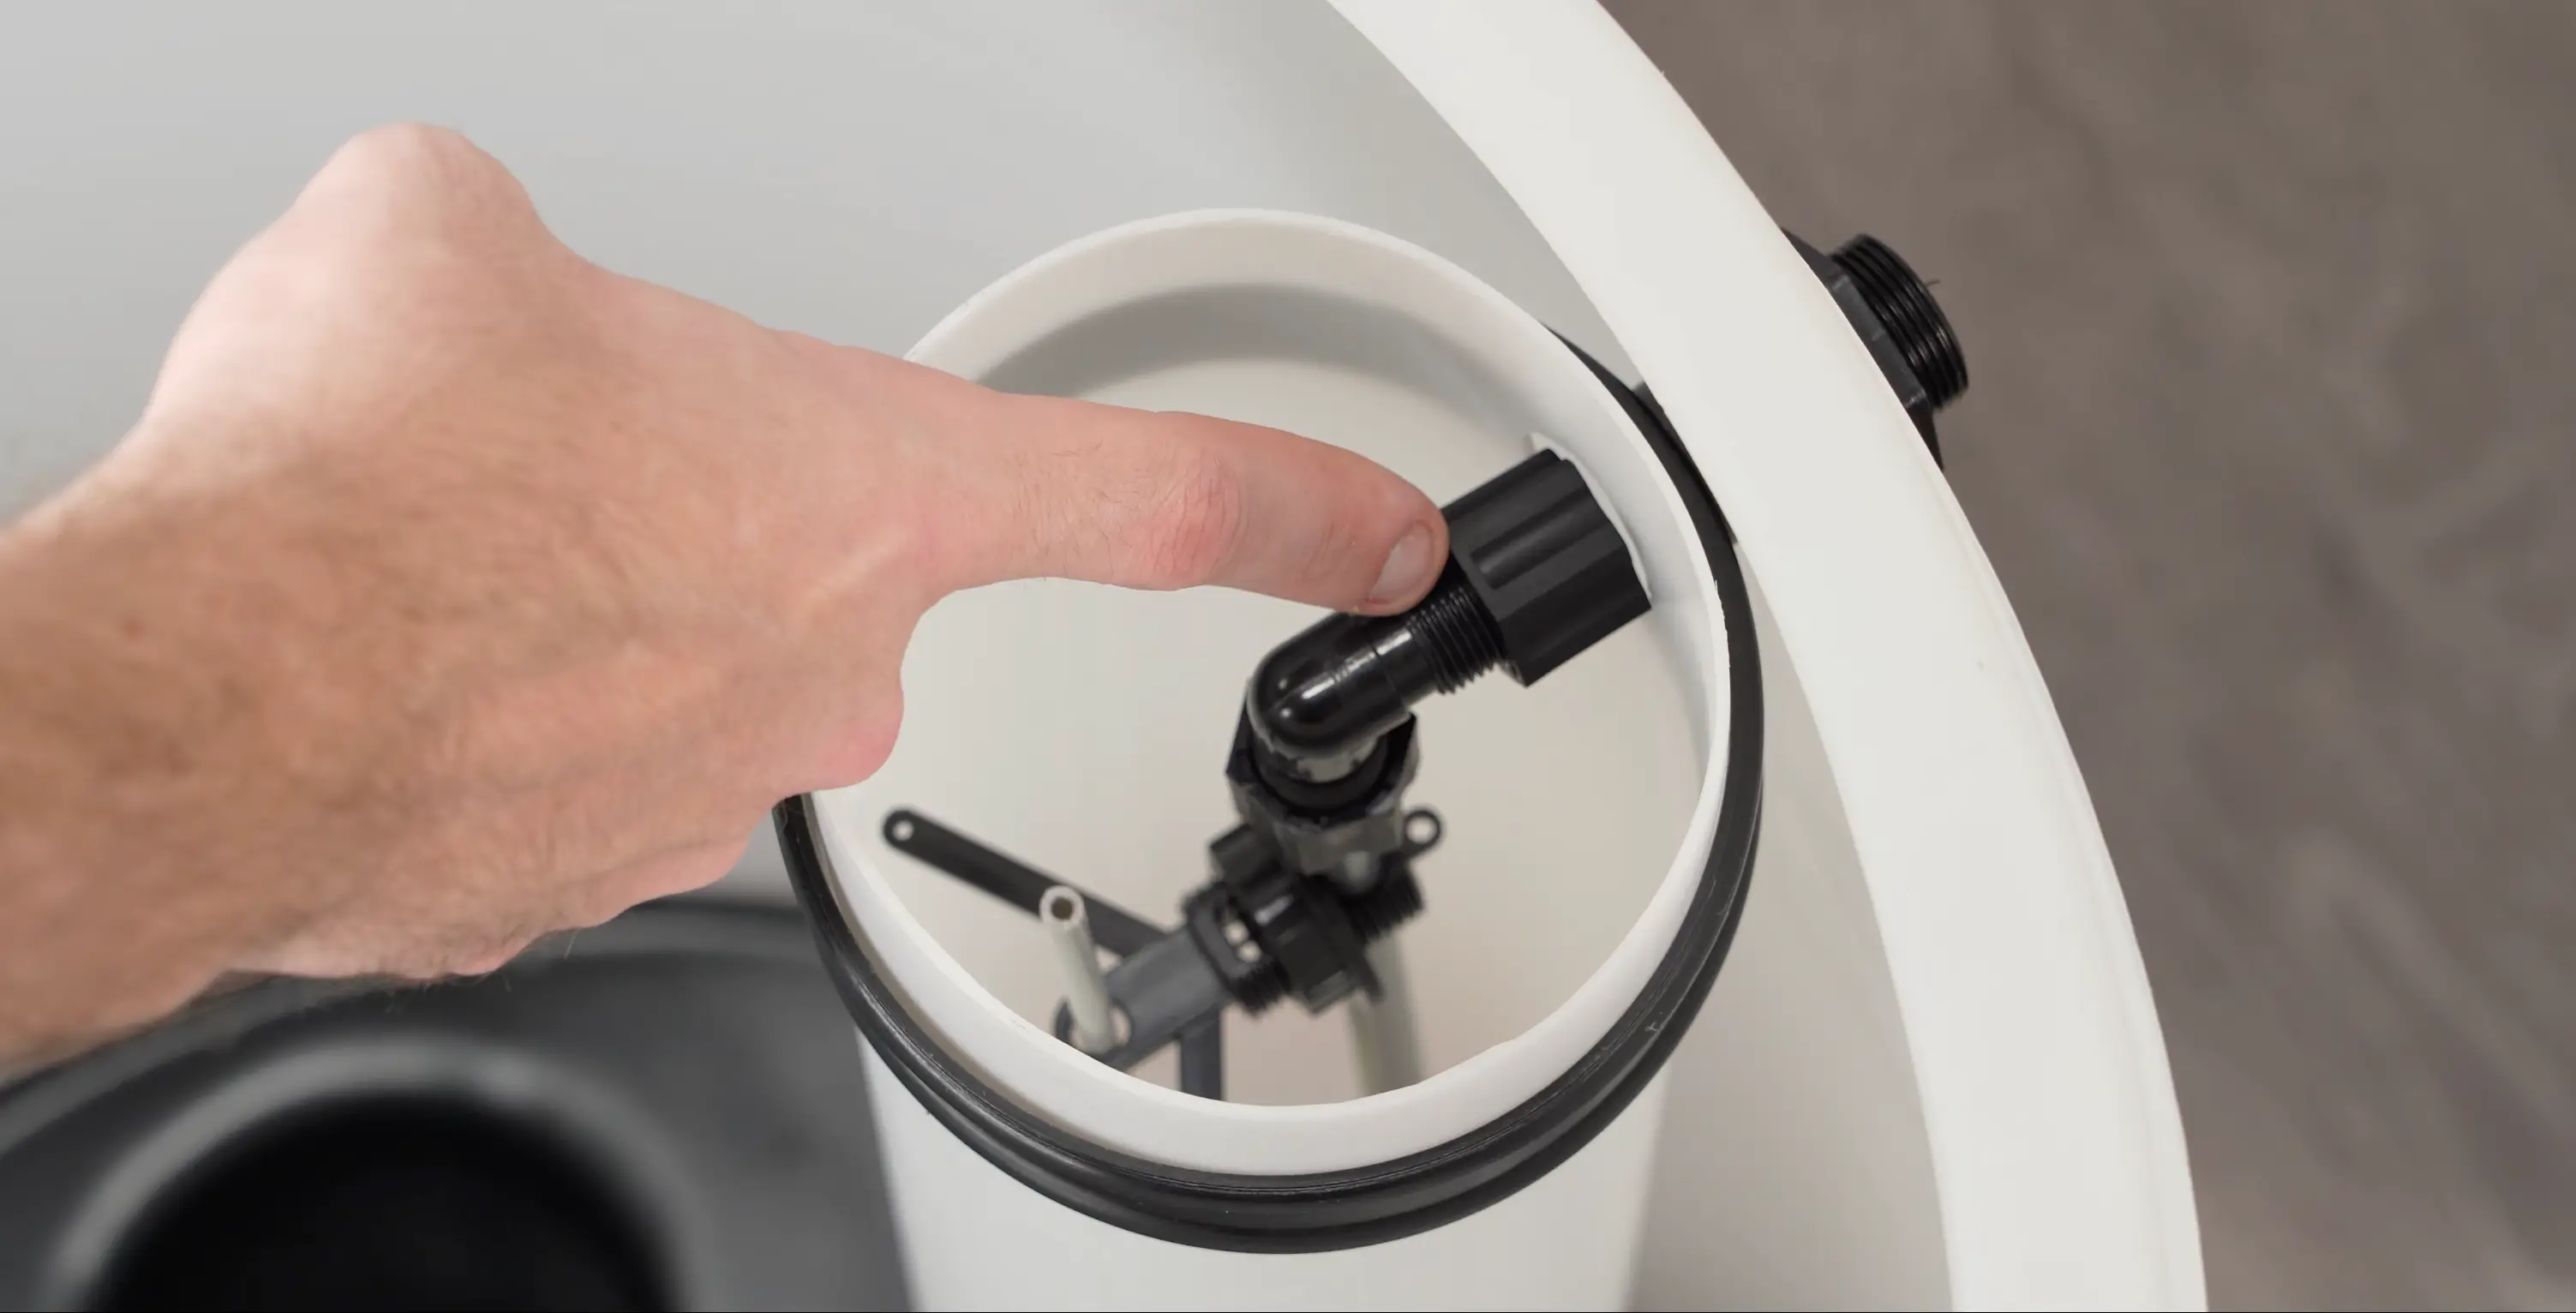
Remove the brine tank cap to access the internal cylinder and float switch assembly. Locate the compression elbow at the top of the float switch, this is where the brine tubing connects.
Remove the Elbow and Retrieve the Spacer
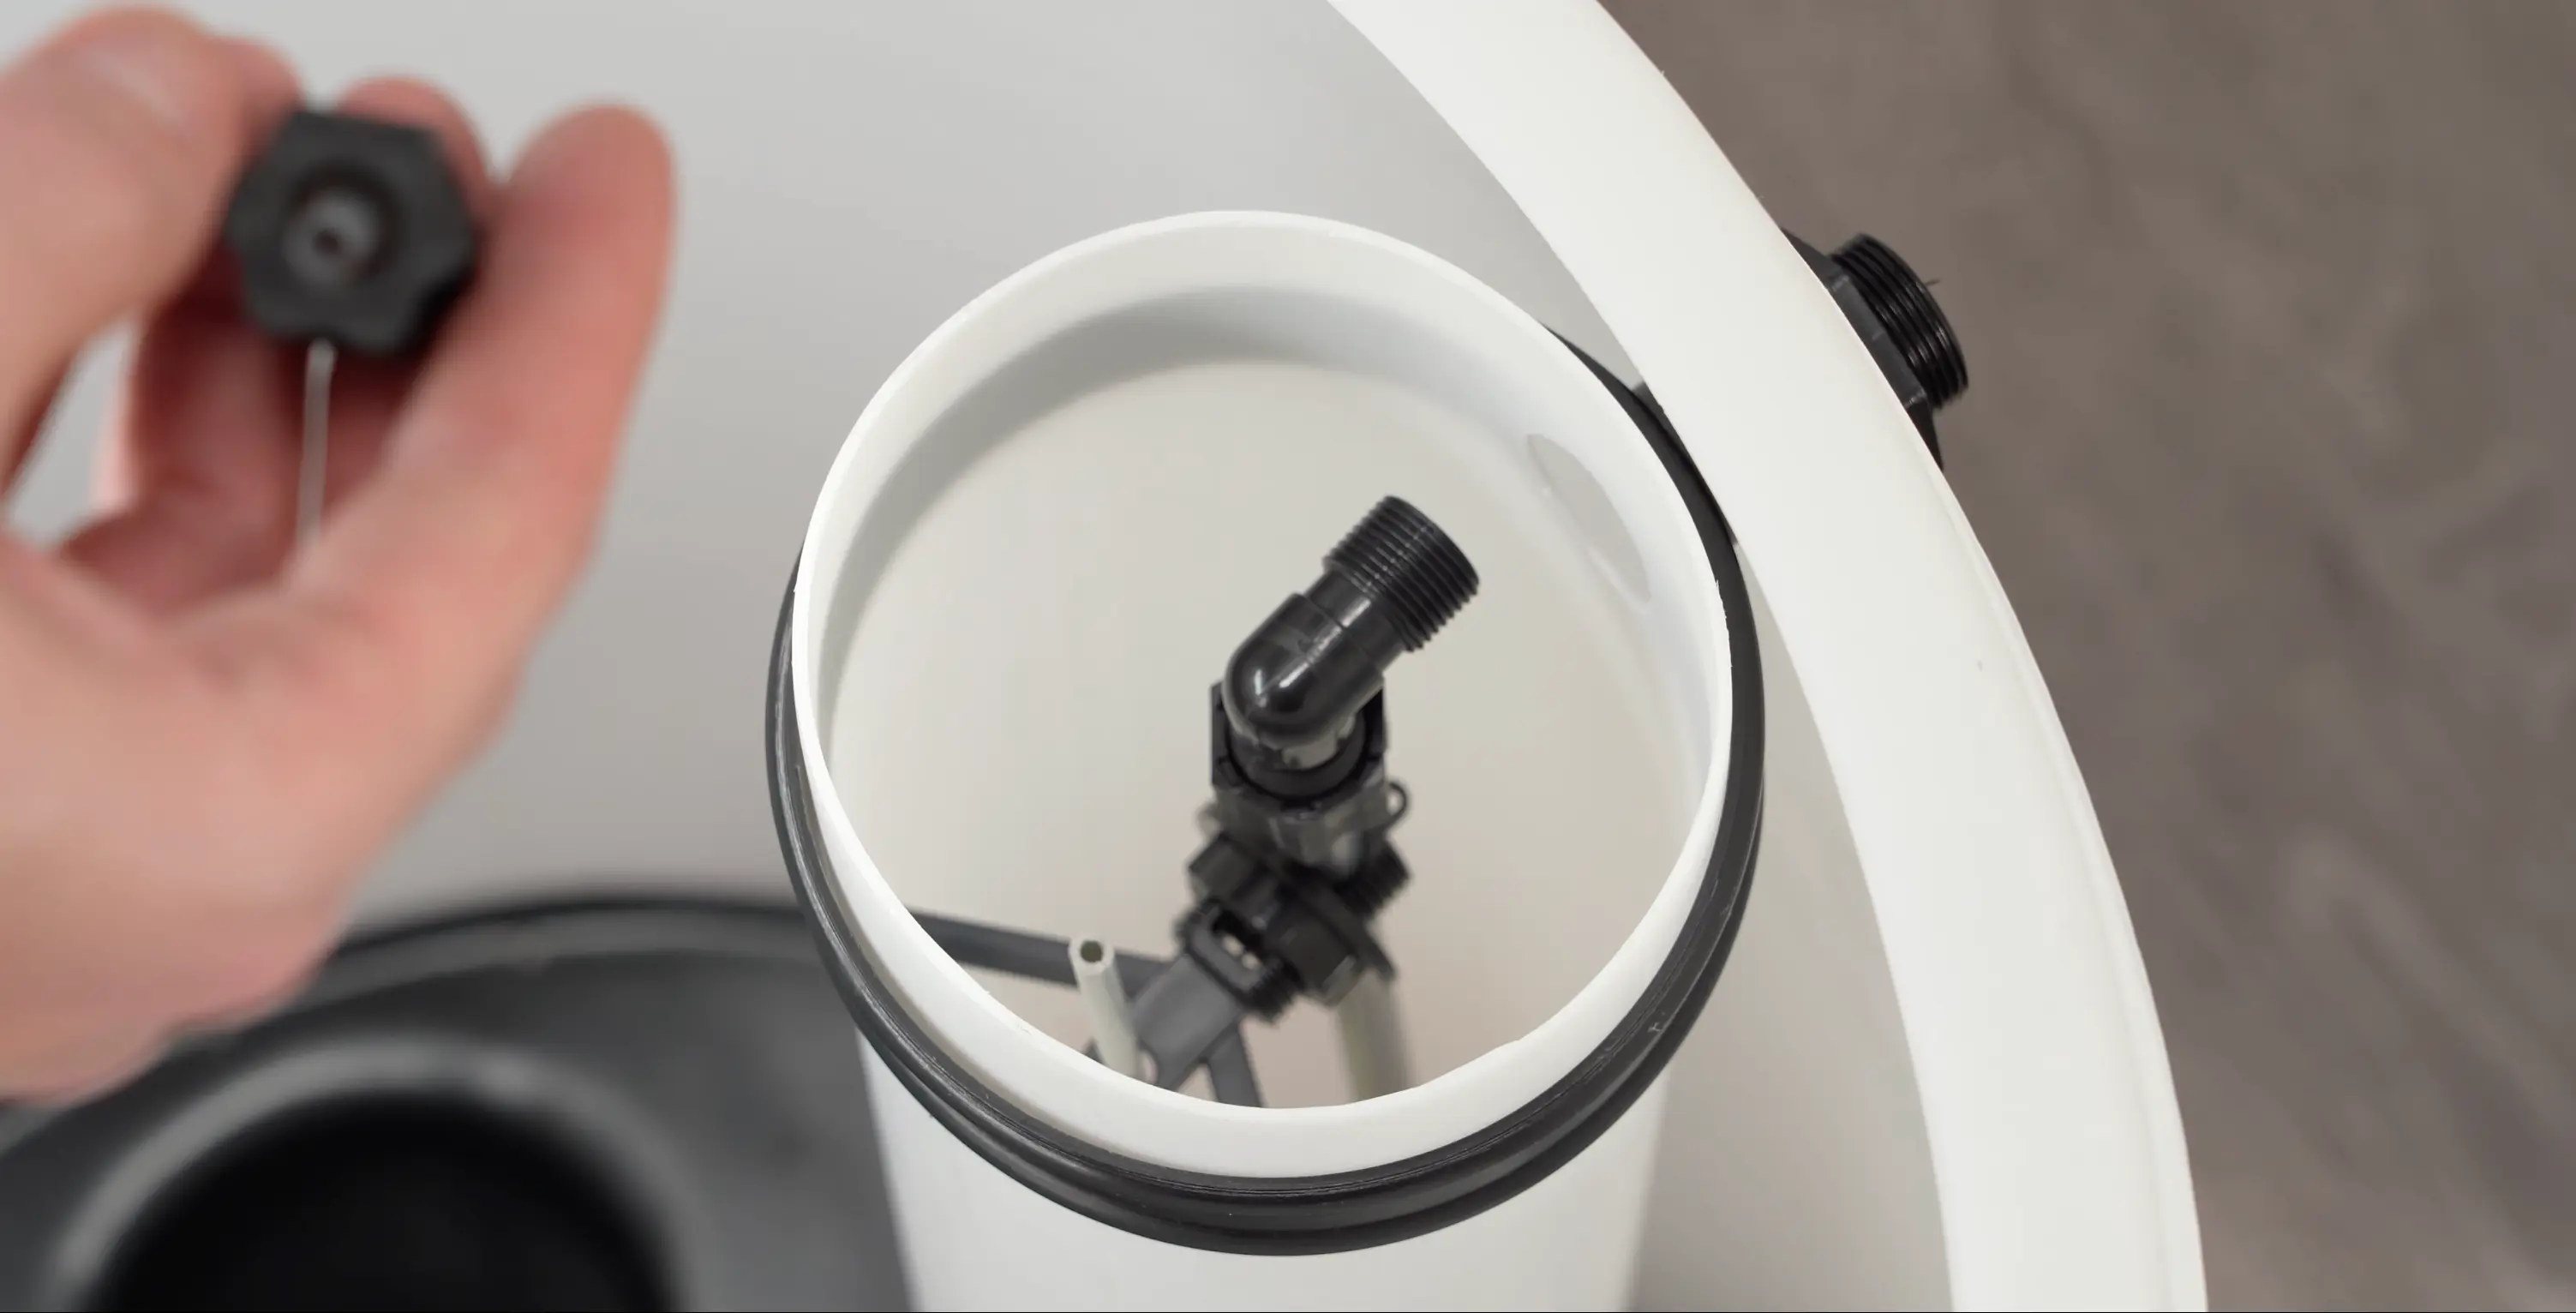
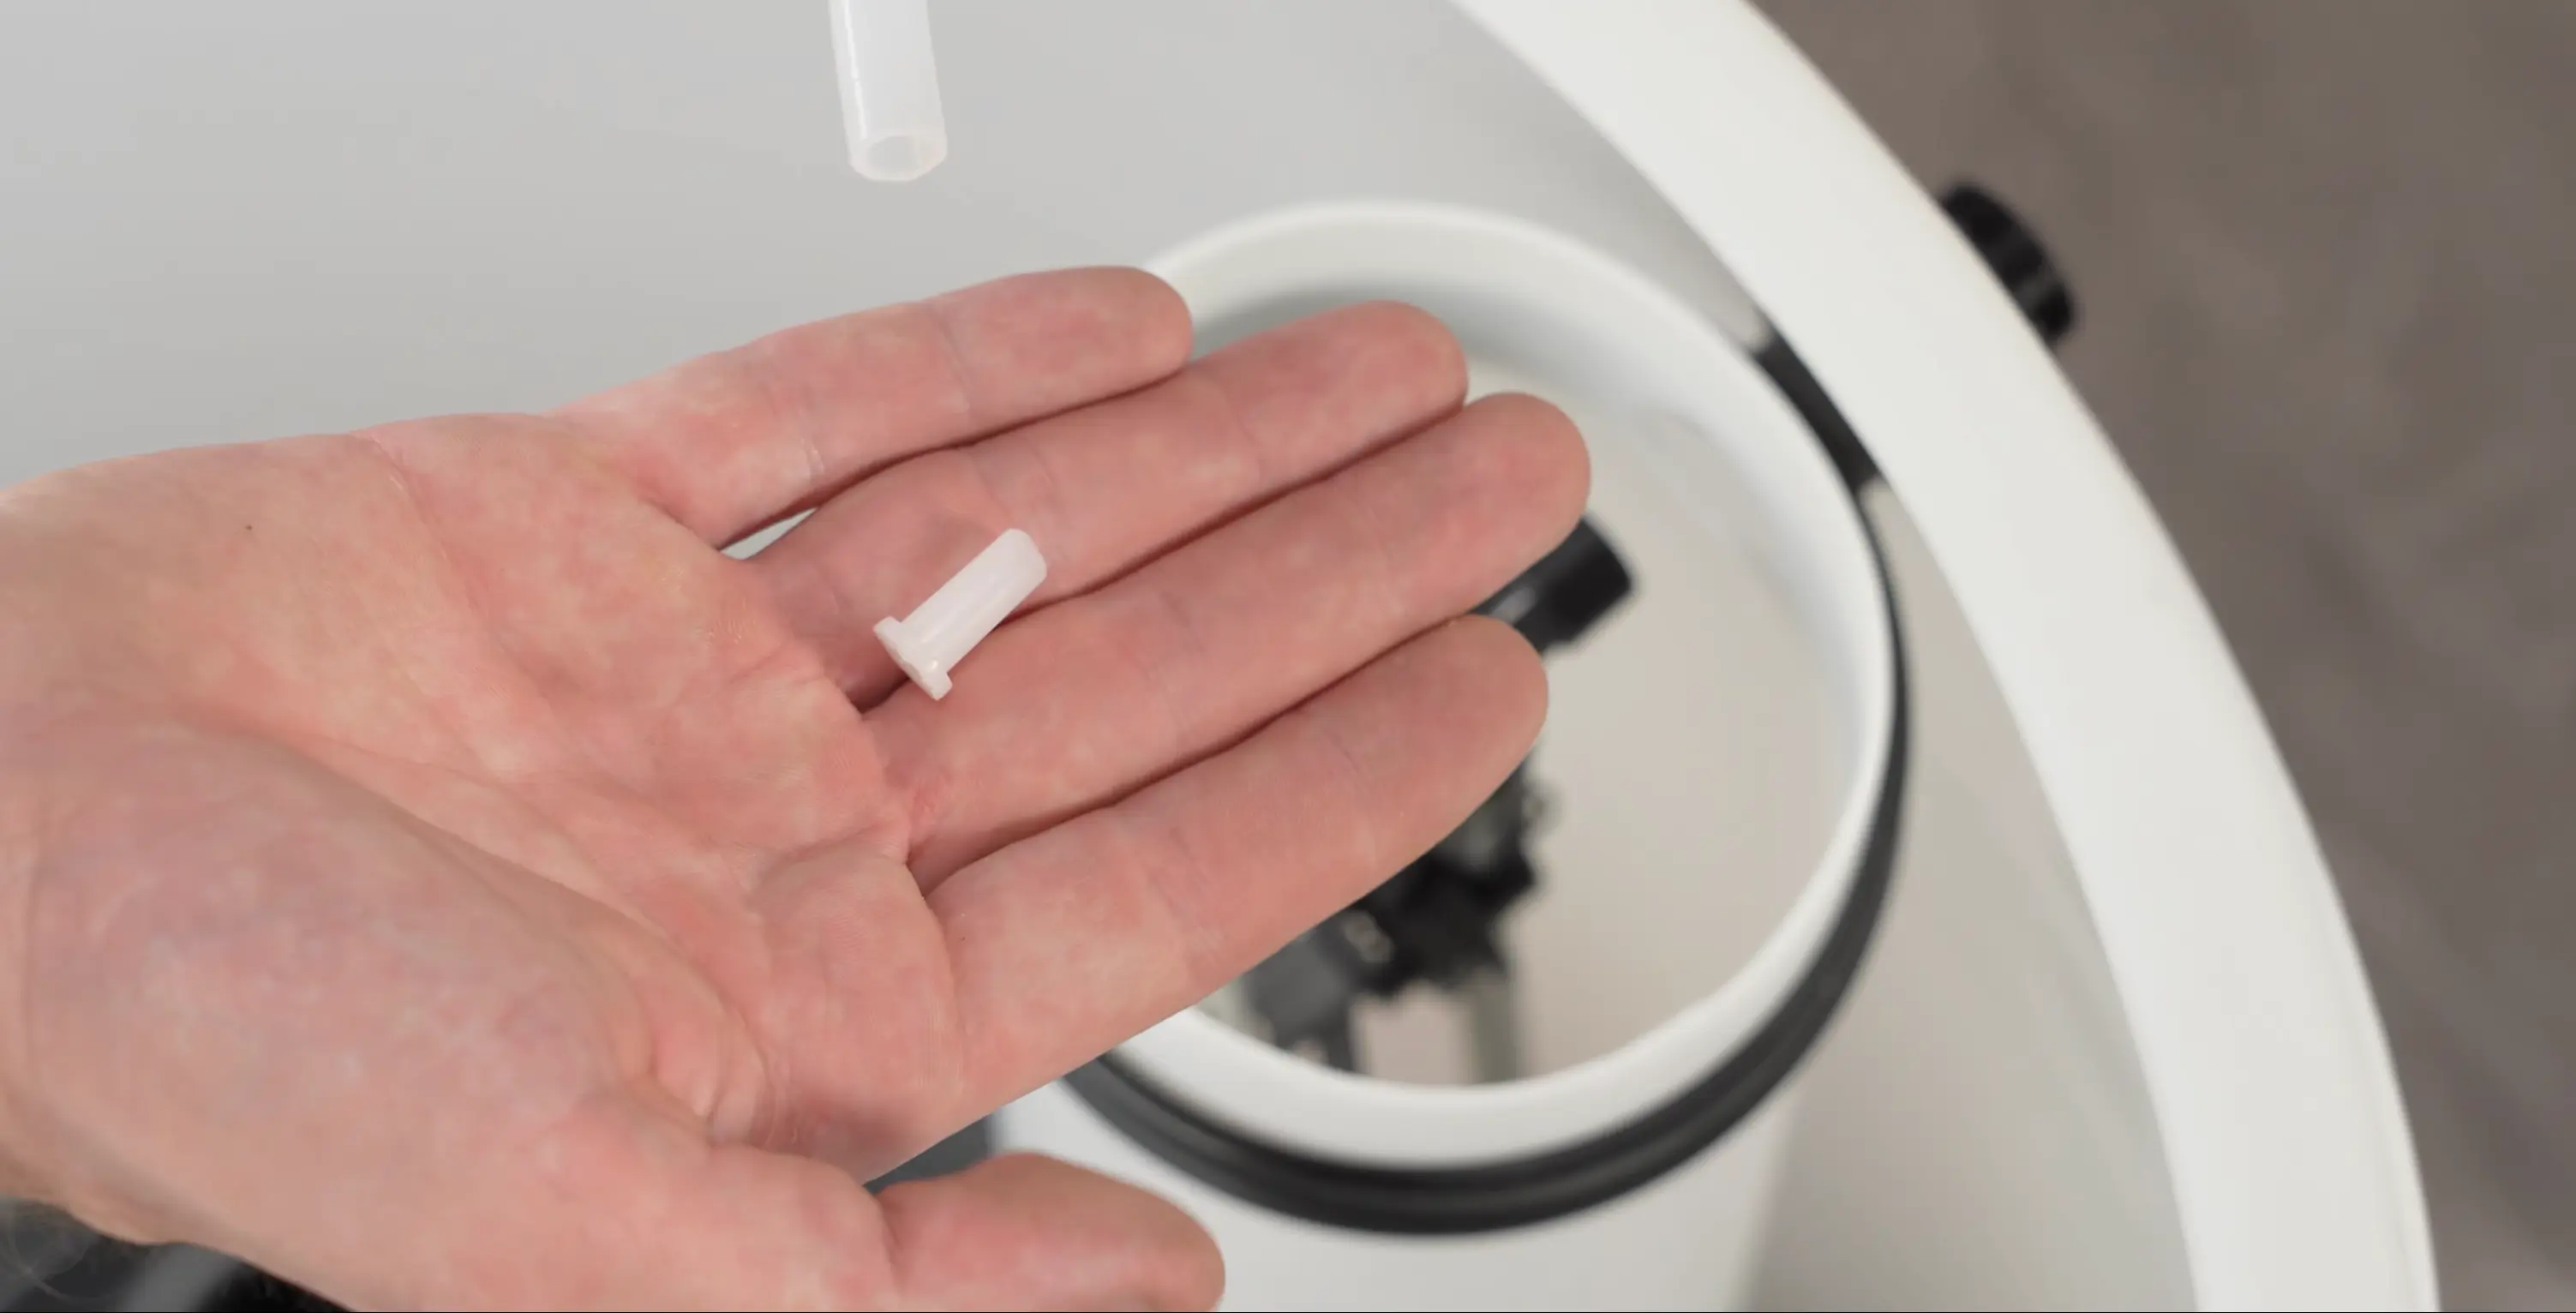
Disconnect the compression elbow from the float switch by unscrewing the nut. Inside you'll find a tubing spacer, remove it and set it aside. You'll need this spacer to reinforce the free end of the brine tubing before reconnecting.
Insert the Spacer and Reconnect
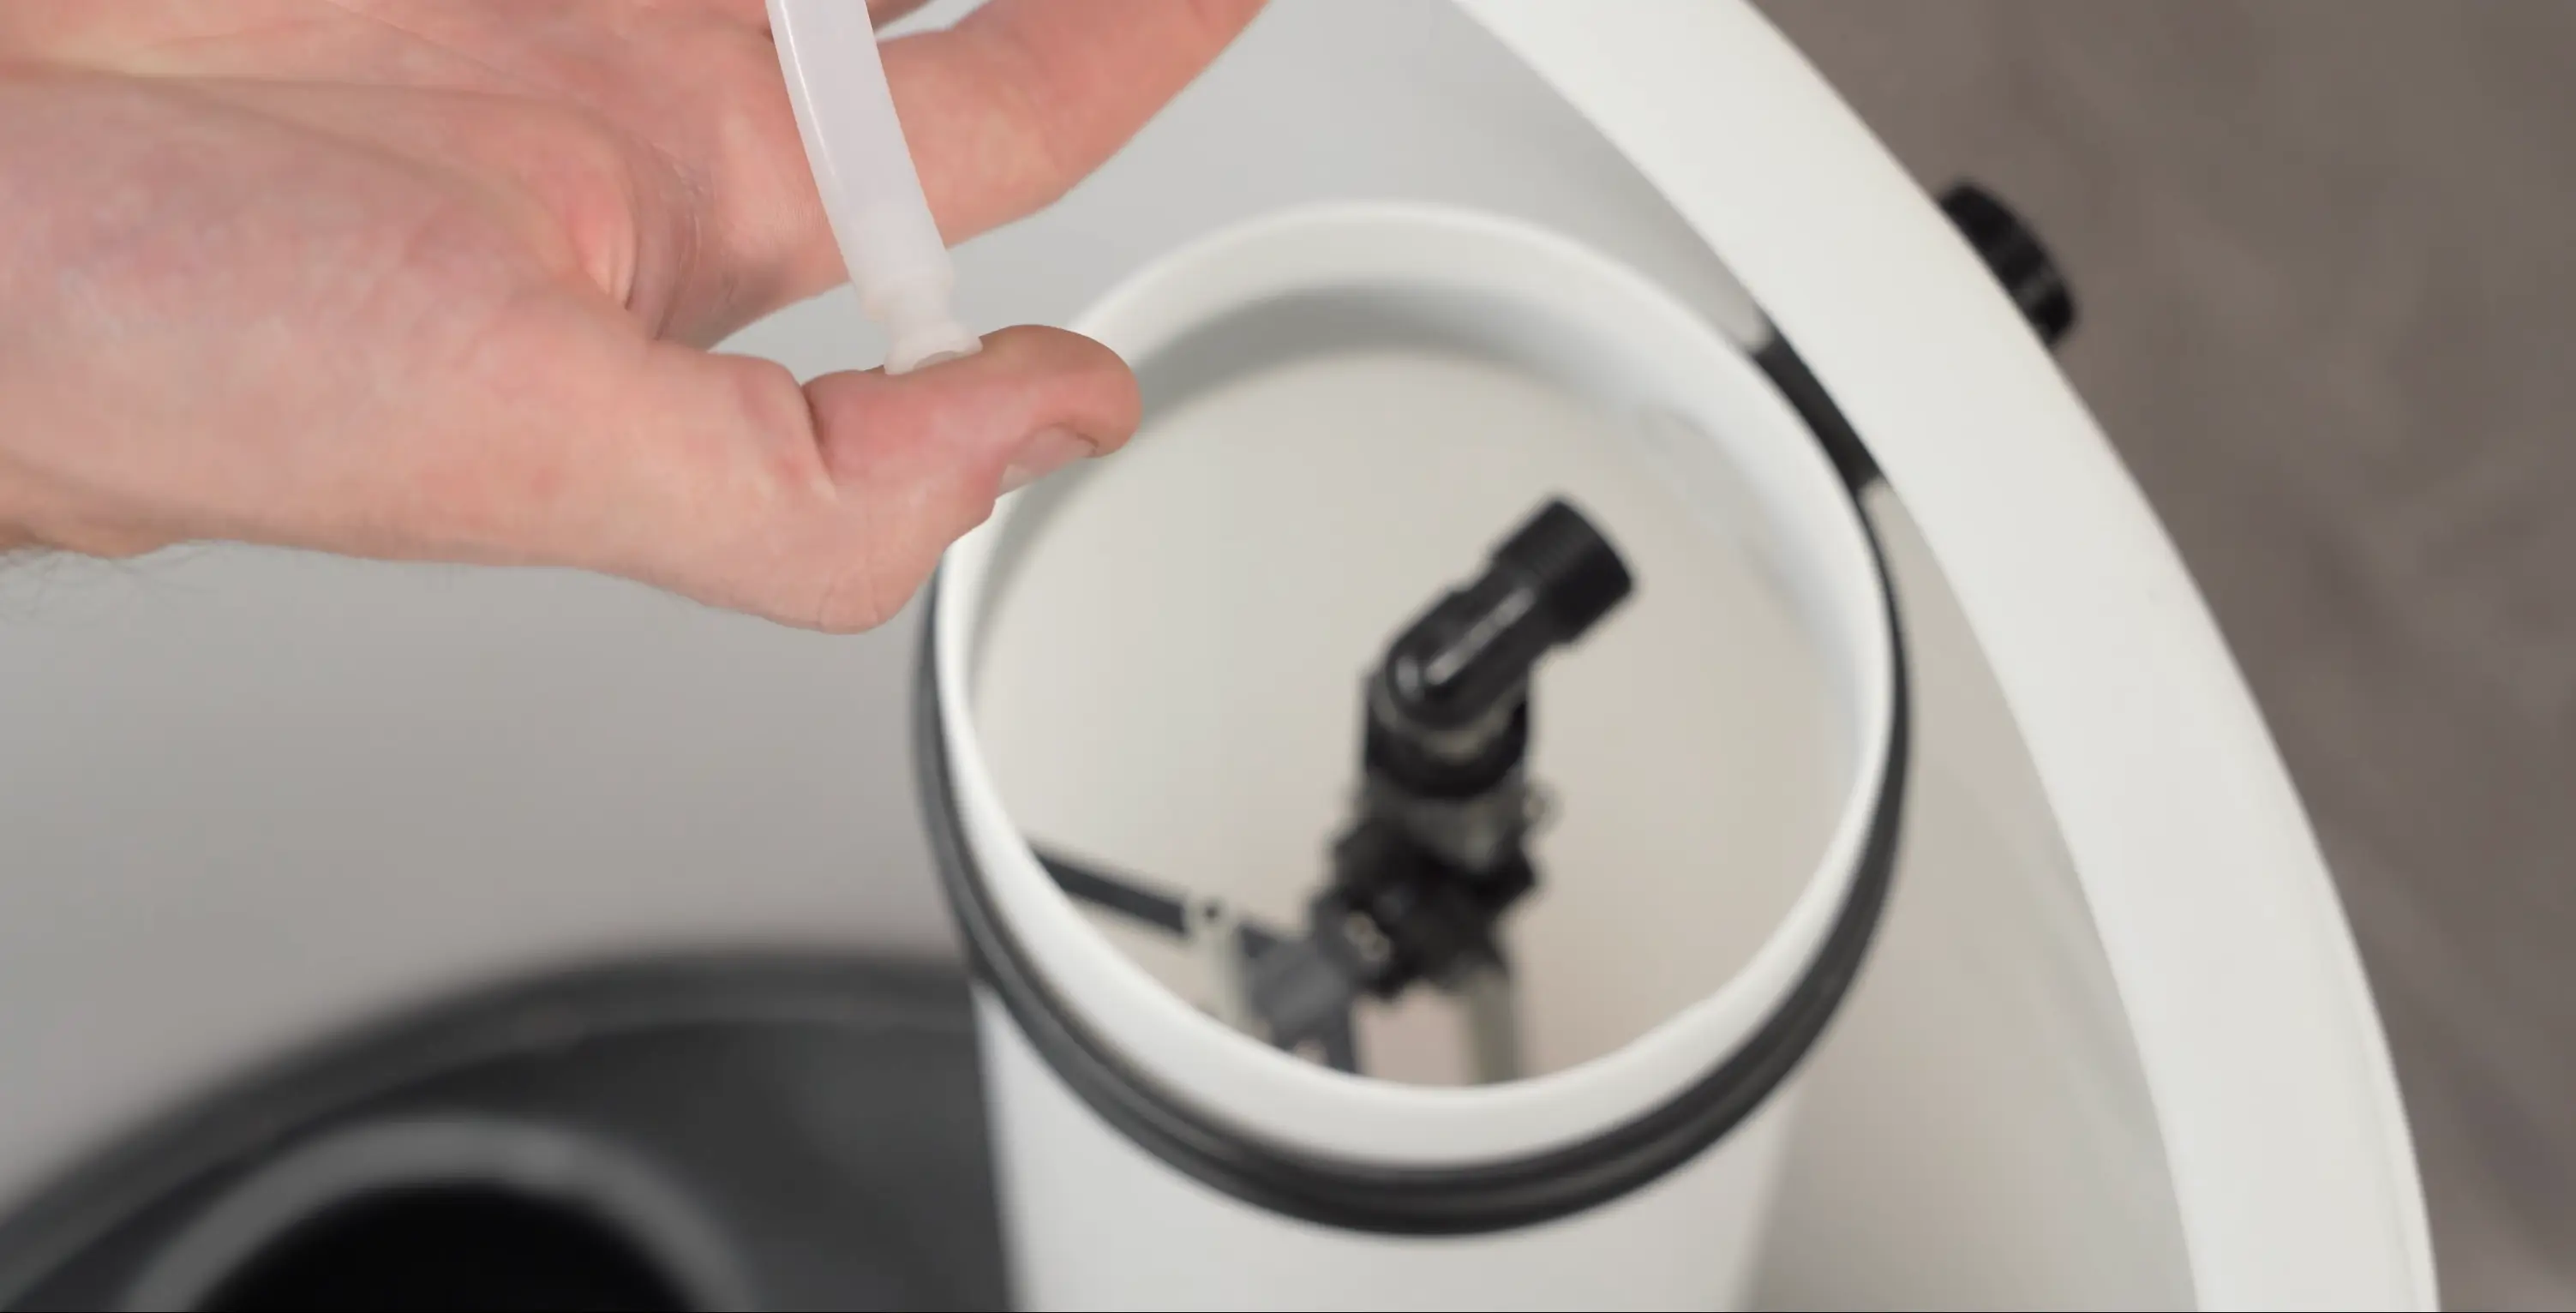
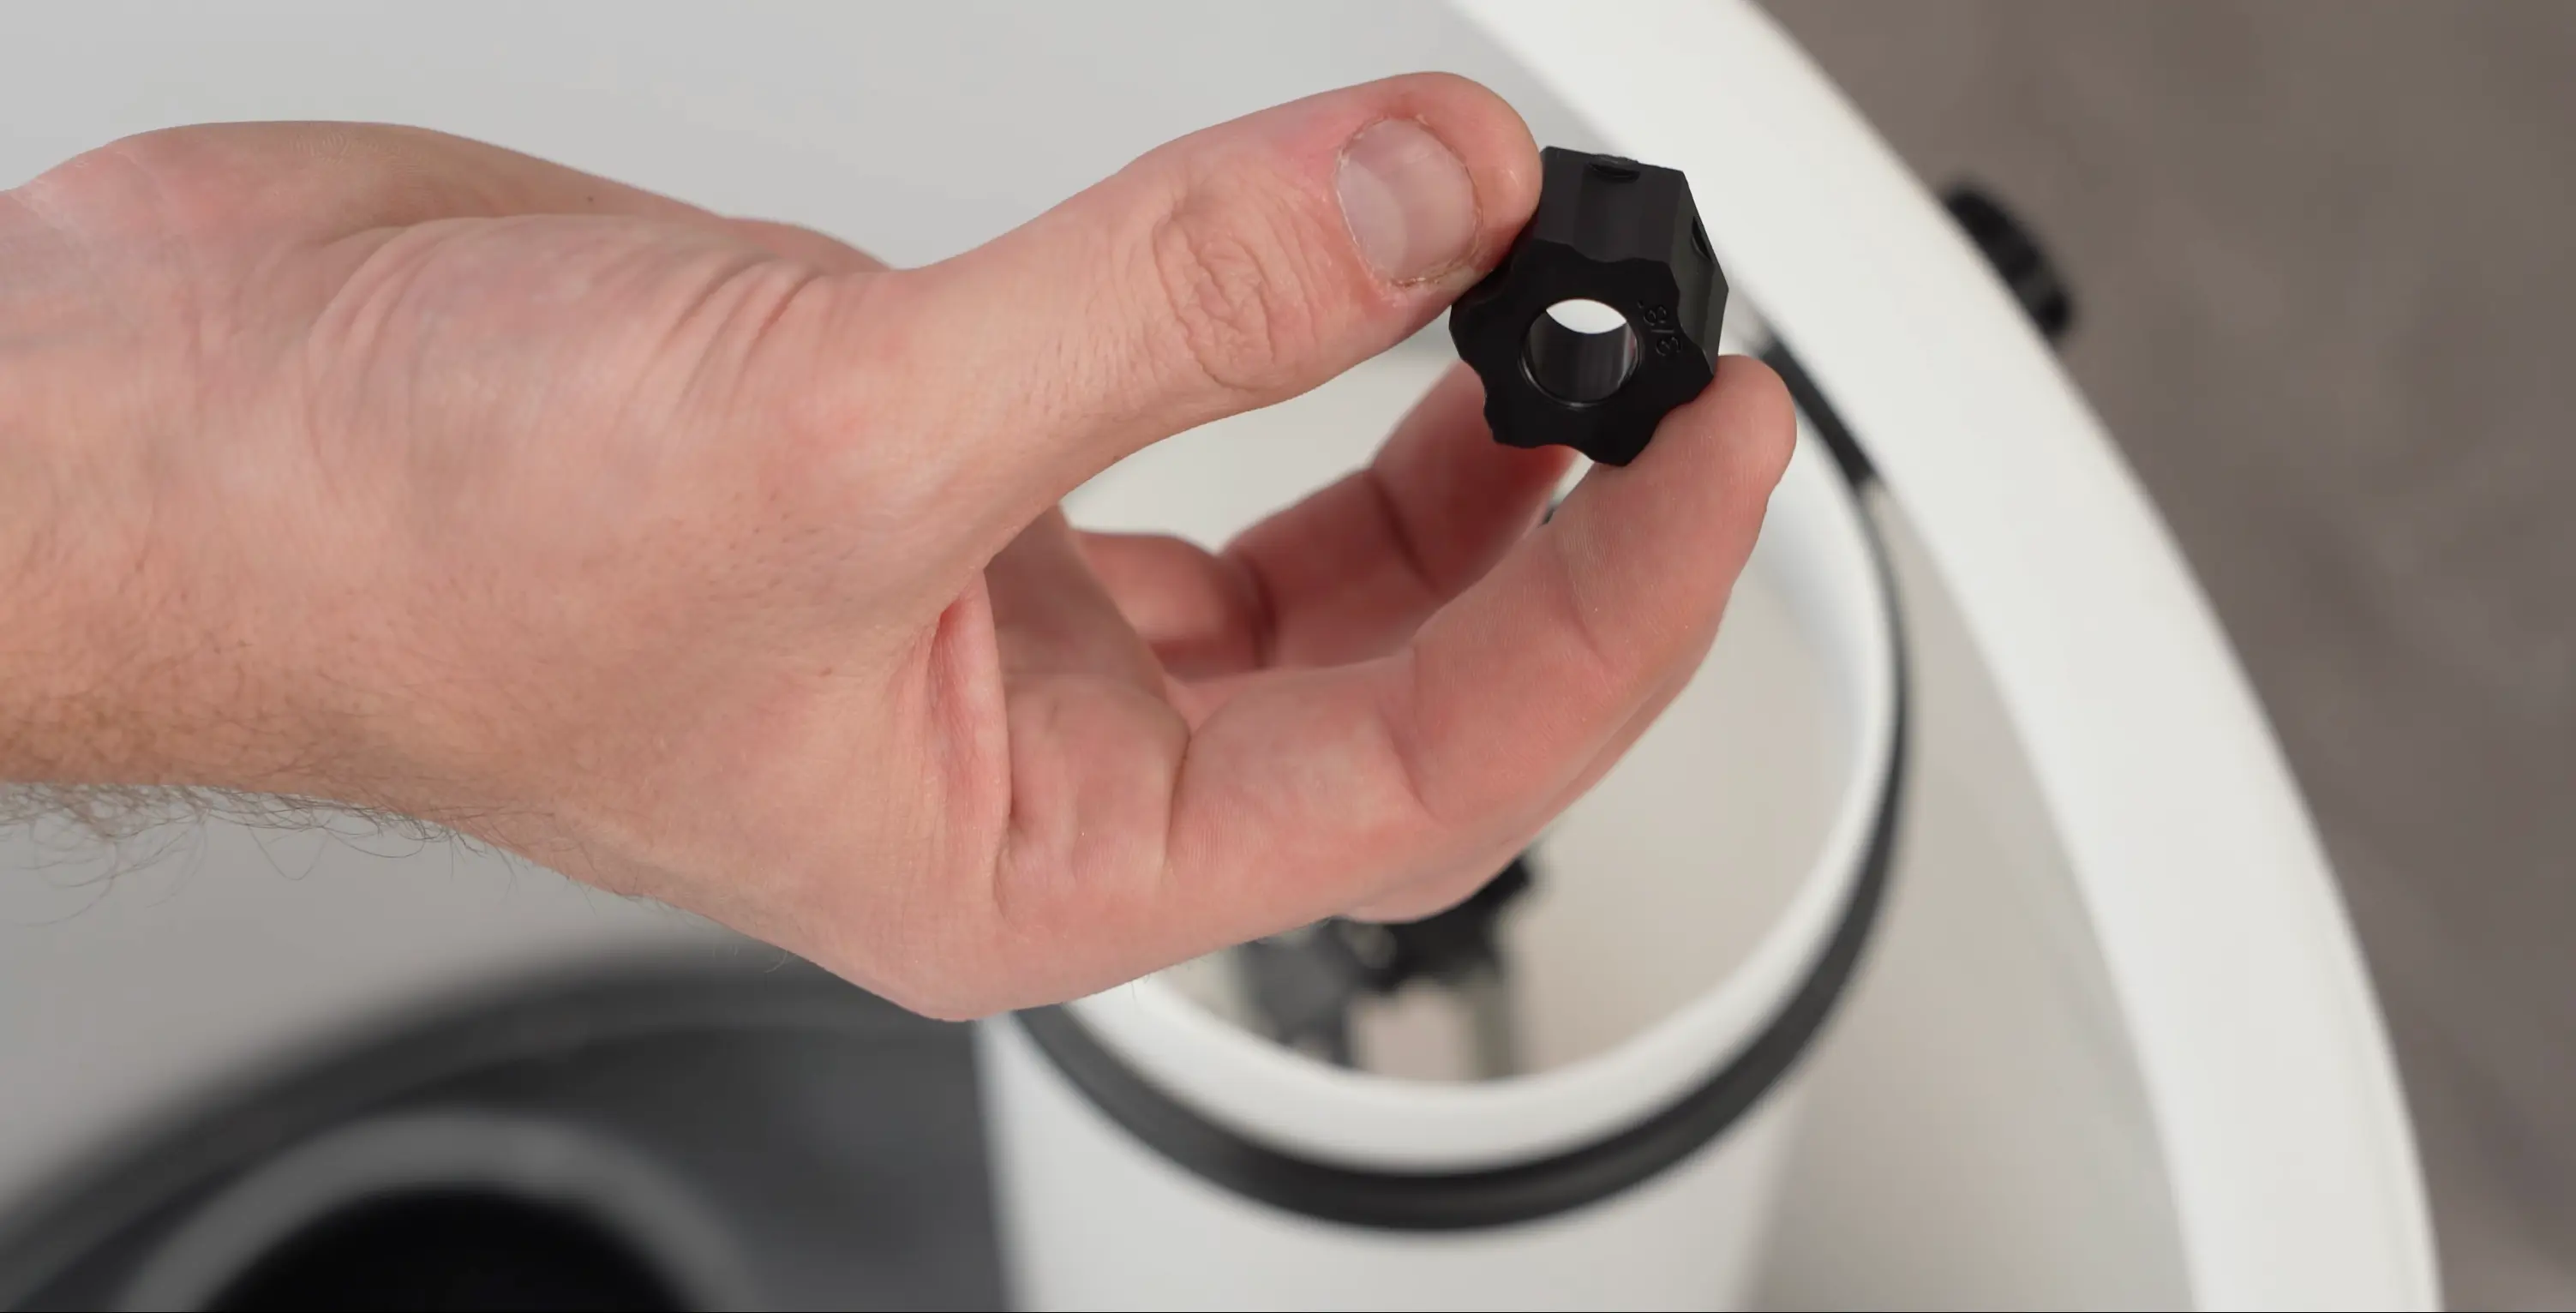
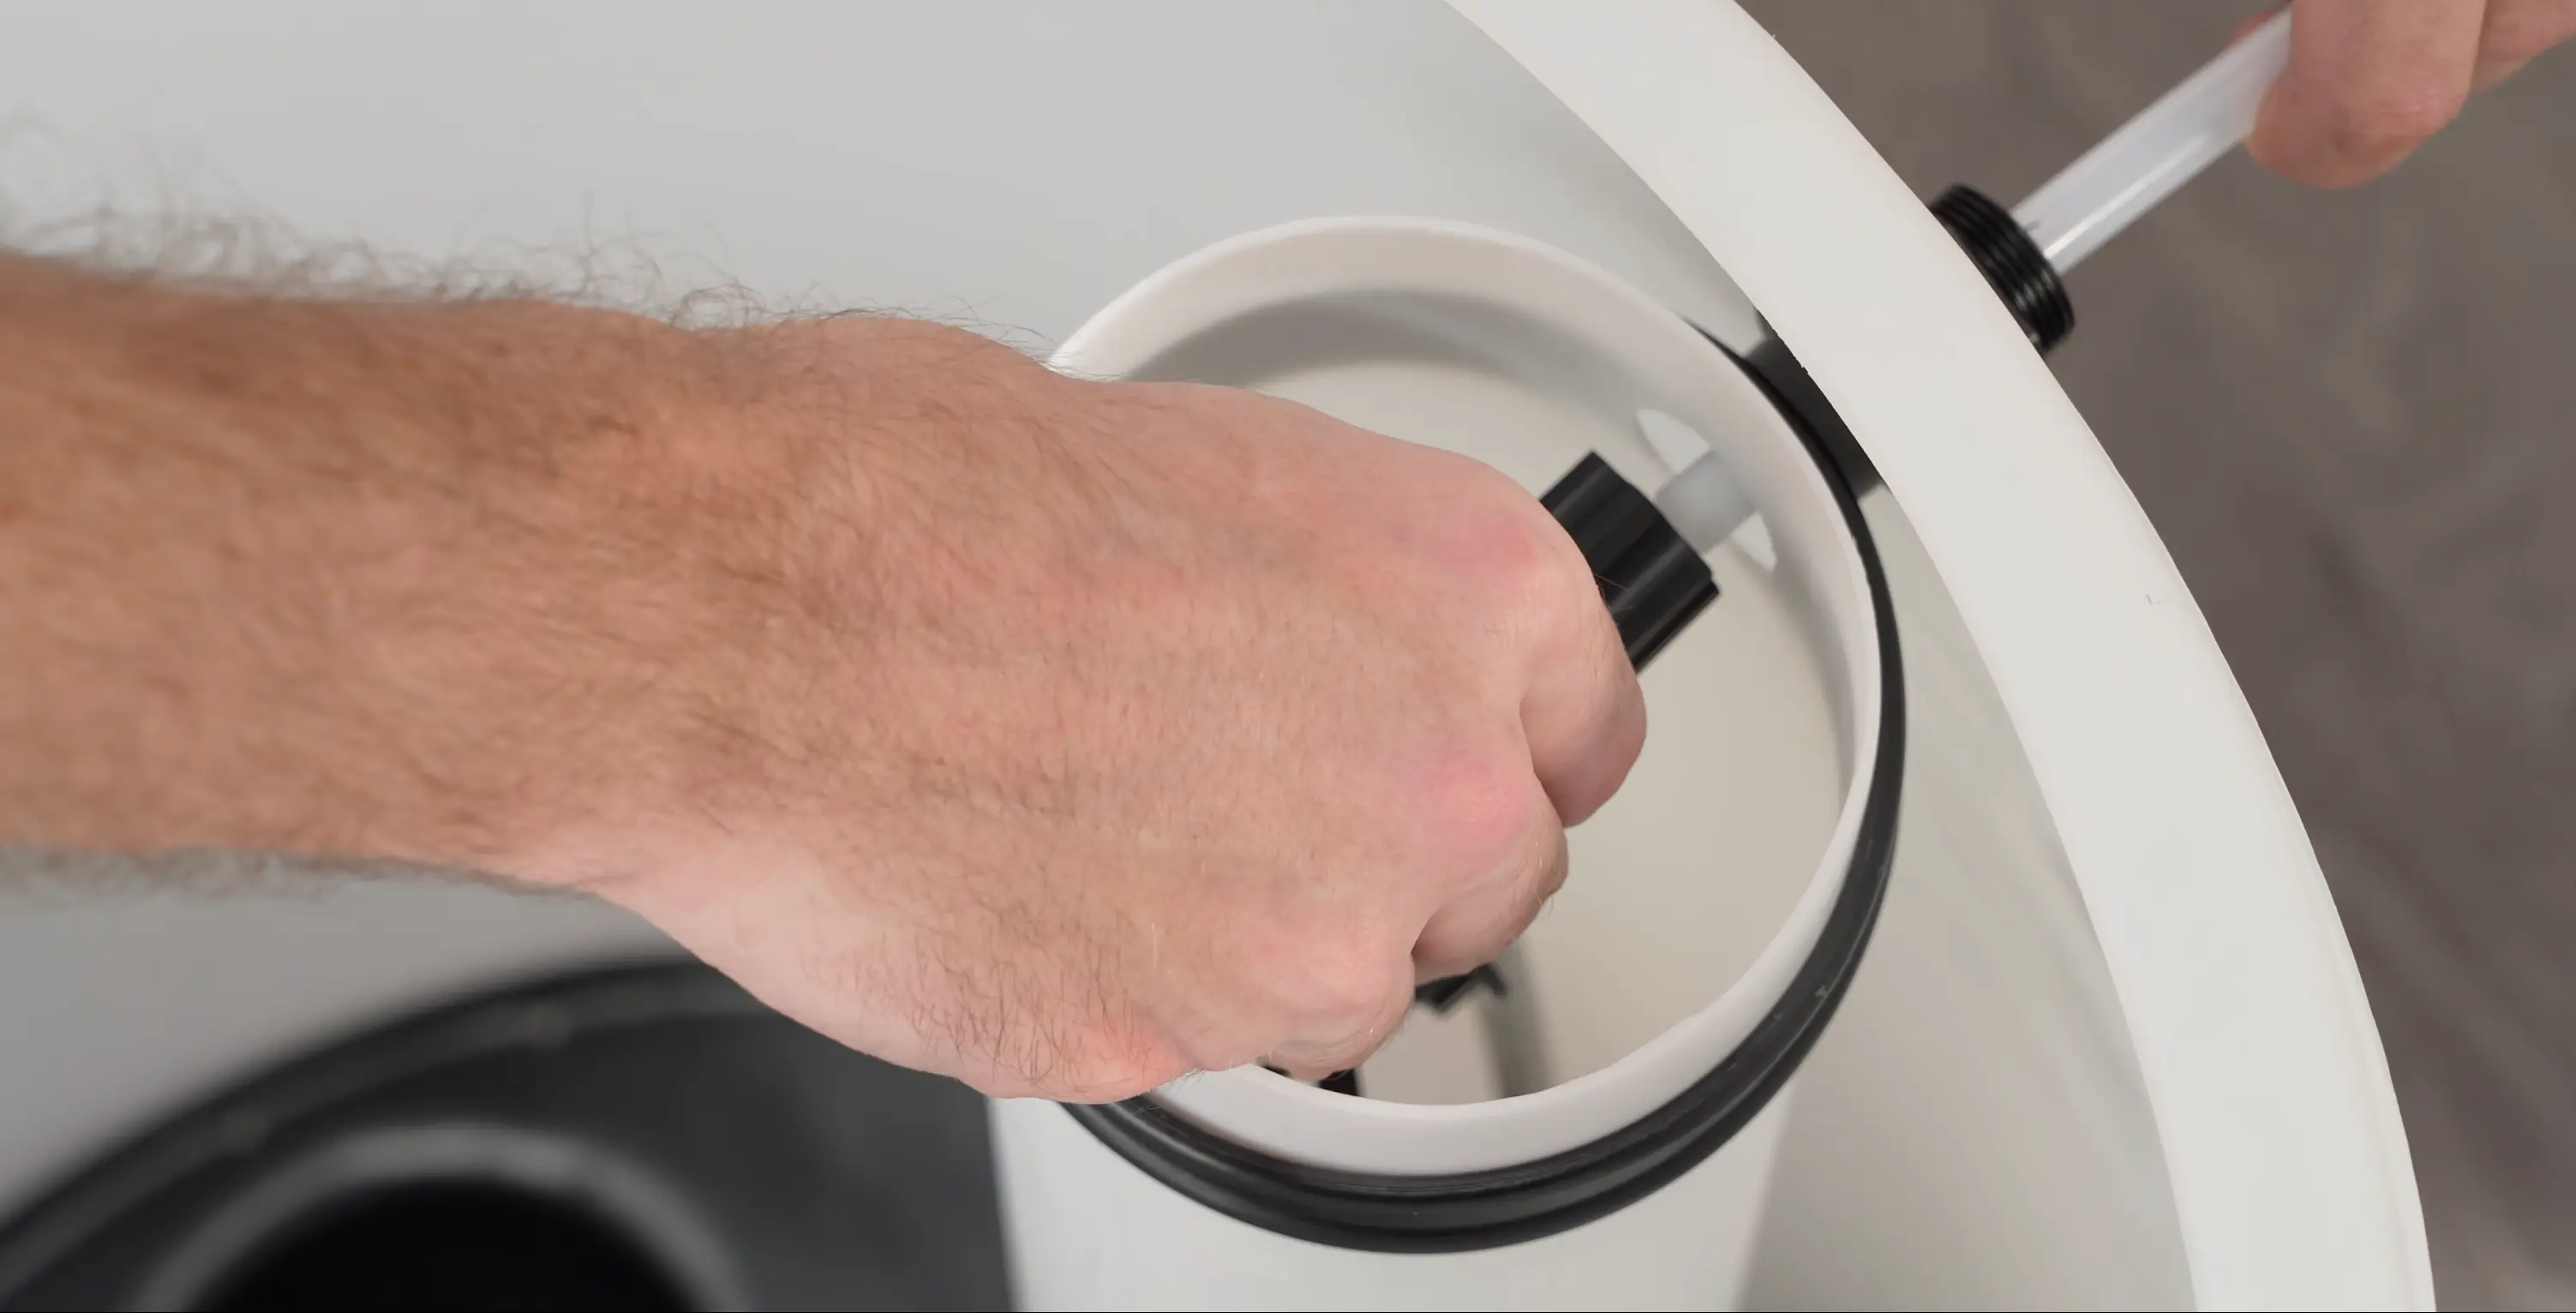
Insert the tubing spacer into the free end of the brine tubing, just as you did on the control valve side. Thread the compression nut back onto the elbow, slide the tubing in fully, and tighten with pliers until the connection is firm.
Verify the Completed Connection
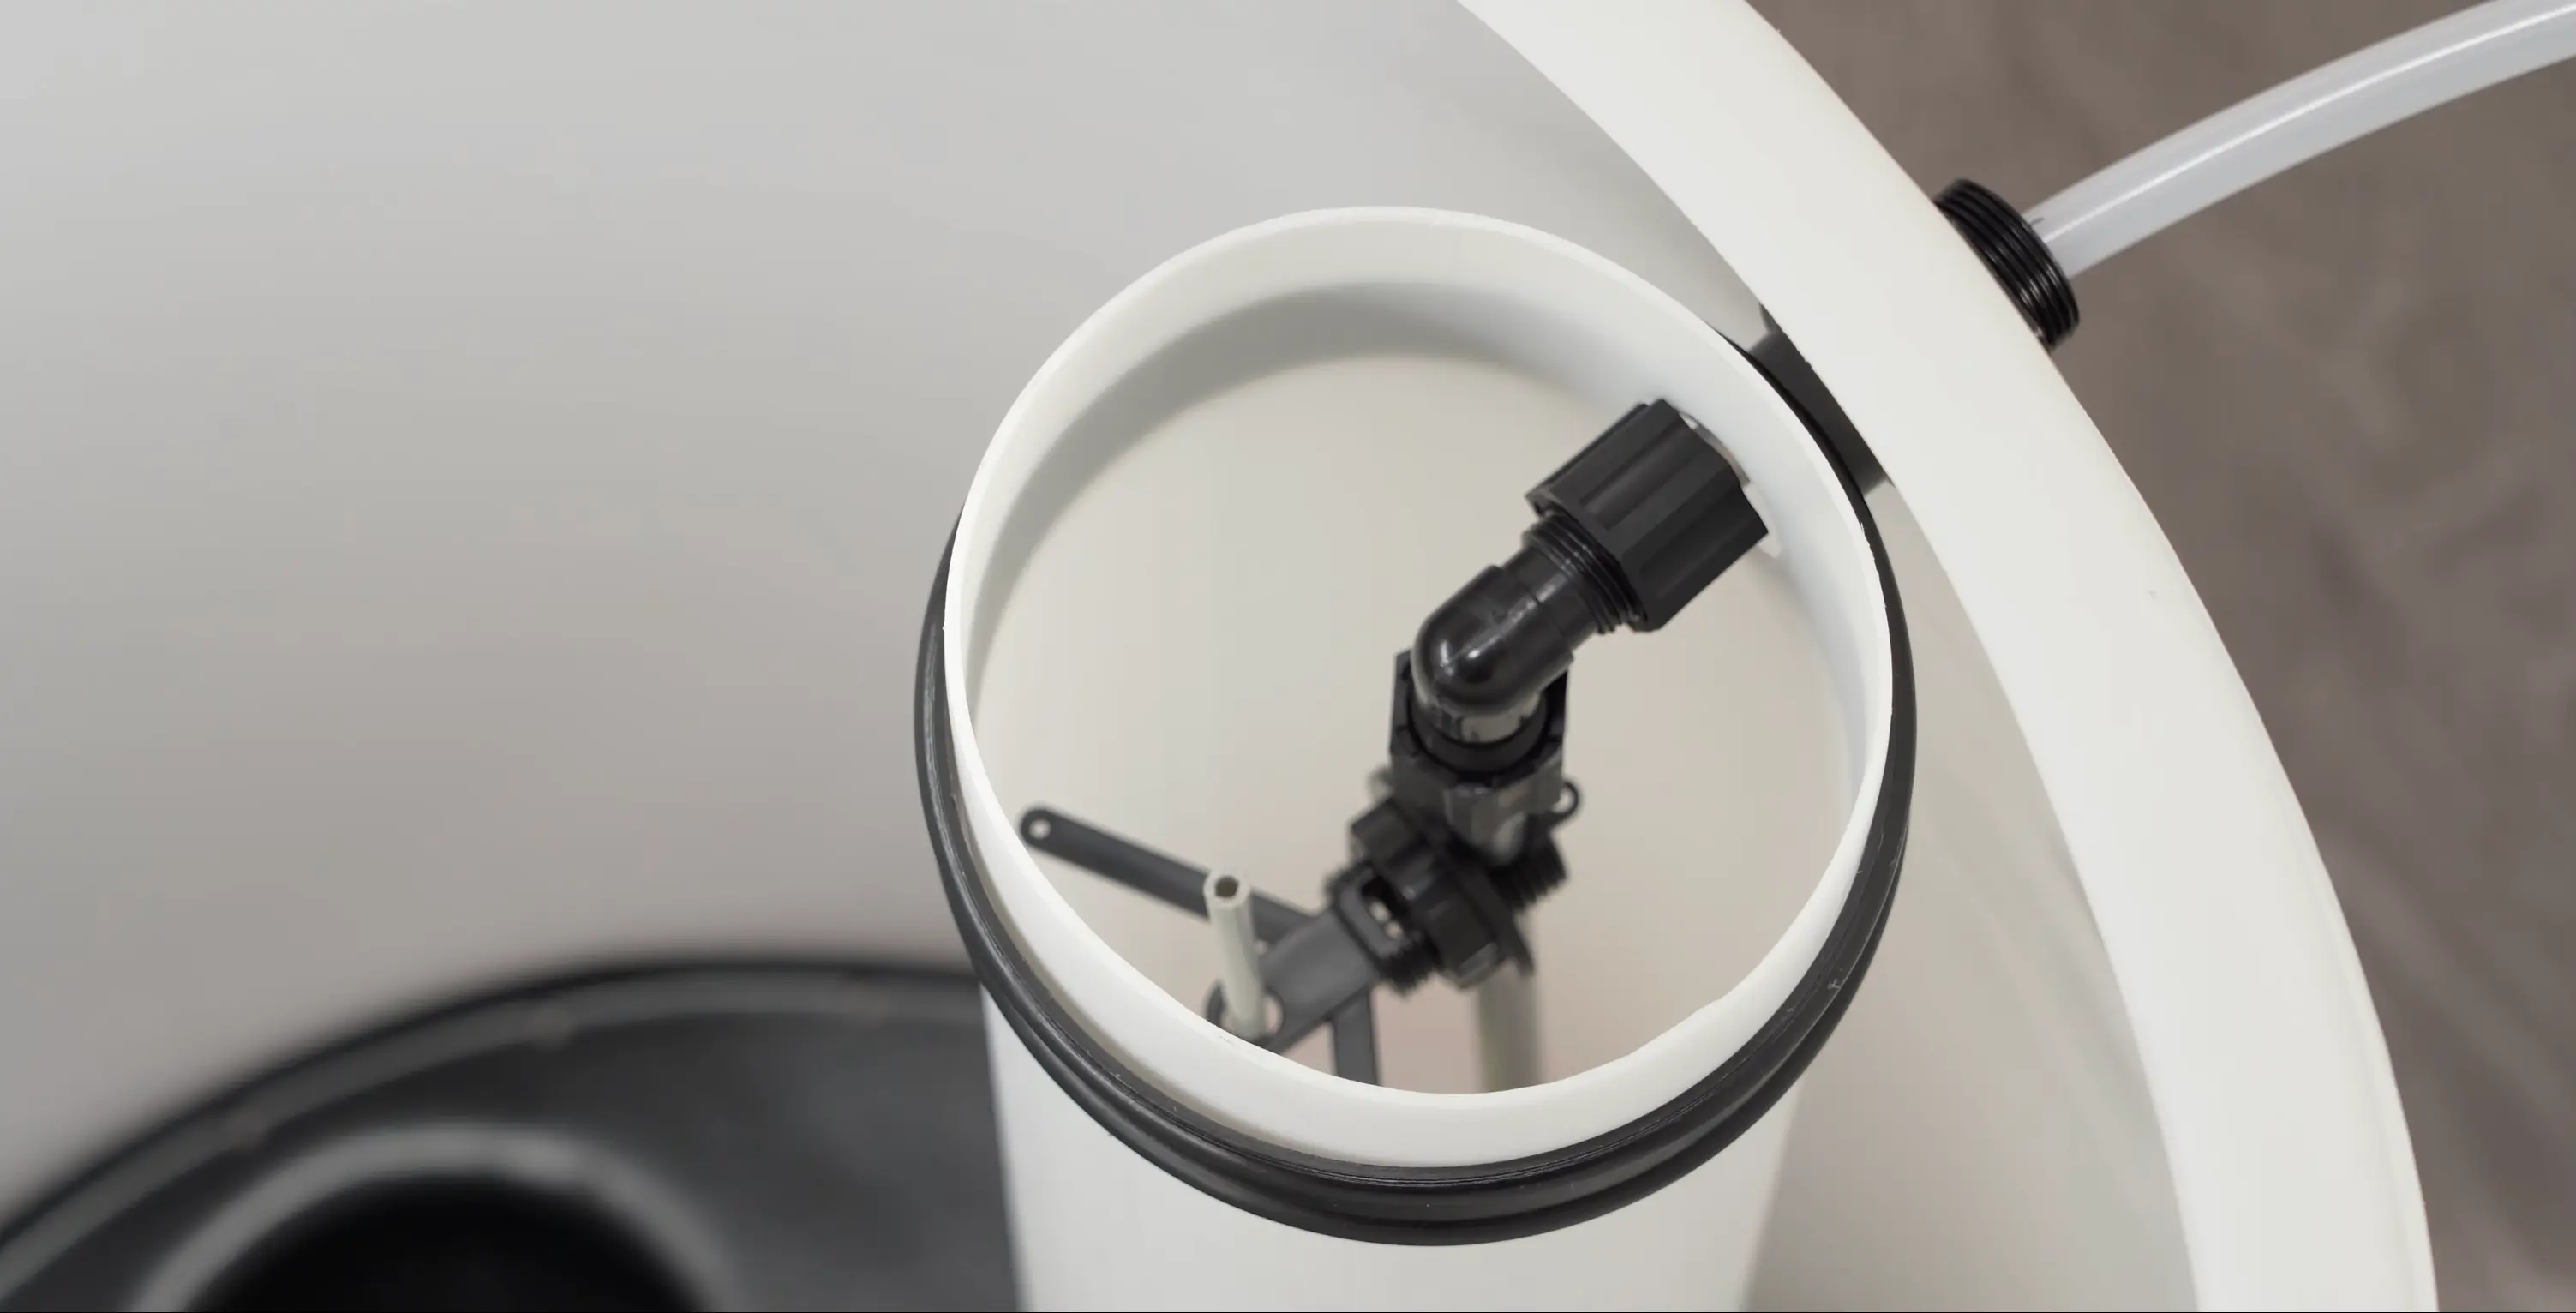
With both ends connected, give the tubing a gentle tug at each connection point to confirm everything is secure. The compression fittings should hold firmly with no movement.
Cap and Fill the Brine Tank
4:33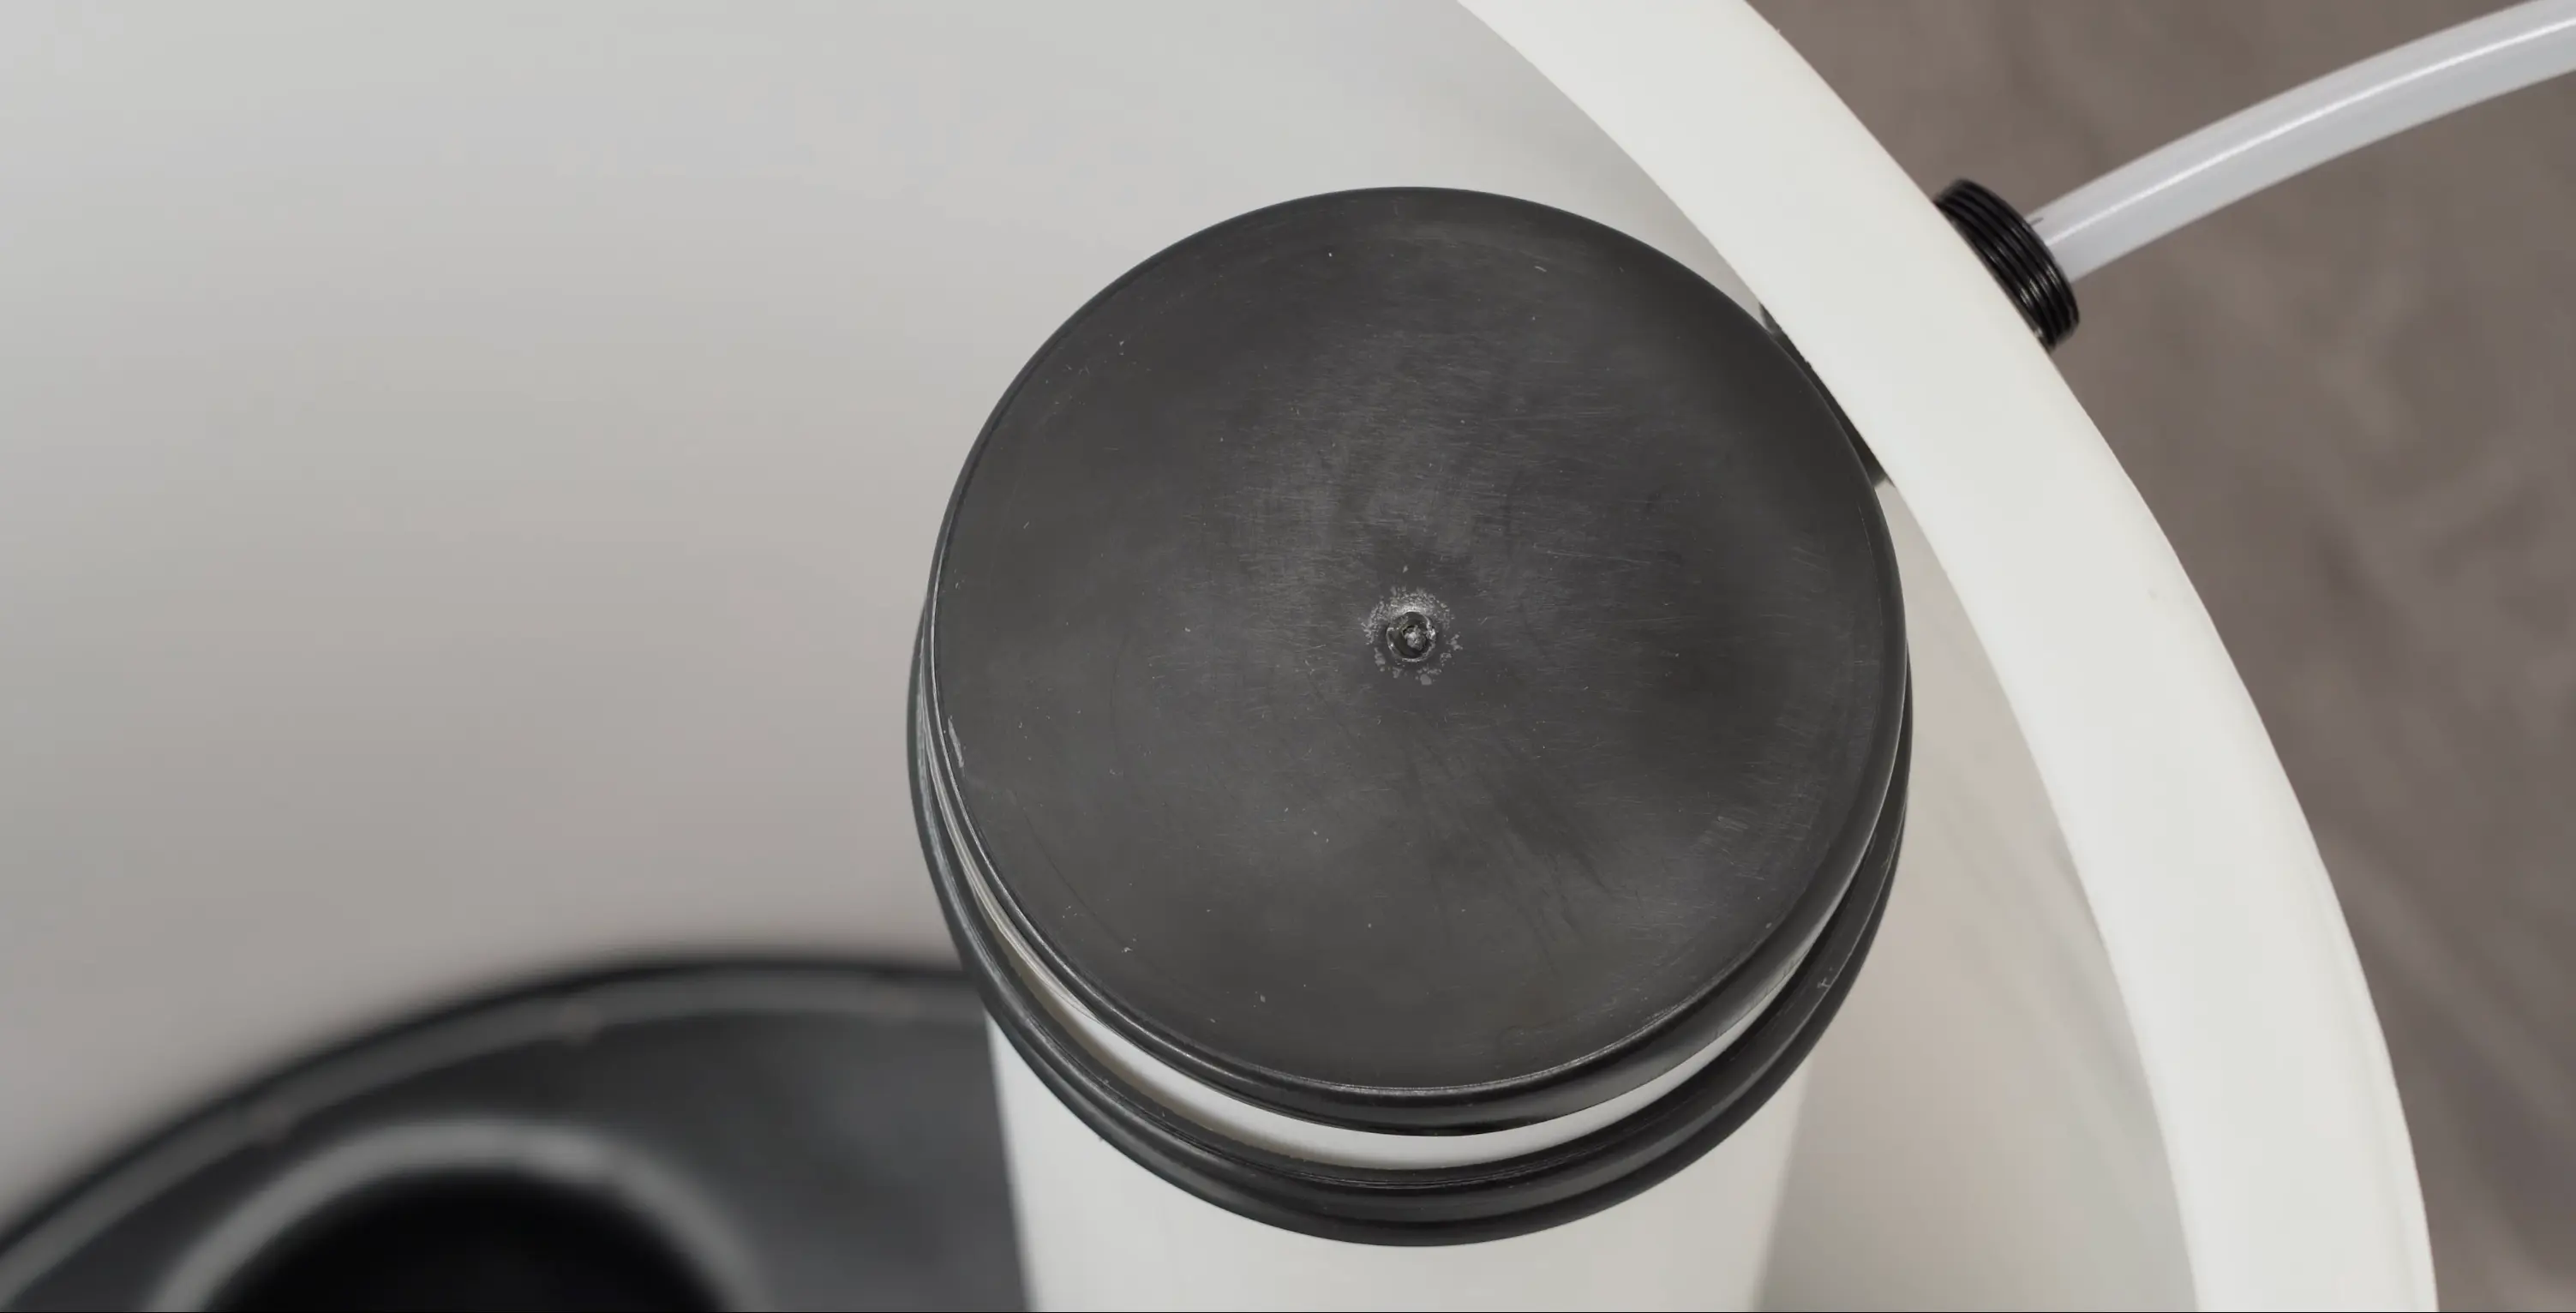
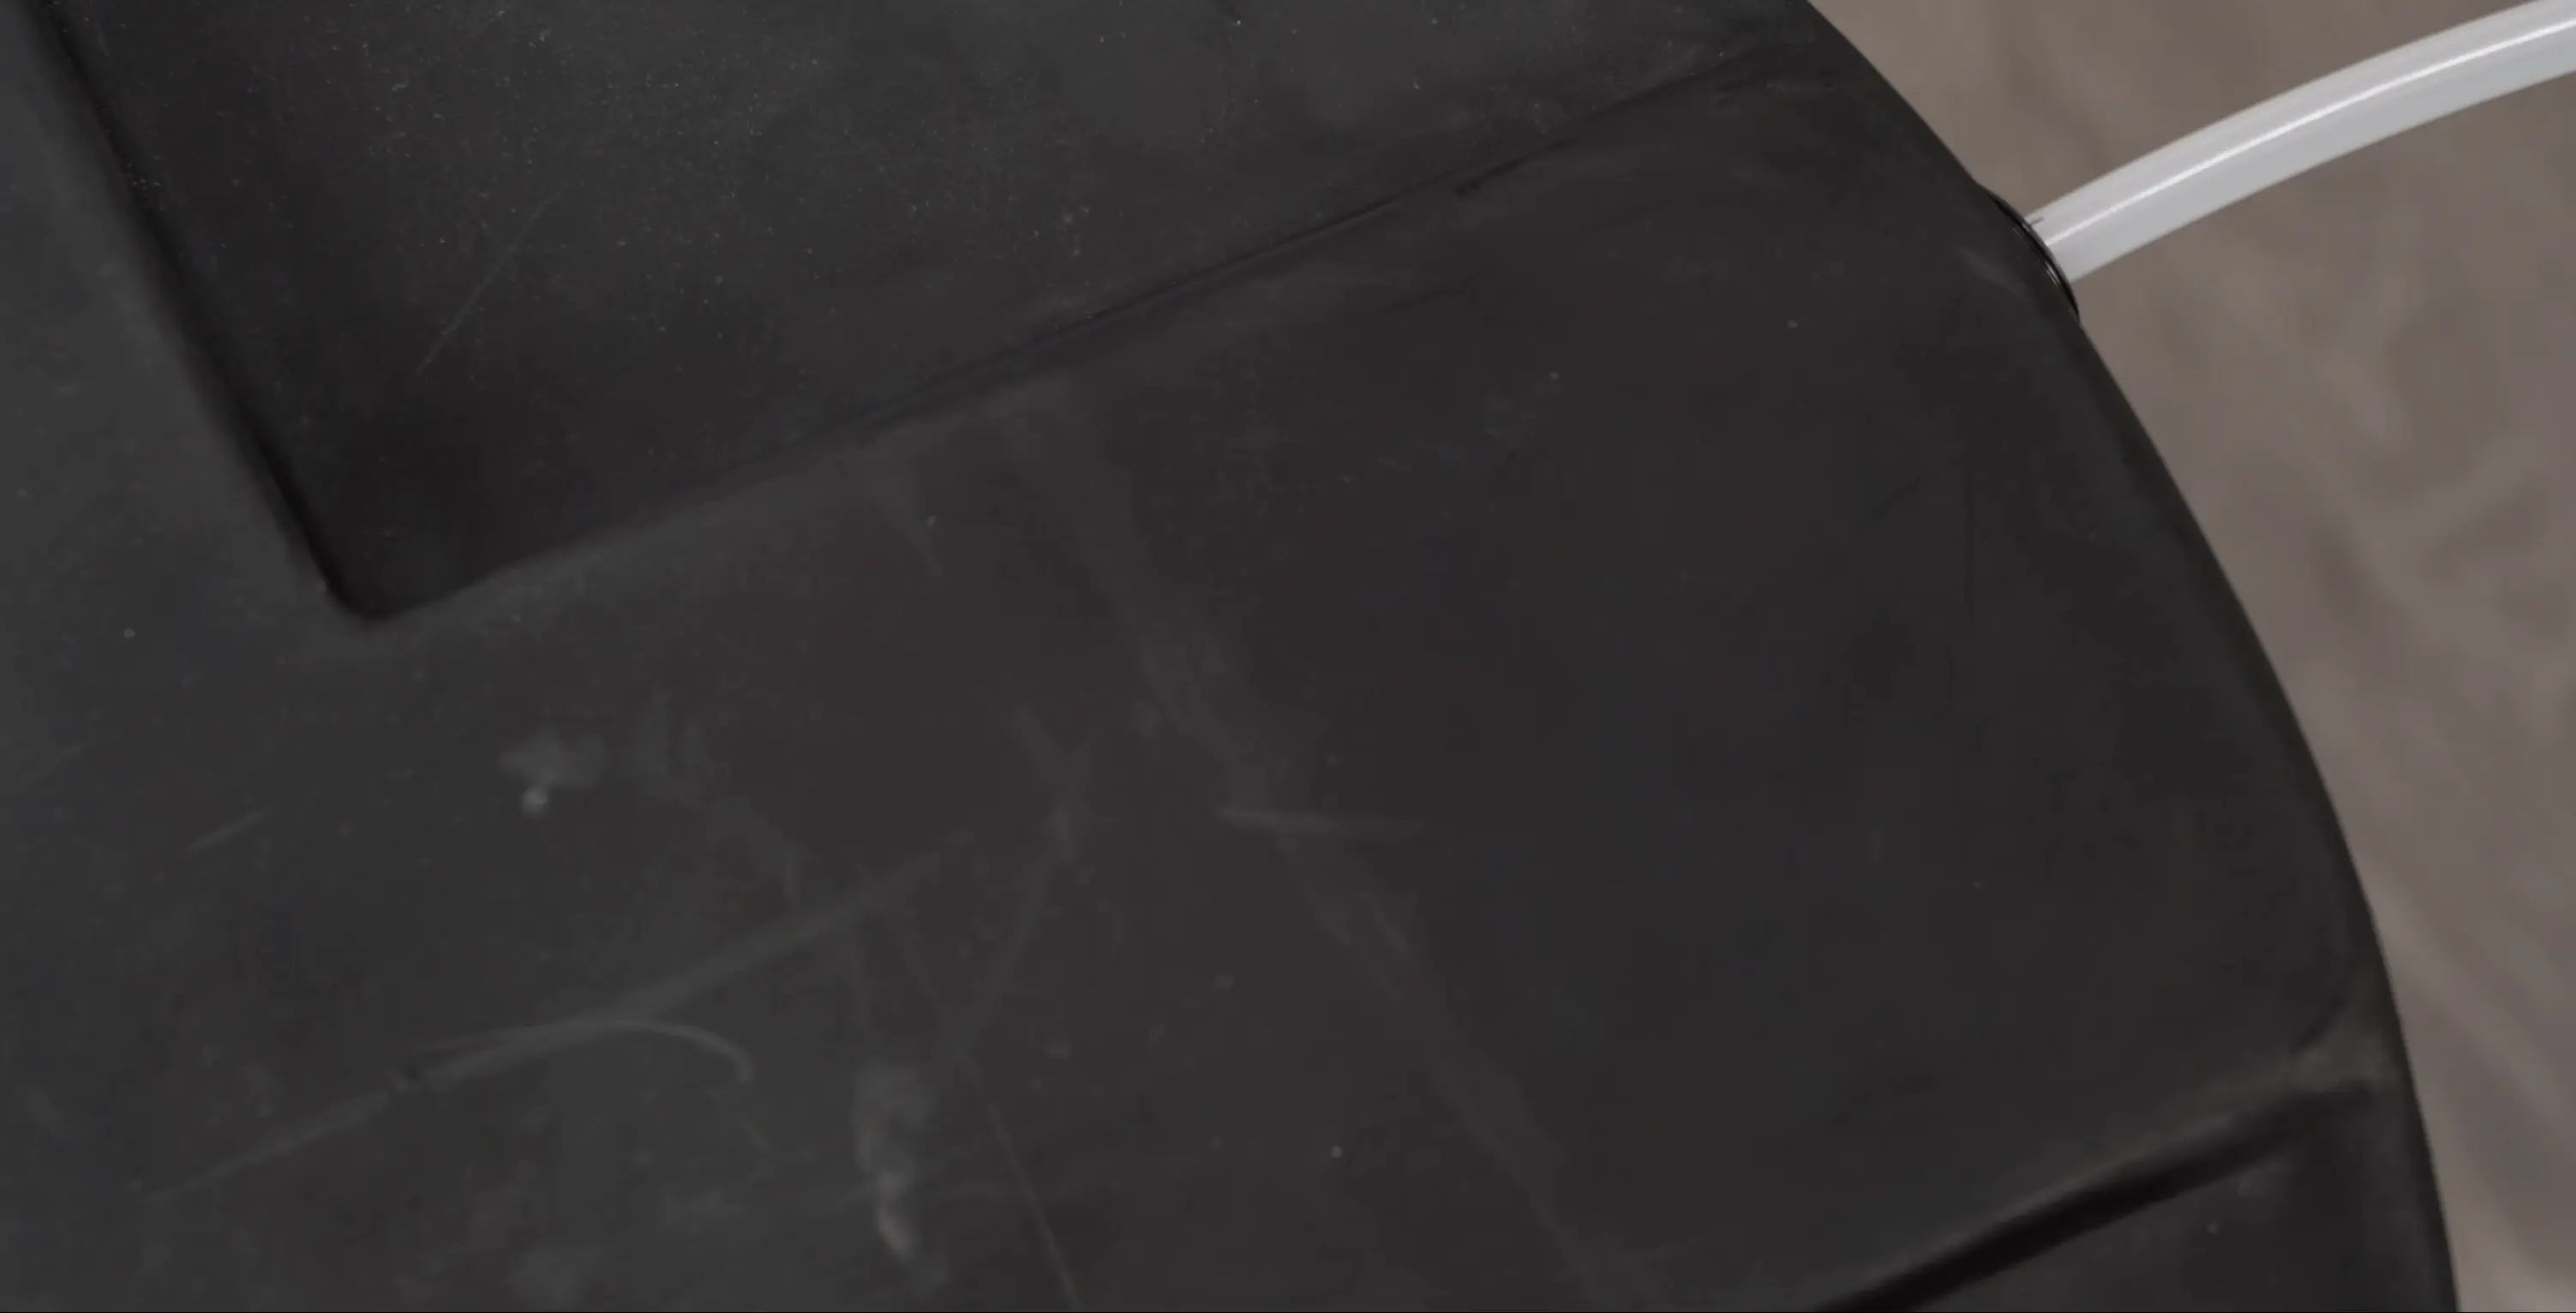
Place the small cap on top of the internal cylinder inside the brine tank, then replace the large tank cap. For initial setup, fill the brine tank halfway to three-quarters full with salt, then add water until it sits about one inch above the salt level. This ensures there's enough brine solution ready for the first regeneration cycle.
Tip: After the first regeneration, the system will automatically manage the water level in the brine tank, you only need to keep adding salt as it gets consumed.
Transcript
Read the video transcript
Transcript
Read the video transcript
Hey guys, this is Kevin from Crystal Quest. Today we're going to be installing our brand tank onto our whole house water softener. Let's get into it. Hey everyone, it's Kevin with Crystal Quest. If you haven't already, go check out our other video on how to install your control head onto your media tank.
But now we're going to focus on this install. First step is we're going to get our tank out of our way and we can pull out all the components we're going to need. Inside of here, you'll find your compression nut, your furl, your tubing spacer, and a screen. You'll also have an extra compression elbow that you won't need unless anything happens to the one already installed on your float switch. Also, you'll need to grab your tubing out of your brine tank.
All you'll need for this install is a good pair of pliers. Let's go ahead and start by taking off the cap of your injection port if there's one on there. Once we get our cap off, we can go ahead and set it on the side and we'll get our tubing ready for the install. First, let's put our compression nut around our tubing. Next, we're going to get our furl and put the thicker end towards the compression nut.
Next, we'll get our tubing spacer and slide it inside of our tubing. And lastly, we're going to get our screen and push it inside of that spacer. Now that we got all our pieces on our tubing, let's go ahead and put our tubing on our control head. This is as simple as making sure your tubing is all the way in the injection port and tightening on the compression nut around it. Once you get it snug, push the tubing back all the way.
Get your pair of pliers and tighten the nut around it to make sure your tubing is secure. Now that we've got our tubing installed on our control head, we can go ahead and install the other end into our brine tank. When you take off the cap to your brine tank, inside you're going to see a clear cylinder. And inside of that, you're going to see a float switch. And that's what we're going to be hooking up this tubing to.
First, before we can get our tubing into our brine tank, we're going to have to disconnect the top part of our compression elbow on top of our float. Once you disconnect the elbow, inside you'll find another tubing spacer that we're going to need for the install. And we'll just put it in this side of the tubing just like the other side. Now that that tubing spacer is in, we can go ahead and start this nut back on the compression elbow inside of our brine tank. Everything should go together super easy.
Now, all we have to do is slide our tubing into that end of the compression nut And to finish off the job, if you see in the bottom of your tank, you'll find one more smaller black cap that will go on top of that cylinder inside of your tank. And finally, we can put our large cap on top of the brine tank. A few things to take note of. Your tank won't come with any salt or water in it. So during your initial installation, you're going to have to fill up your brine tank about halfway to 3/4 full of salt.
And then you're going to have to fill it up with water to about an inch over your salt level. And there you have it. You successfully installed your brine tank onto your water softener system. If you have any questions that we didn't address in this video, feel free to leave a comment below, call us, or visit us at crystalquest.com. Thank you.