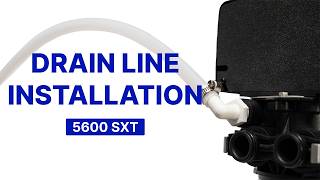
Fleck 5600SXT Control Valve Installation Water Softener Setup
Installing the Vtrol control head correctly is the foundation of a reliable water treatment system. This guide covers every step from unboxing to final mounting. The Vtrol control head is a Fleck 5600.
Why Correct Installation Matters
A poorly mounted control valve leads to leaks, air gaps, and inconsistent water flow through the media bed. Taking the time to install it right the first time saves you from troubleshooting problems down the road.
Vtrol control head Control Head
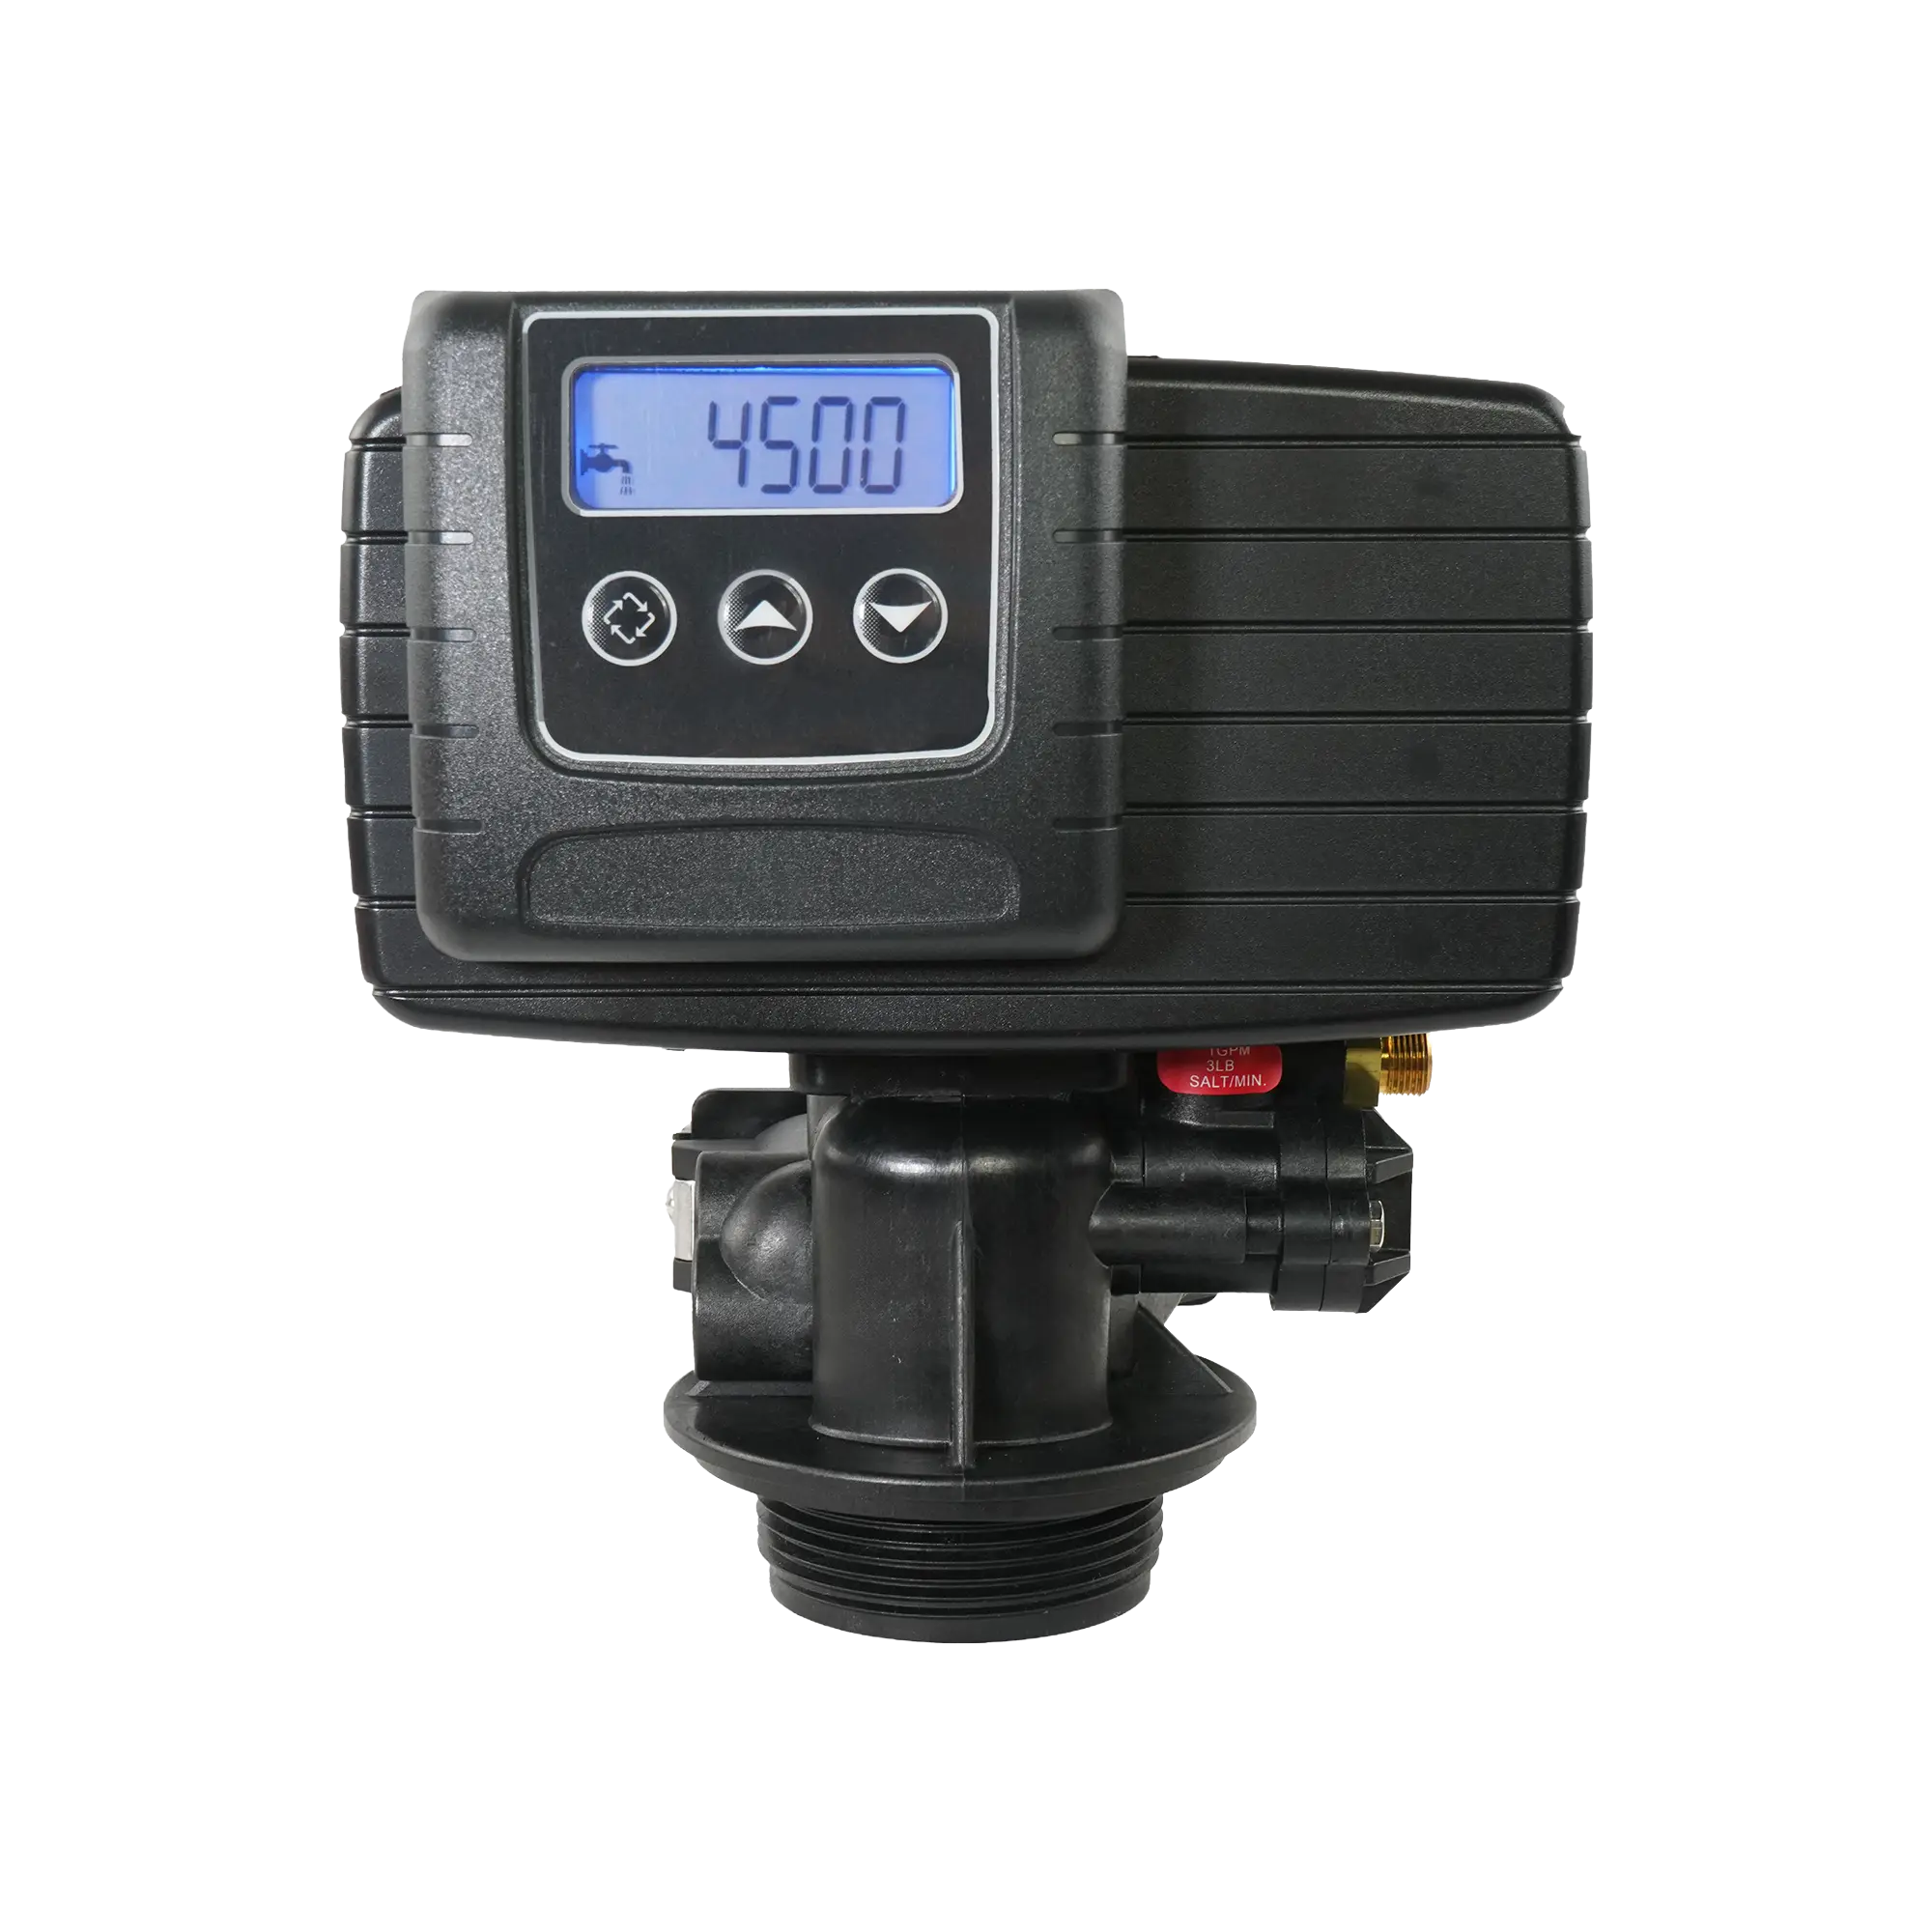
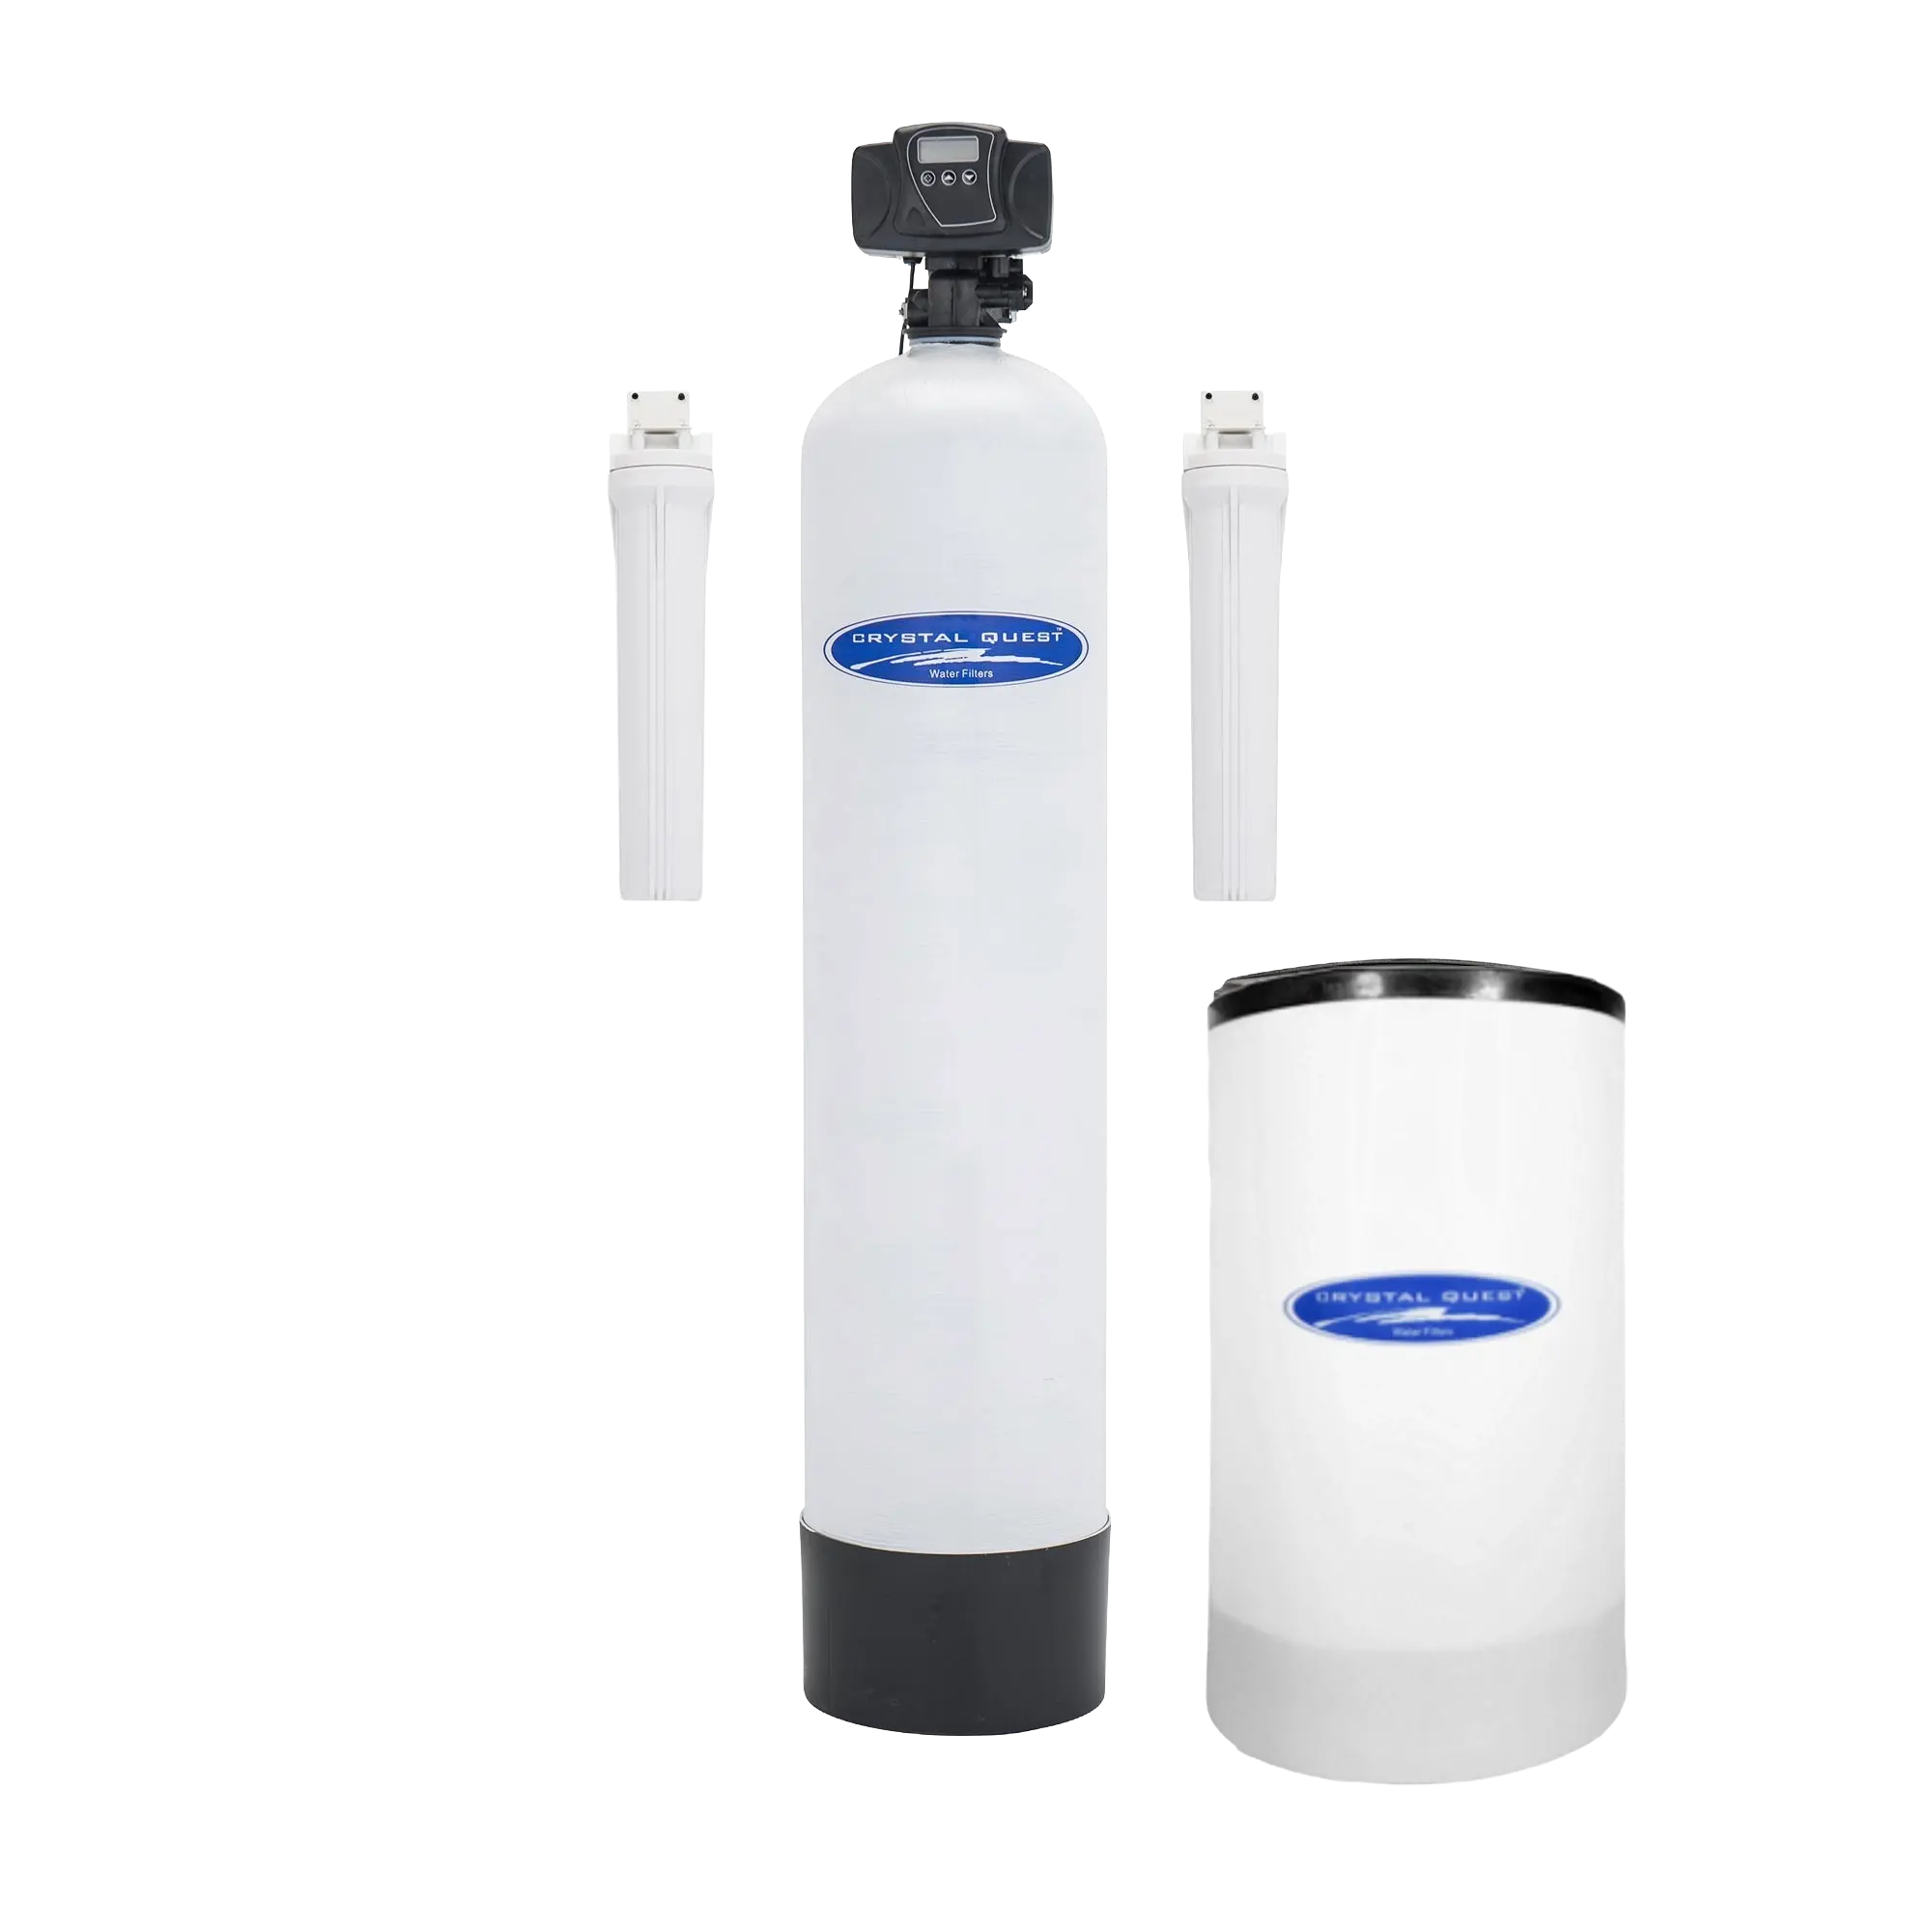
The Vtrol control head by Crystal Quest is an automatic control head used on water softeners and whole house filtration systems. The Vtrol control head is a Fleck 5600. It manages regeneration cycles via a metered or time-clock schedule, features a backlit digital display for easy programming, and supports a snap-on bypass valve for maintenance isolation. Built on a proven platform, the Vtrol control head is a reliable residential control valve backed by Crystal Quest.
Step-by-Step
Complete Walkthrough
Unboxing and Component Overview
0:20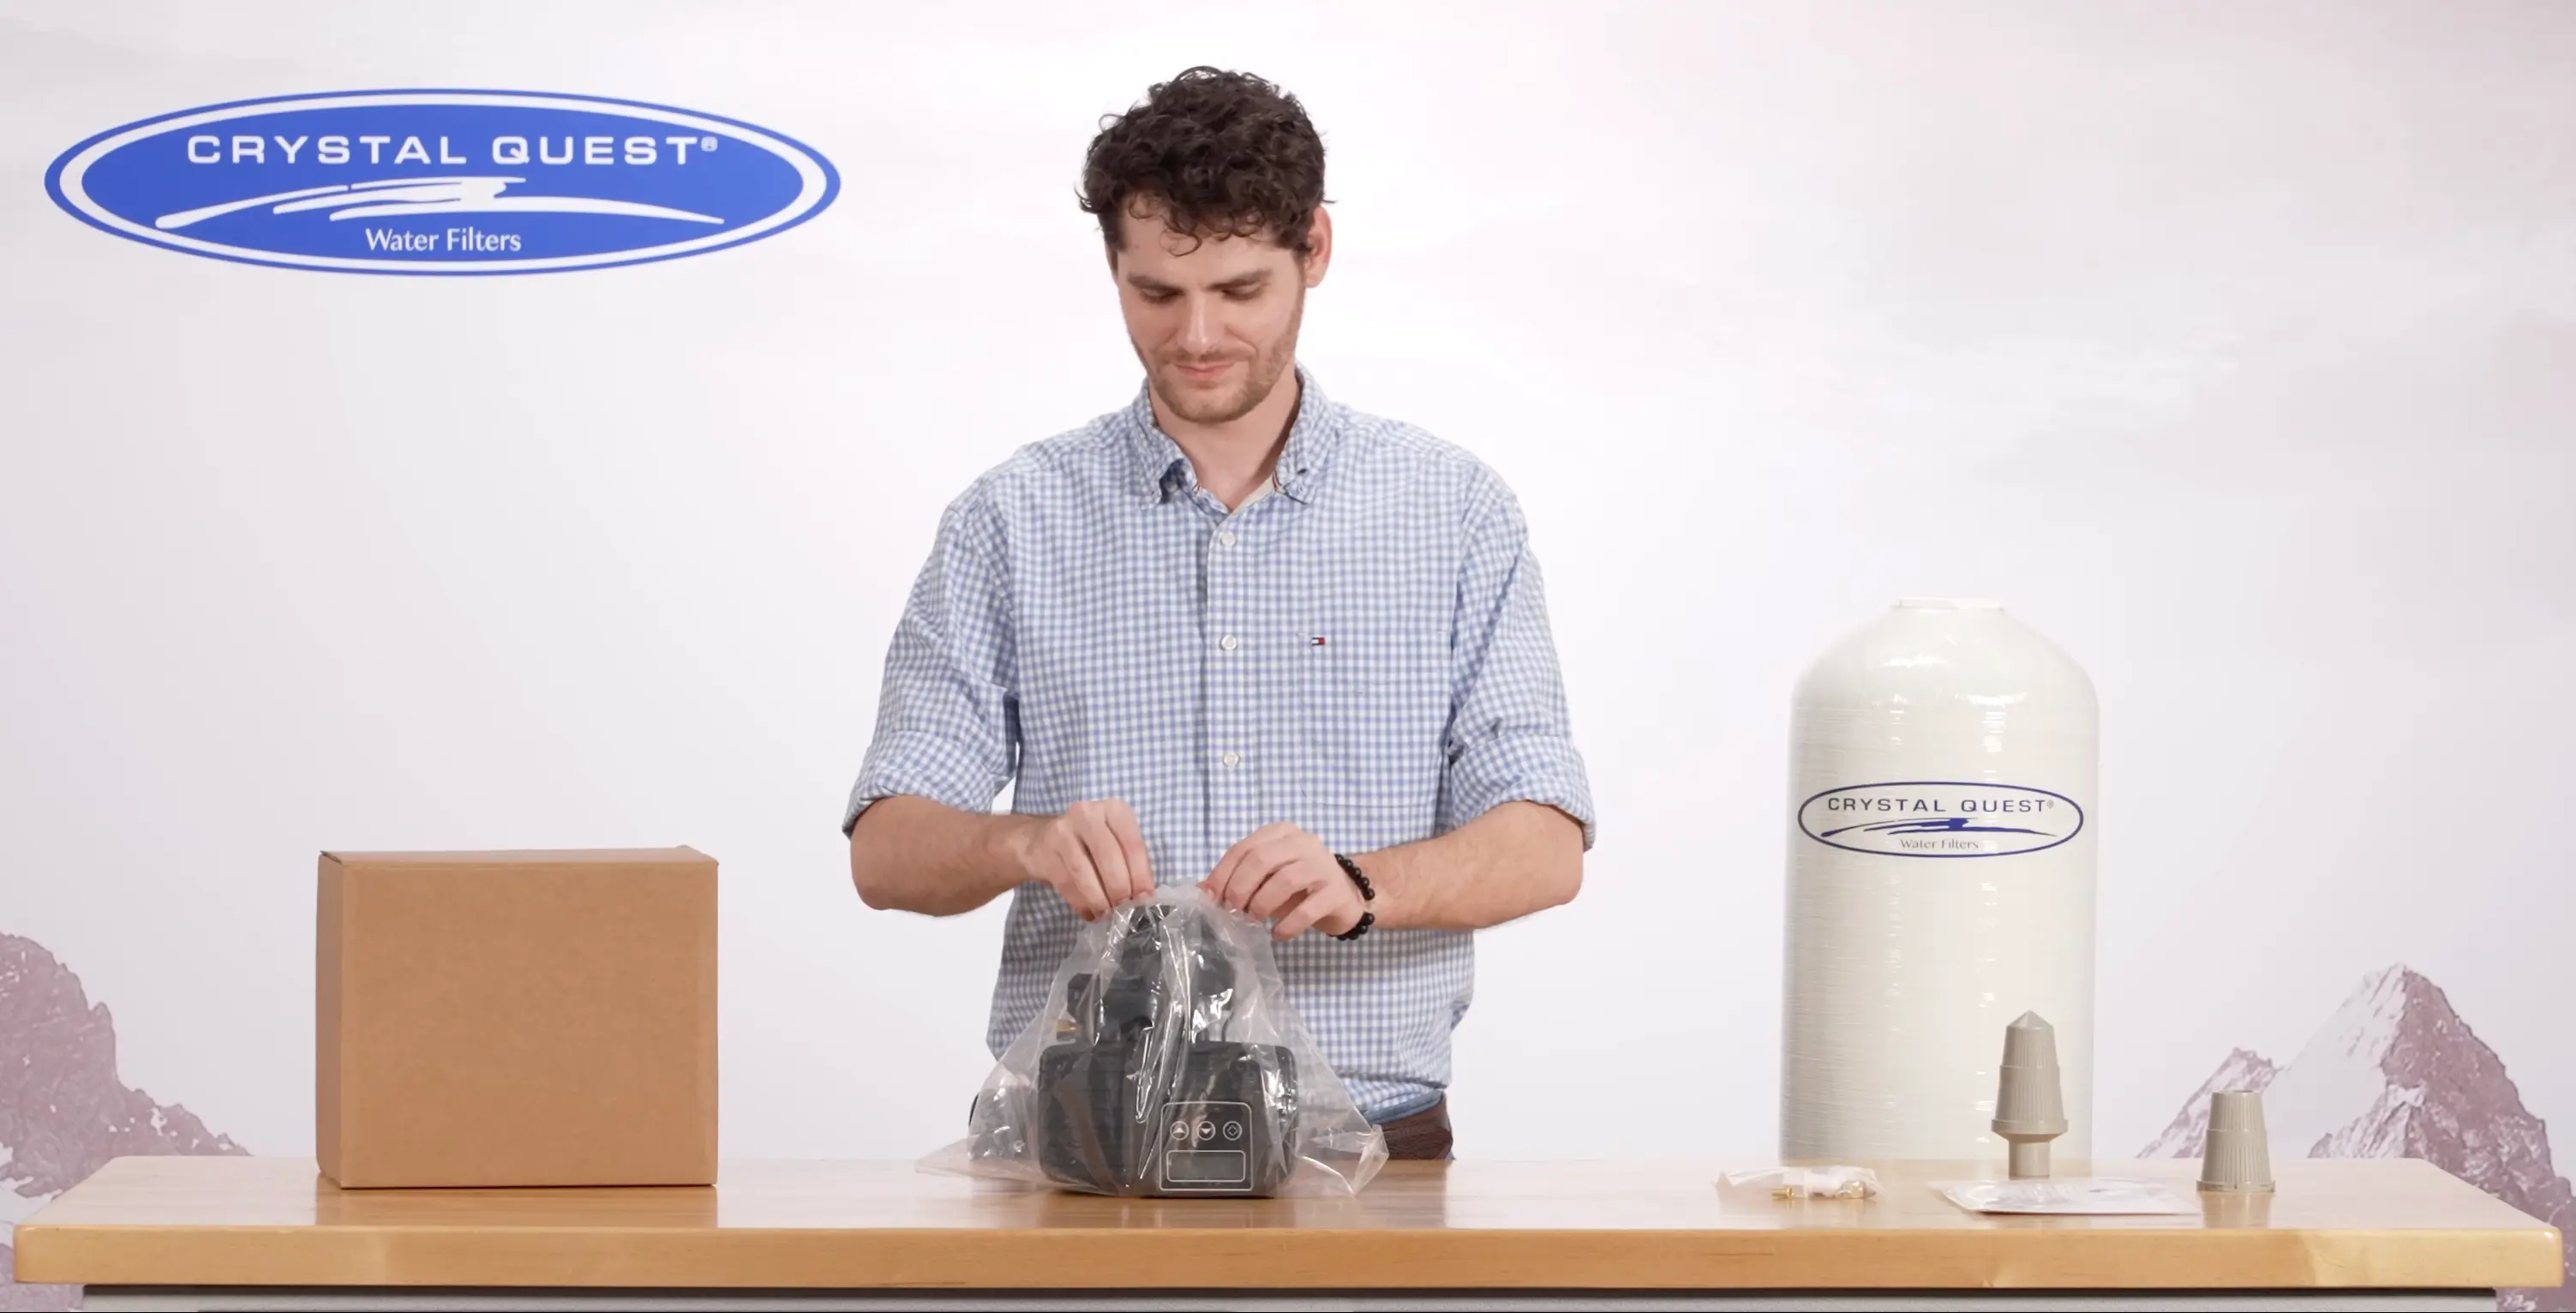
Inside the box you will find the Vtrol control head, an upper diffuser assembly, a spare lower diffuser, the owner's manual, and brine tank connection fittings. Lay everything out and verify nothing is missing or damaged before you begin the installation.
Attaching the Upper Diffuser
1:12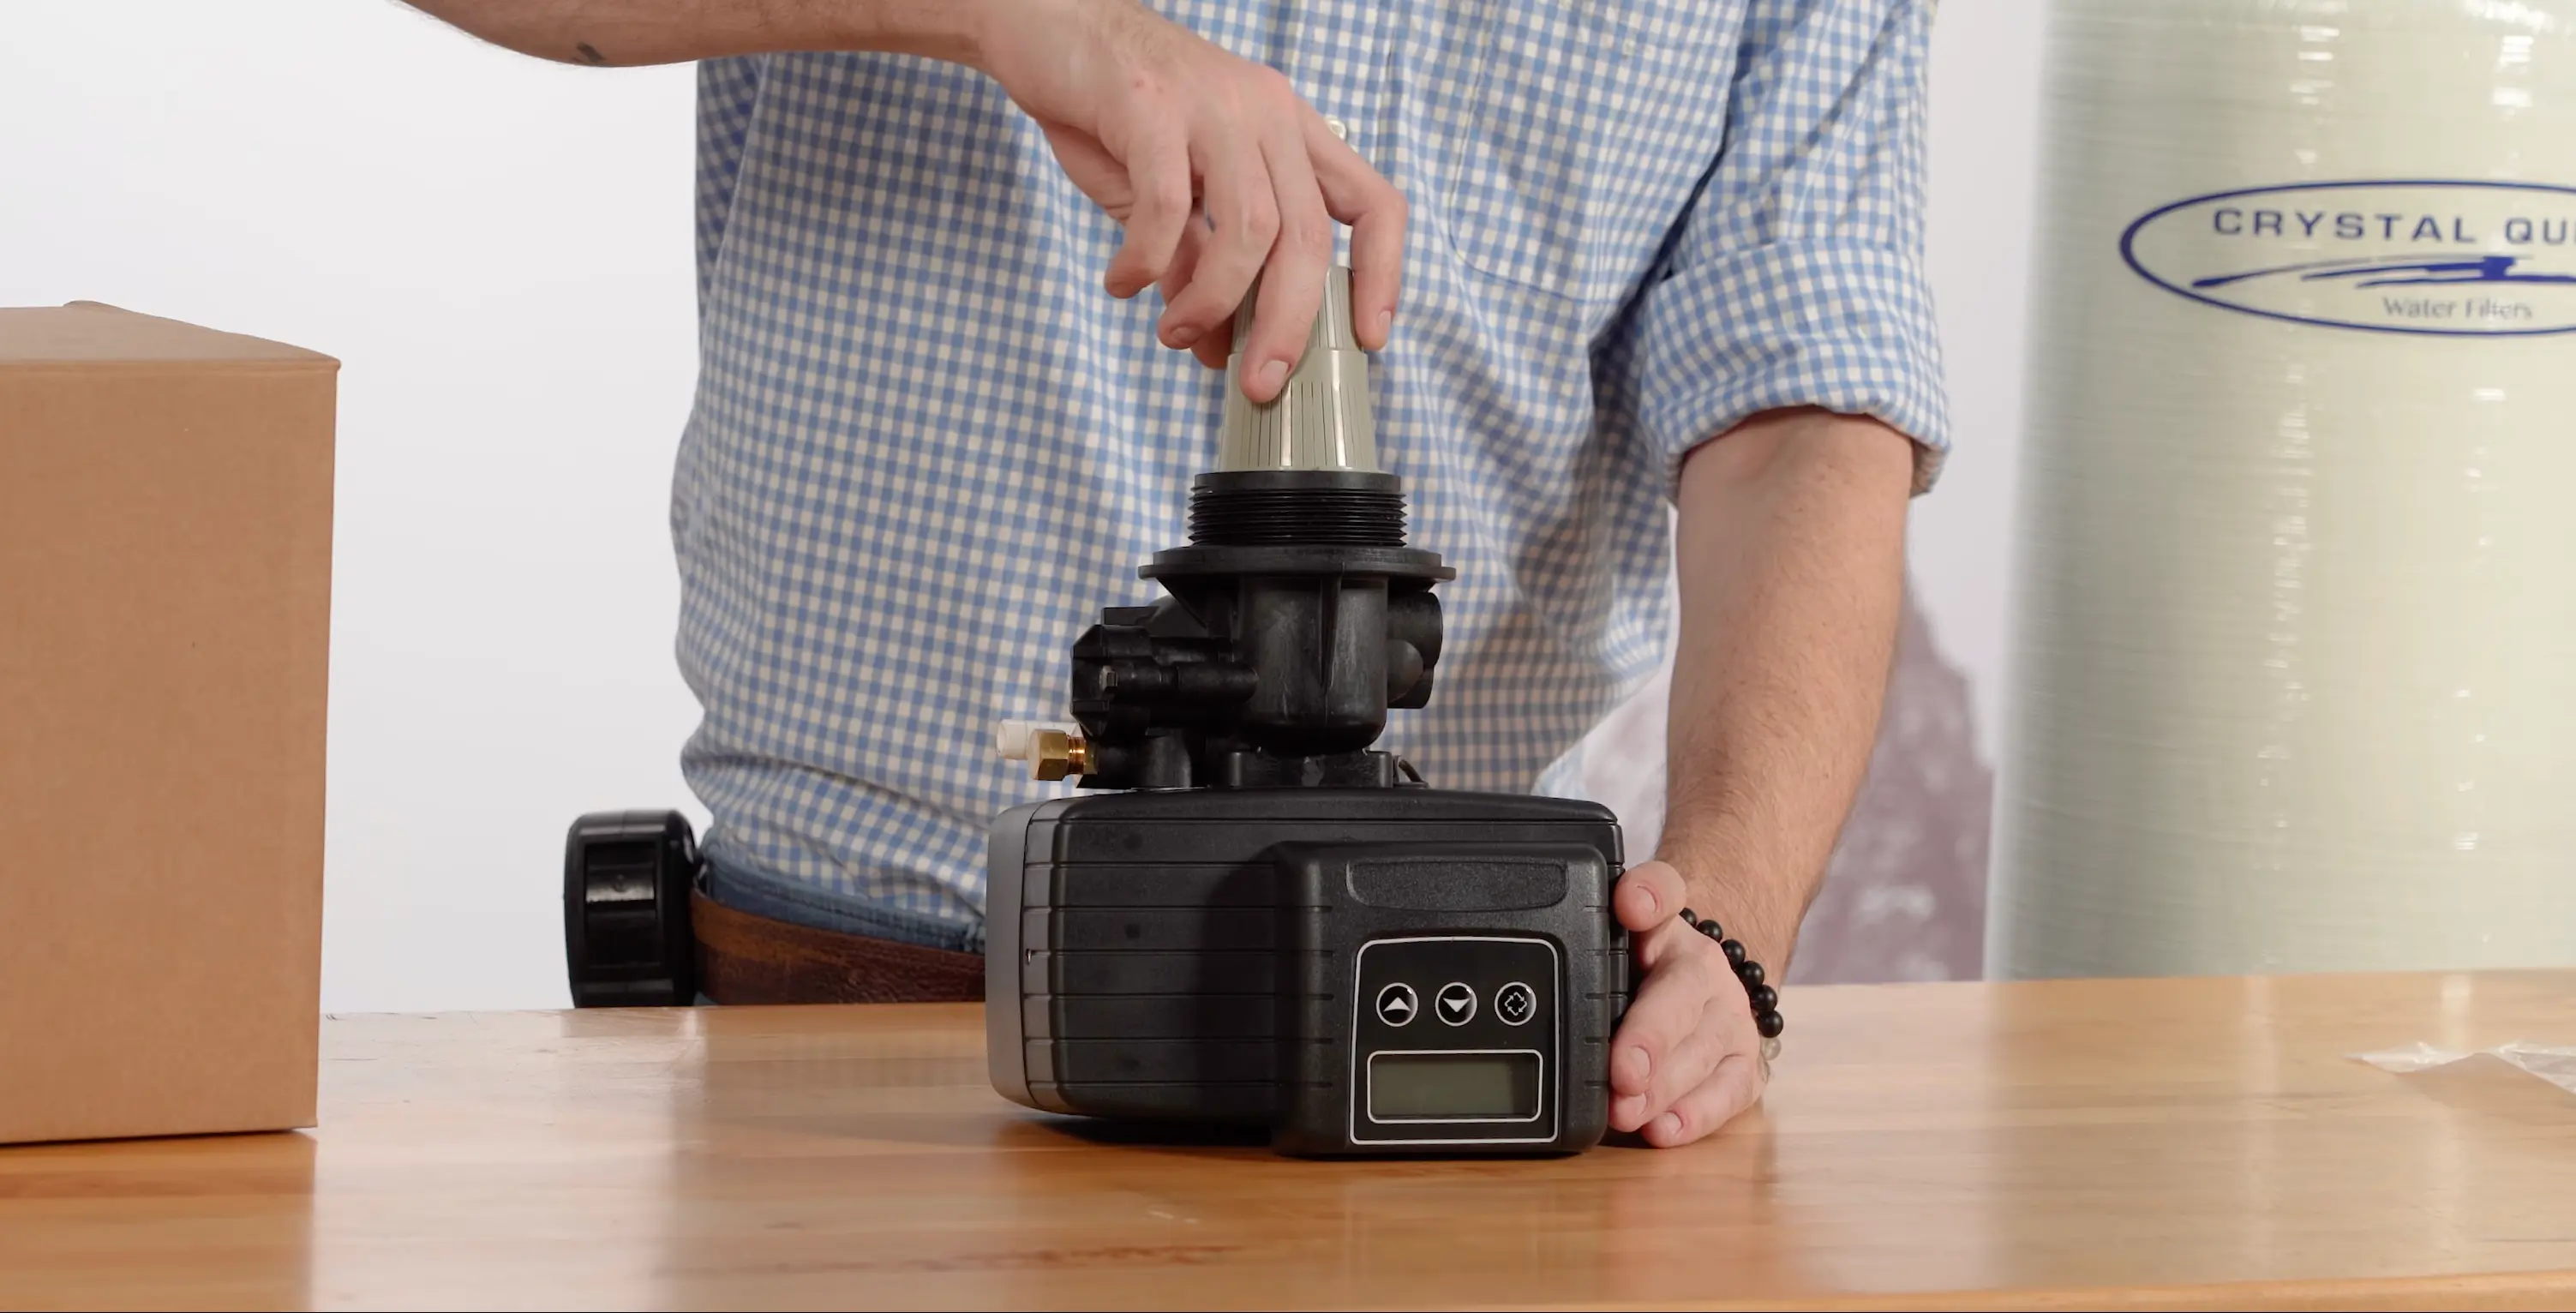
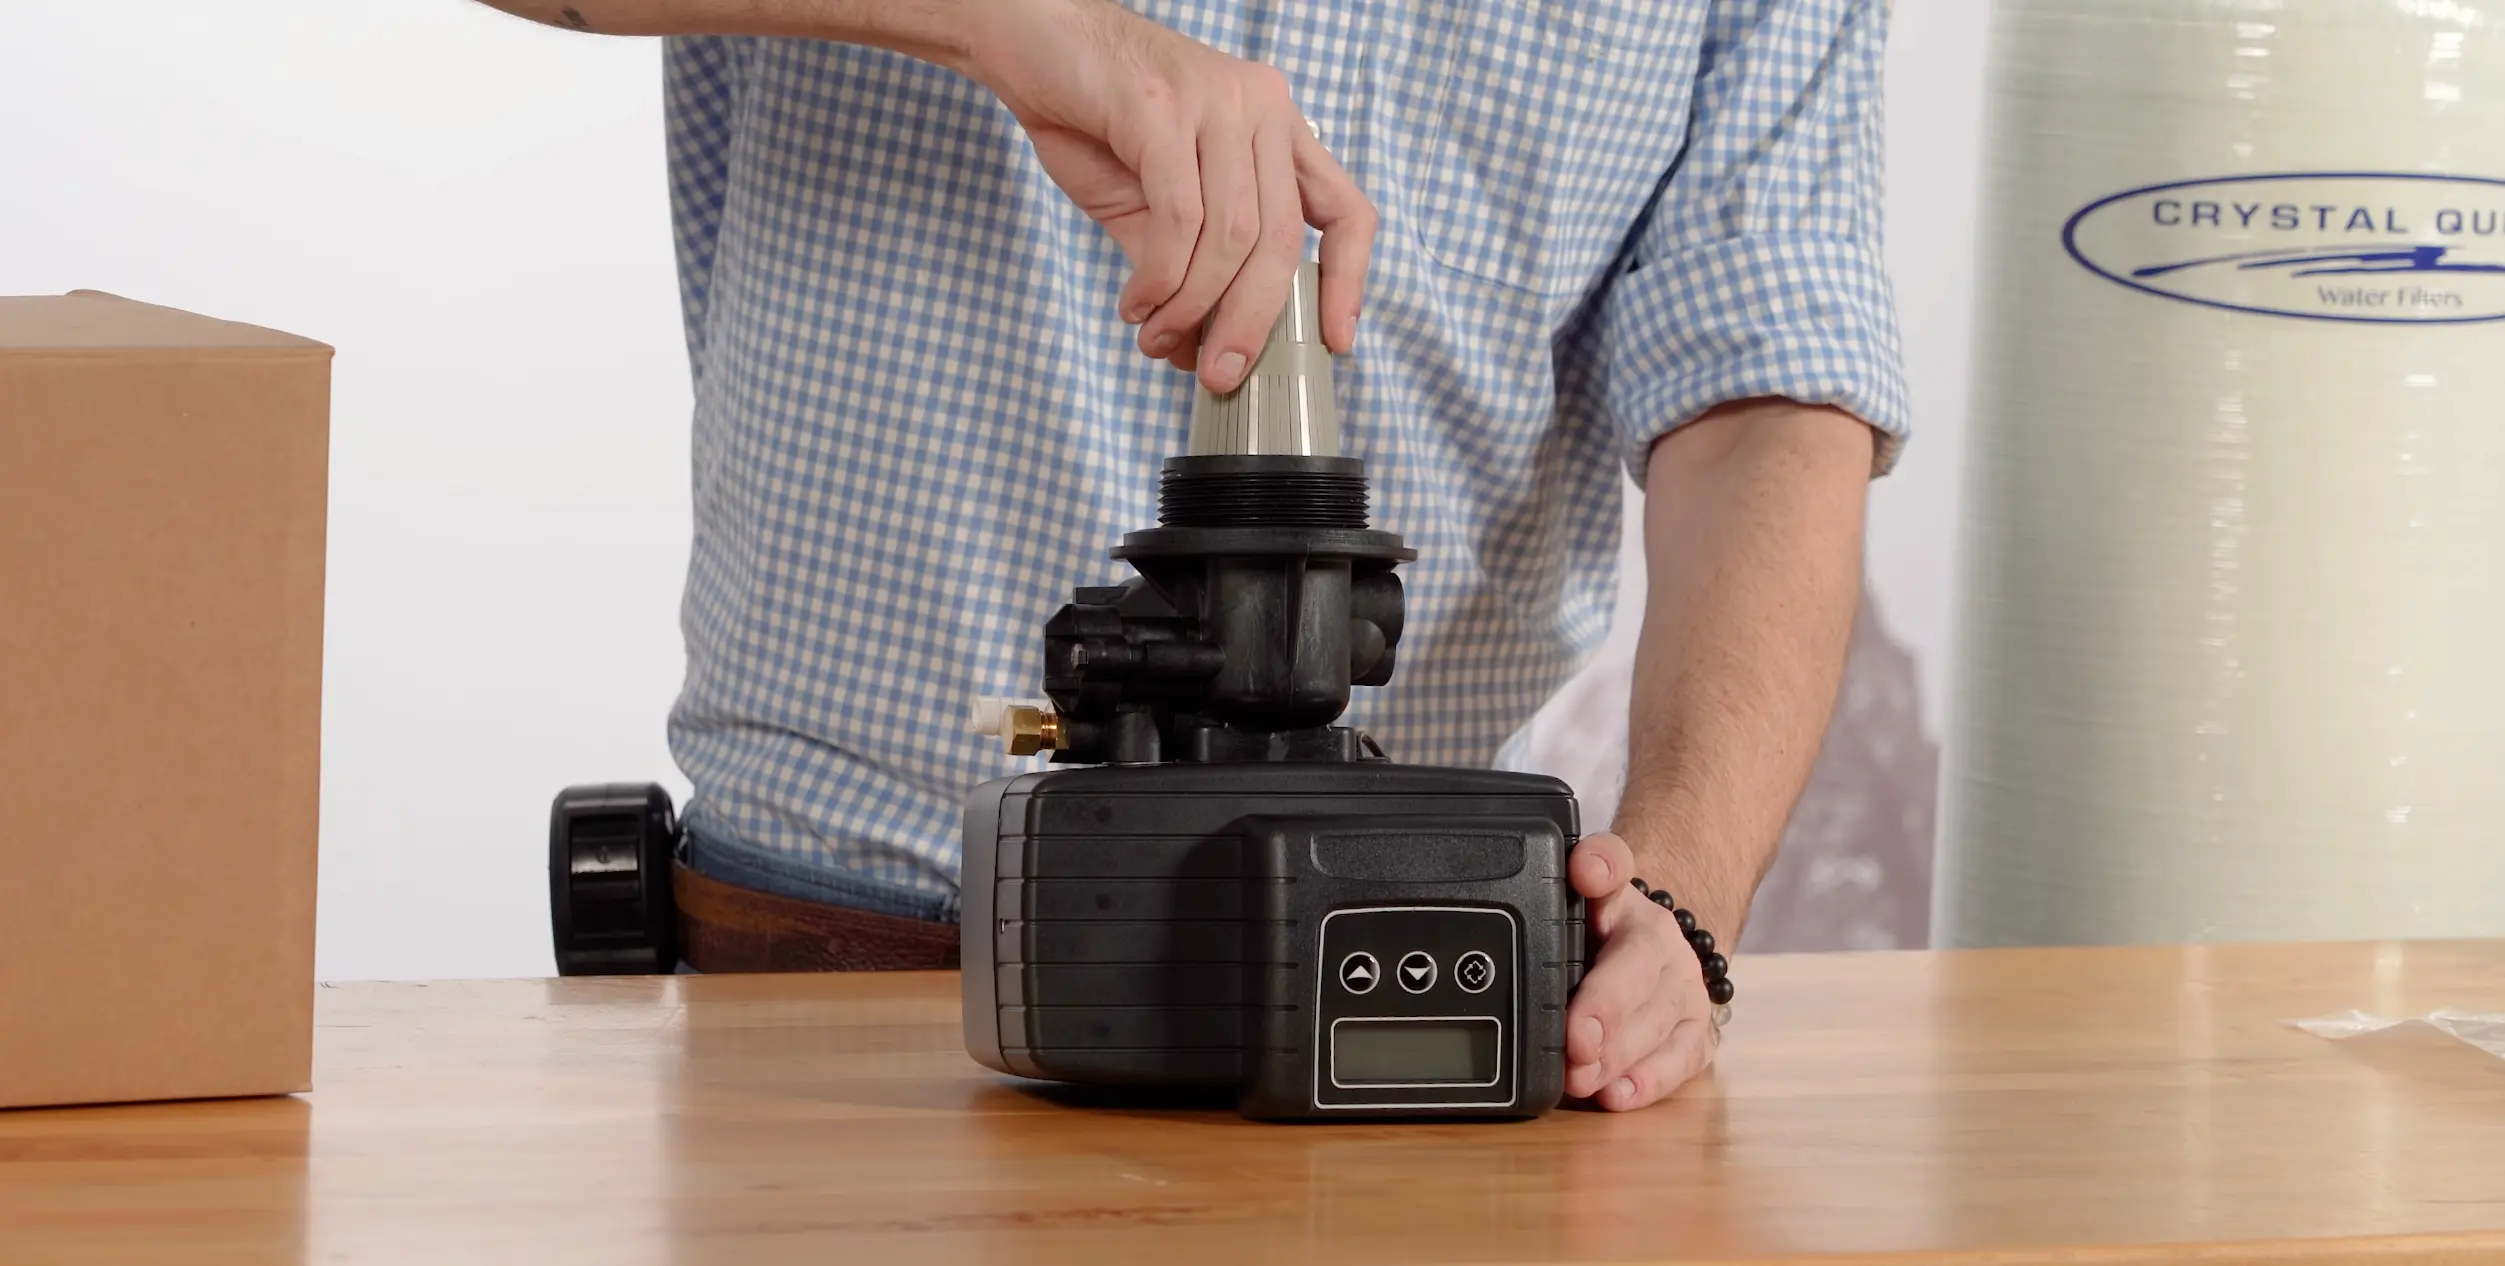
The upper diffuser snaps onto the bottom of the control head. Align the tabs, push the diffuser up into position, and twist clockwise until it locks. You should feel a definitive click when it seats correctly. This component distributes water evenly across the top of the media bed during service and backwash cycles.
Preparing the Media Tank and Riser
1:24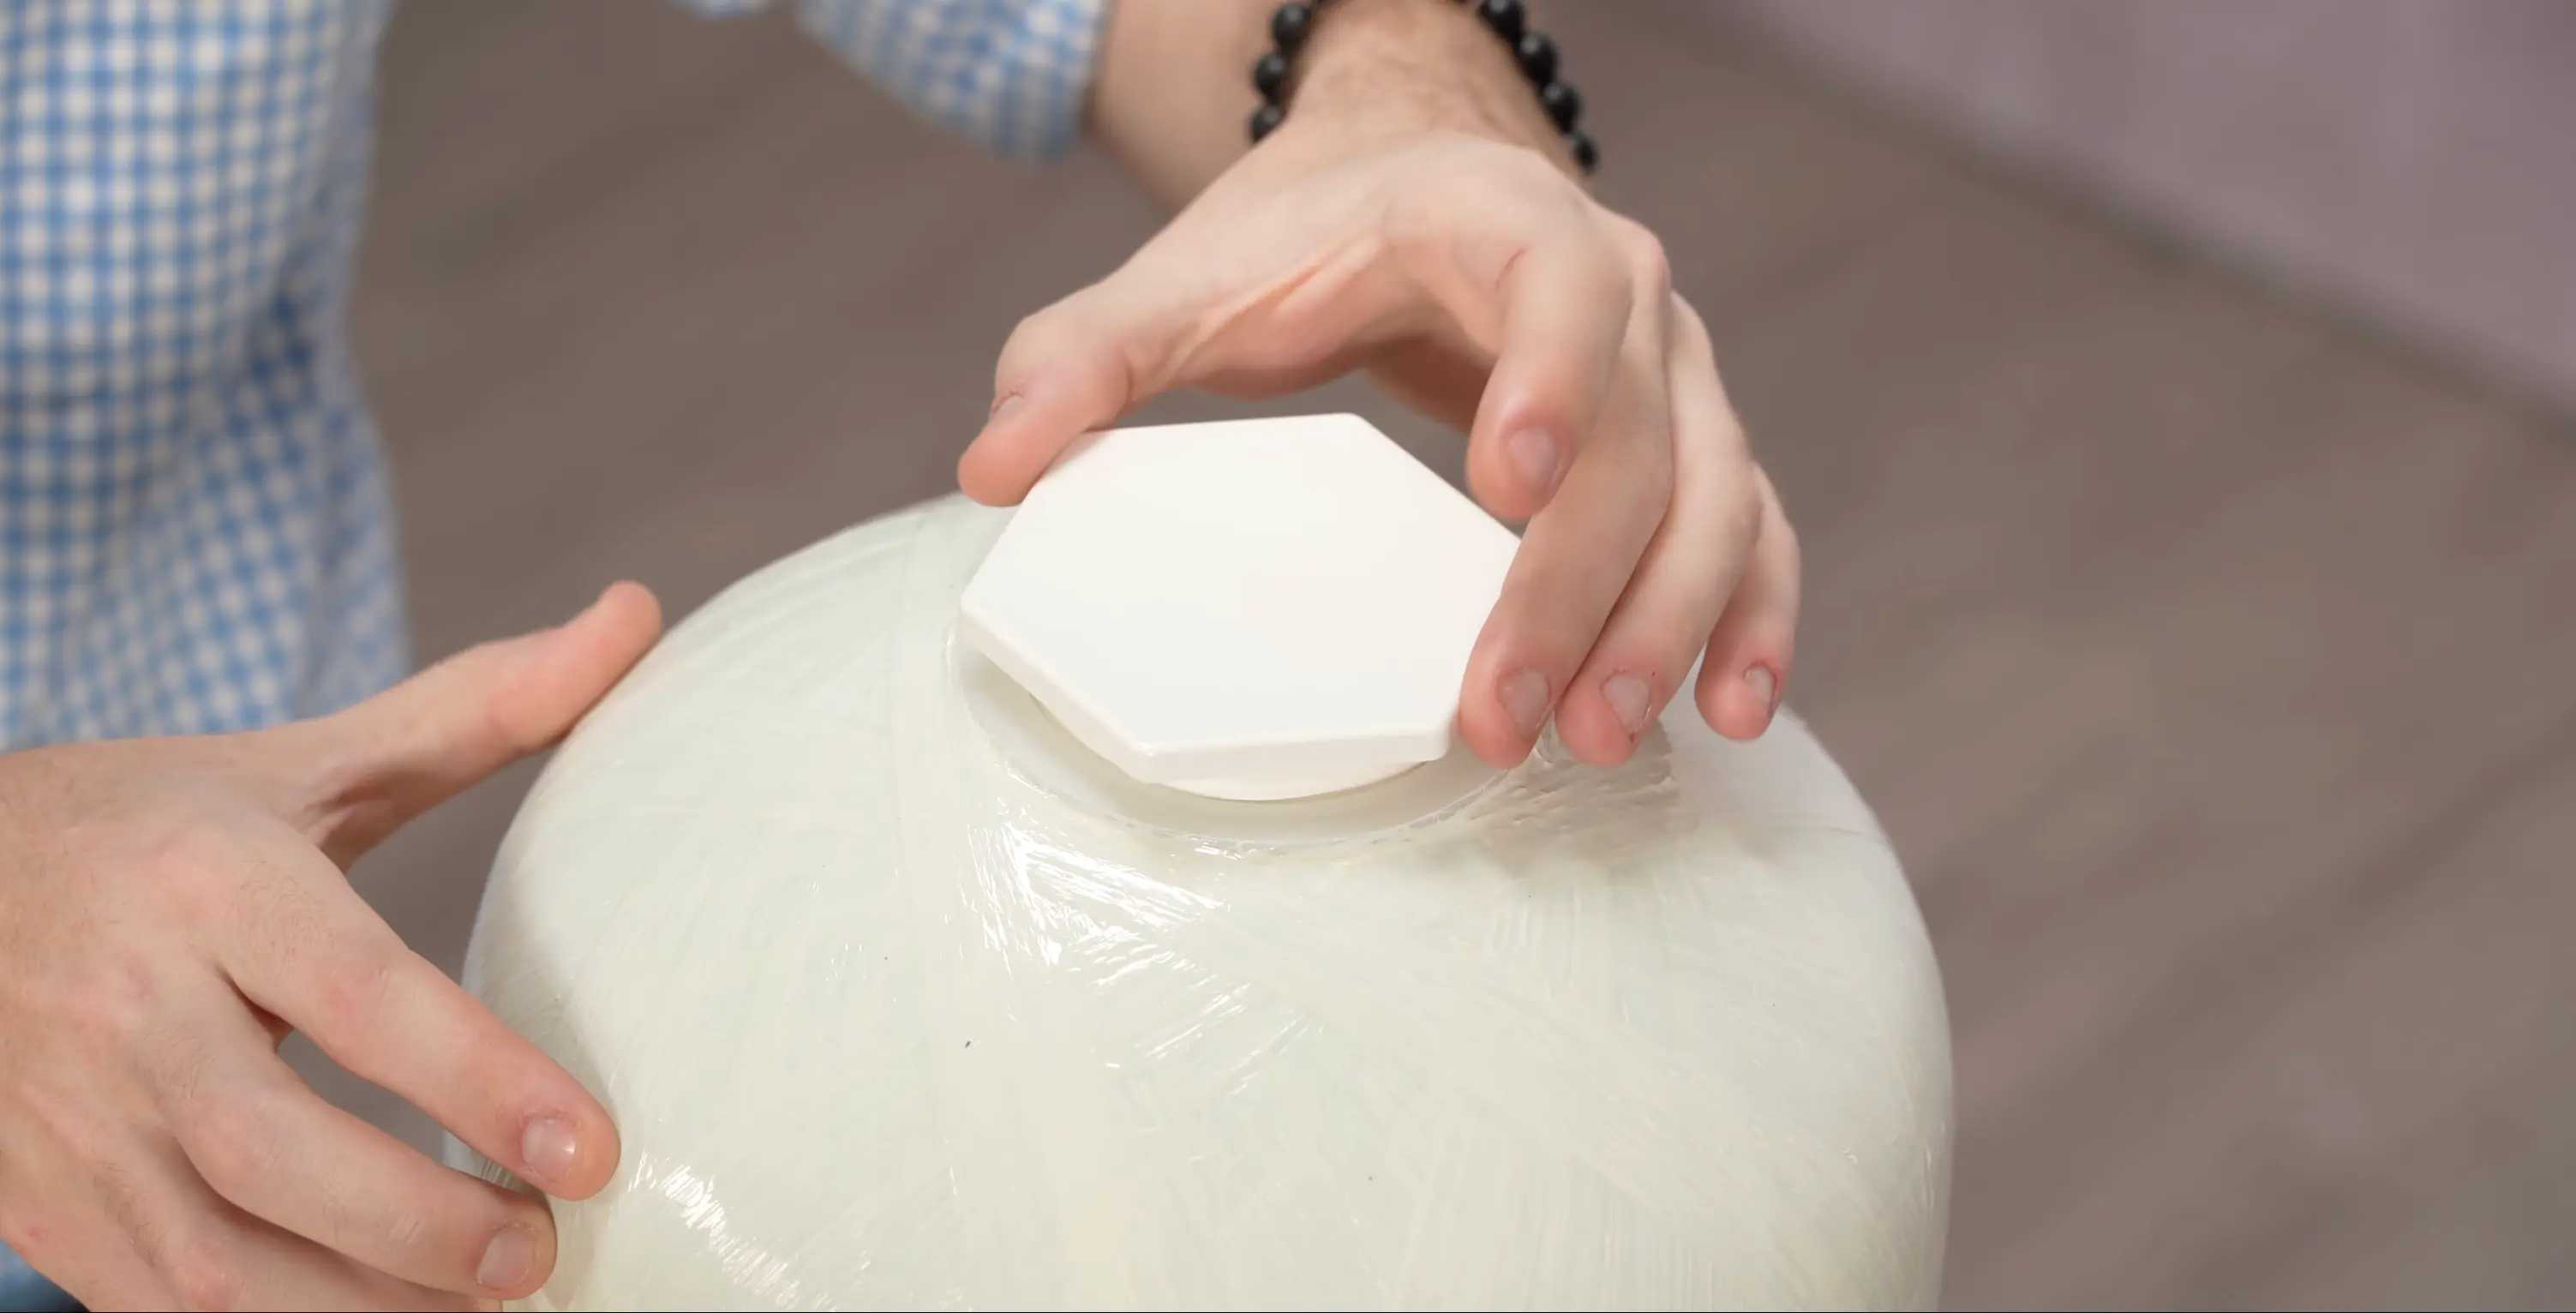
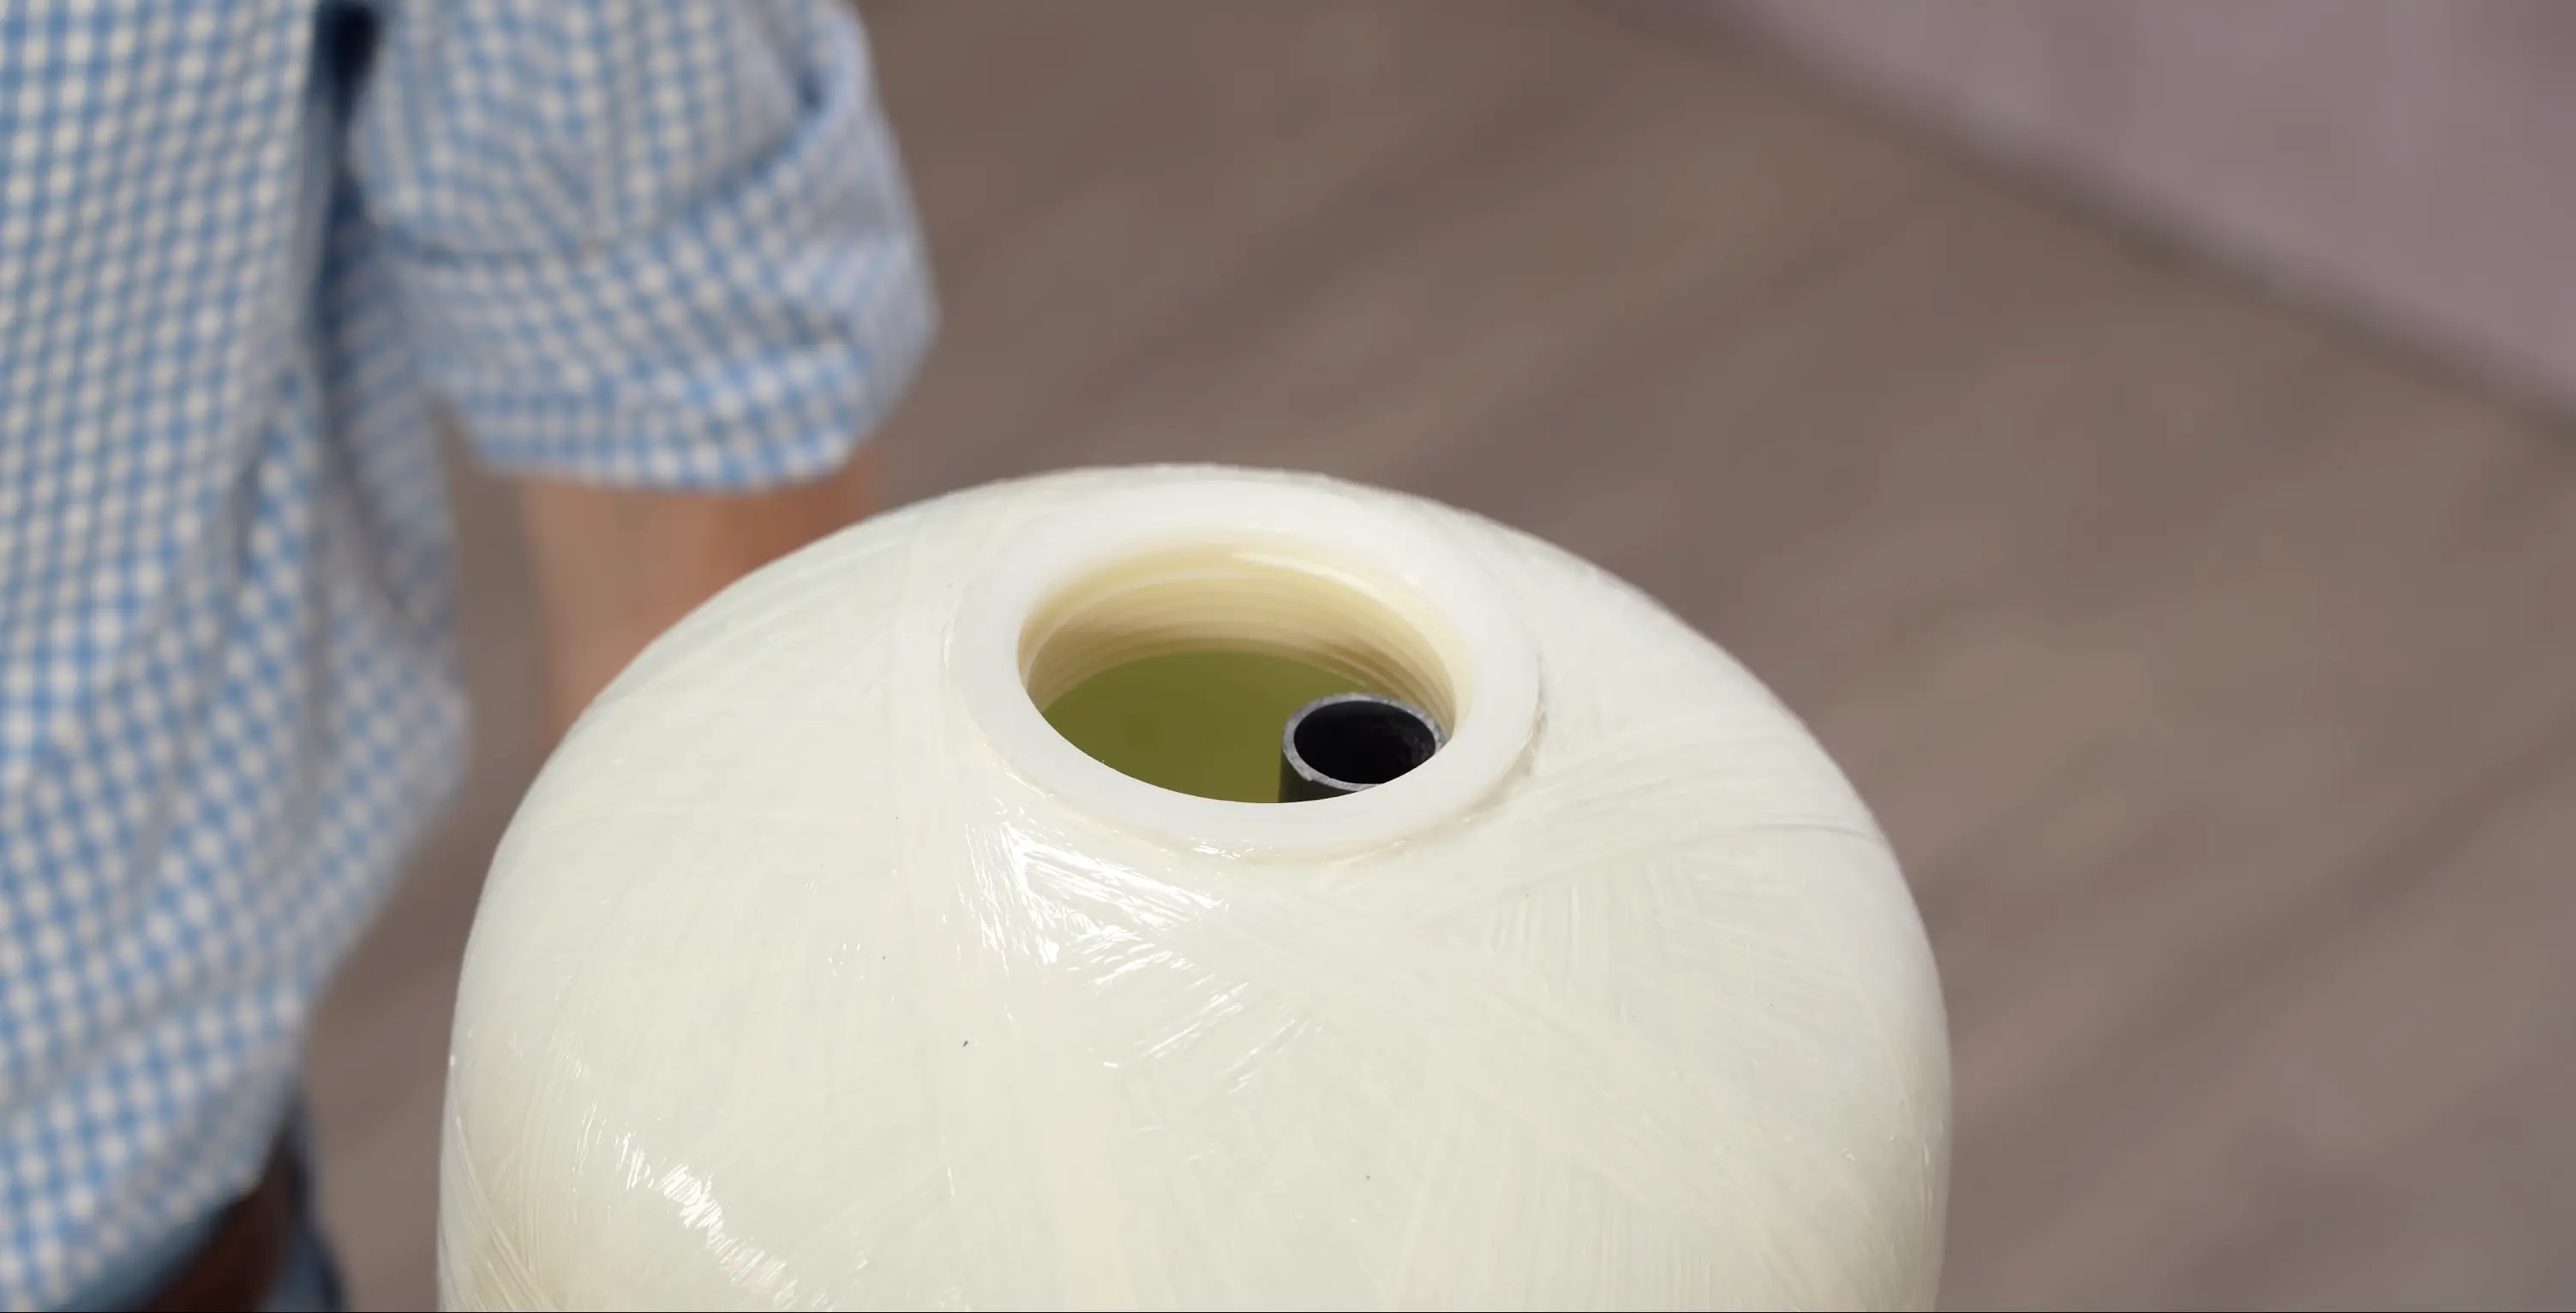
Remove the dust cap from the top of the media tank to expose the riser tube inside. Take care not to pull the riser out of the tank, it extends to the bottom and connects to the lower distributor. If the riser shifts, it can unseat the lower distributor and compromise water flow through the media.
Tip: Hold the riser tube in place with one hand while removing the cap with the other.
Lubricating the O-Ring
1:47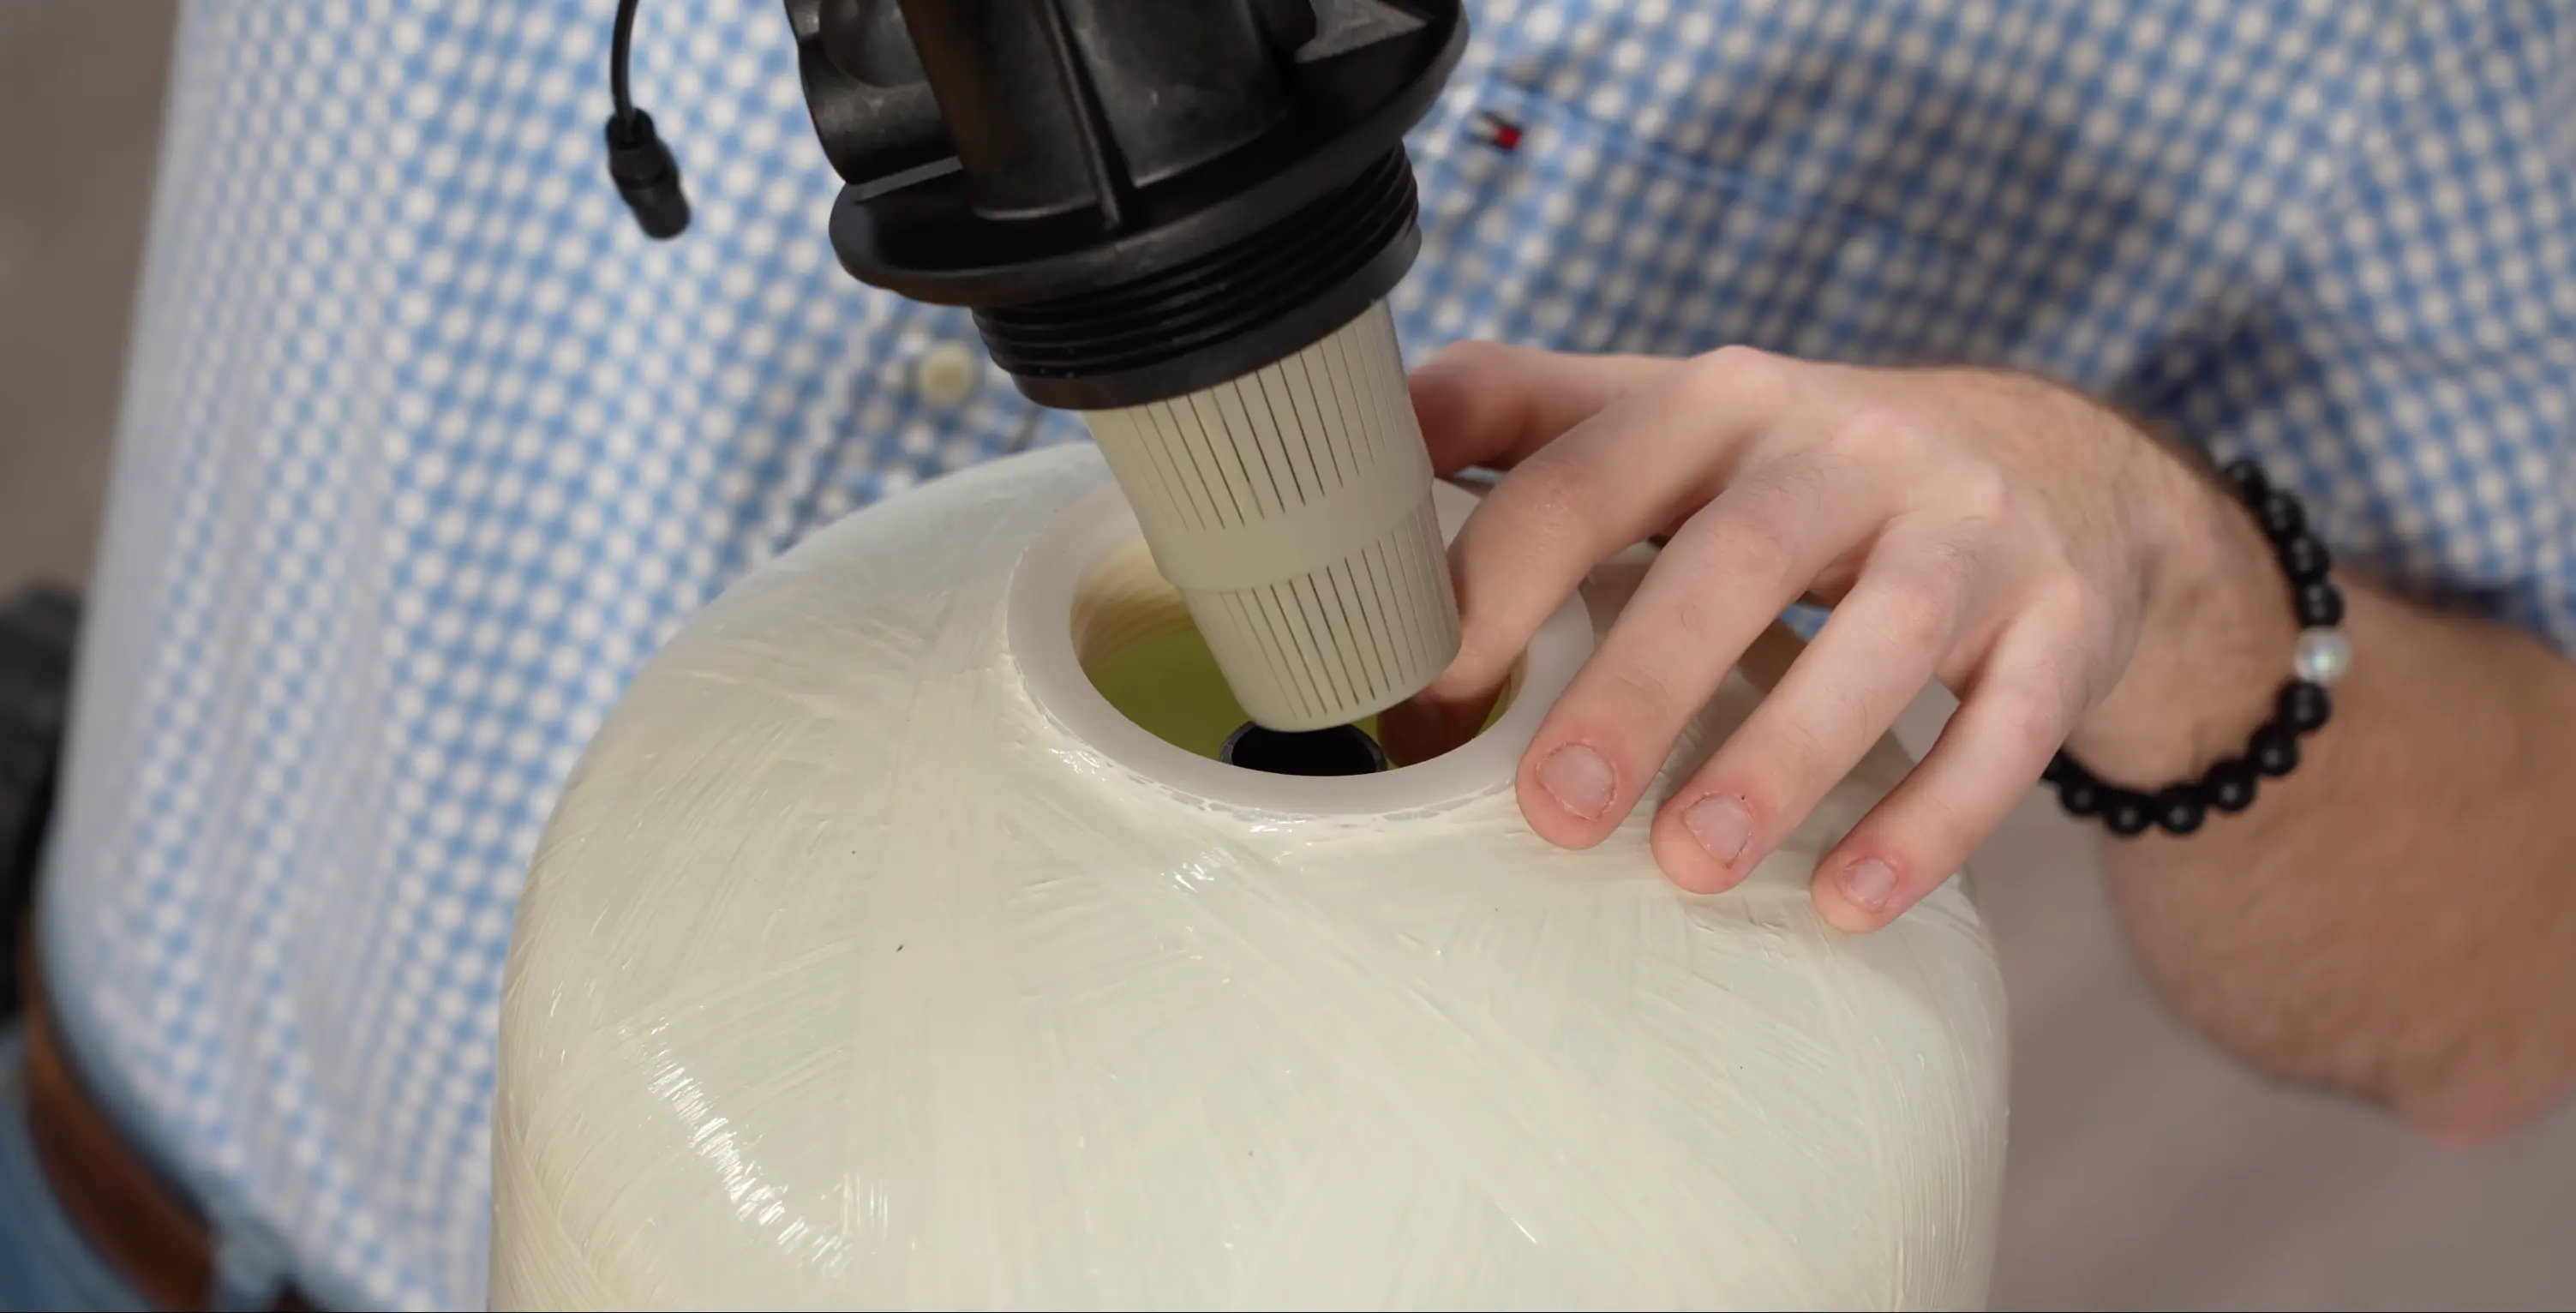
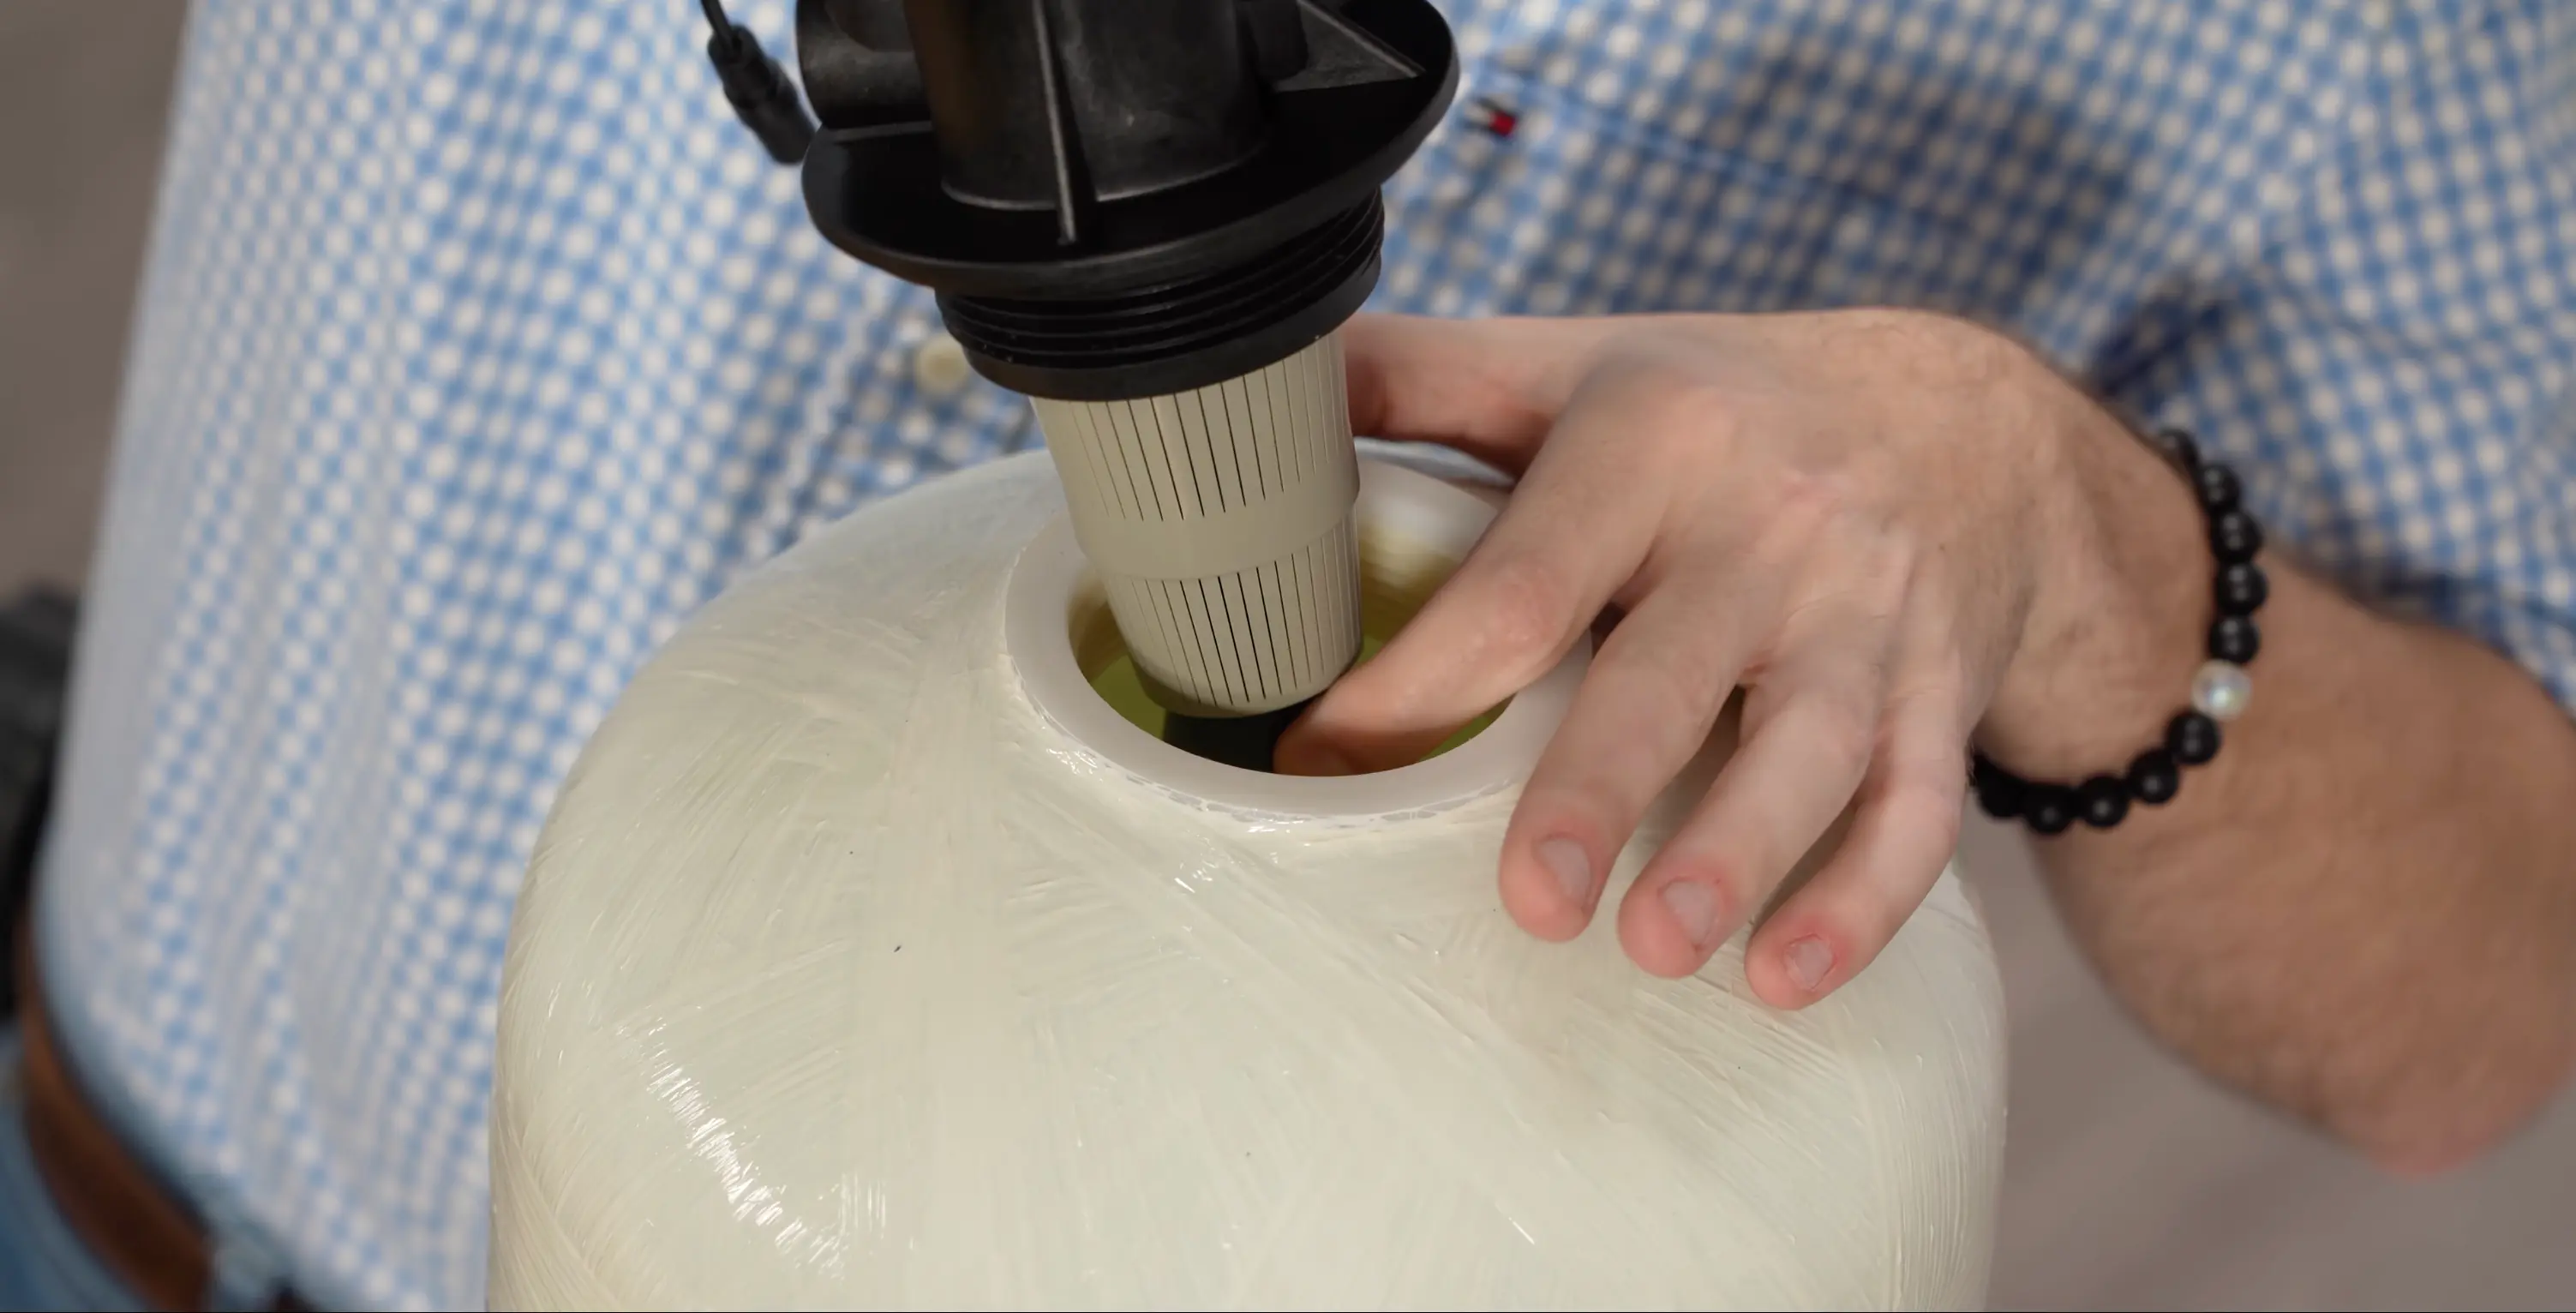
Apply a thin, even coat of food-safe silicone lubricant to the large O-ring on the control head's tank adapter. This lubrication serves two purposes: it helps the control head thread smoothly onto the tank fitting and it creates a reliable watertight seal that prevents drips under operating pressure.
Tip: Use only food-safe or silicone-based lubricant. Petroleum-based products degrade rubber O-rings over time.
Mounting the Control Valve
1:54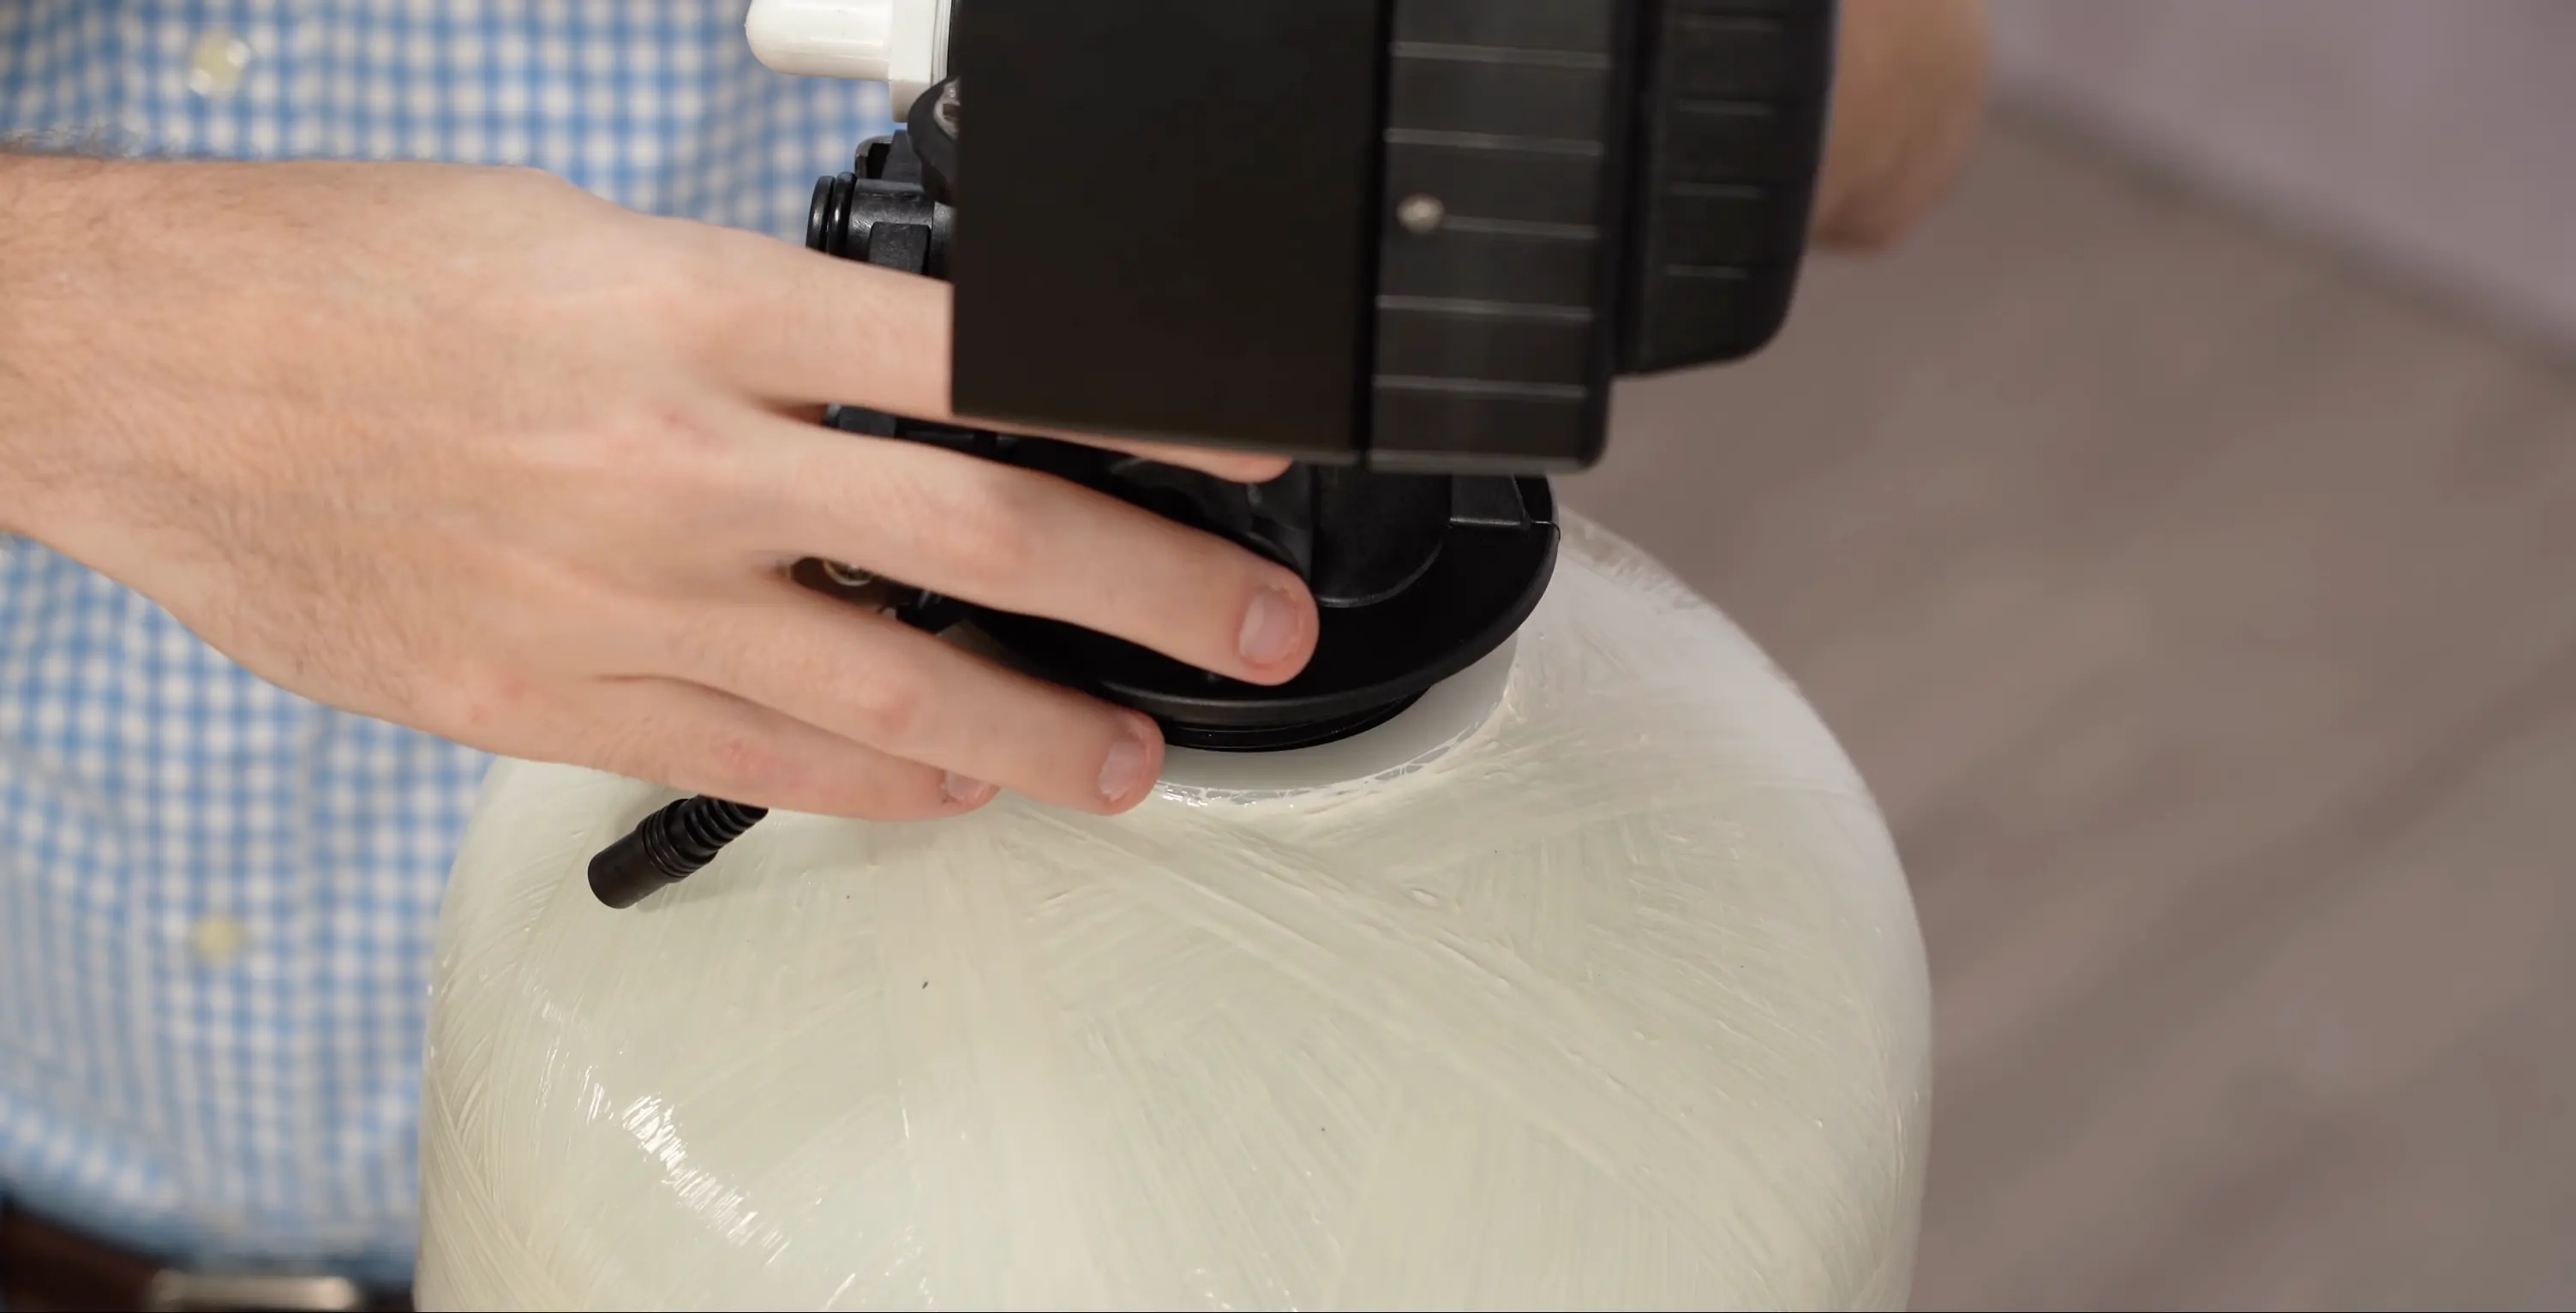
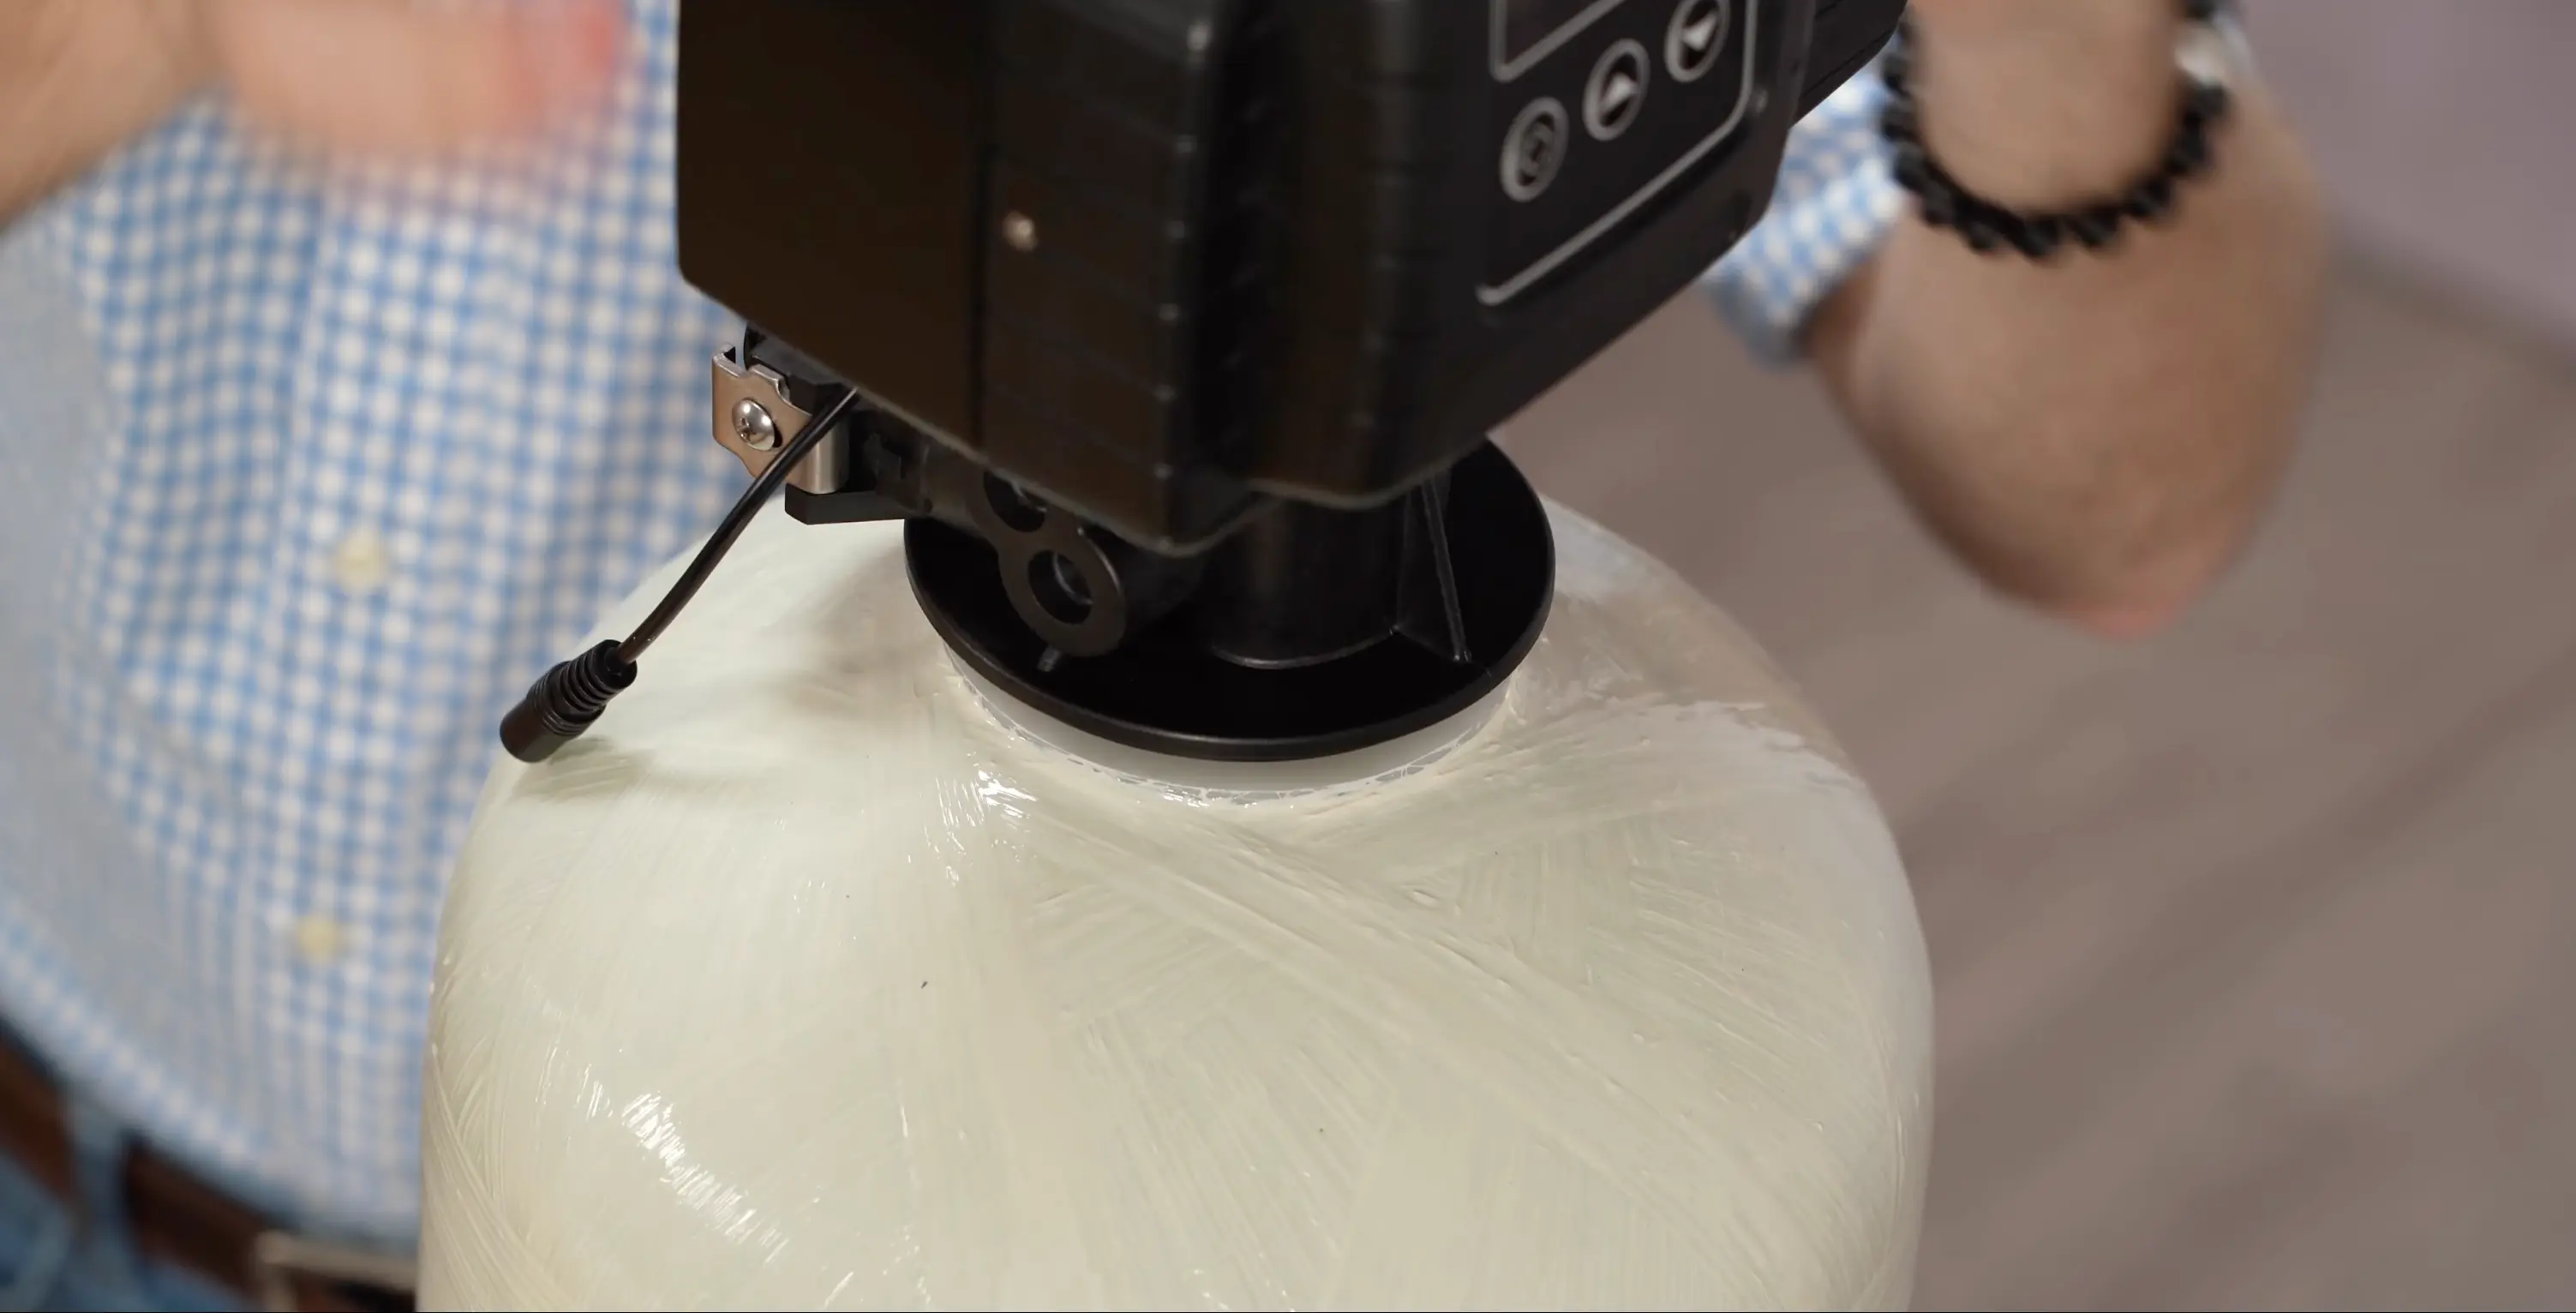
Align the hole in the upper diffuser with the top of the riser tube, then lower the control head onto the tank. Thread the control head clockwise onto the tank fitting by hand until it is snug. Tighten just past hand-tight, enough to compress the O-ring without straining the fitting.
Transcript
Read the video transcript
Transcript
Read the video transcript
Hey everyone. Today we're going to be installing our 5600 control head on our whole house system. Let's get to it. Hey everyone, it's Kevin with Crystal Quest. So, before we can put our 5600 onto our media tank, we're going to go ahead and unbox it and take all the components out.
The first thing you're going to see when you open up your box is going to be the control head itself. You're going to find your upper diffuser that you'll need for installation. You're going to find a spare lower diffuser and you'll find your instruction manual. Also, if you have a regeneration type system, you'll find your brine tank connections. Now that we got all our components laid out, let's go ahead and unbag our control head.
And once we get it unbagged, all we have to do now is get our upper diffuser and install it onto the bottom of our control head by pushing it and twisting it to lock it into place. Next, we're going to go ahead and uncap our media tank and the riser inside of it. Be careful not to pull out your riser during any of these steps because it could be difficult to get it back into place. Now that we've got our upper diffuser on our control head, let's go ahead and install our control head onto our media tank. Before we do this though, make sure to put a little bit of food safe lubricant around your O-ring so that your control head doesn't get stuck on.
When we put our control head on, you want to make sure that the hole in the middle of your upper diffuser is lined up with the riser on the inside of your media tank. And once you get that far, make sure your control head is lined up correctly before threading it completely onto your tank. You want to tighten your control head so it's nice and snug, but you want to make sure you don't overtighten. And there you have it. You successfully installed your 5600 on your media tank.
Now, go ahead and watch our other videos on how to program your control head and install it with the rest of your system. Thanks for watching. If there's any questions you have, feel free to leave a comment below, call us, or visit our website at crystalquest.com. Thank you.