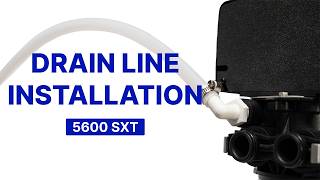
Fleck 5600SXT Water Softener Bypass Installation
The bypass valve lets you isolate your water treatment system for maintenance without shutting off water to the rest of the house. This guide covers the full installation process for the Vtrol control head, the Vtrol control head is a Fleck 5600.
Why a Bypass Valve Is Essential
Without a bypass, any maintenance or cartridge change means cutting water to your entire home. A properly installed bypass valve lets you take the system offline in seconds while the household continues to have running water.
Vtrol control head Control Head
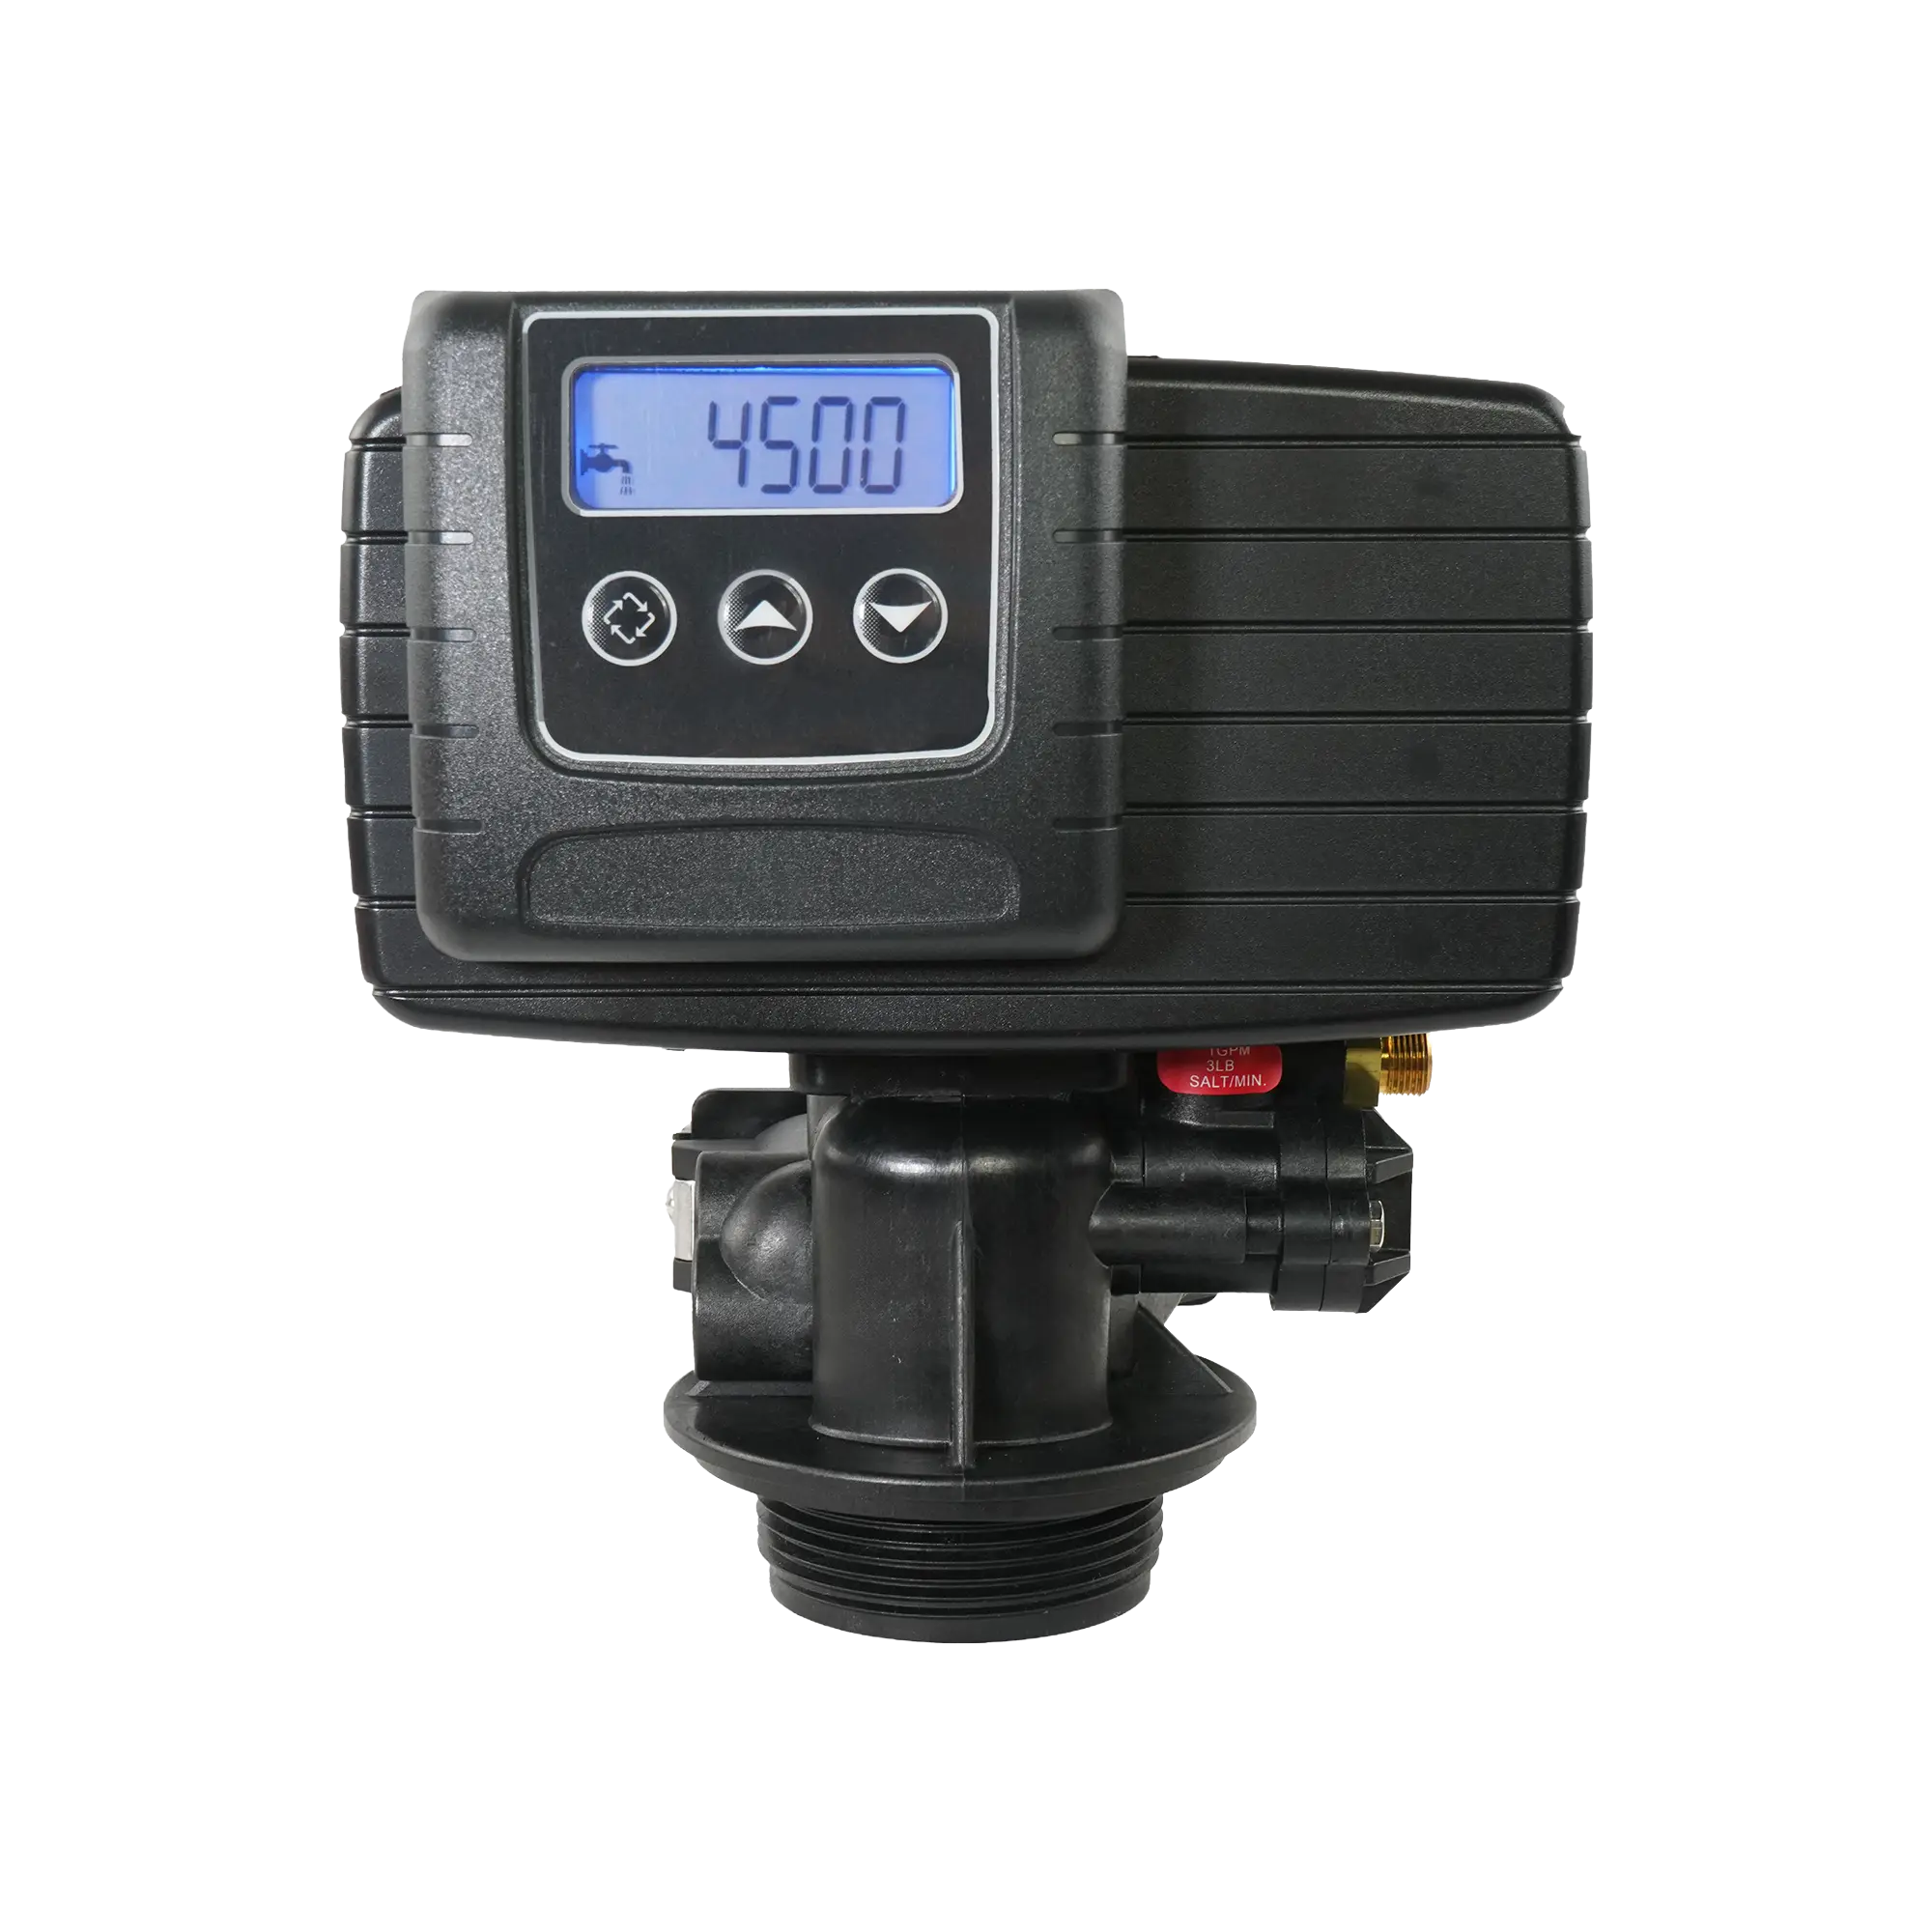
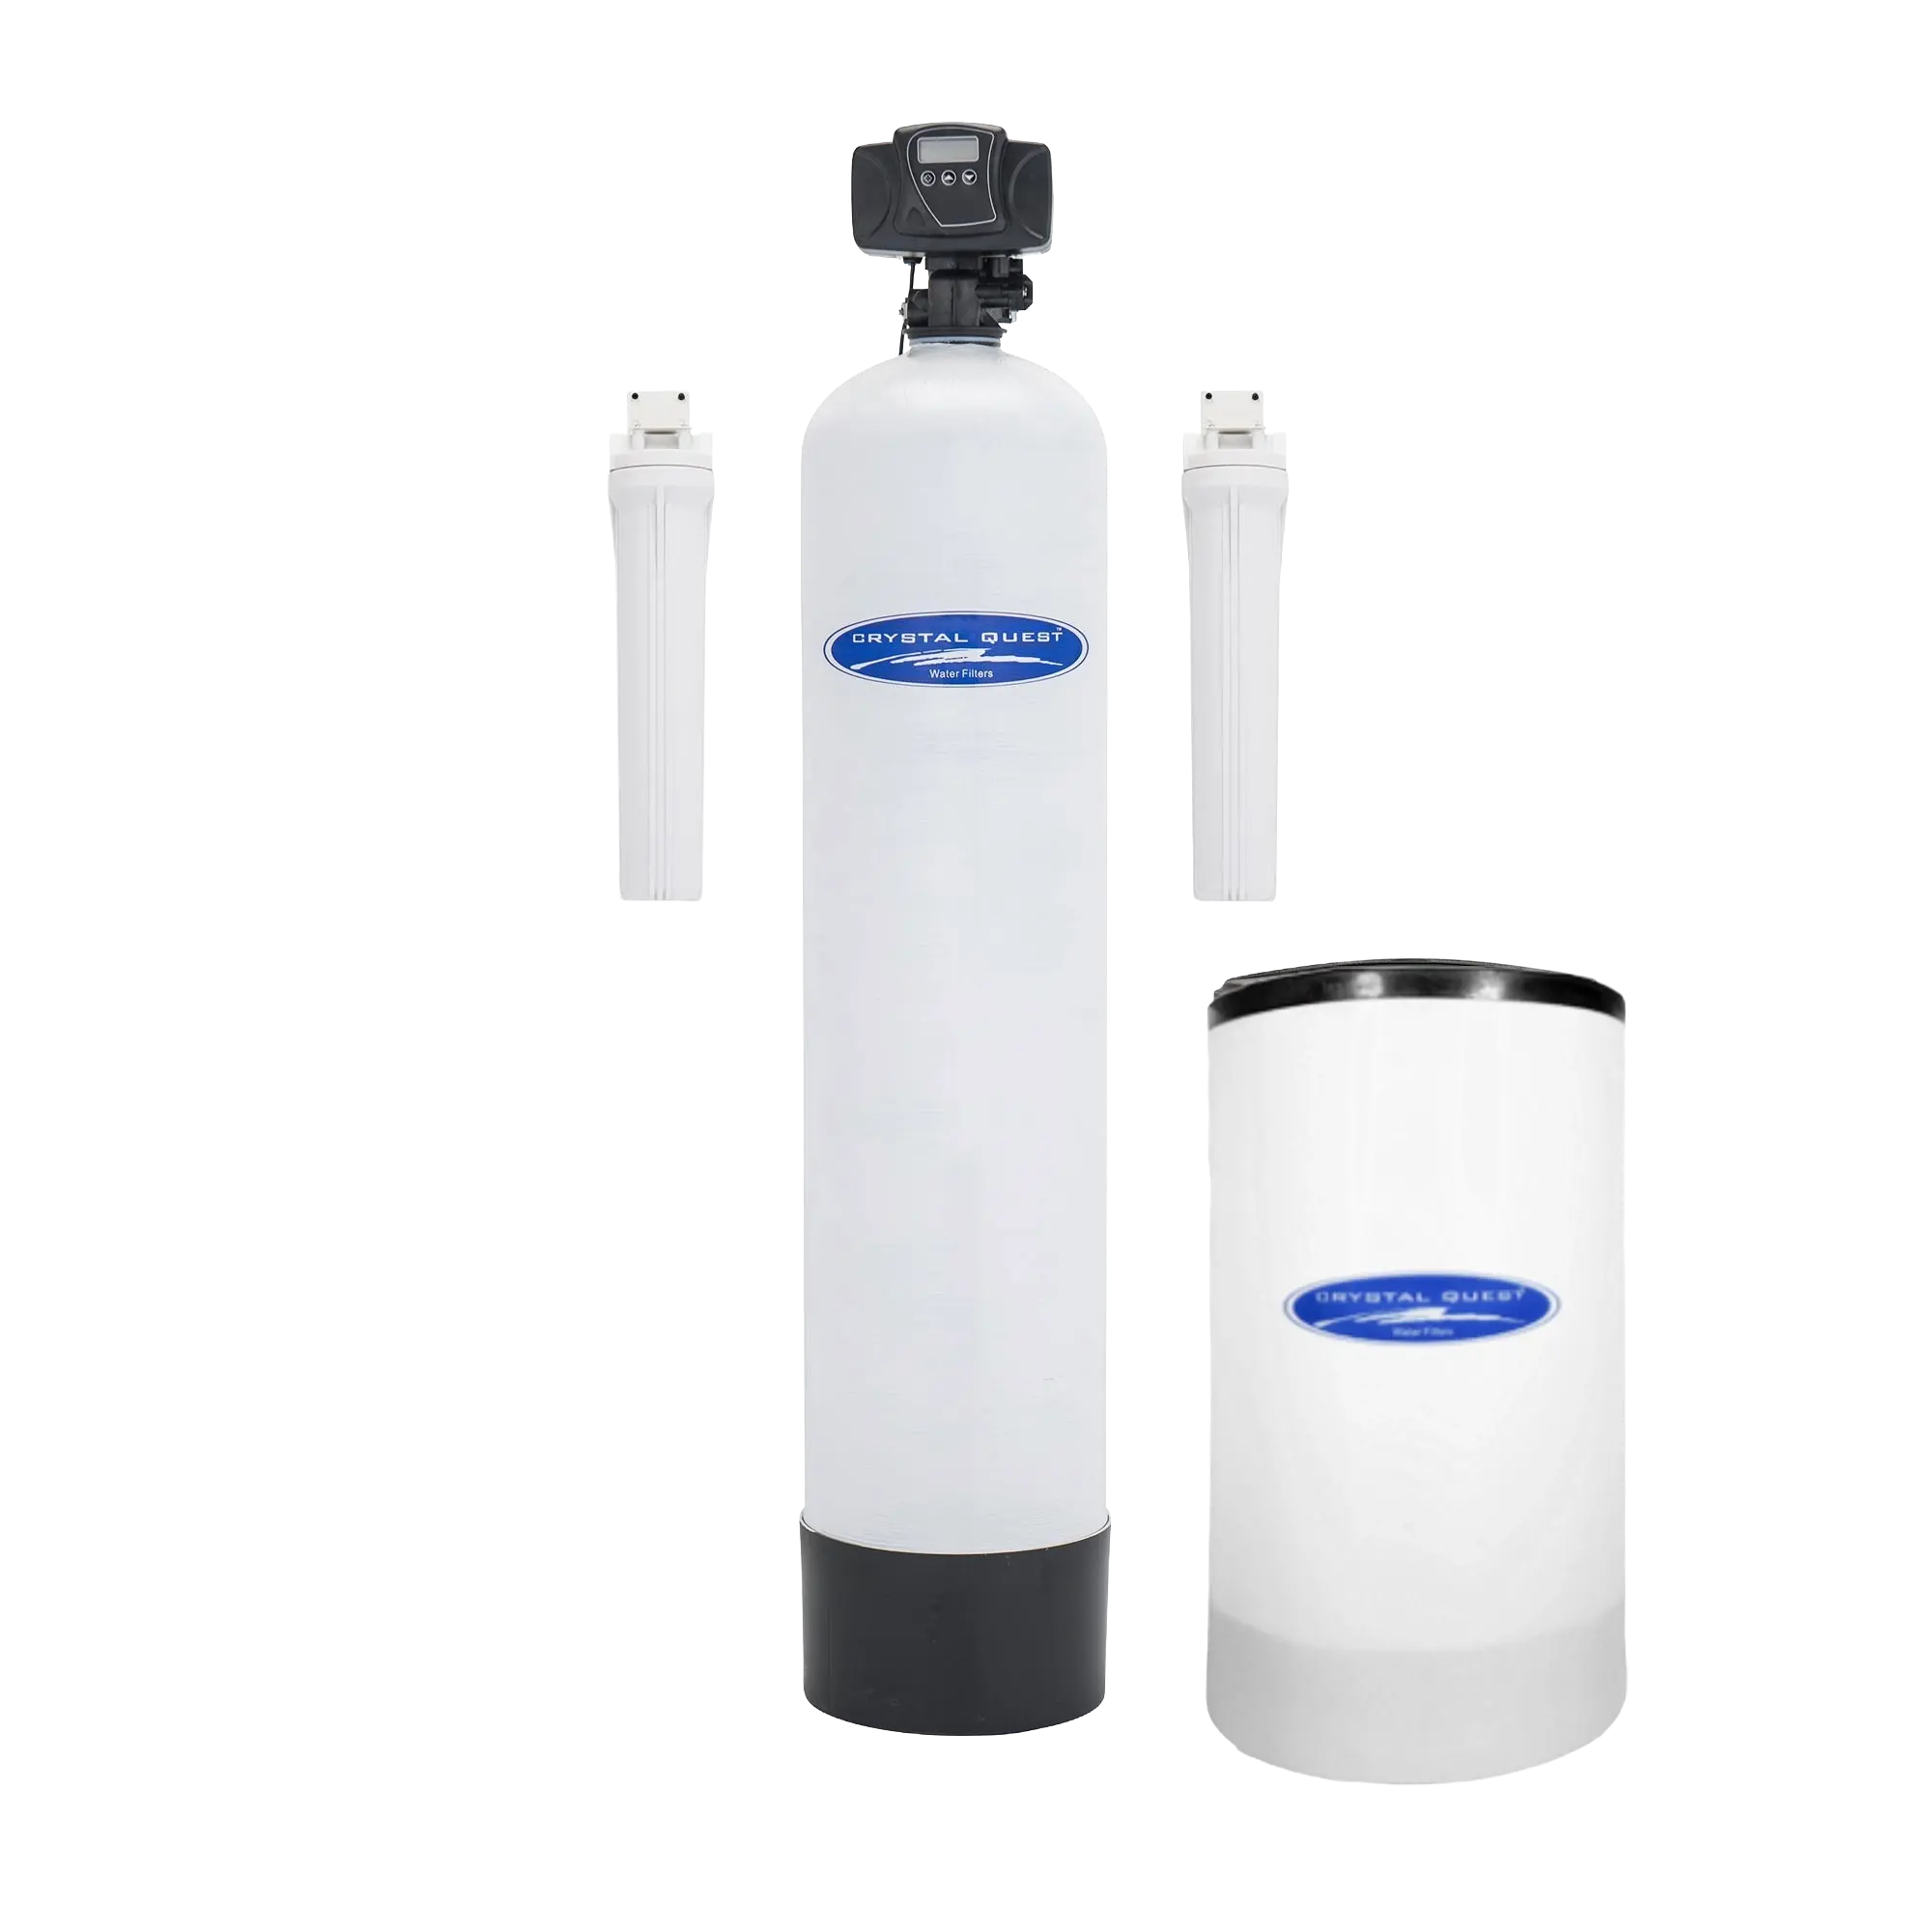
The Vtrol control head by Crystal Quest is an automatic control head used on water softeners and whole house filtration systems. The Vtrol control head is a Fleck 5600. It manages regeneration cycles via a metered or time-clock schedule, features a backlit digital display for easy programming, and supports a snap-on bypass valve for maintenance isolation. Built on a proven platform, the Vtrol control head is a reliable residential control valve backed by Crystal Quest.
Step-by-Step
Complete Walkthrough
Tools Required
0:26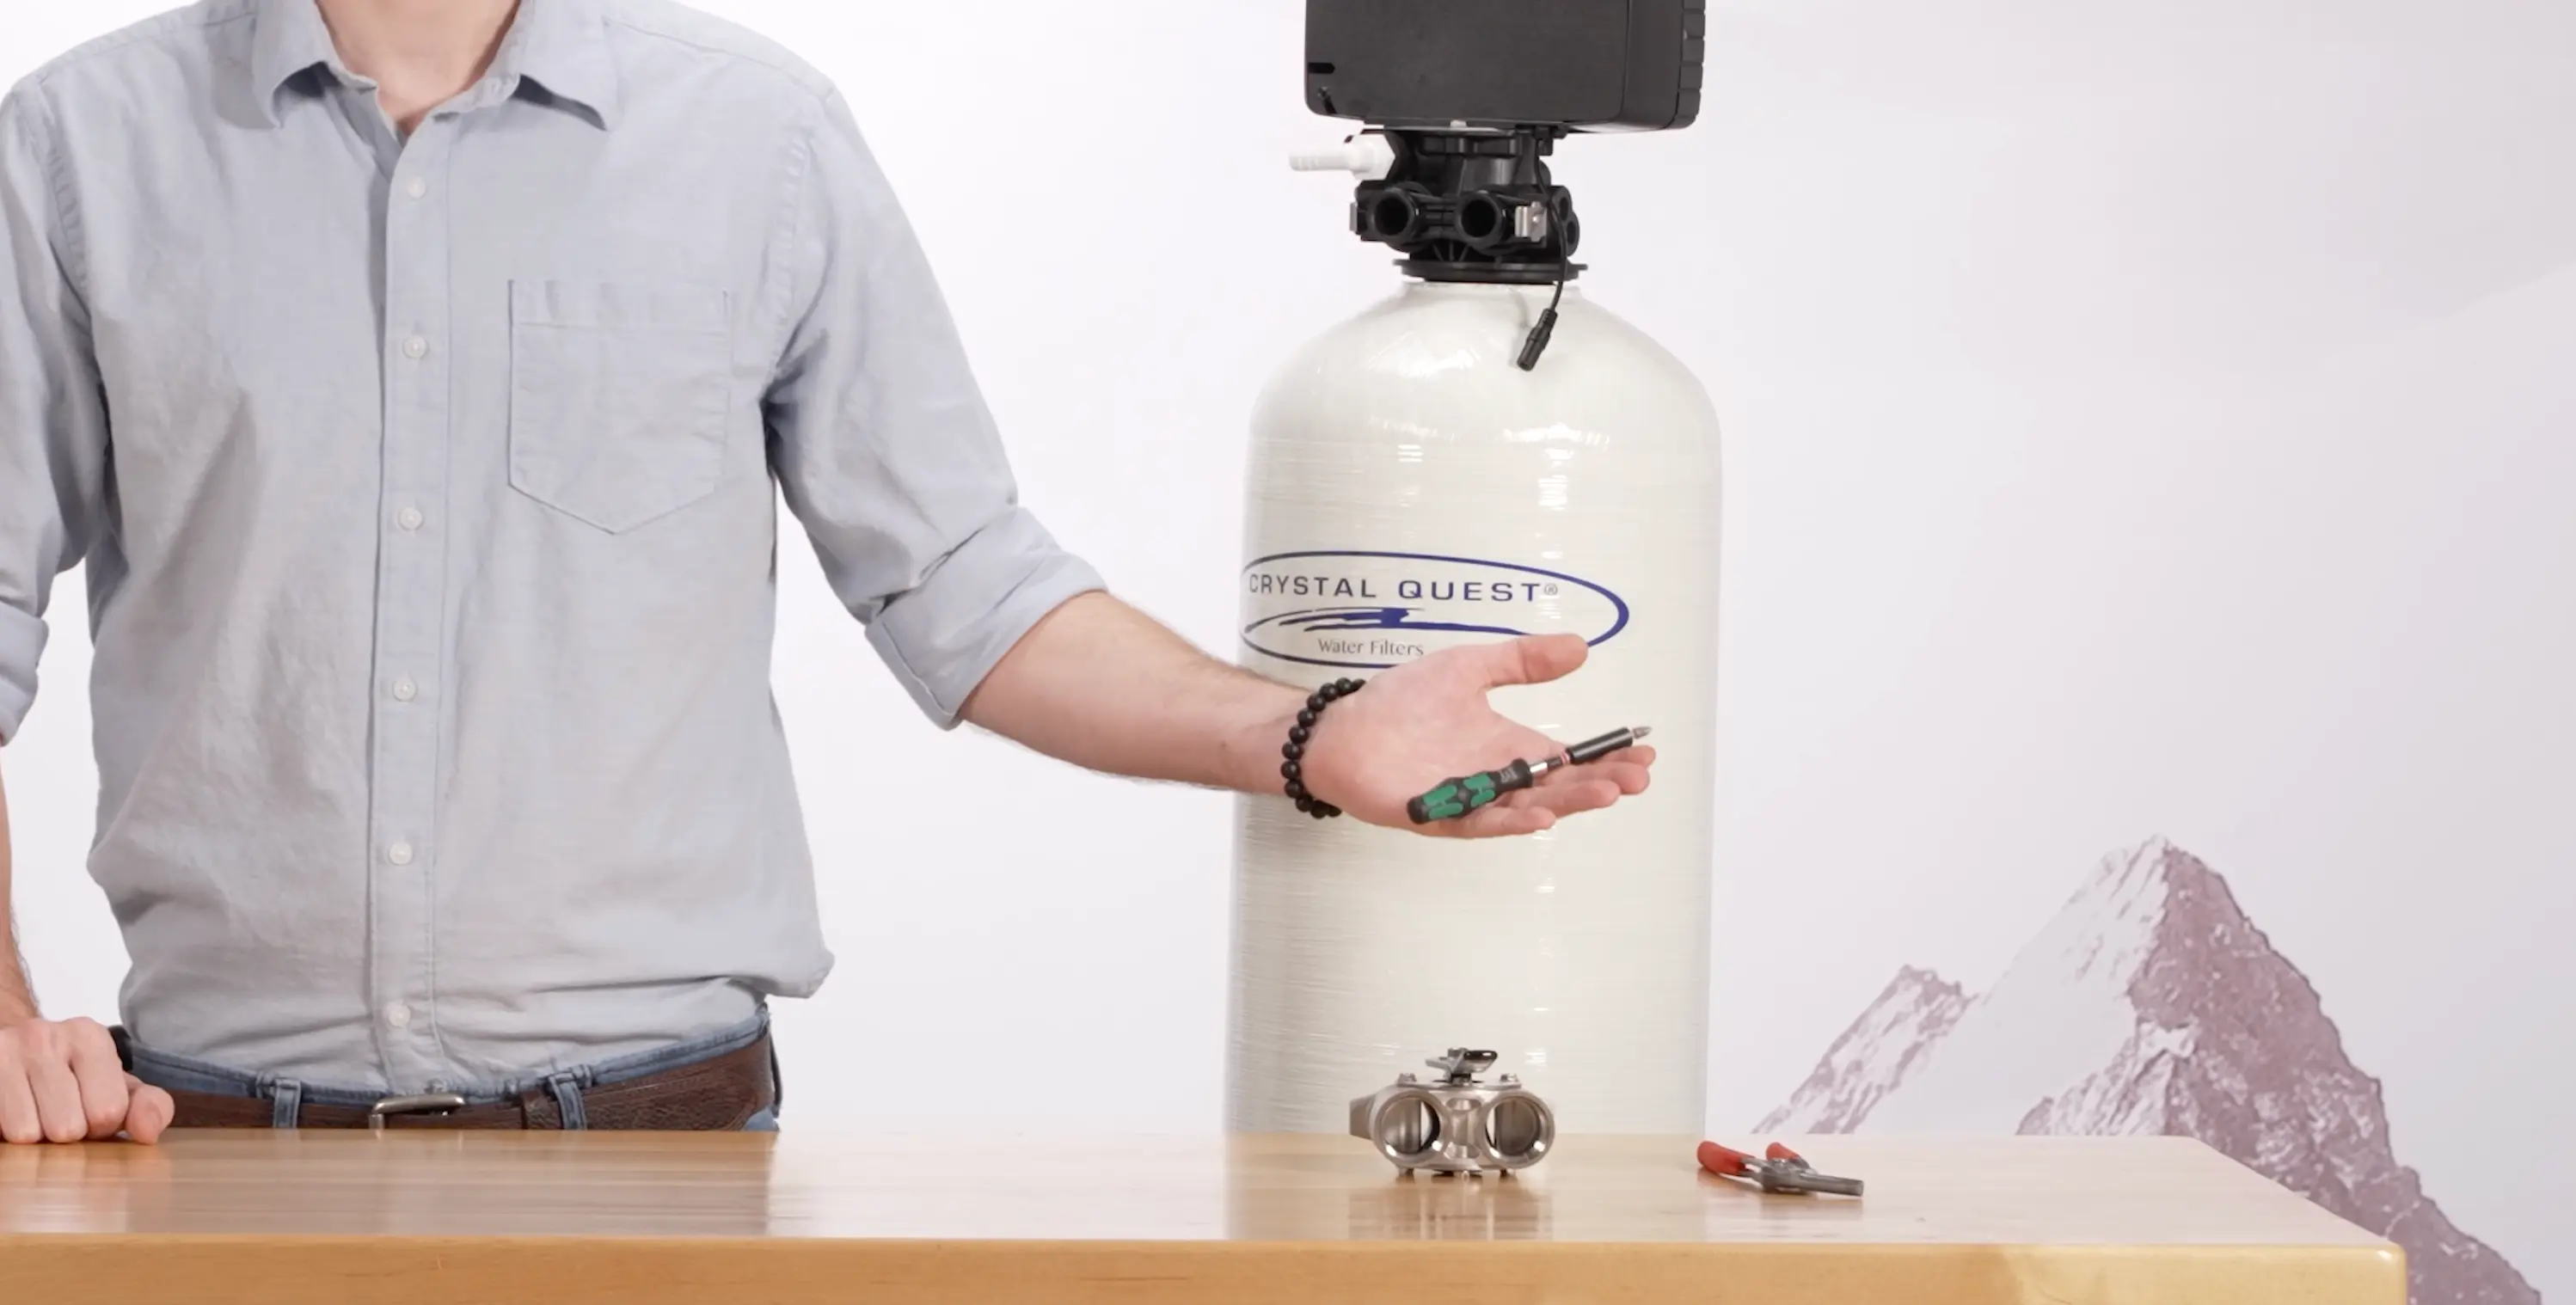
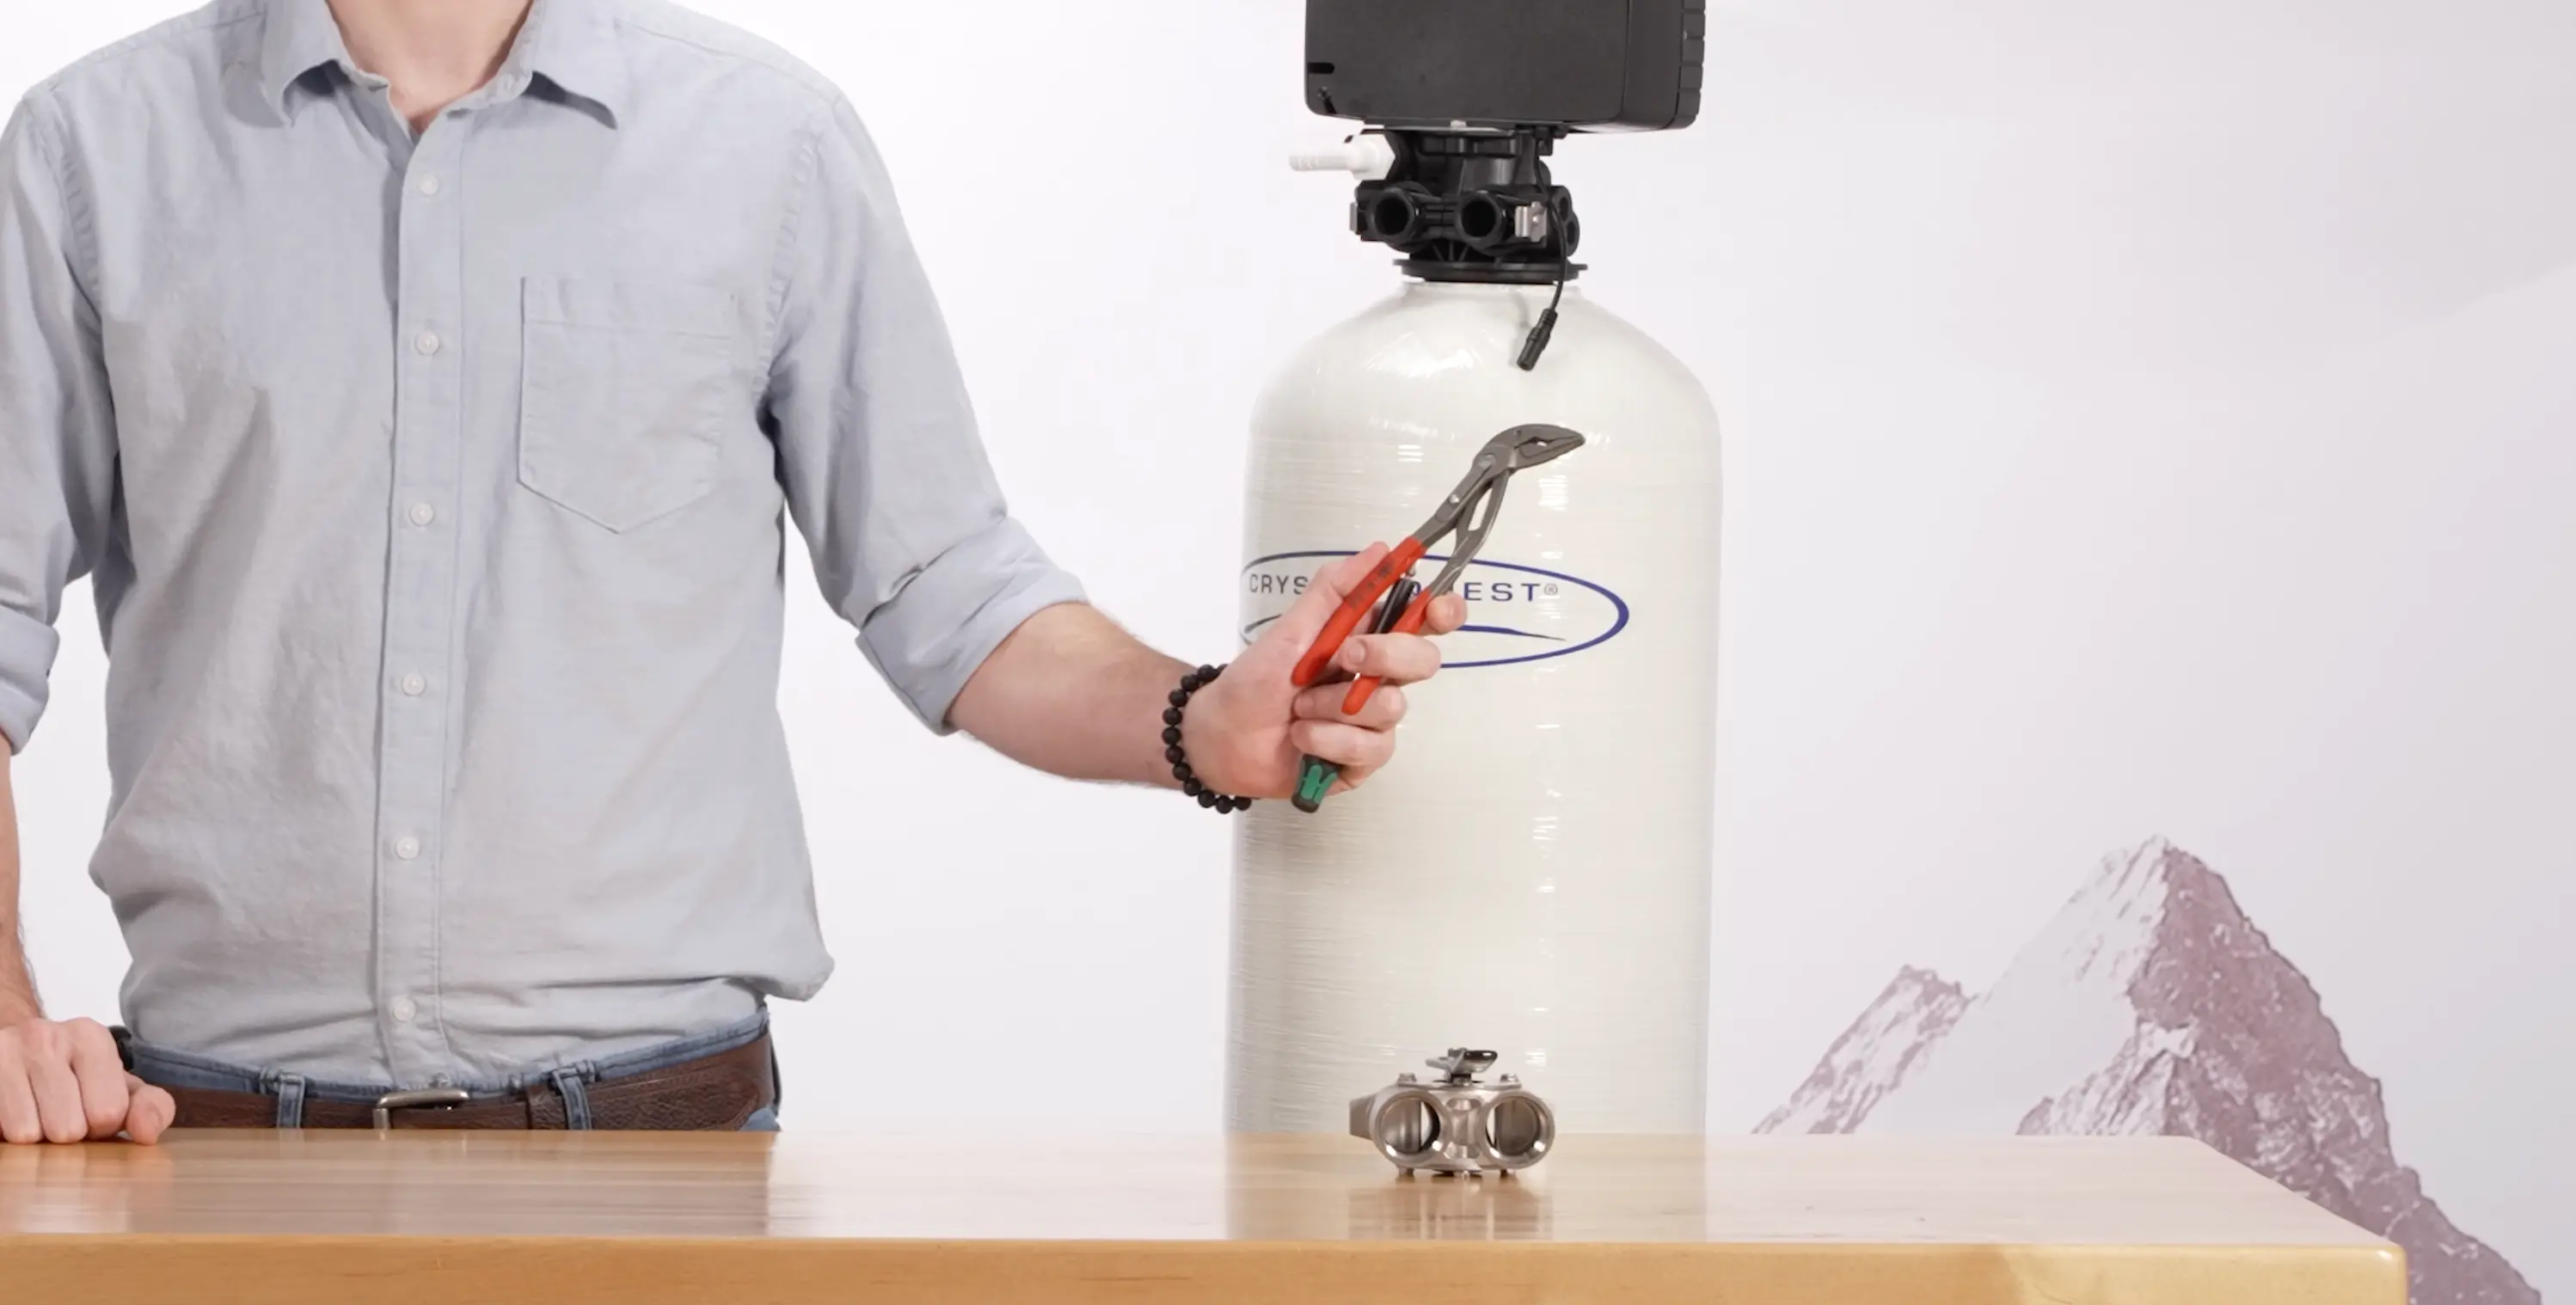
You will need a standard screwdriver and a pair of pliers. No specialized tools are required for this installation. Have both ready before you begin so the process goes smoothly.
Removing the Side Brackets
0:36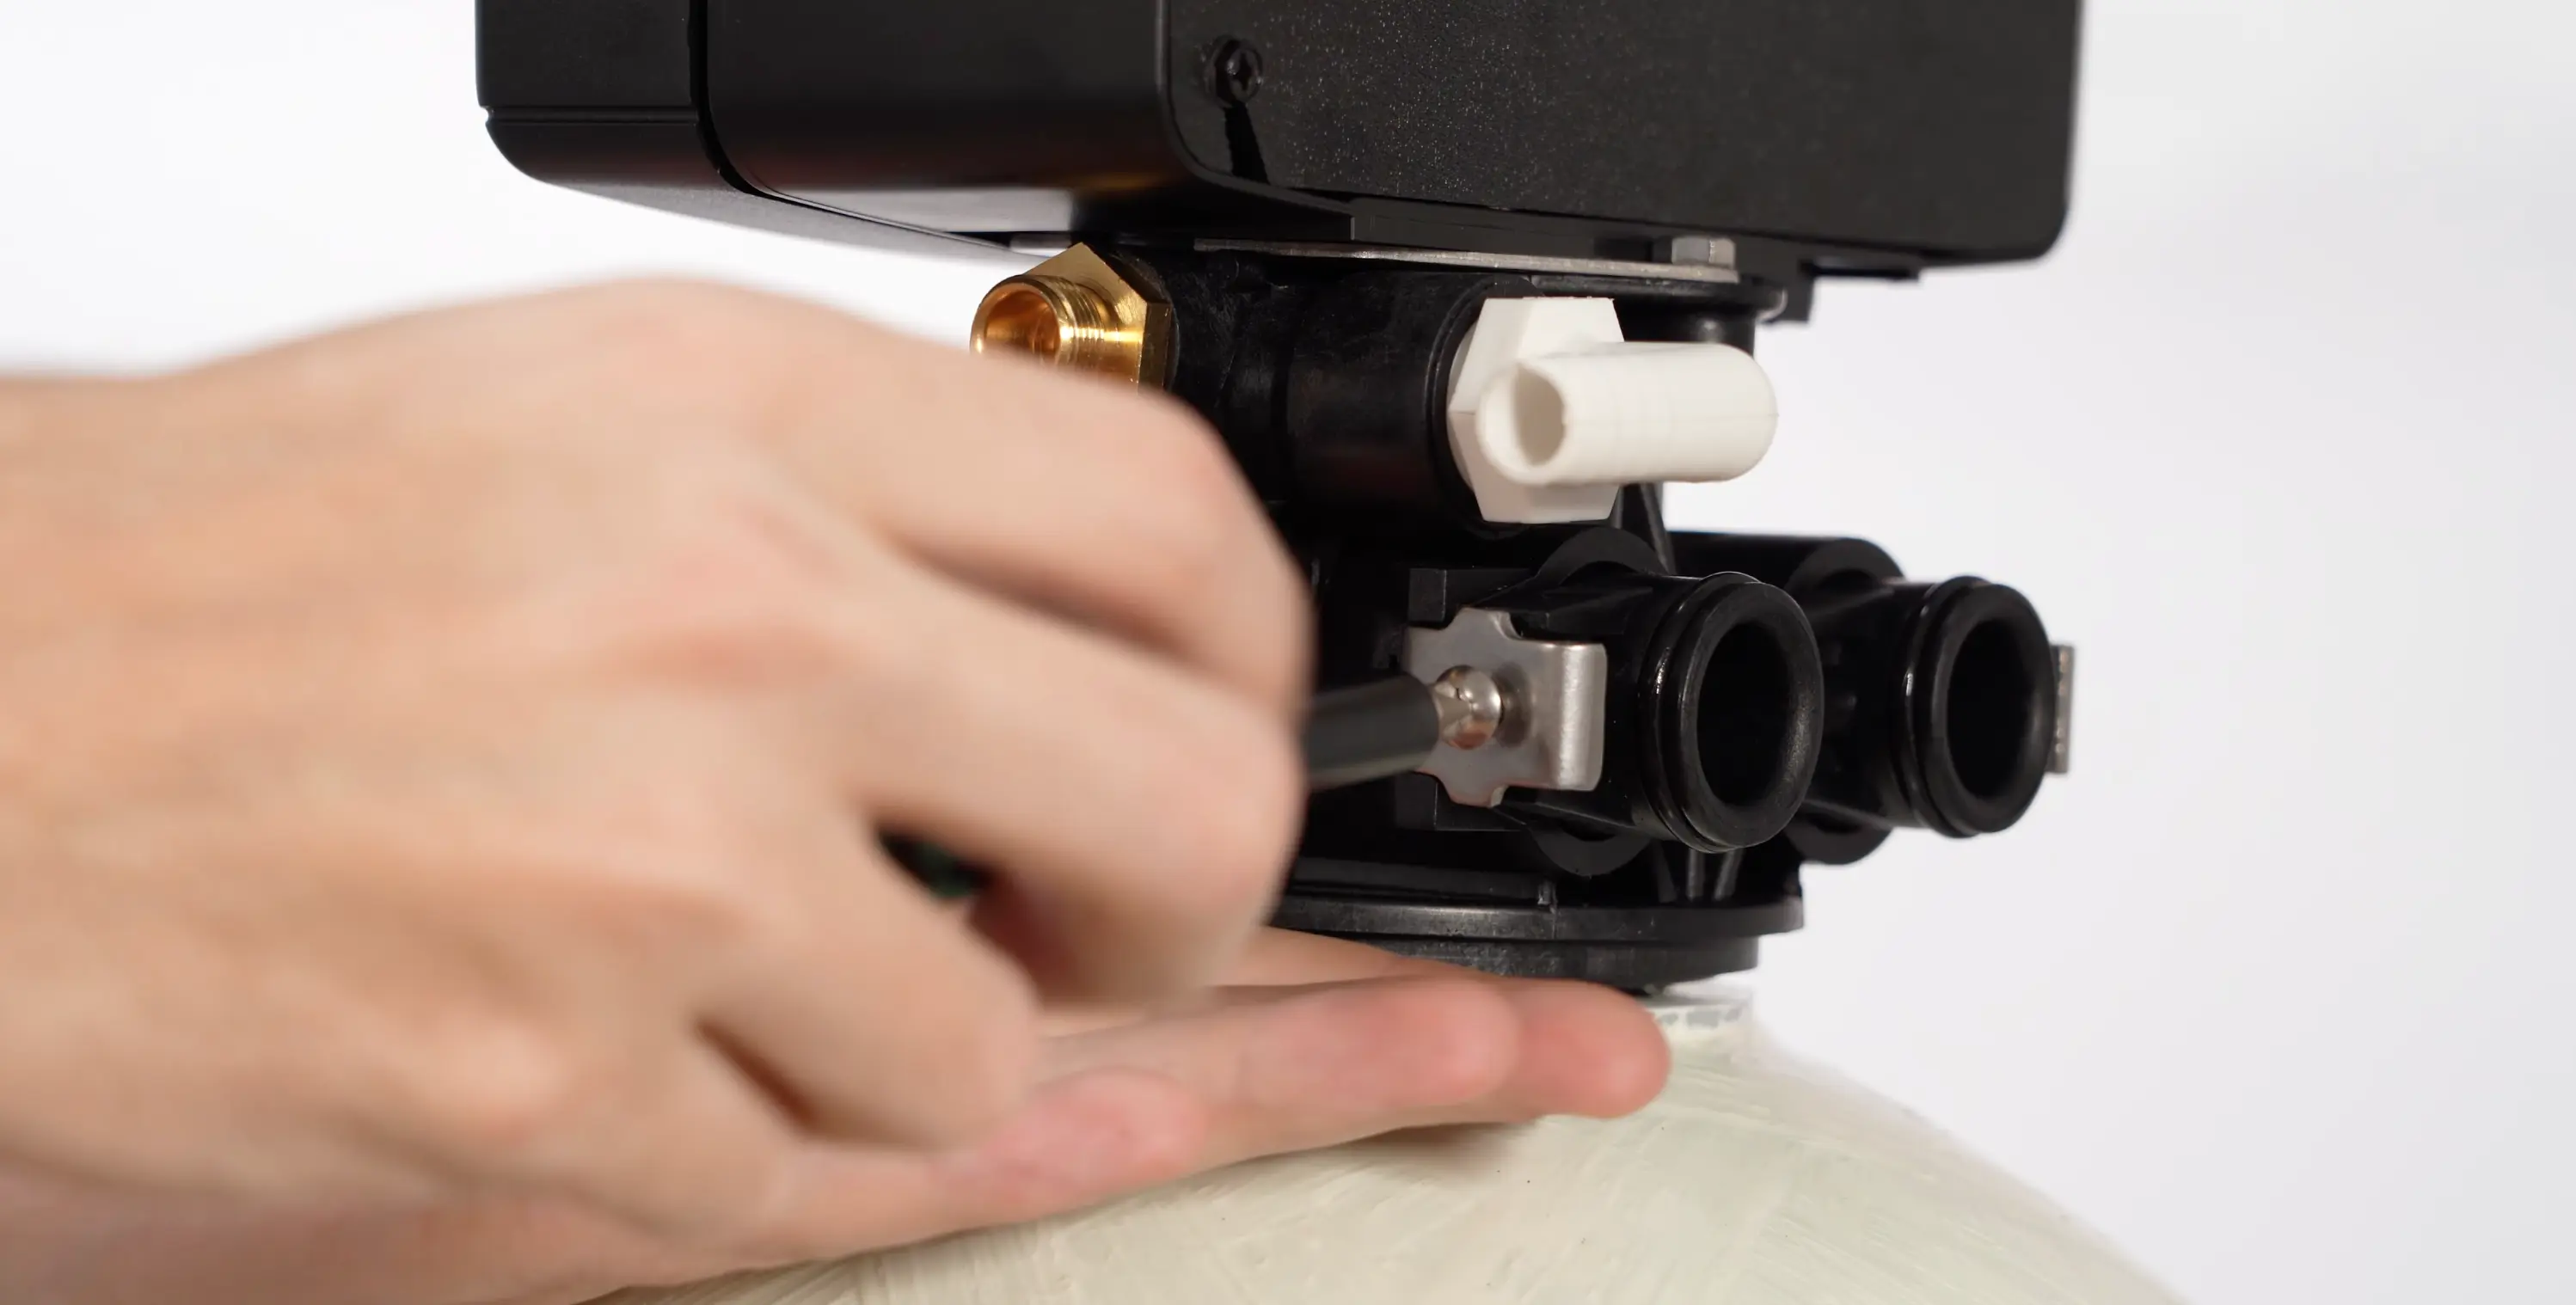
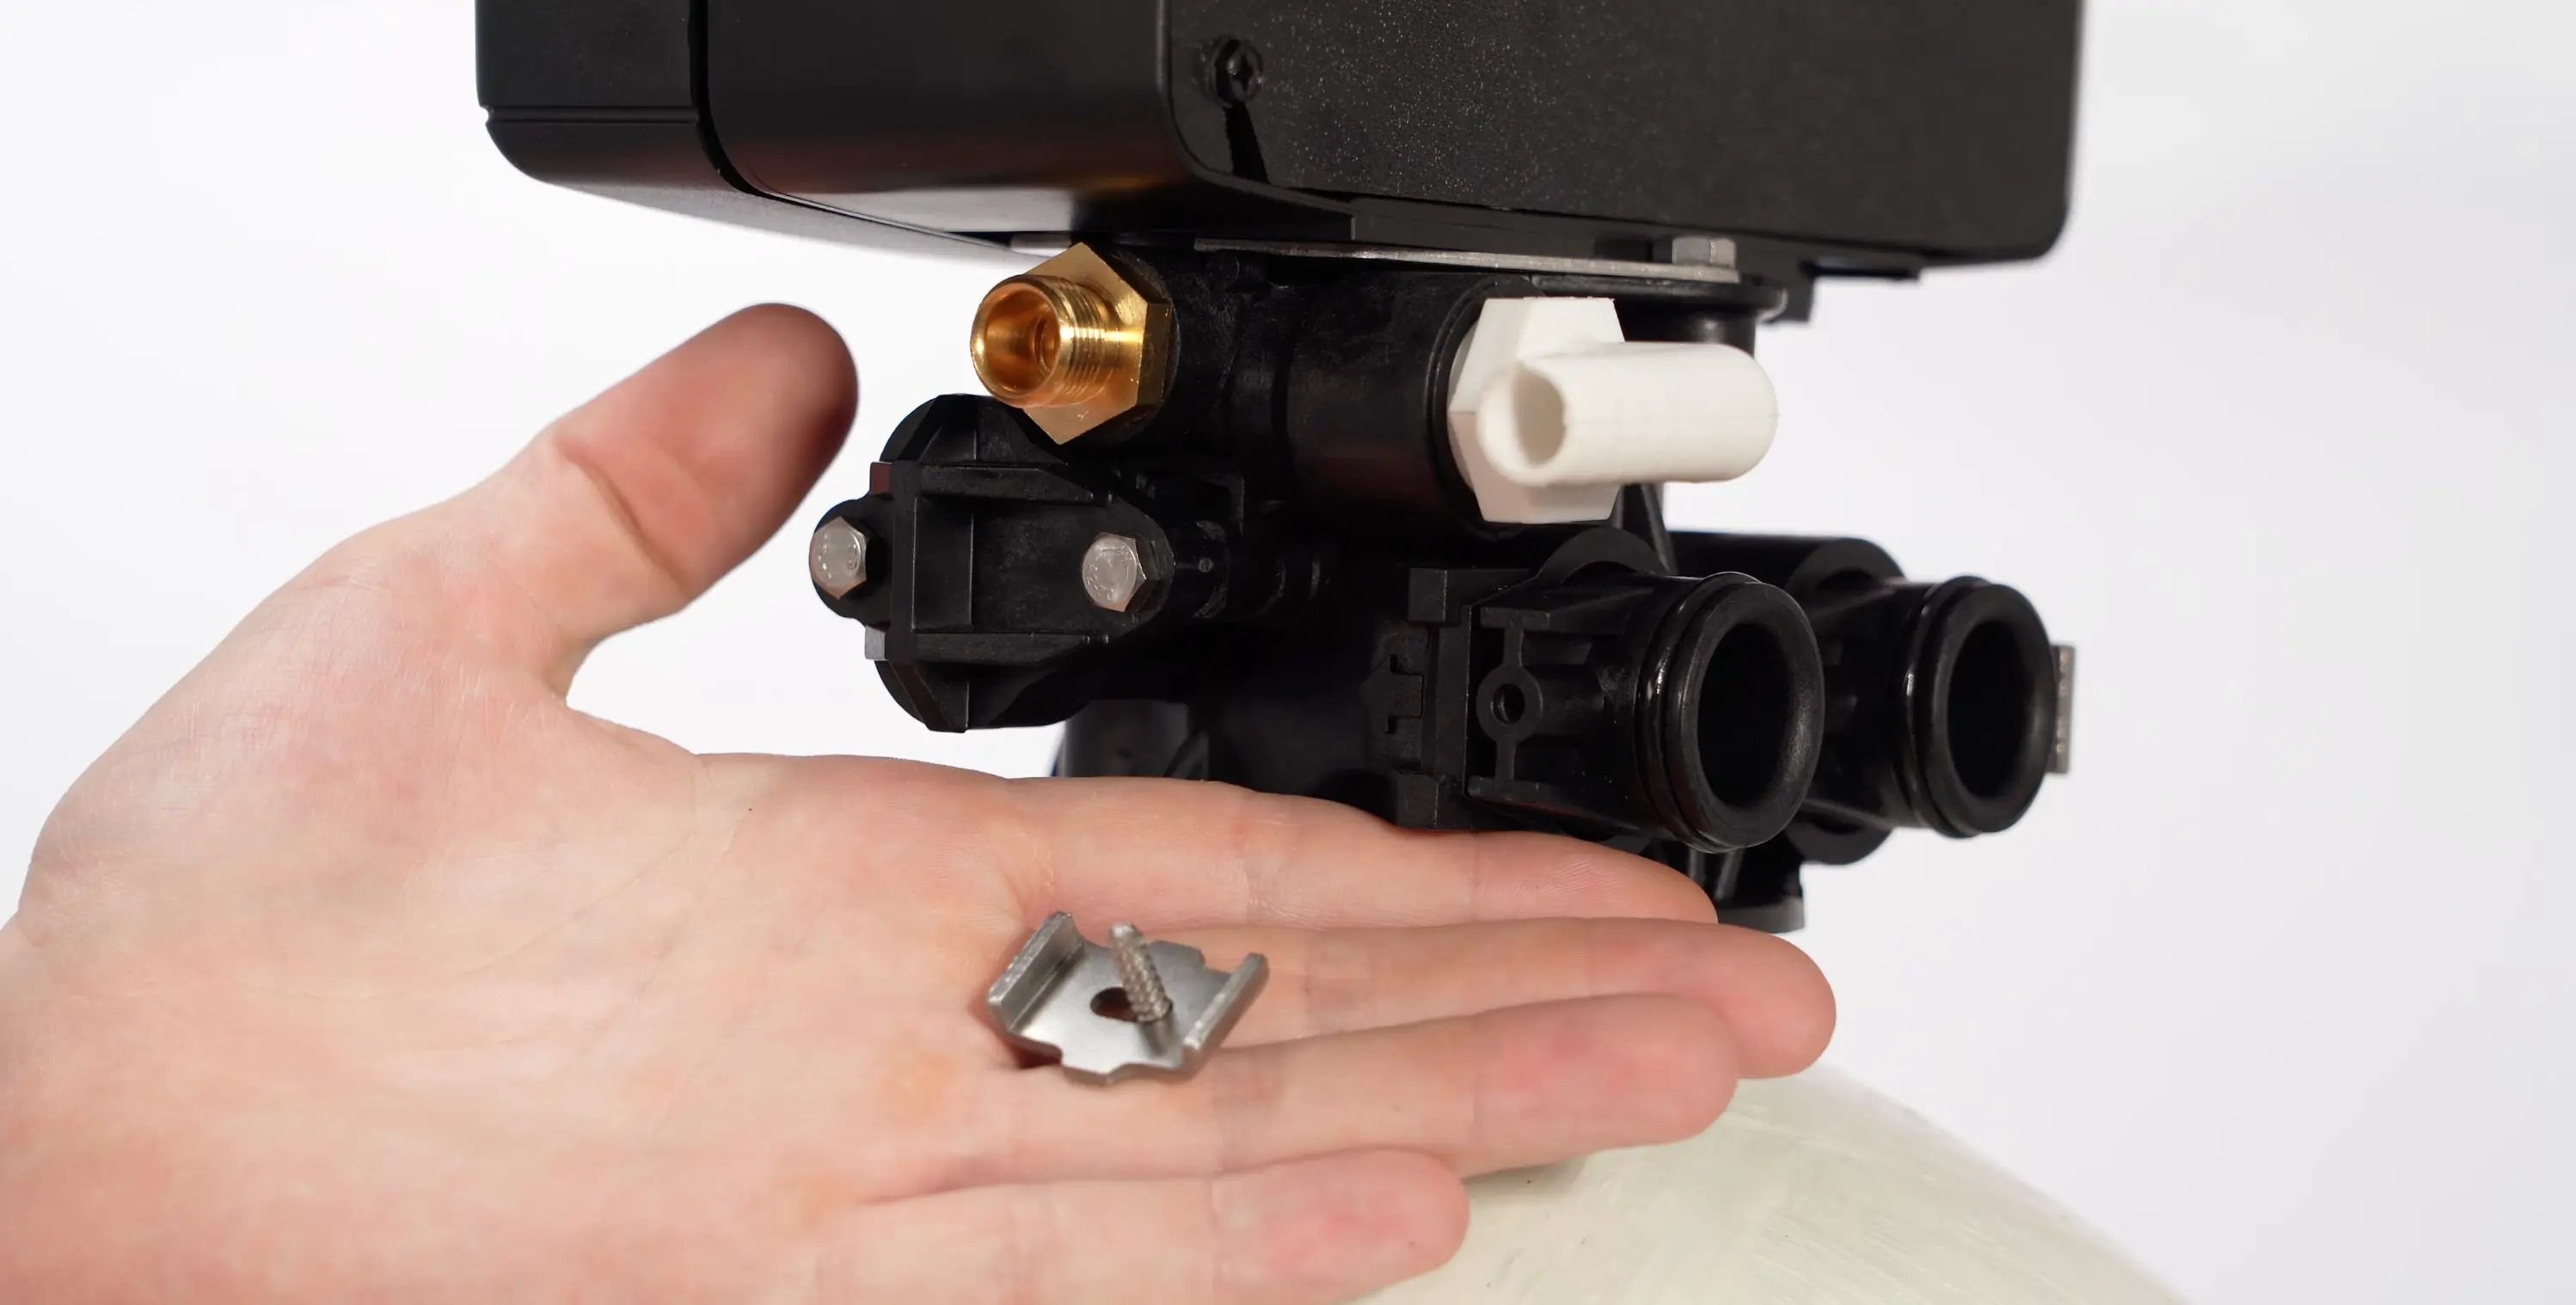
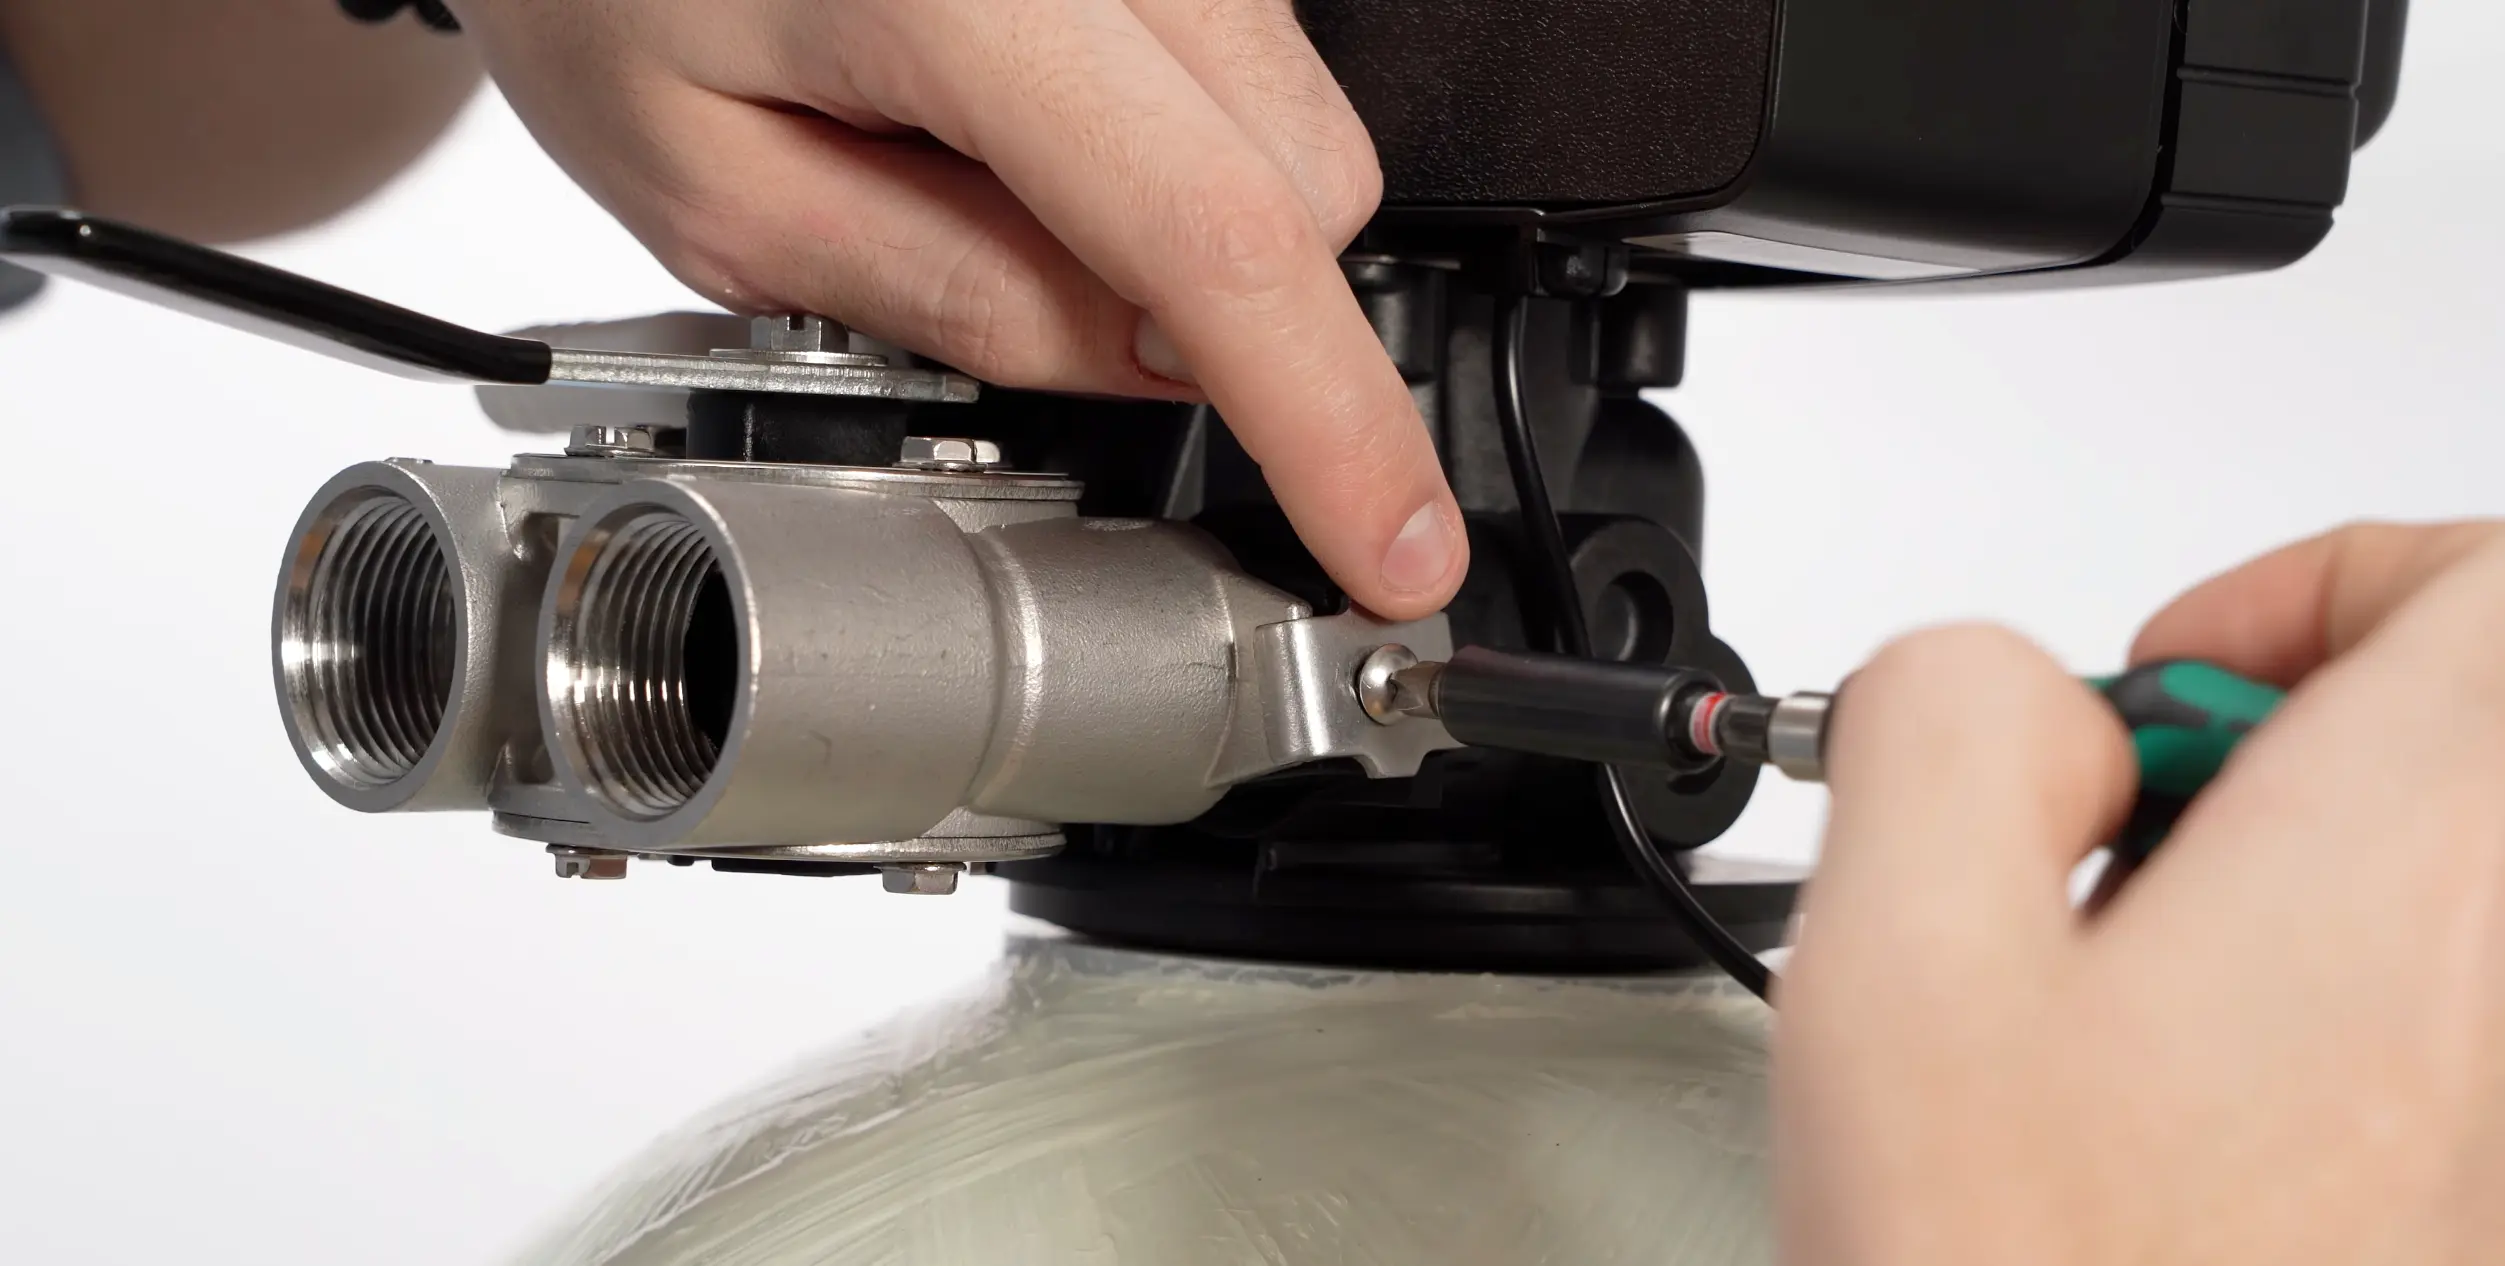
Remove the silver screws from both sides of the Vtrol control head and set the side brackets aside. These brackets will be reinstalled after the bypass valve is in place, they secure both the bypass and the control head together as a single assembly.
Identifying the Yoke Couplers
0:58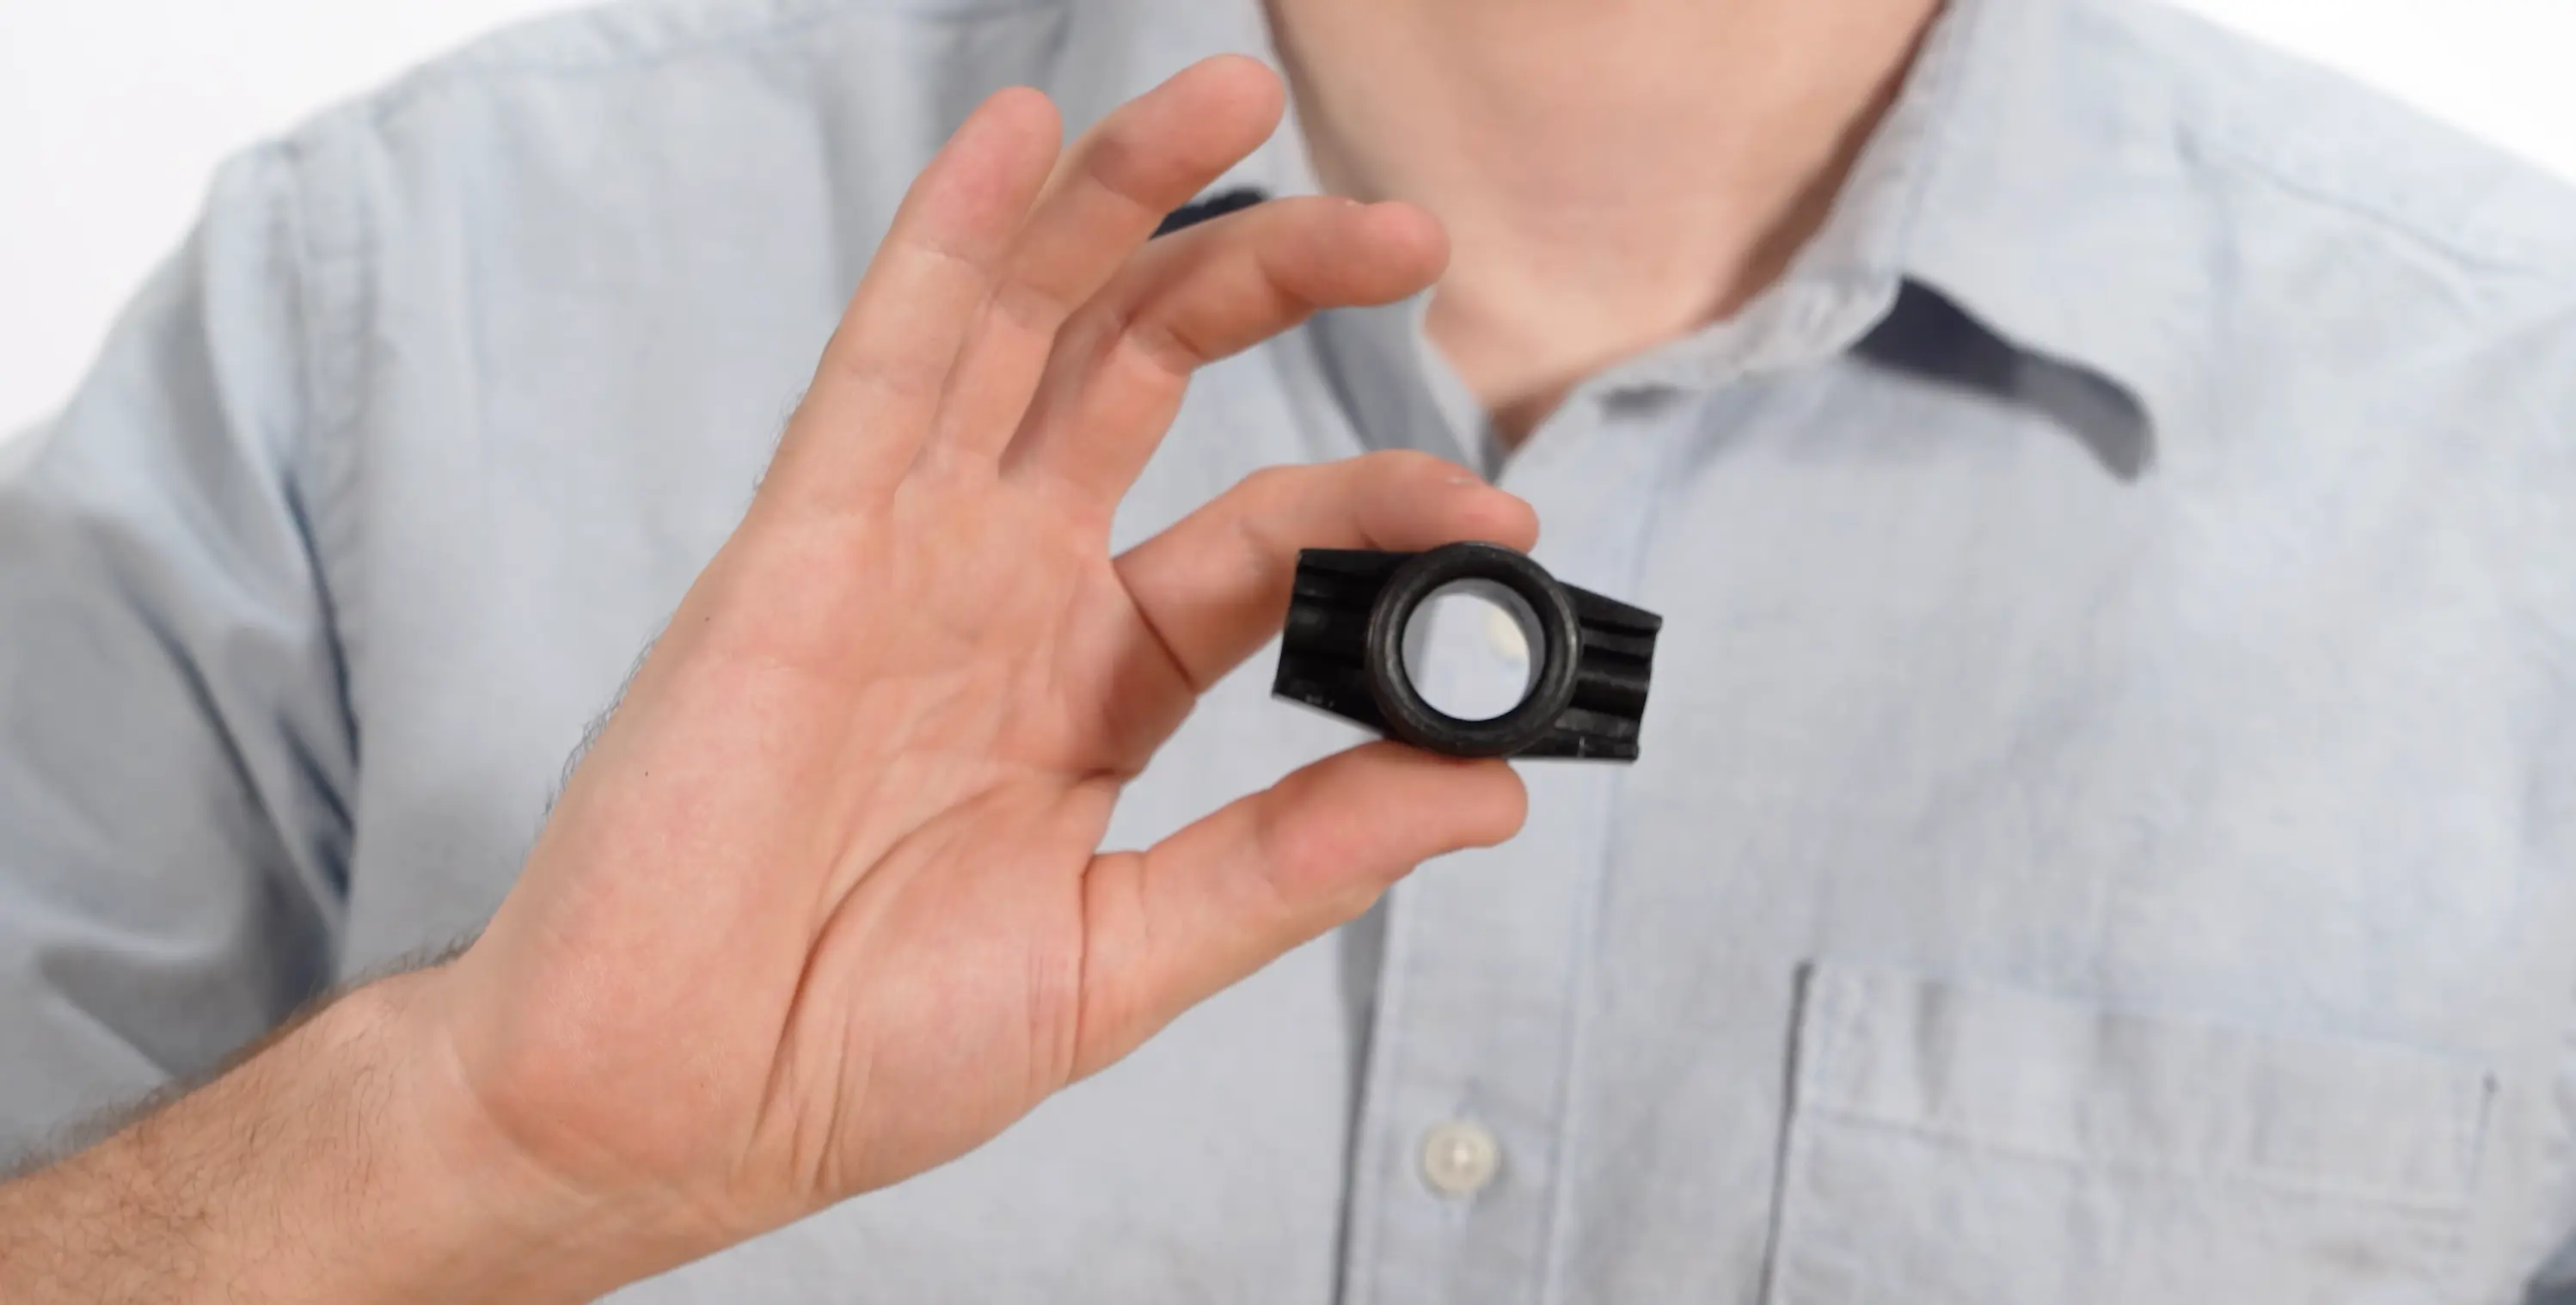
On the back of the control head, locate the two yoke couplers, these are the connection points where the bypass valve snaps on. They are molded into the control head body and accept the bypass valve's locking tabs.
Installing the Bypass Valve
1:12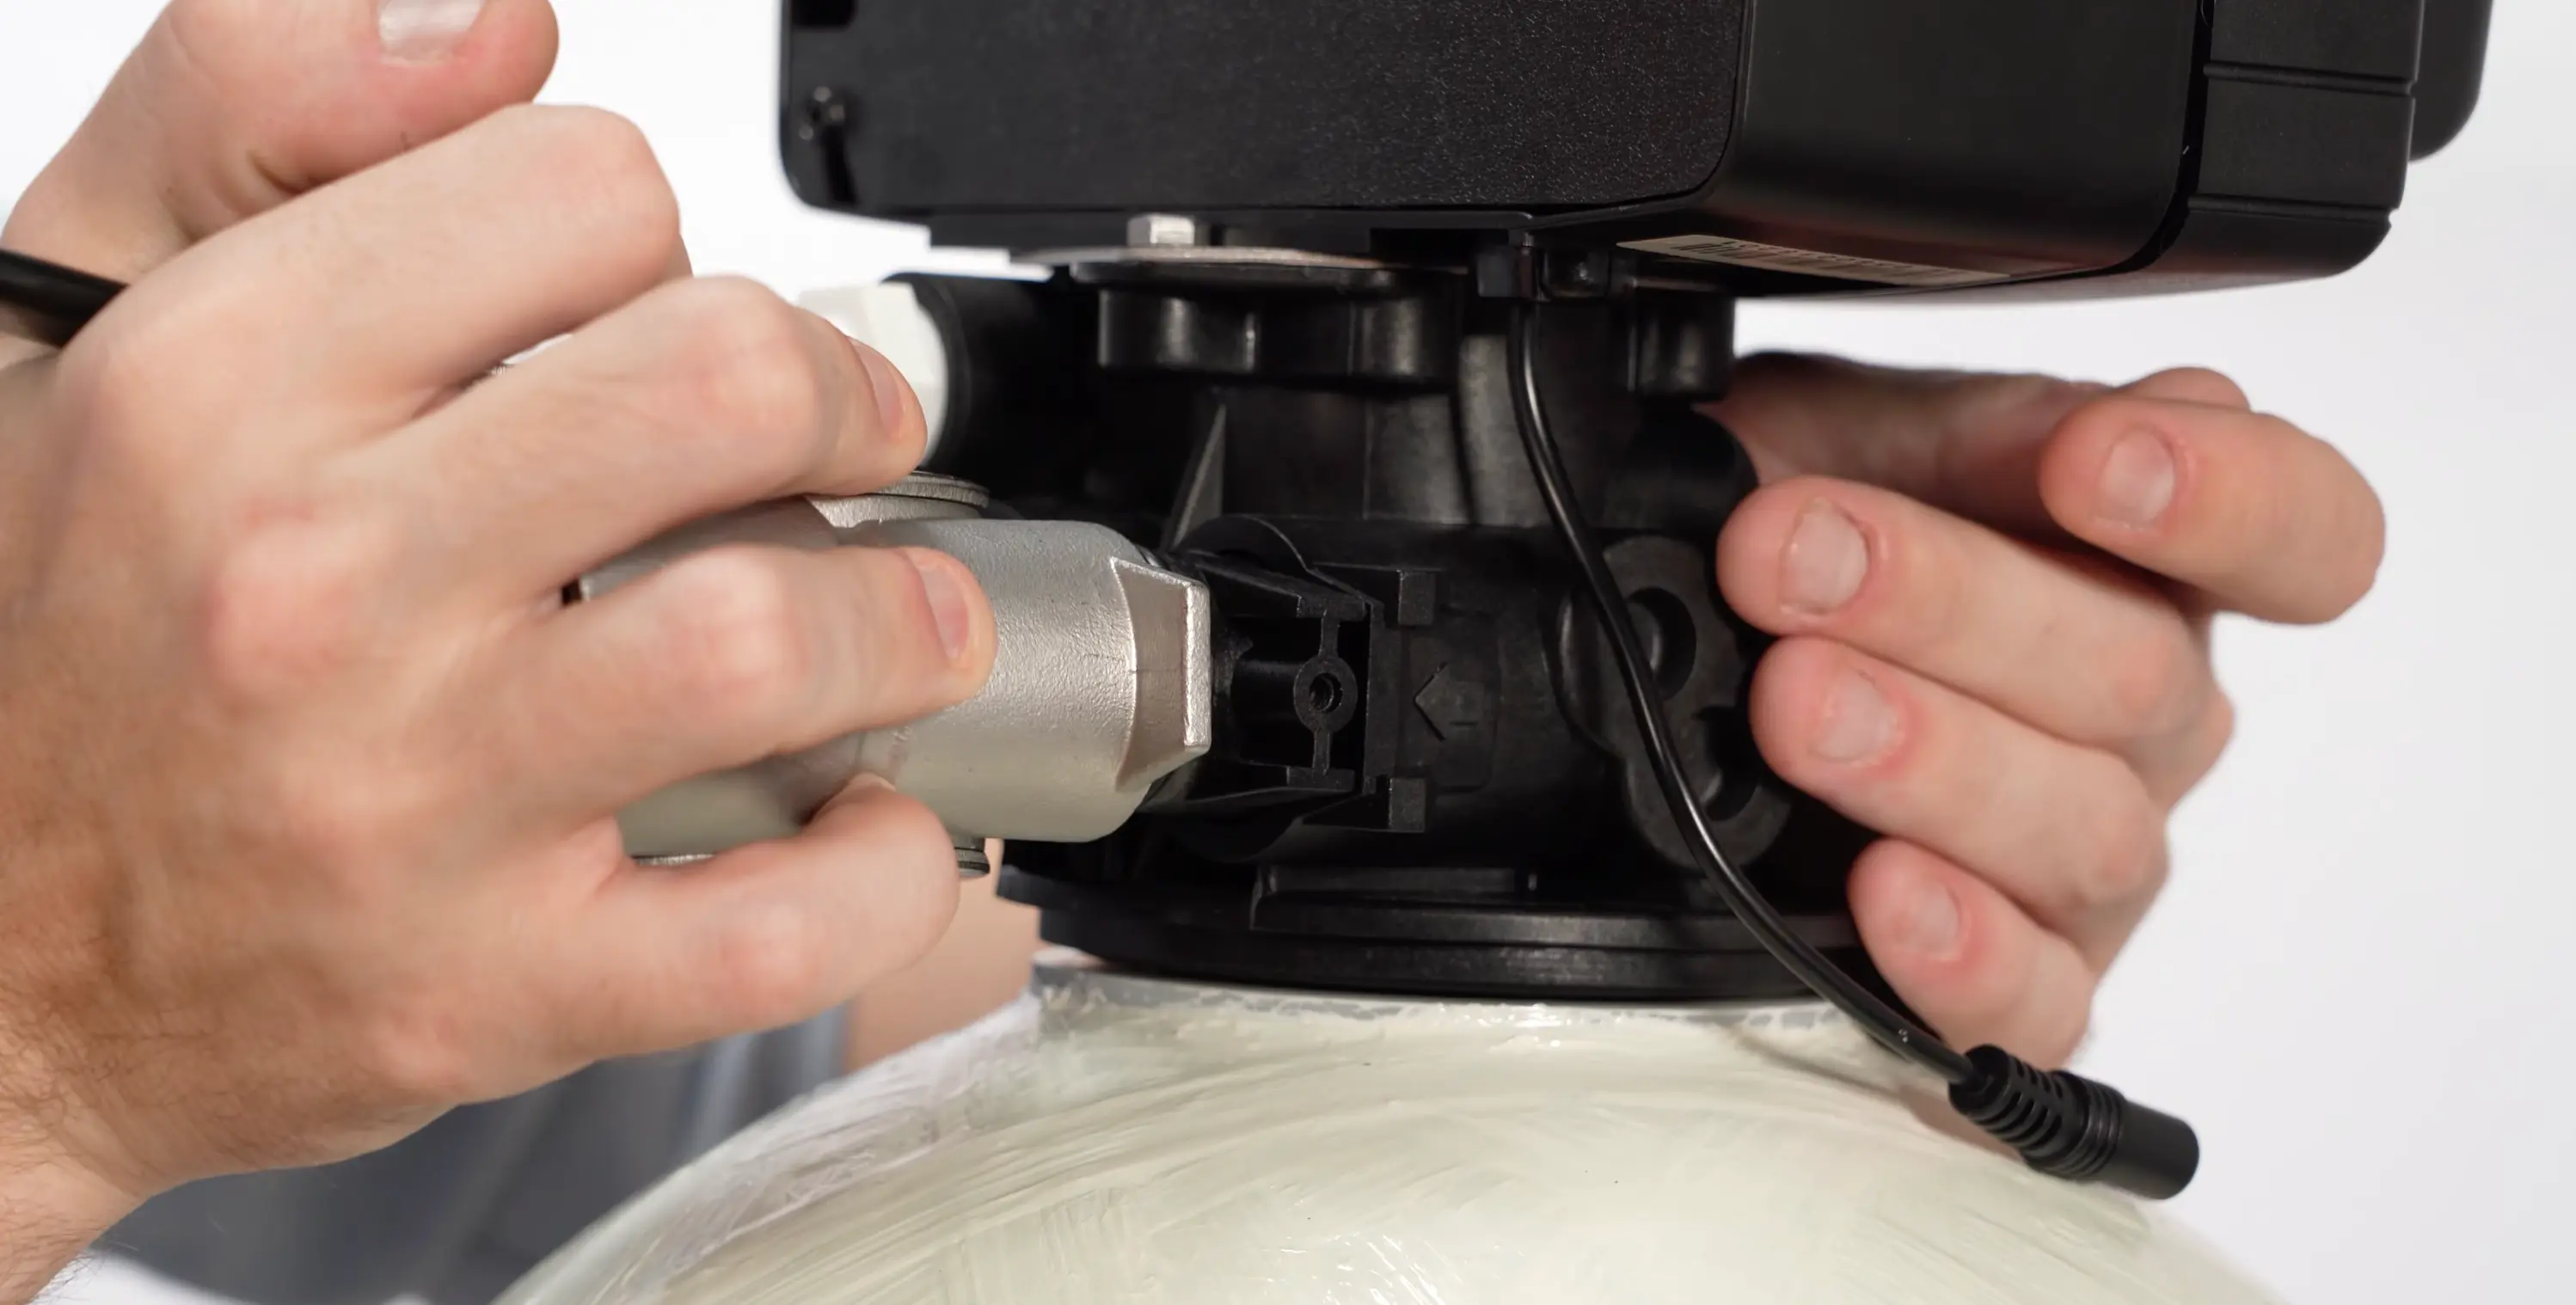
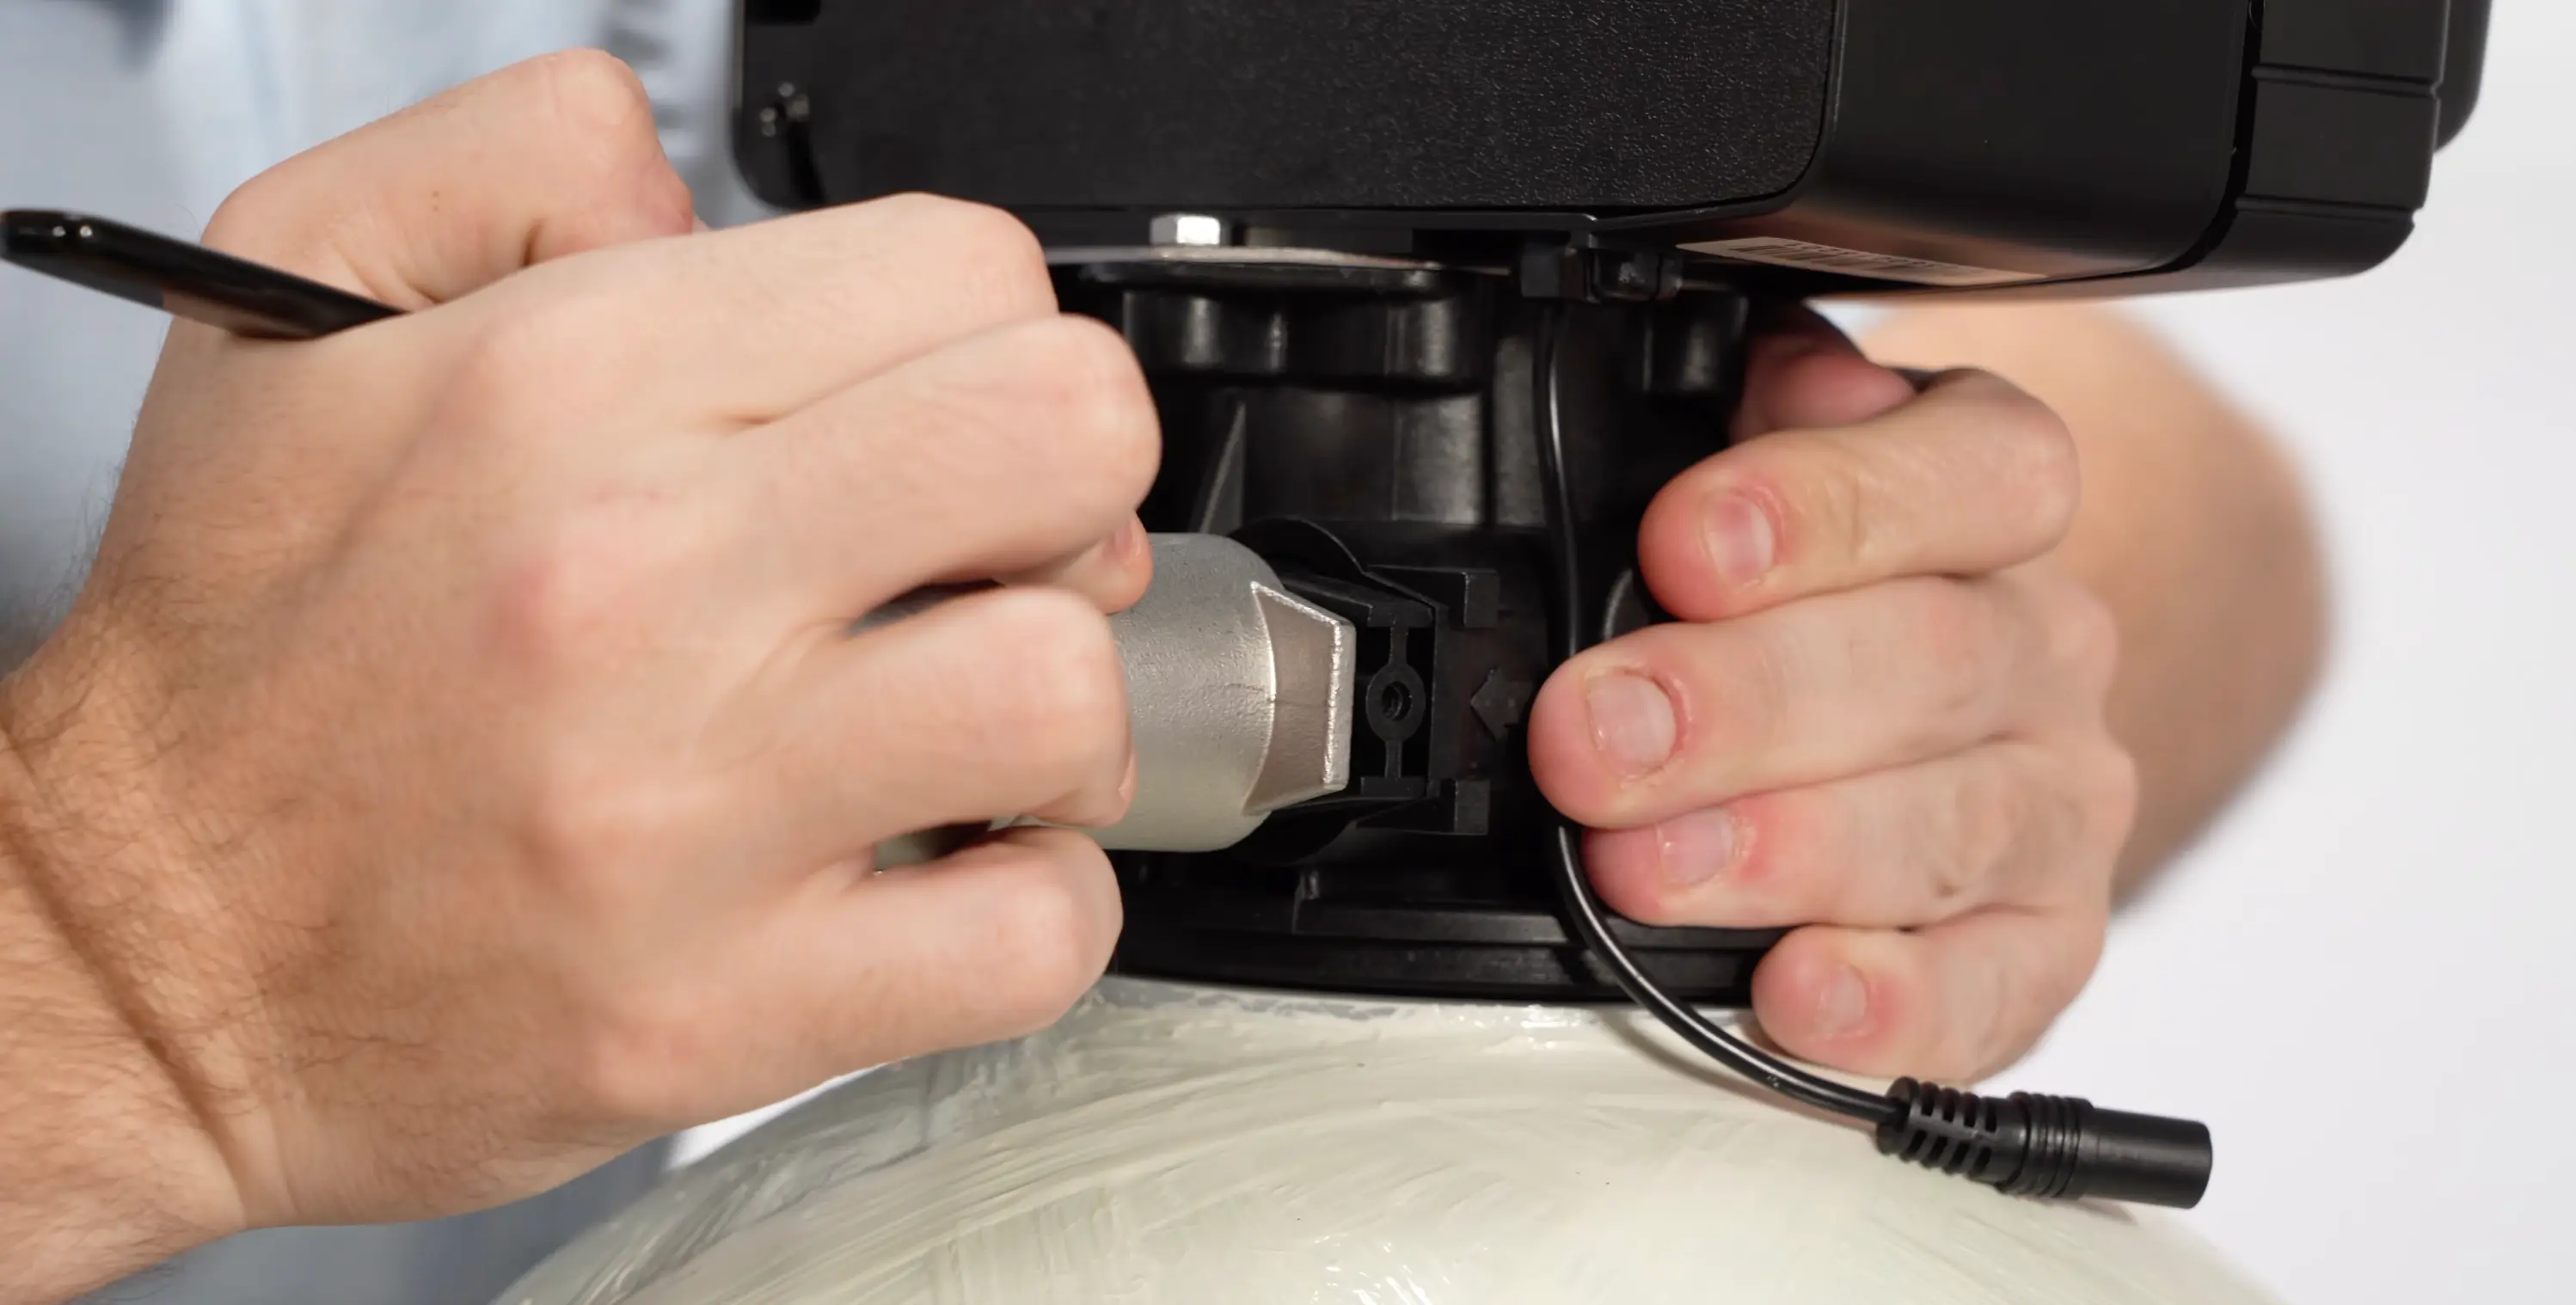
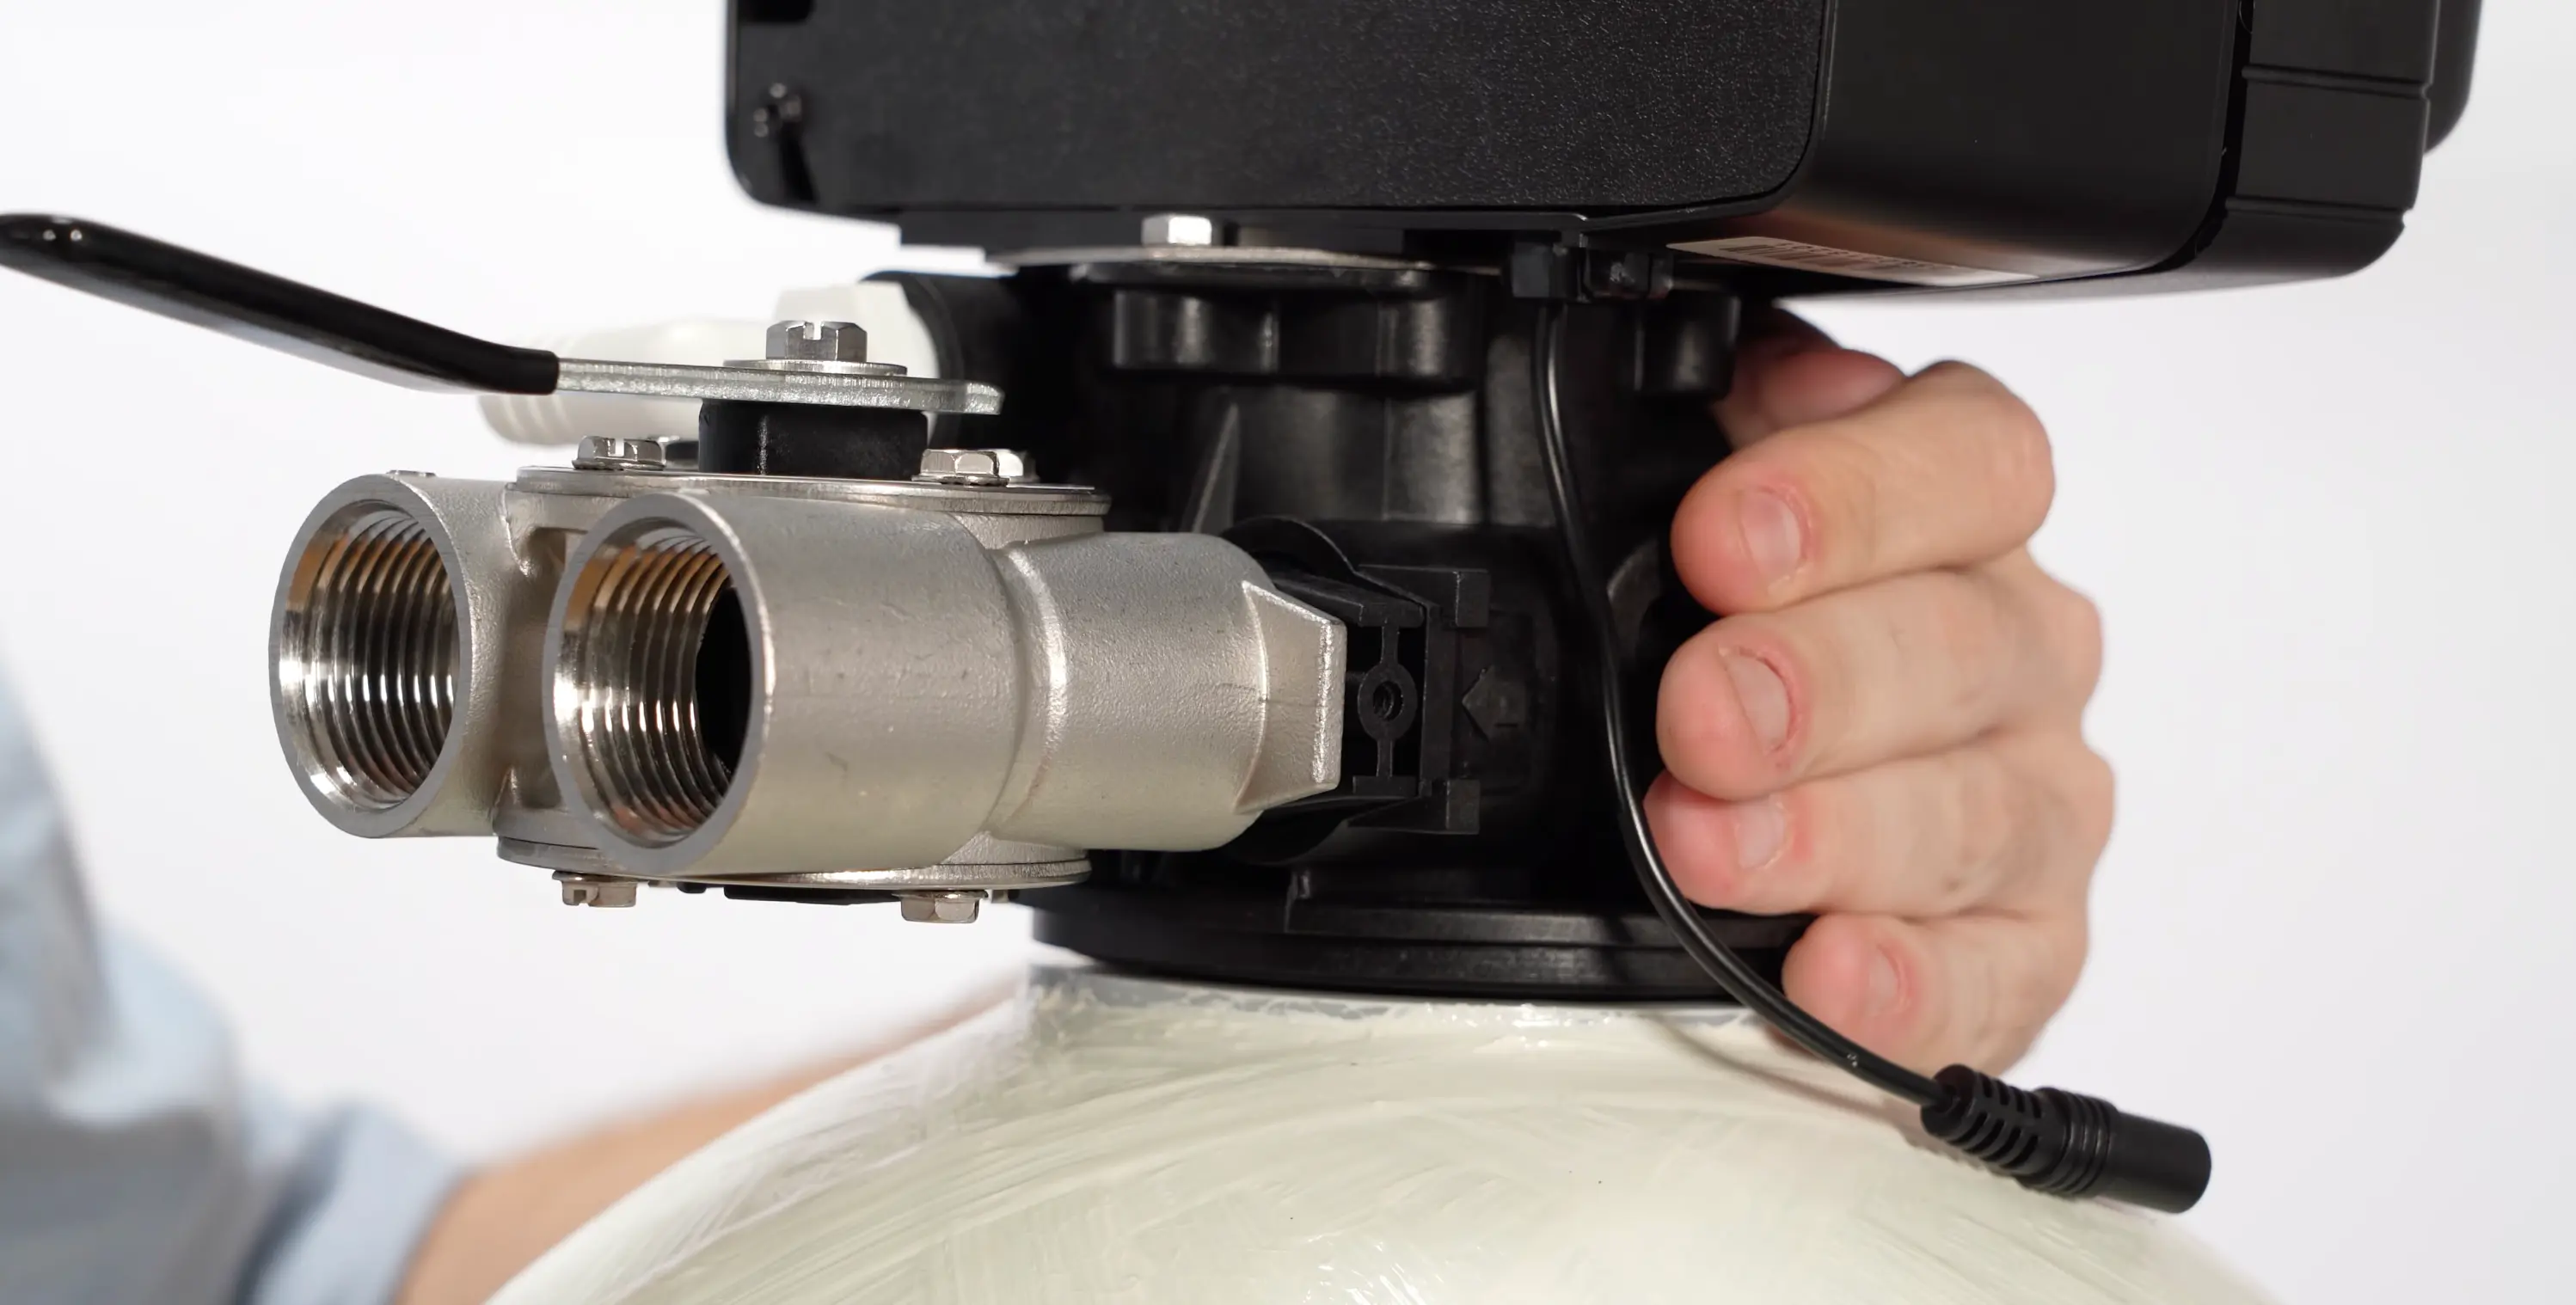
Align the bypass valve with the yoke couplers on the back of the control head. Push firmly until the valve snaps into place on both sides. You should hear or feel a click on each coupler confirming the bypass is locked in. Verify it is seated evenly and does not wobble.
Reinstalling the Side Brackets
1:20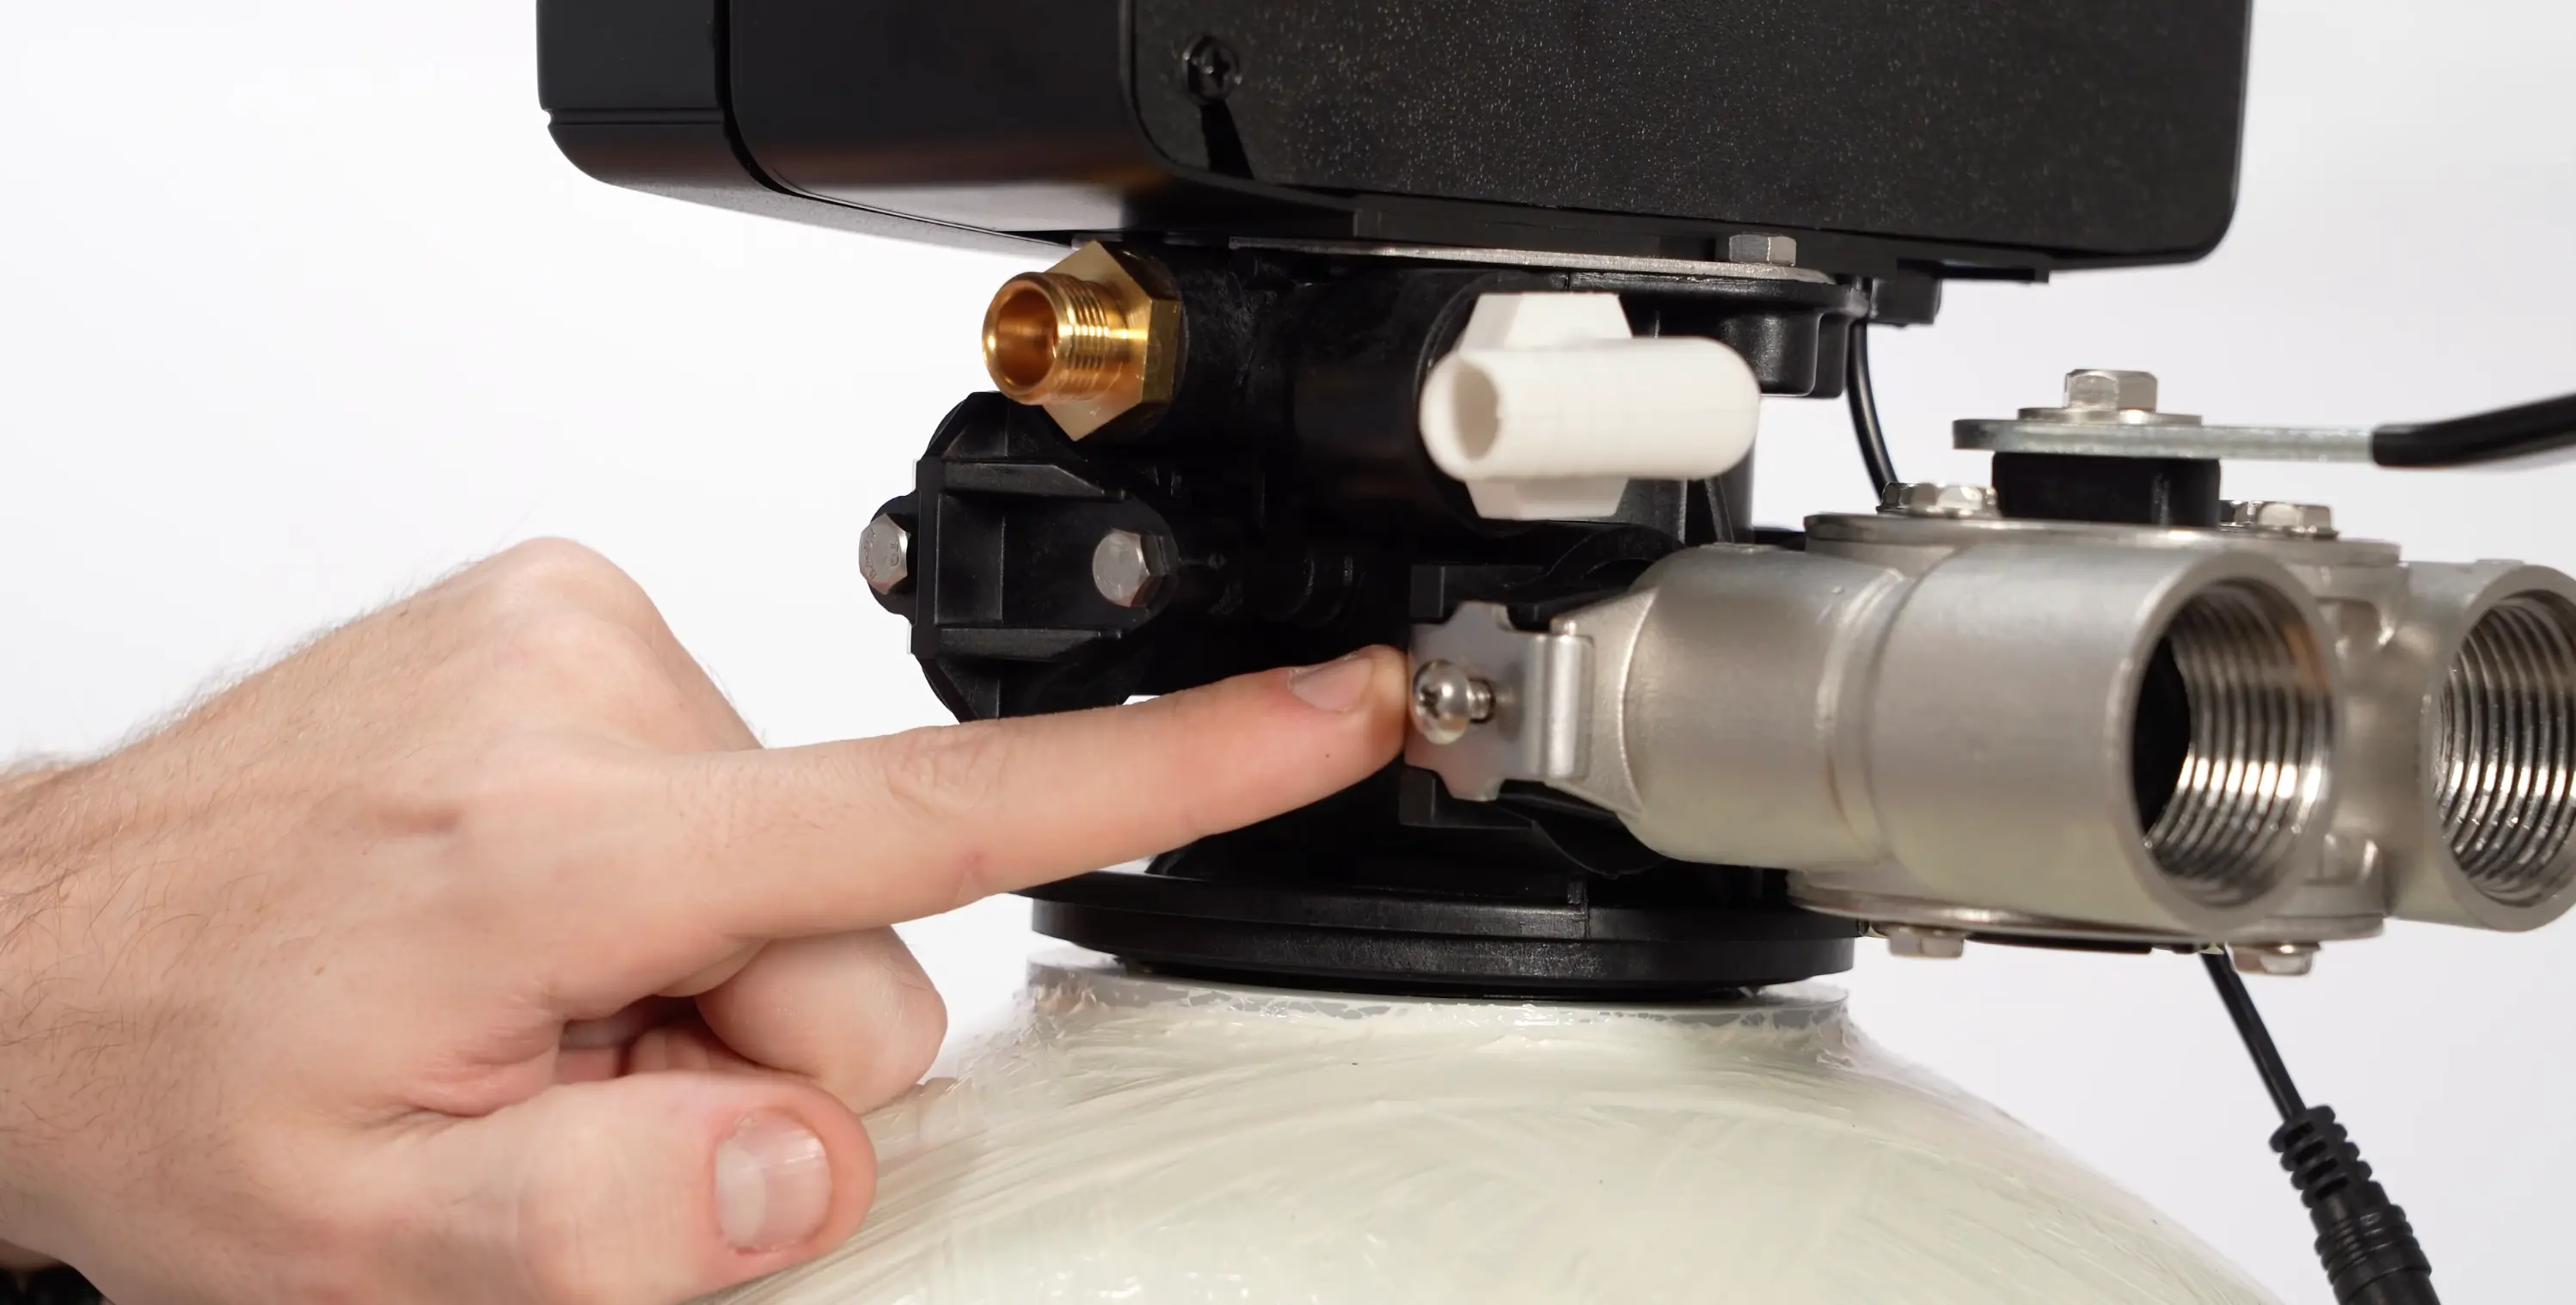
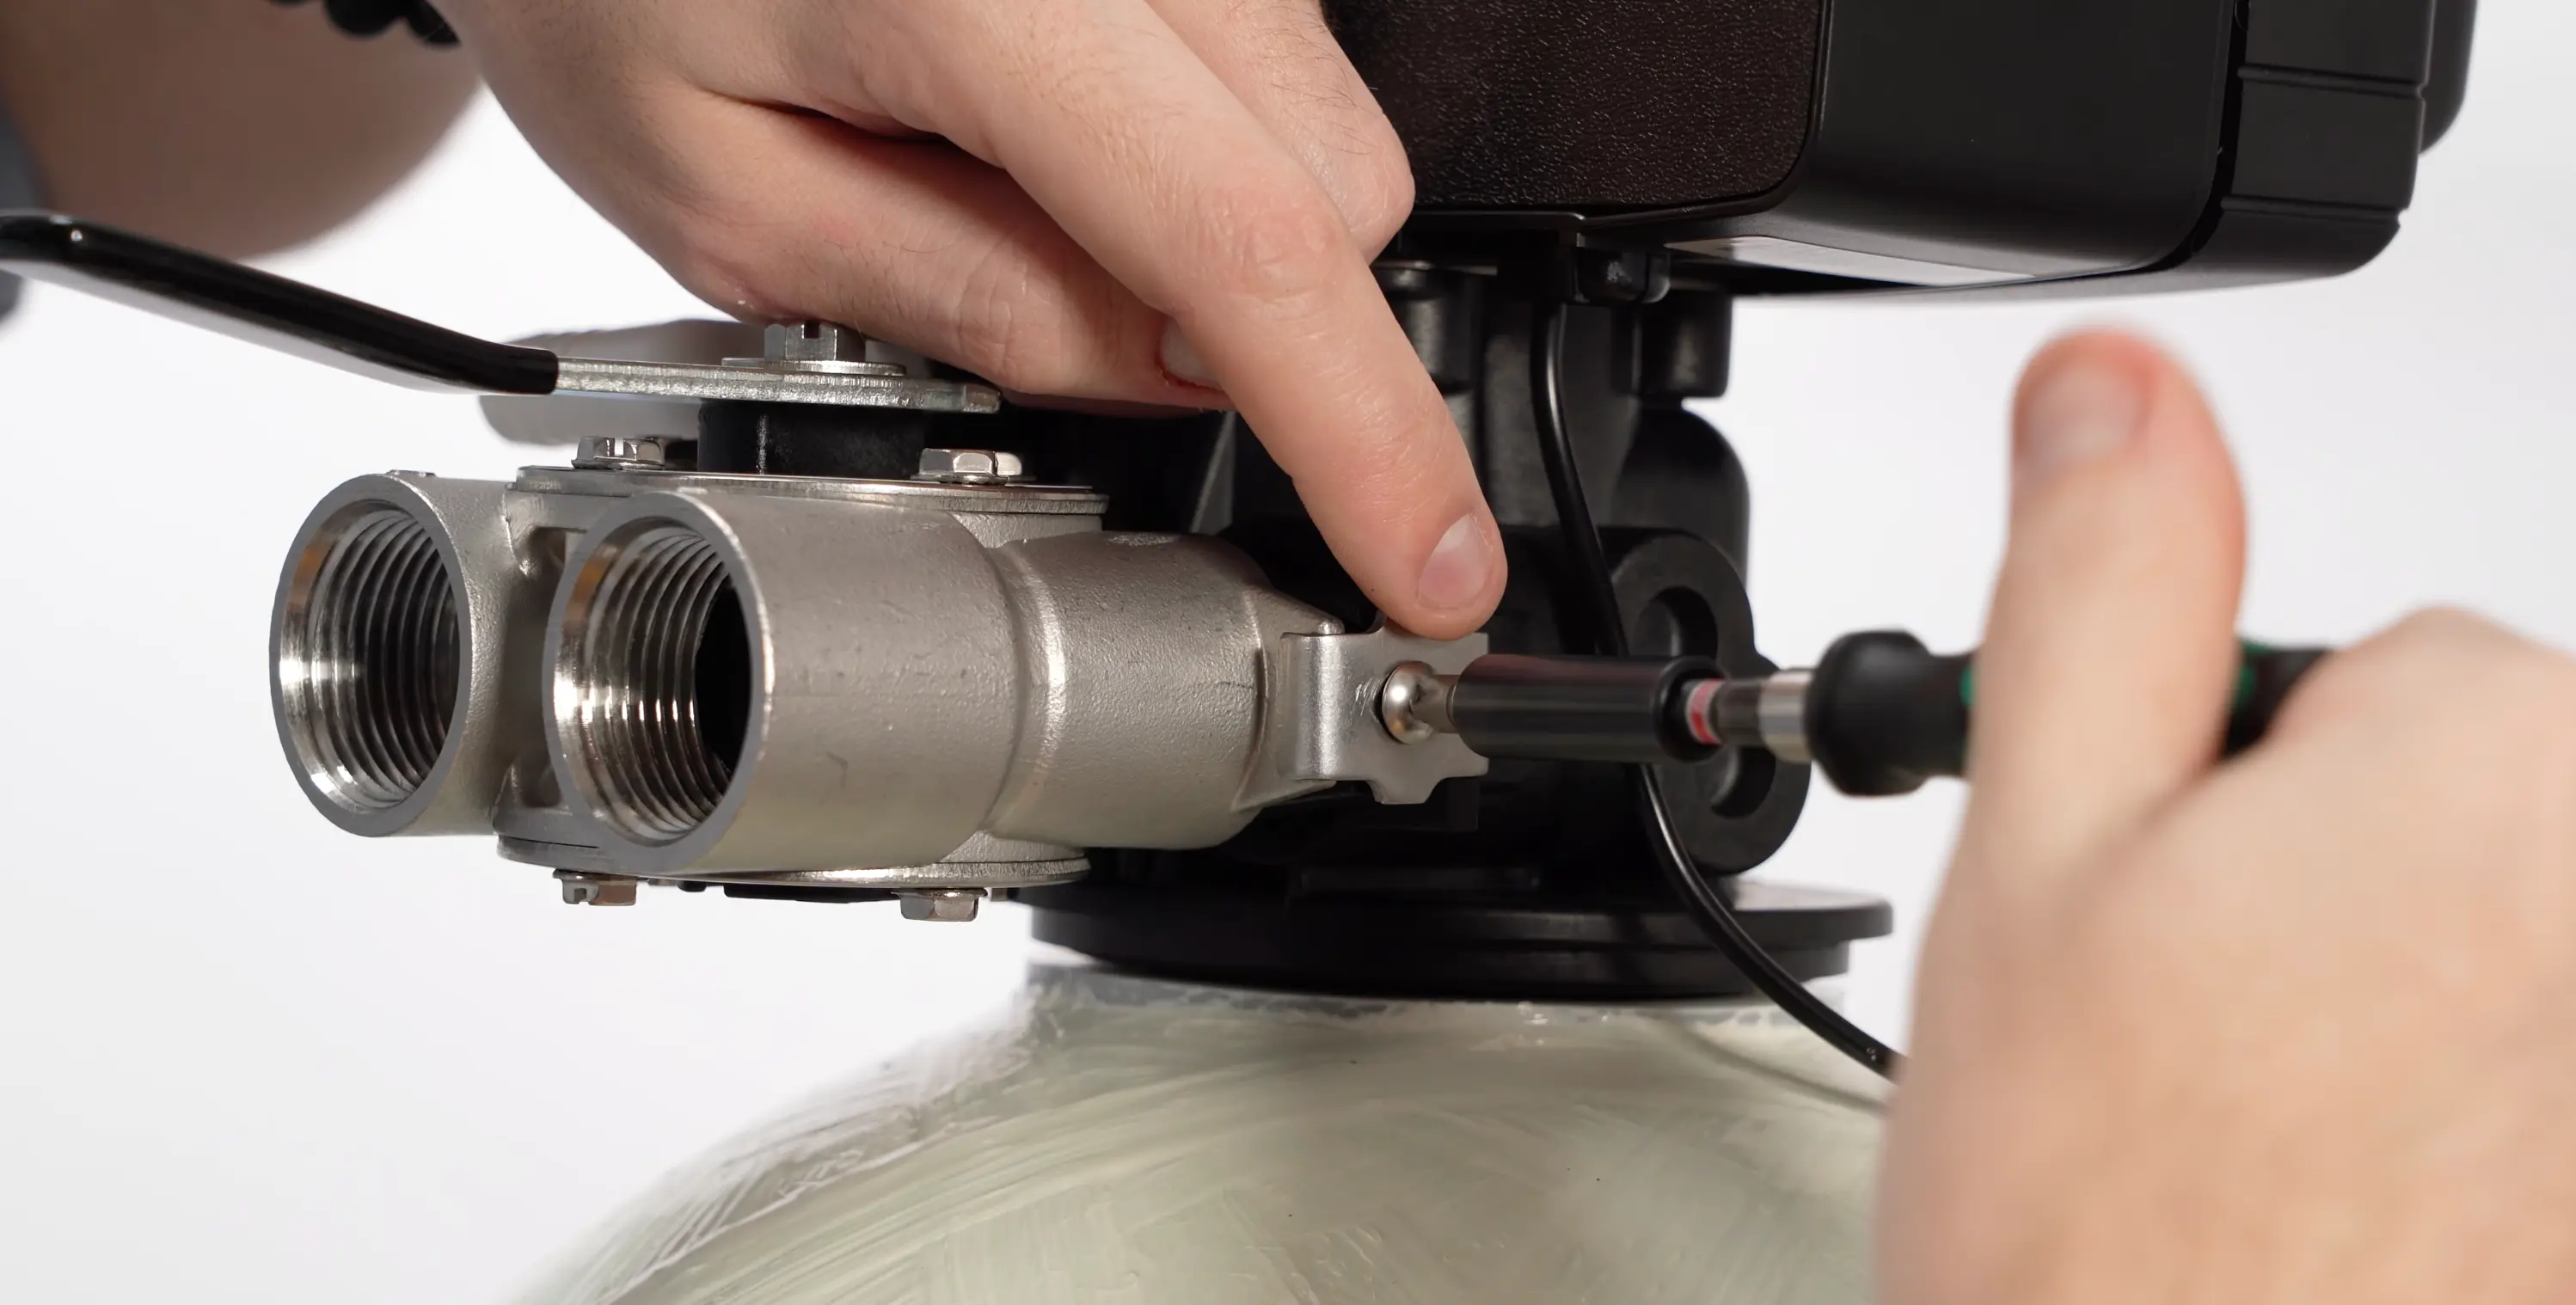
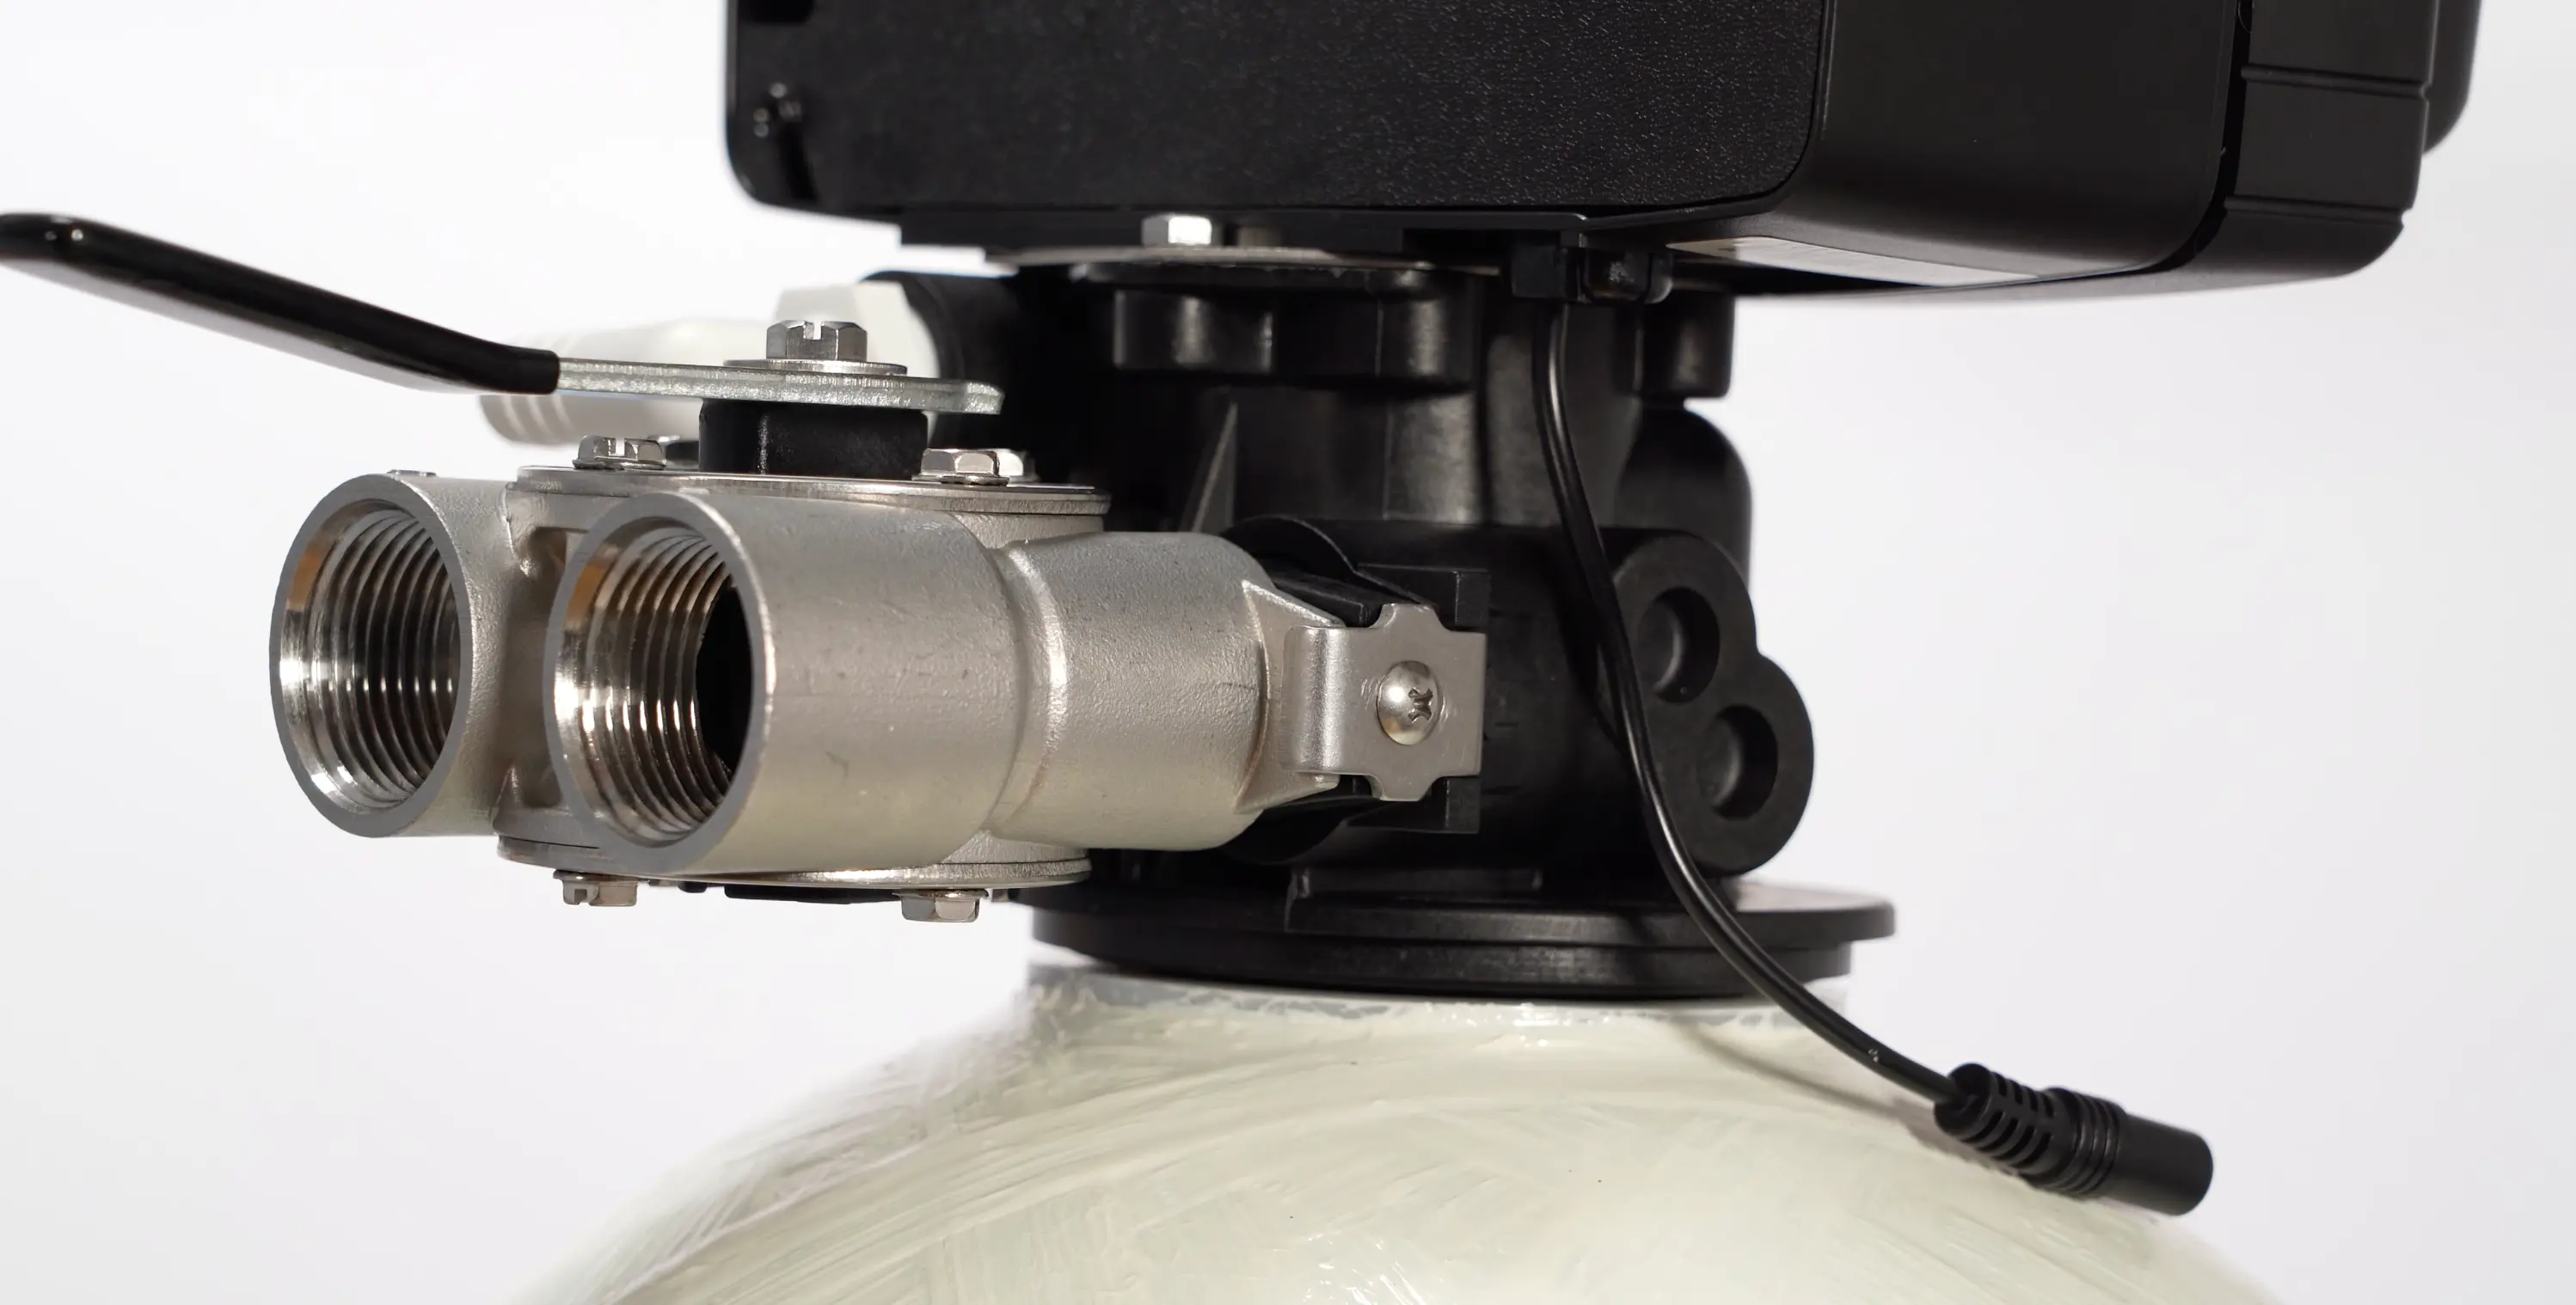
Replace the side brackets over the bypass and control head assembly. The bracket tabs must overlap both the bypass valve and the control head body, this is what locks the two components together structurally. Reinstall the silver screws and tighten them securely.
Tip: Make sure the bracket tabs sit over both the bypass and control head. If they only grip the control head, the bypass can work loose over time.
Plumbing Considerations
1:50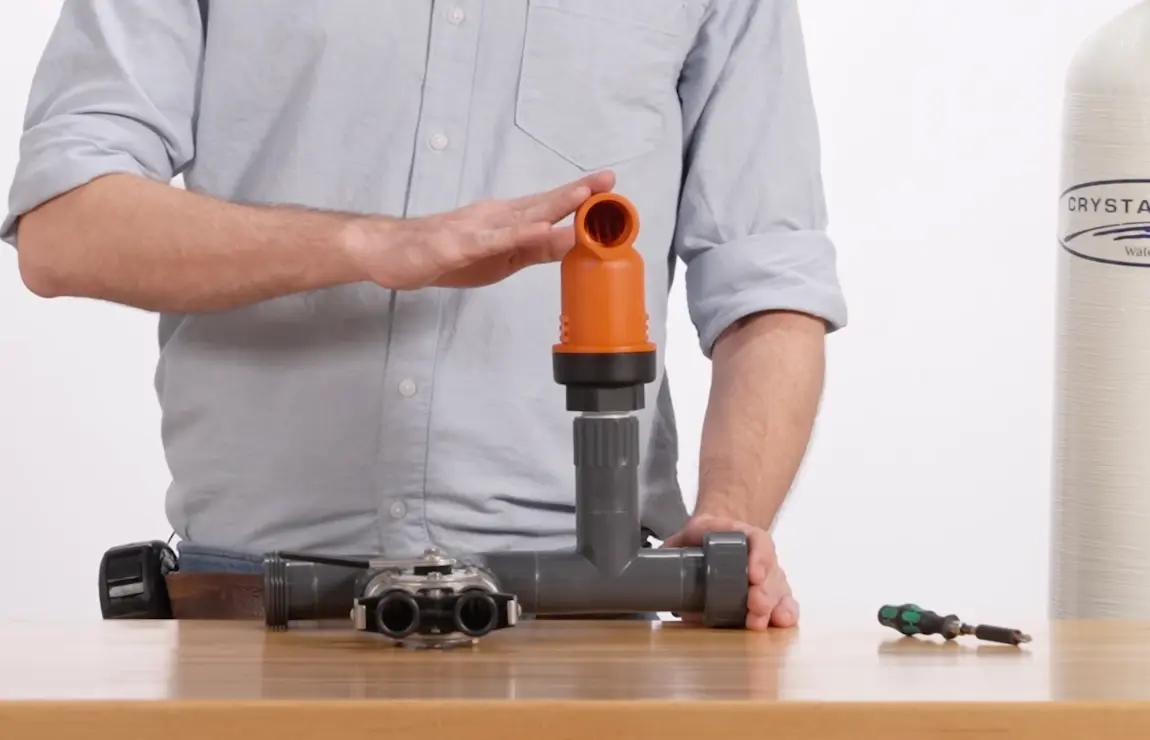
The Vtrol control head uses standard 1-inch NPT connections for both inlet and outlet. When plumbing your supply lines, install a vacuum breaker on the inlet side. This prevents backflow and protects your water supply from potential contamination during regeneration or backwash cycles.
Tip: A vacuum breaker on the inlet line is strongly recommended to prevent backflow into your supply plumbing.
Switching from Bypass to In-Service
2:22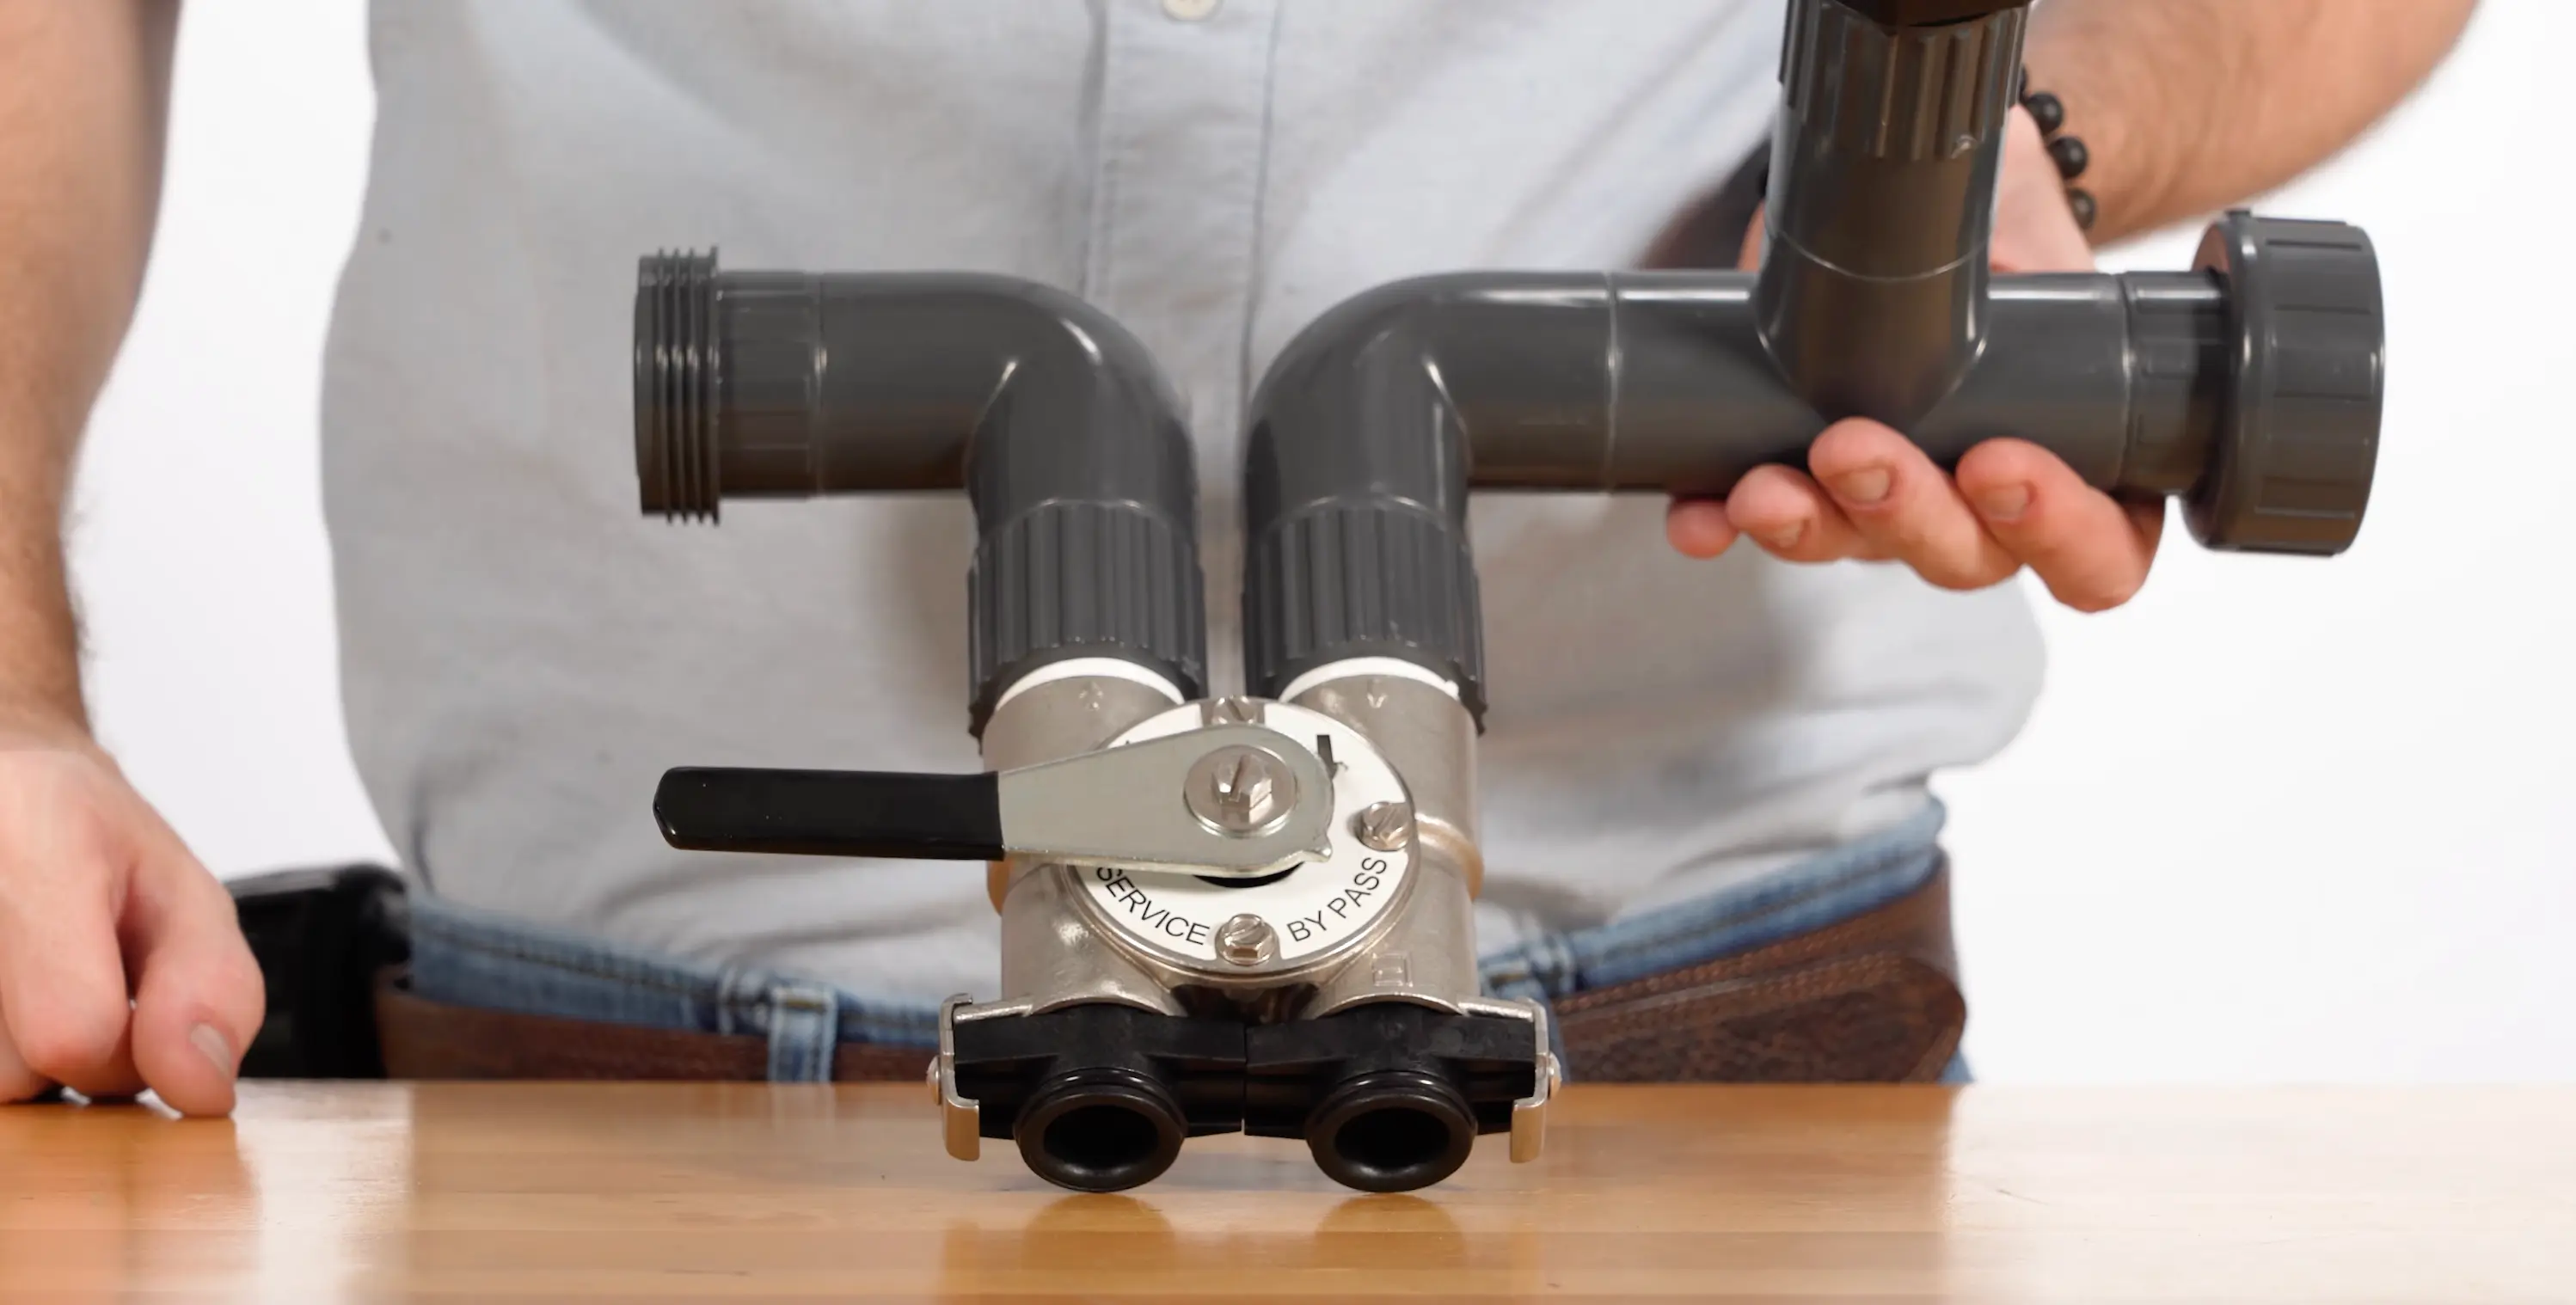
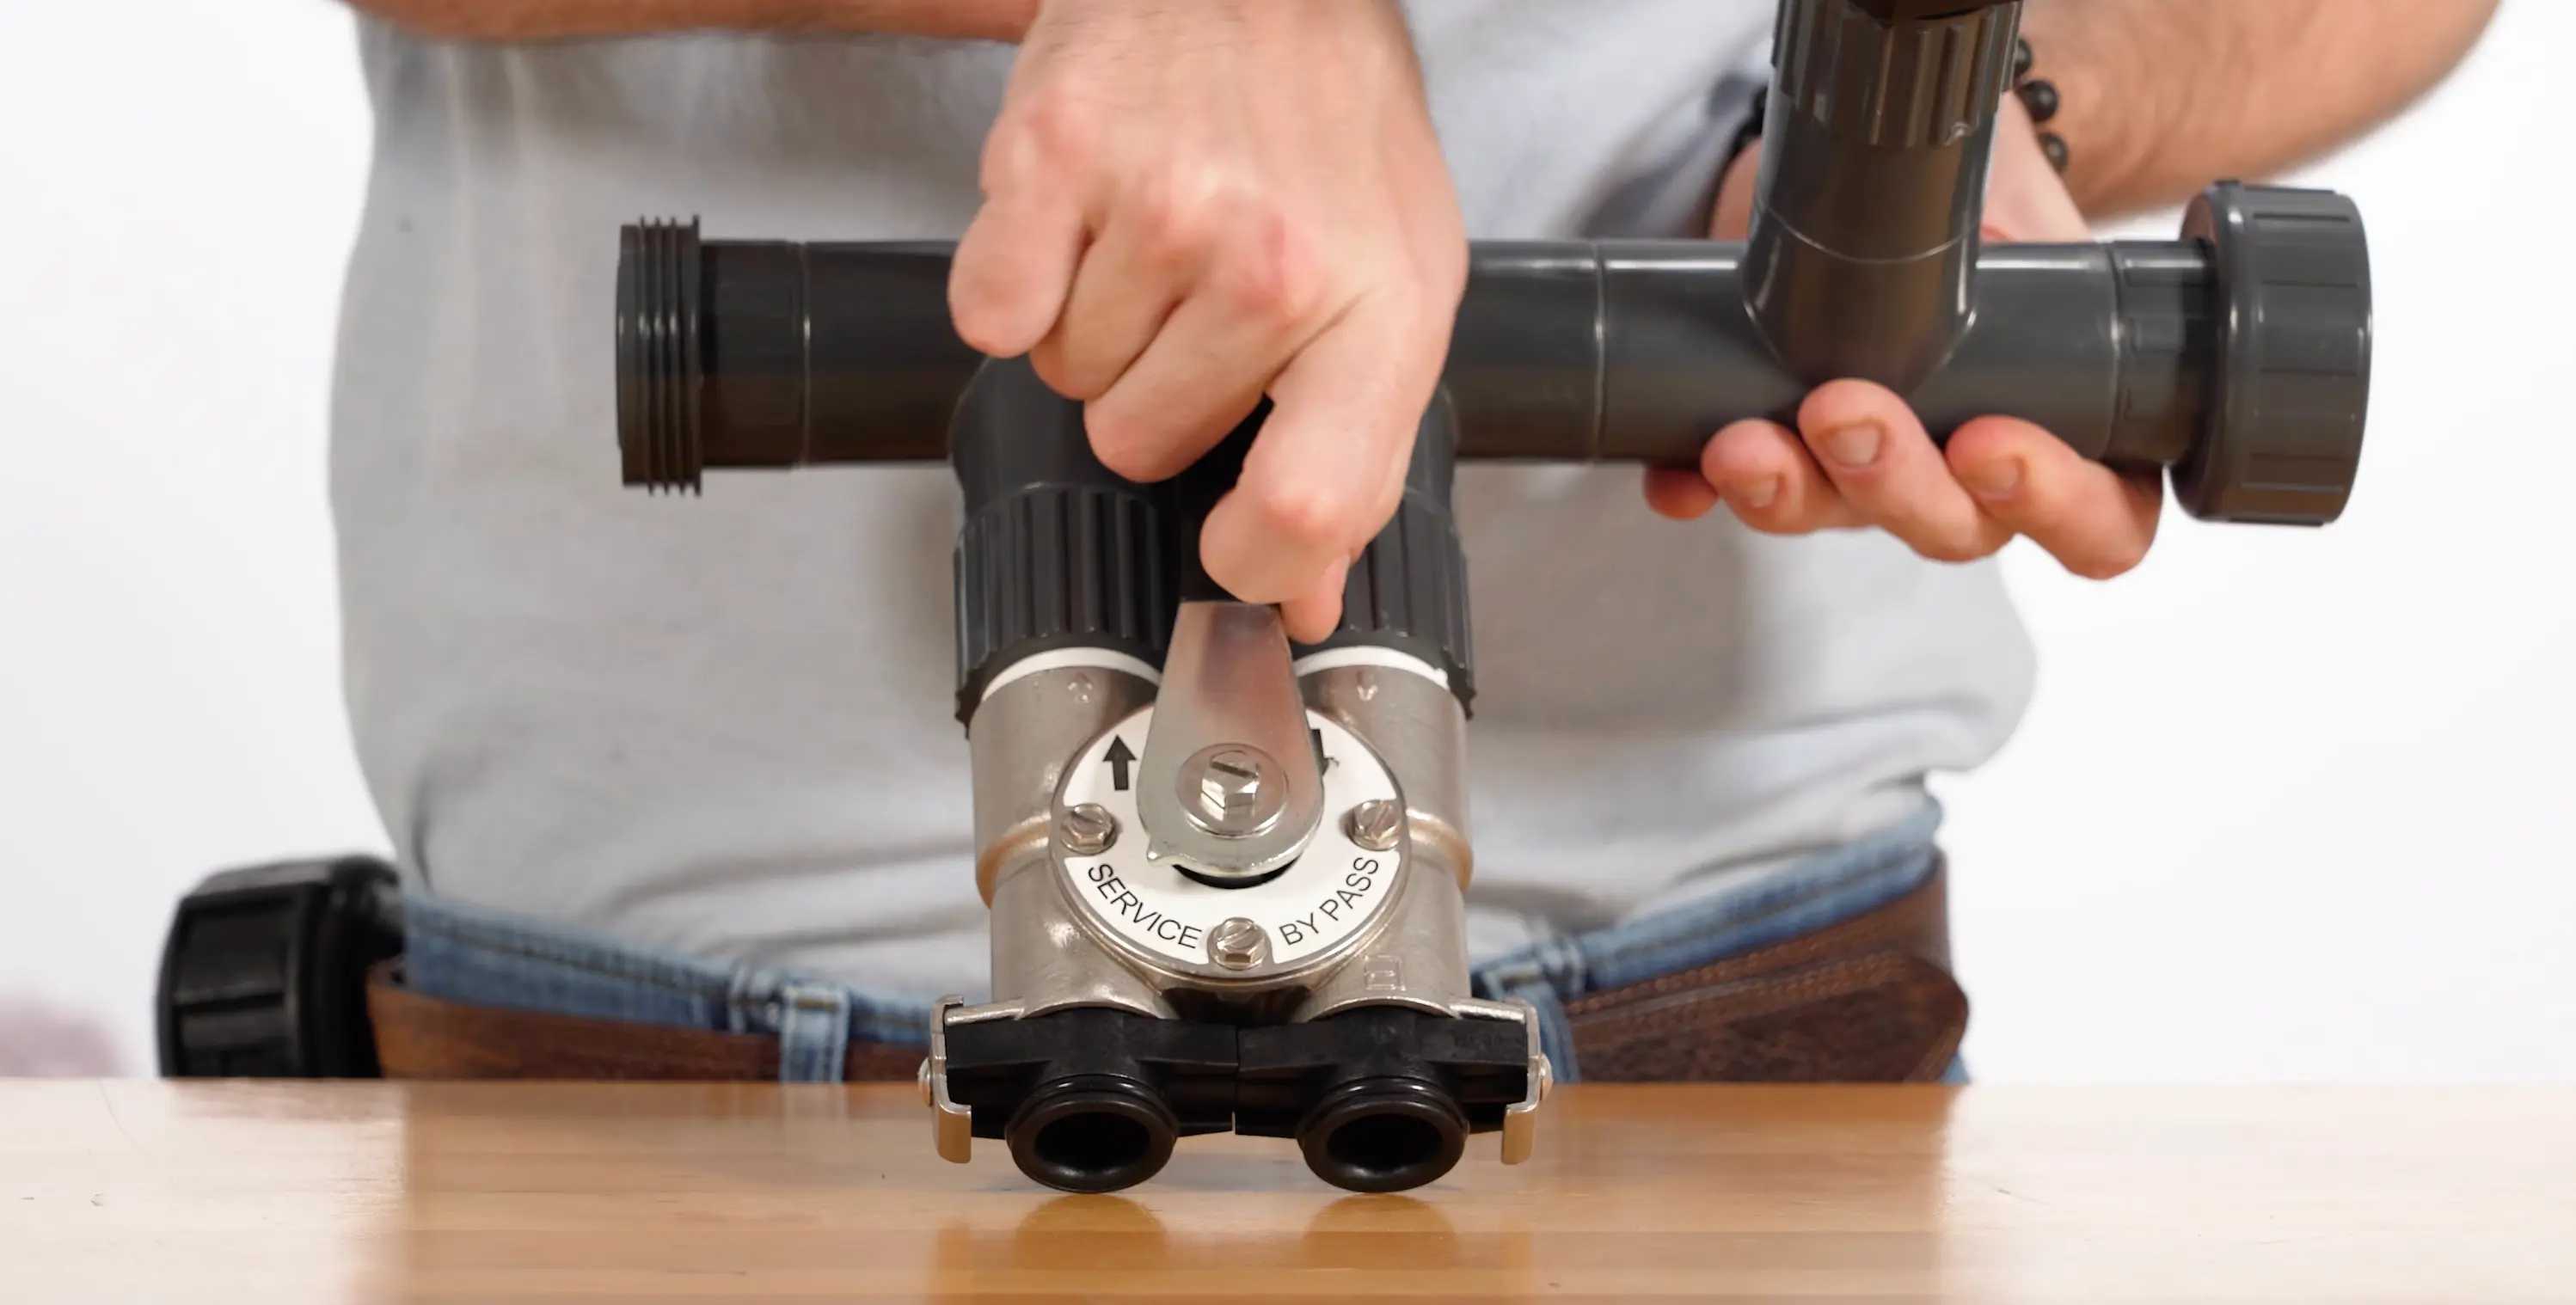
The bypass valve has two positions: bypass, which routes water around the treatment system, and in-service, which directs water through the media tank for treatment. After installation and plumbing are complete, push the bypass handle to the in-service position to begin filtering. Always open water slowly when switching modes to avoid pressure spikes.
Transcript
Read the video transcript
Transcript
Read the video transcript
Hey guys, today we're going to be installing our bypass onto our 5600 control head. Let's get into it. Hey everyone, it's Kevin with Crystal. If you haven't already, go check out our other video on how to install your 5600 onto your media tank. But in this video, we're going to be focusing on installing our bypass.
First, before we get into it, we're going to need a few things, which will be a screwdriver and a good pair of pliers. First, we're going to look on the sides of our 5600 and see two silver screws and some brackets that are being held in with them. We're going to take our screwdriver and go ahead and take those screws out all the way and take the brackets with them. Once you get your brackets off, take a look at these black couplers on the back of your control head. These are called yolks.
And this is how you'll connect your bypass to your actual head. And they just pop into place with a little bit of force. And now that we got our bypass on, let's go ahead and reinstall our brackets. When we're doing this, we want to make sure that both tabs on our bracket are going over the bypass and the control head itself. And there you have it.
You've installed your bypass onto your 5600. Before you plummet to the rest of your system or your house, there's a few things you're going to want to keep in mind. When you're installing your bypass, you want to make sure your inlet and outlet are going to be 1 in NPT. And then you can use whatever style plumbing you want to out of that. Also, it's not required, but we do highly recommend installing a vacuum breaker on the inlet to your system to let out any air that could be trapped in the line.
And lastly, once you're done with all your plumbing, go ahead and change your valve from being in bypass to inservice. There's going to be a little indication on the knob that will tell you which direction your flow is going. And that's it for your install. Thanks for watching. If you have any questions in the video that we haven't answered, please leave a comment below, call us, or visit our website at crystalquest.com.
Thank you.