Fleck 5600SXT Water Softener Drain Line Installation
Connecting the drain line is one of the simplest steps in setting up your Vtrol control head system. This quick guide covers the connection, clamping, and routing to your drainage point. The Vtrol control head is a Fleck 5600.
Why Proper Drain Line Setup Matters
The drain line carries backwash water and regeneration waste away from the system. A loose connection or undersized line leads to leaks, slow drainage, and incomplete regeneration cycles that reduce your system's effectiveness.
Vtrol control head Control Head
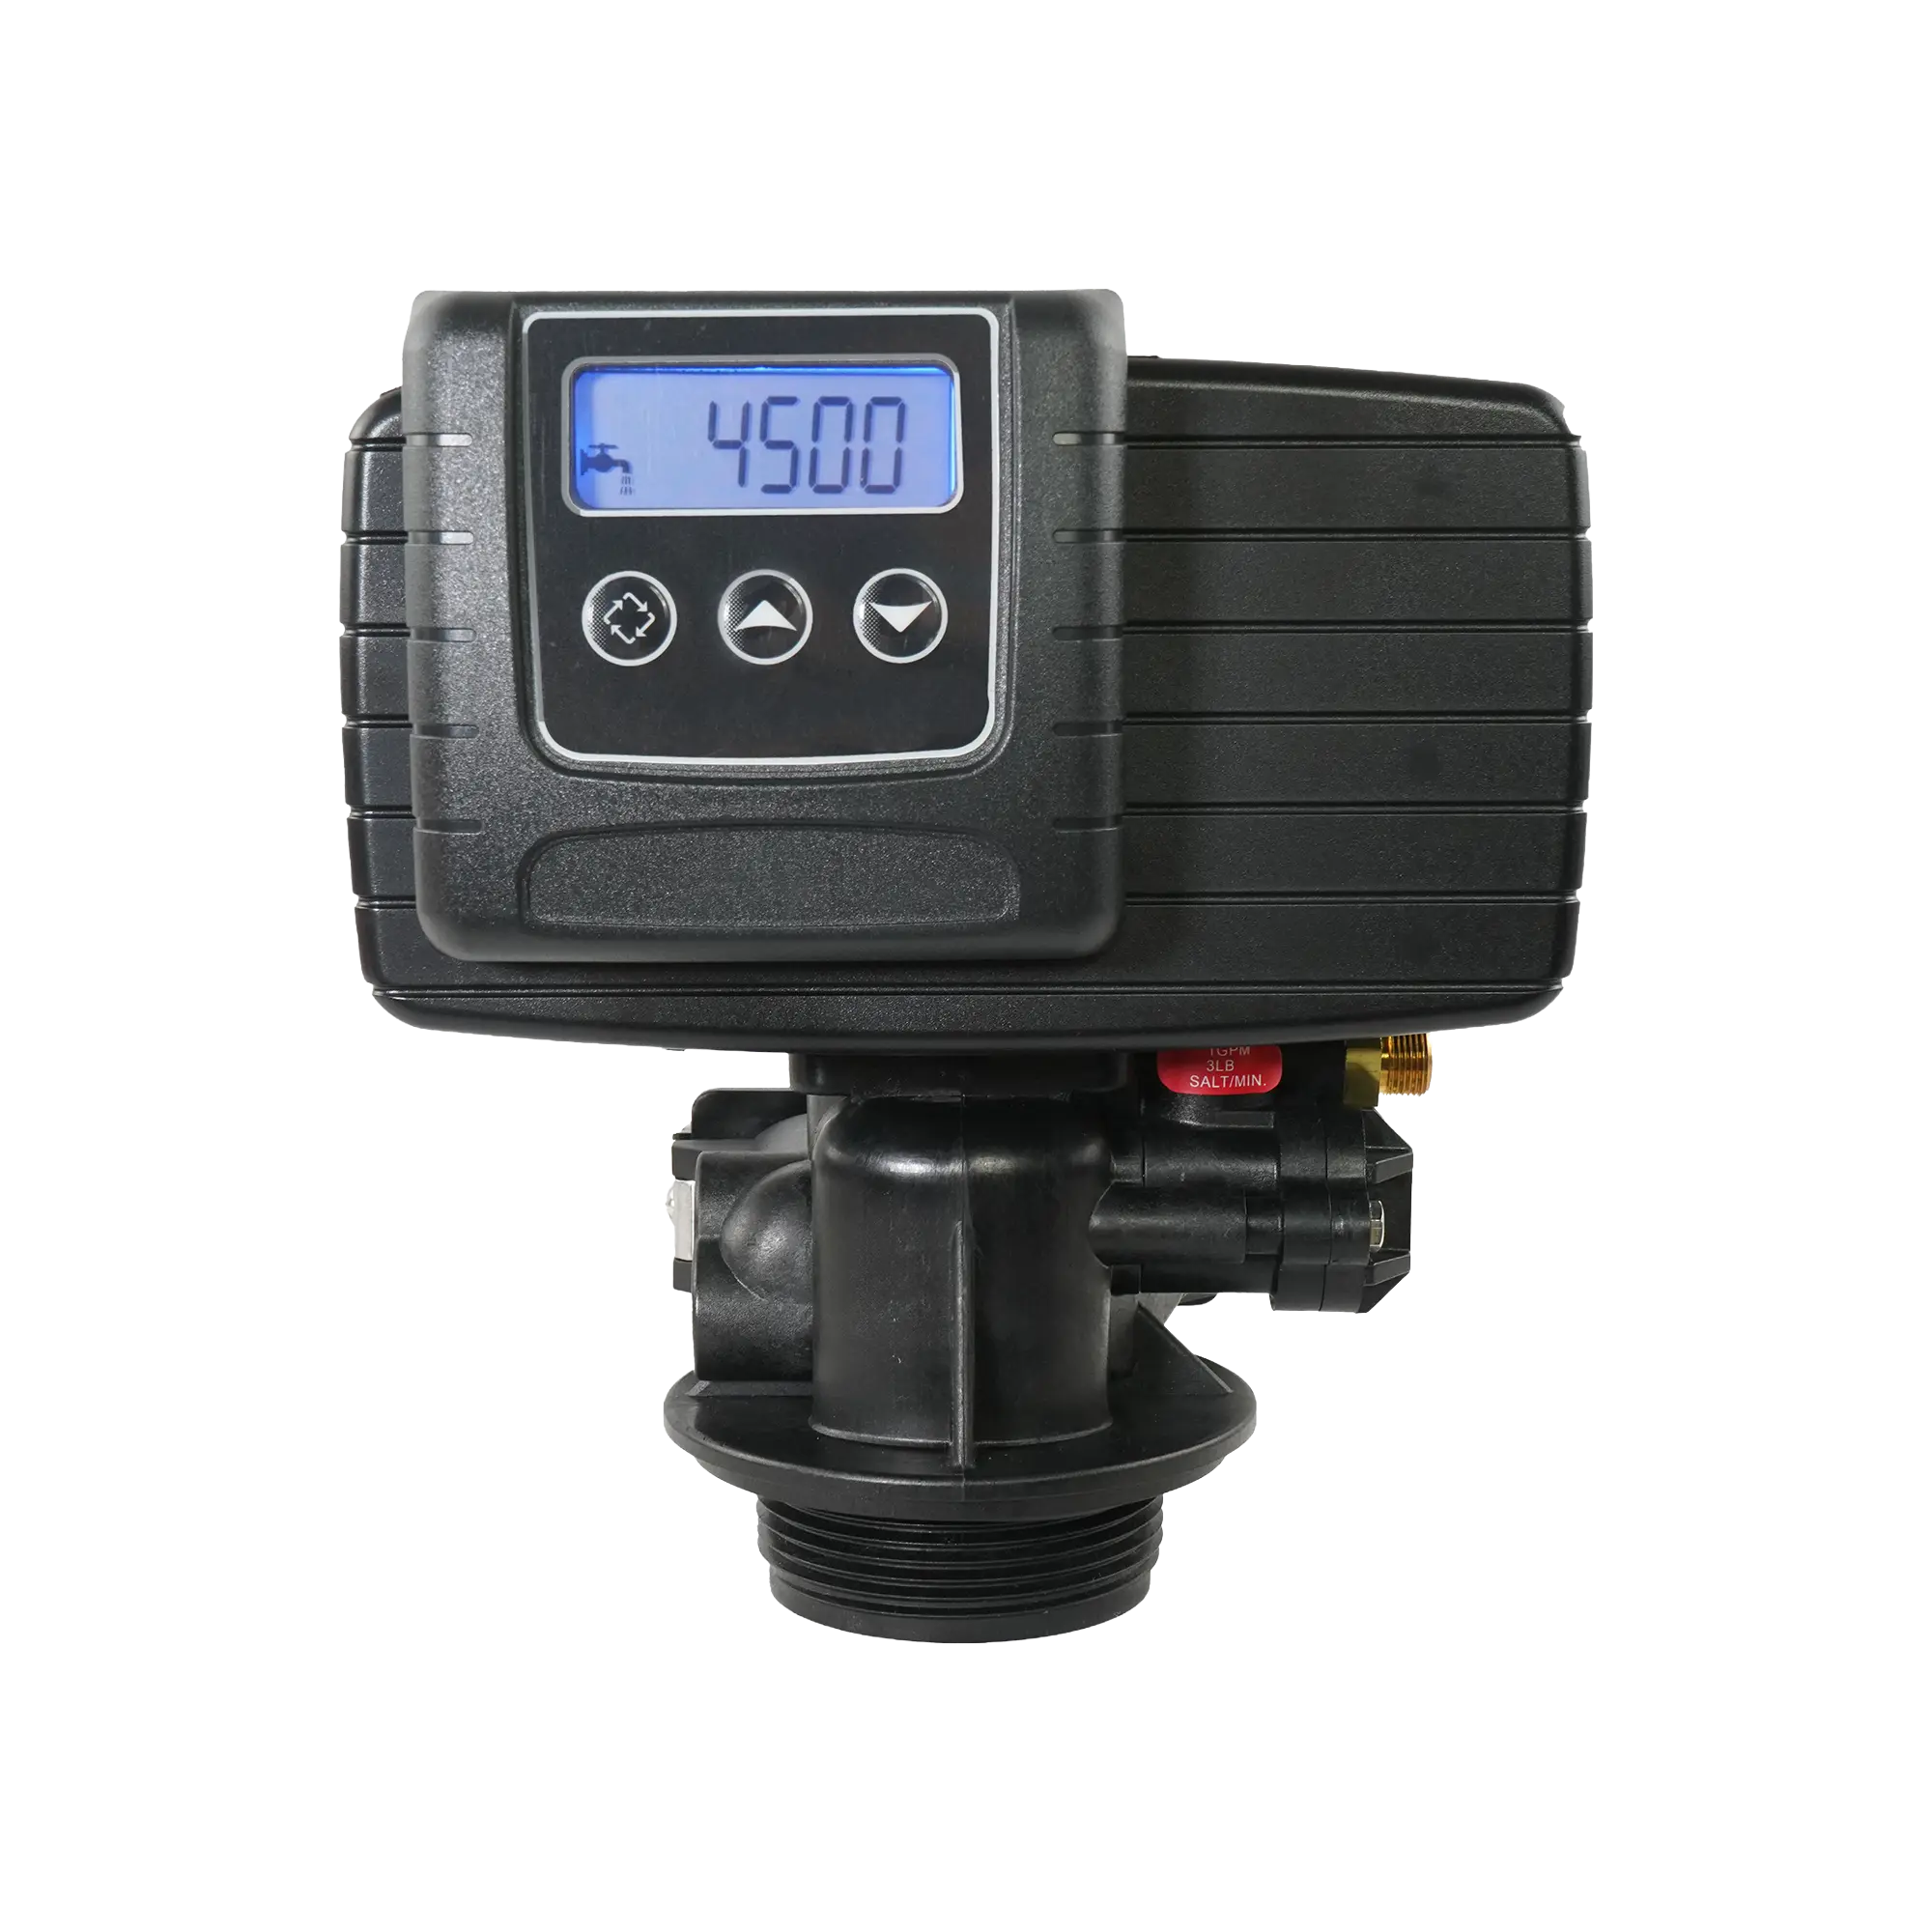
The Vtrol control head by Crystal Quest is an automatic control head used on water softeners and whole house filtration systems. The Vtrol control head is a Fleck 5600. It manages regeneration cycles via a metered or time-clock schedule, features a backlit digital display for easy programming, and supports a snap-on bypass valve for maintenance isolation. Built on a proven platform, the Vtrol control head is a reliable residential control valve backed by Crystal Quest.
Step-by-Step
Complete Walkthrough
Tools and Materials
0:30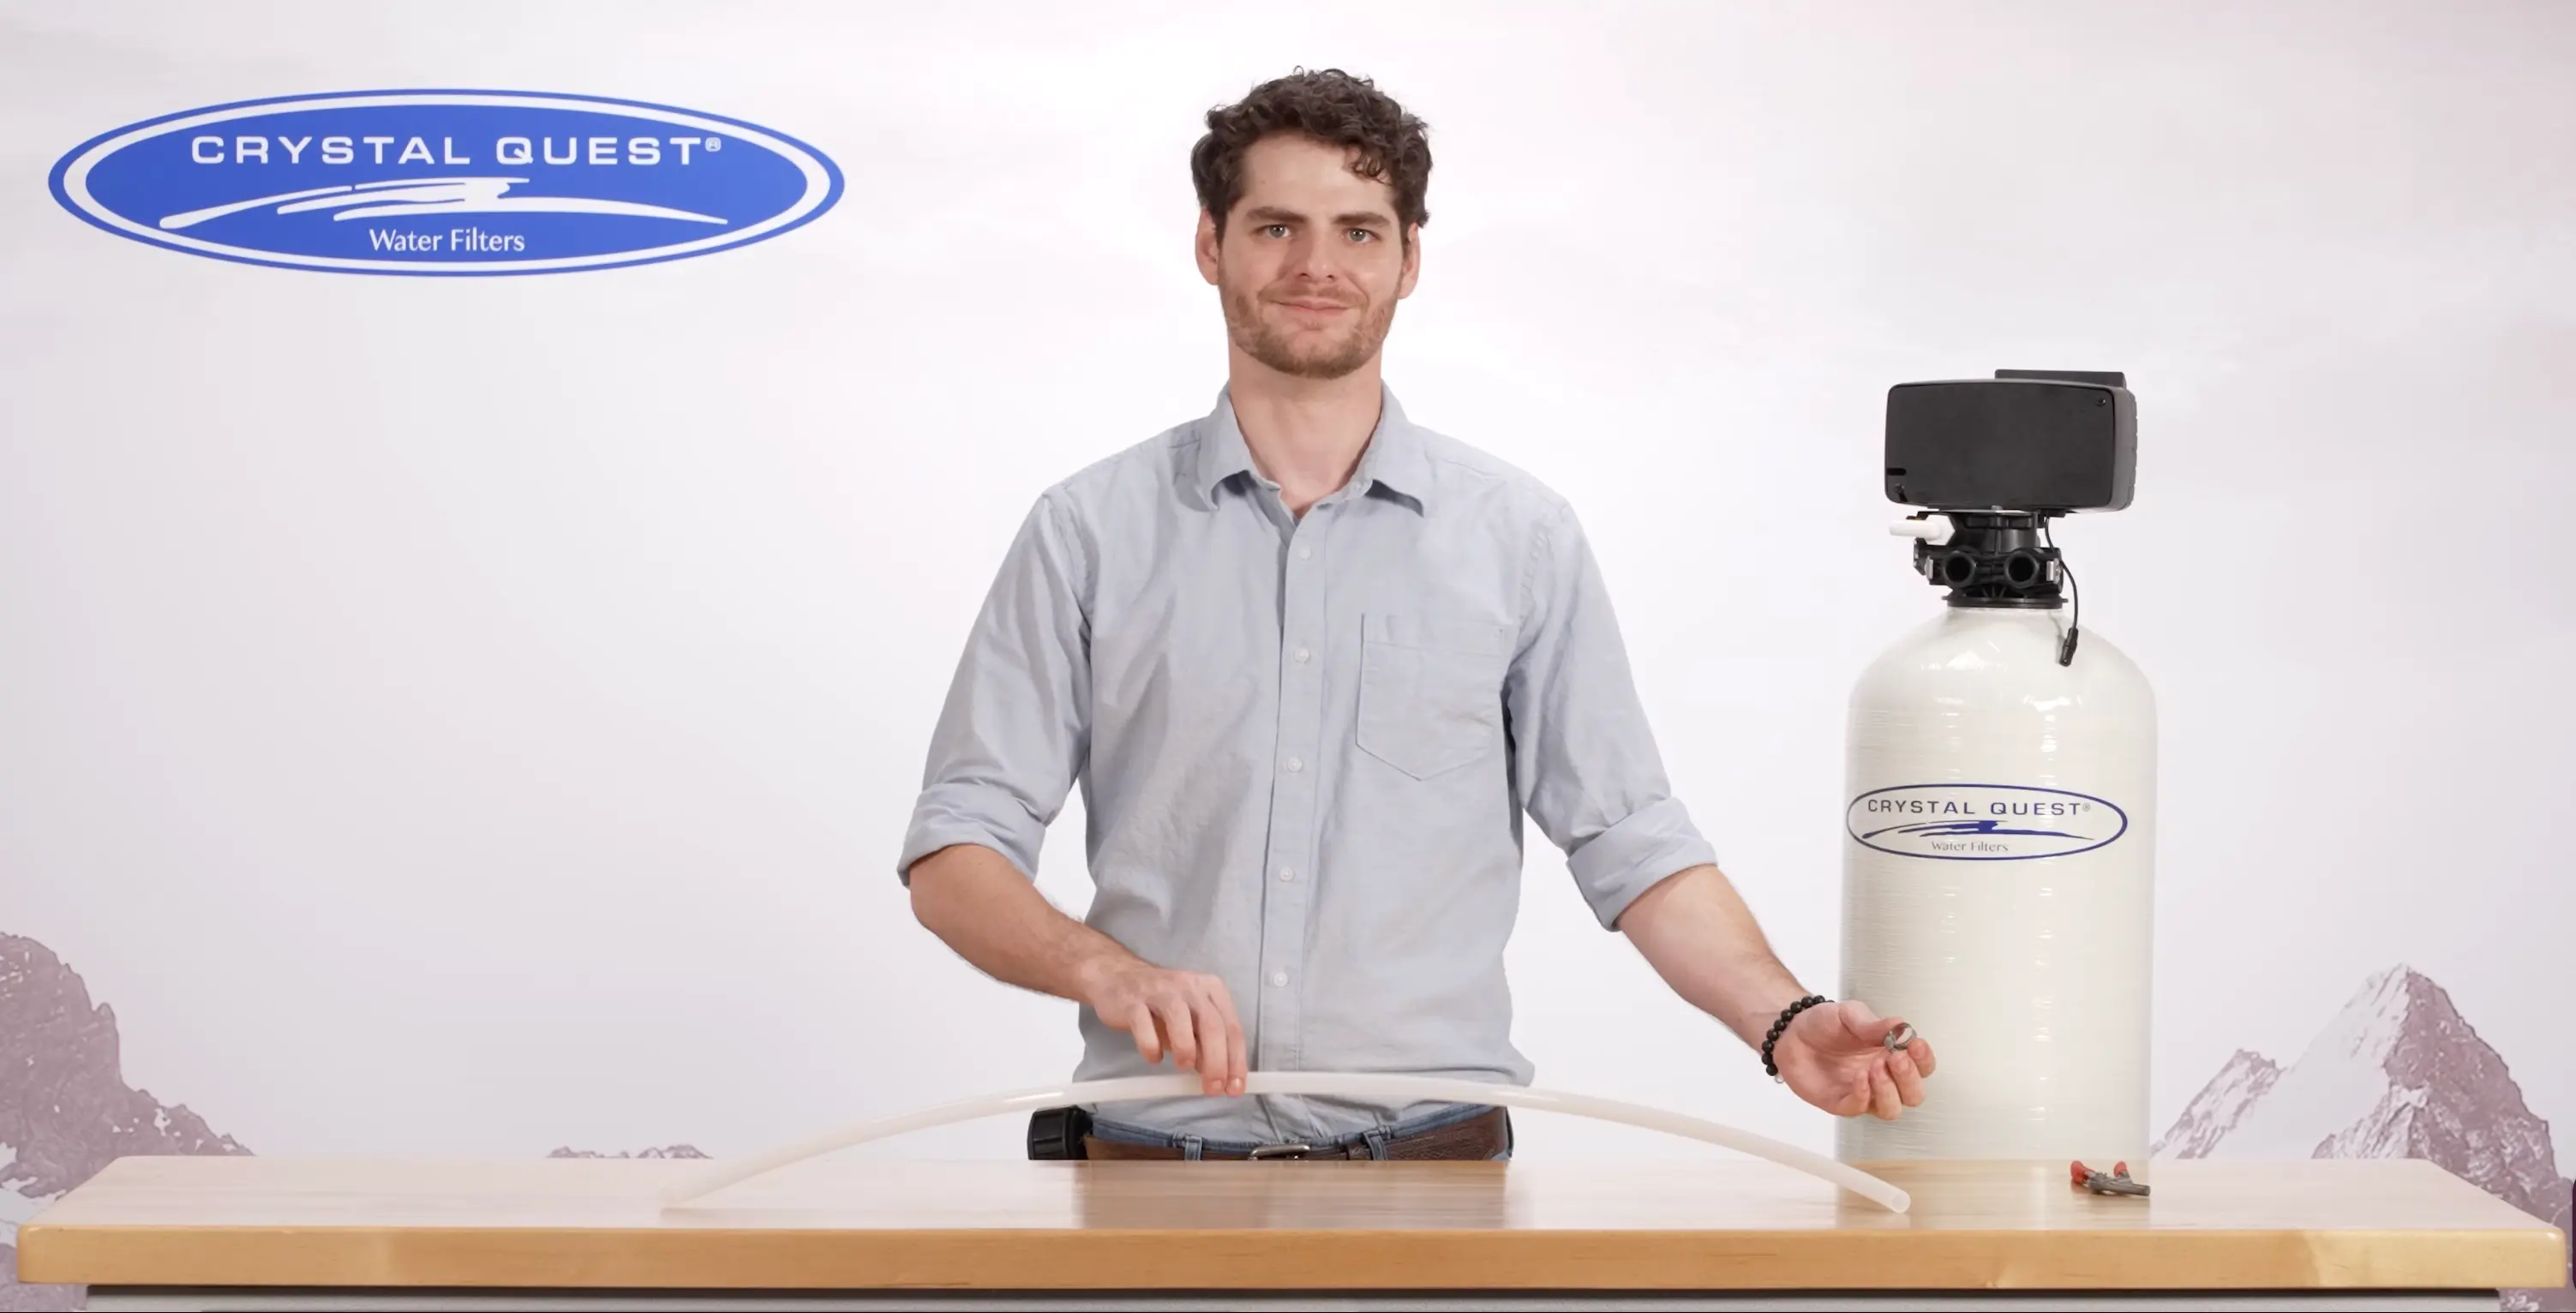
Gather your tools before starting: a pair of pliers, a hose clamp, and the drain tubing included with your system. Standard drain tubing is 1/2-inch inside diameter, which is sufficient for most installations where the drain point is within 20 feet of the control head.
Sliding the Hose Clamp onto the Tubing
0:36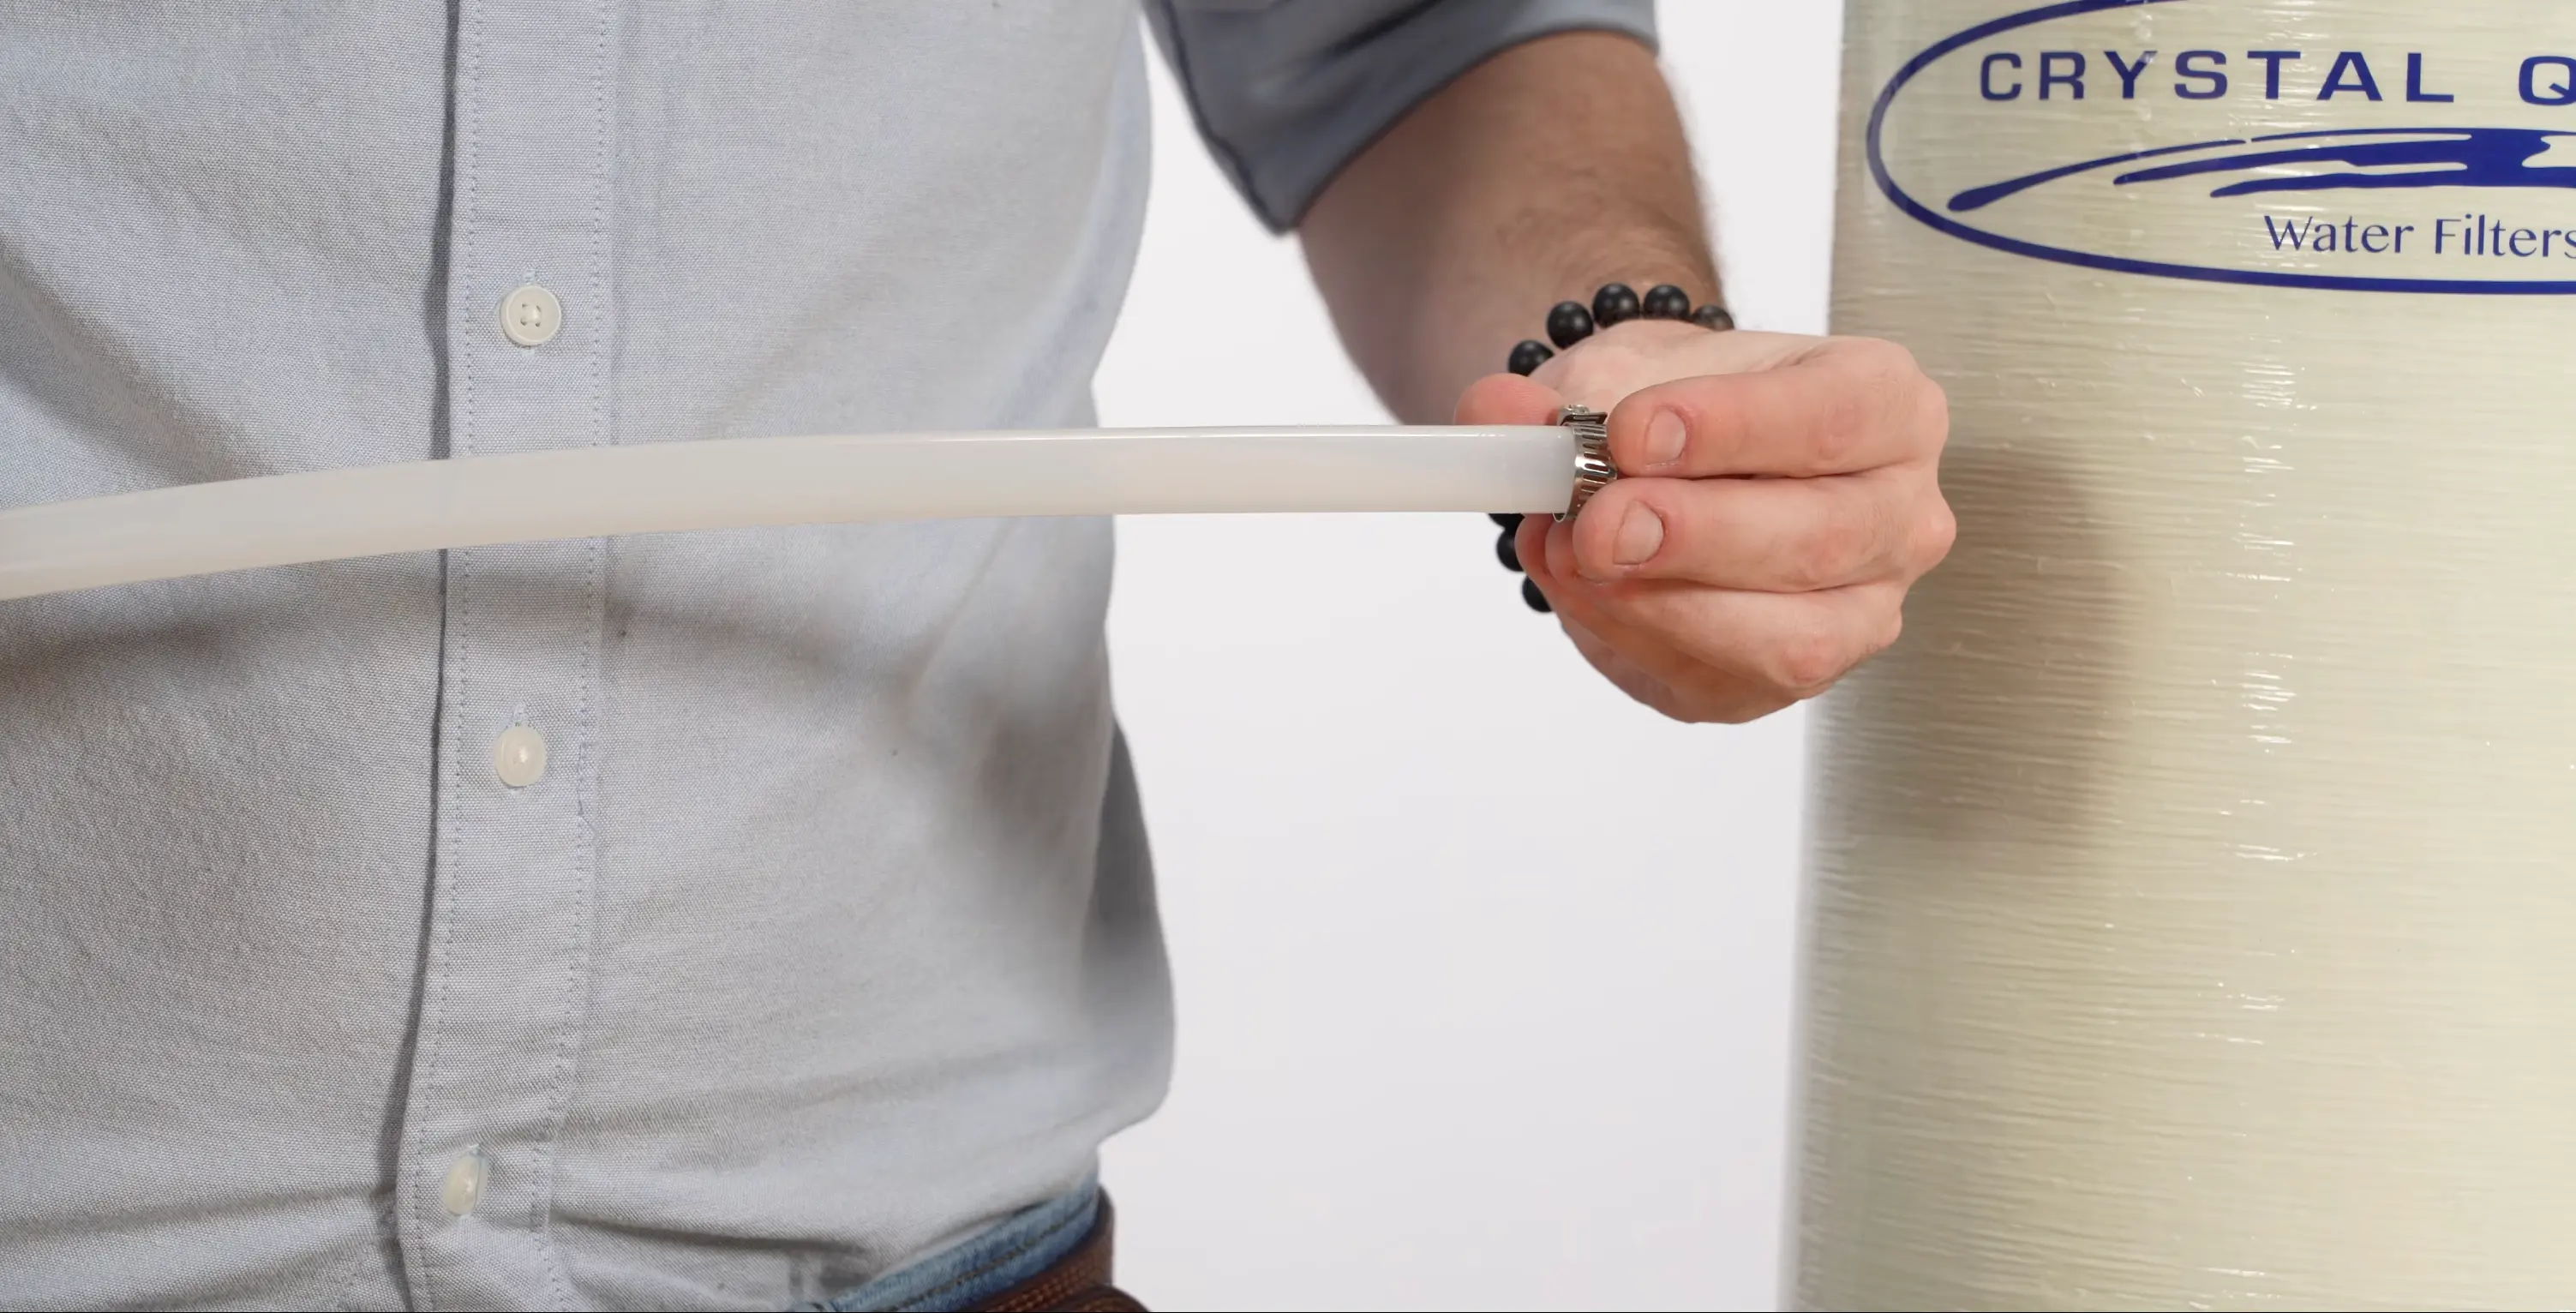
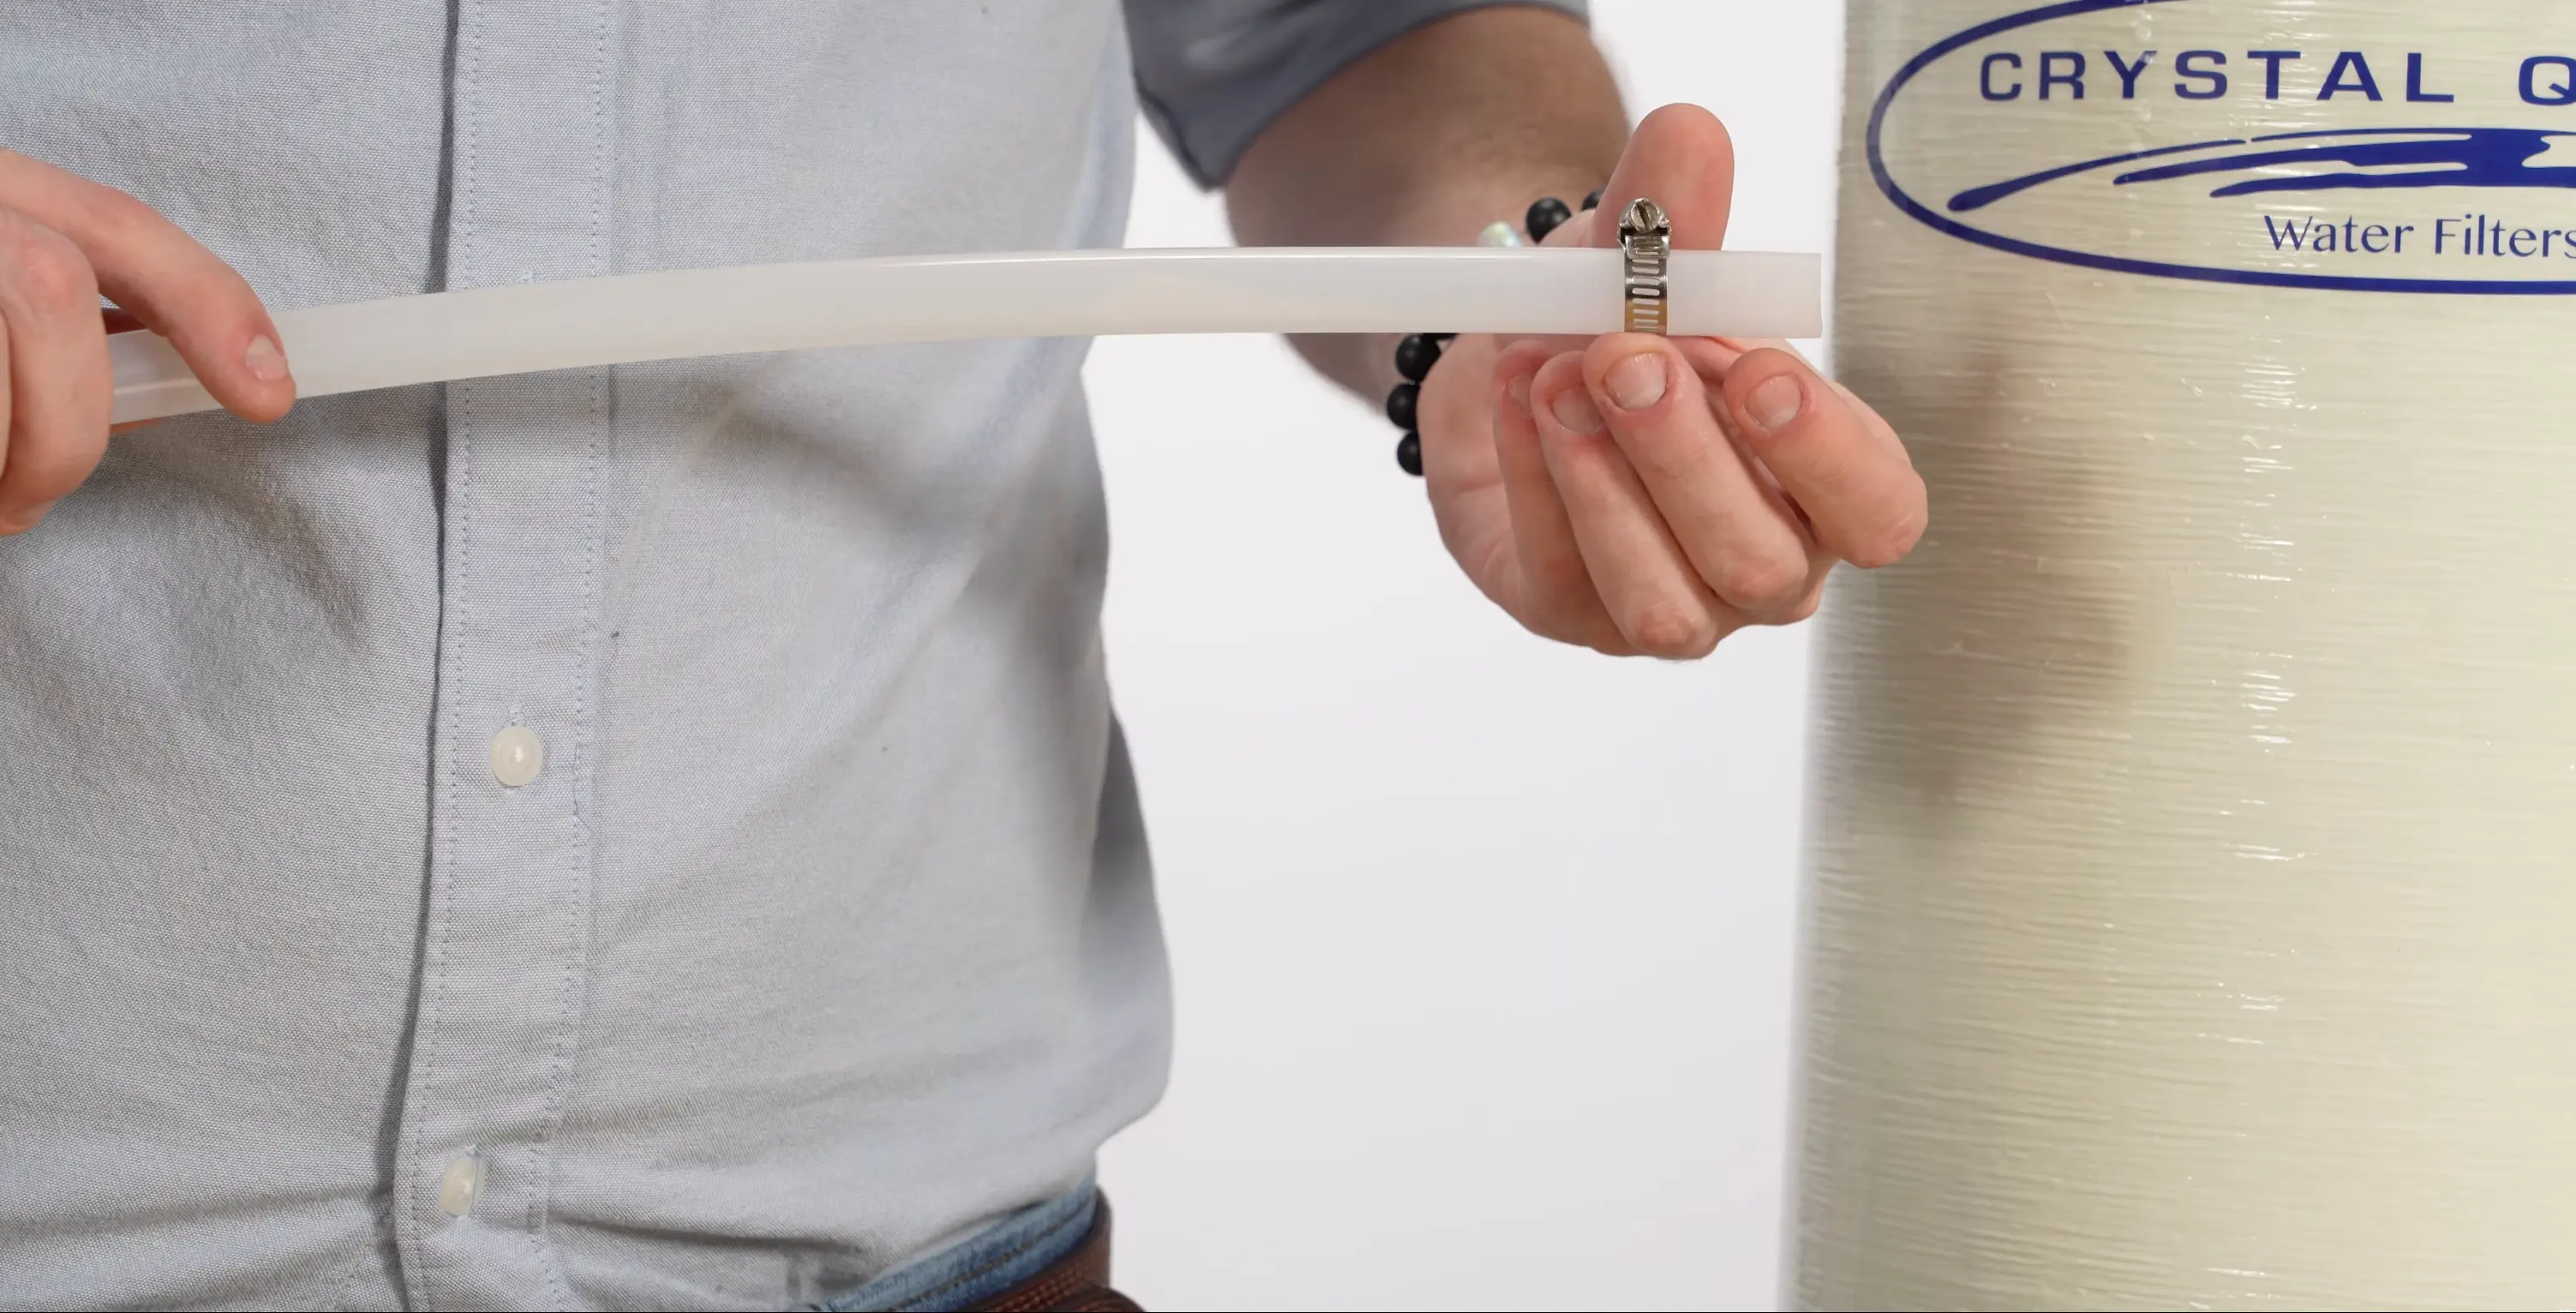
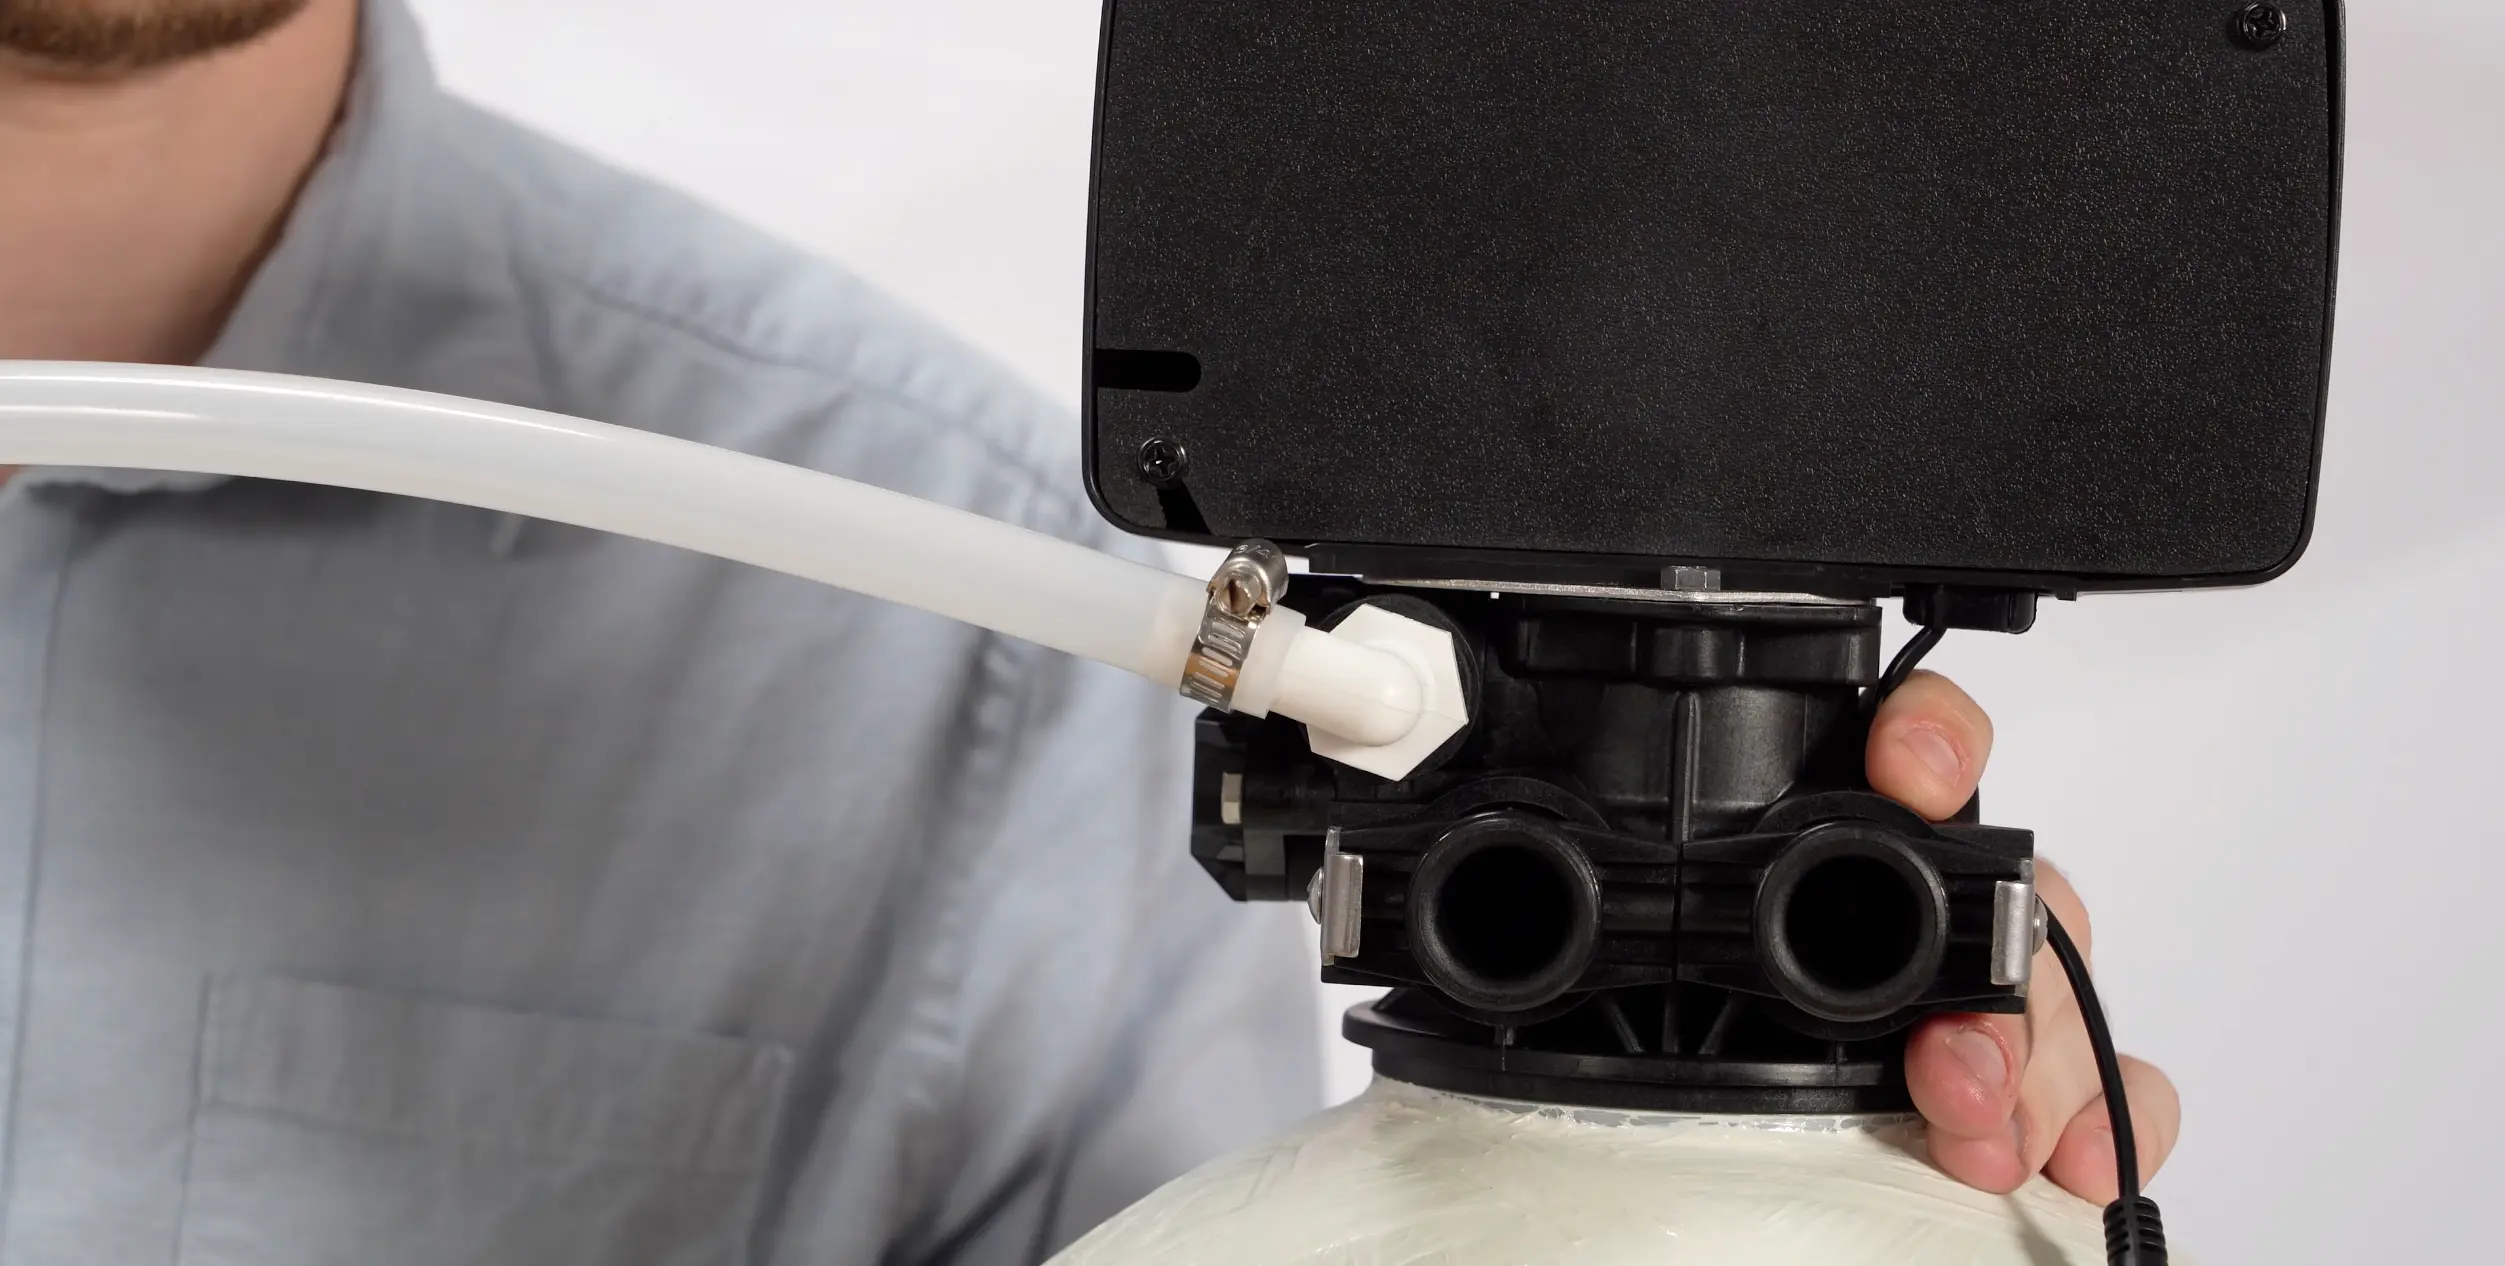
Before connecting the tubing to the control head, slide the hose clamp onto the tubing. This is easy to forget, if you connect the tubing first, you will have to disconnect it to add the clamp. Slide the clamp several inches down the tubing so it is out of the way while you make the connection.
Connecting Tubing to the Barb
0:43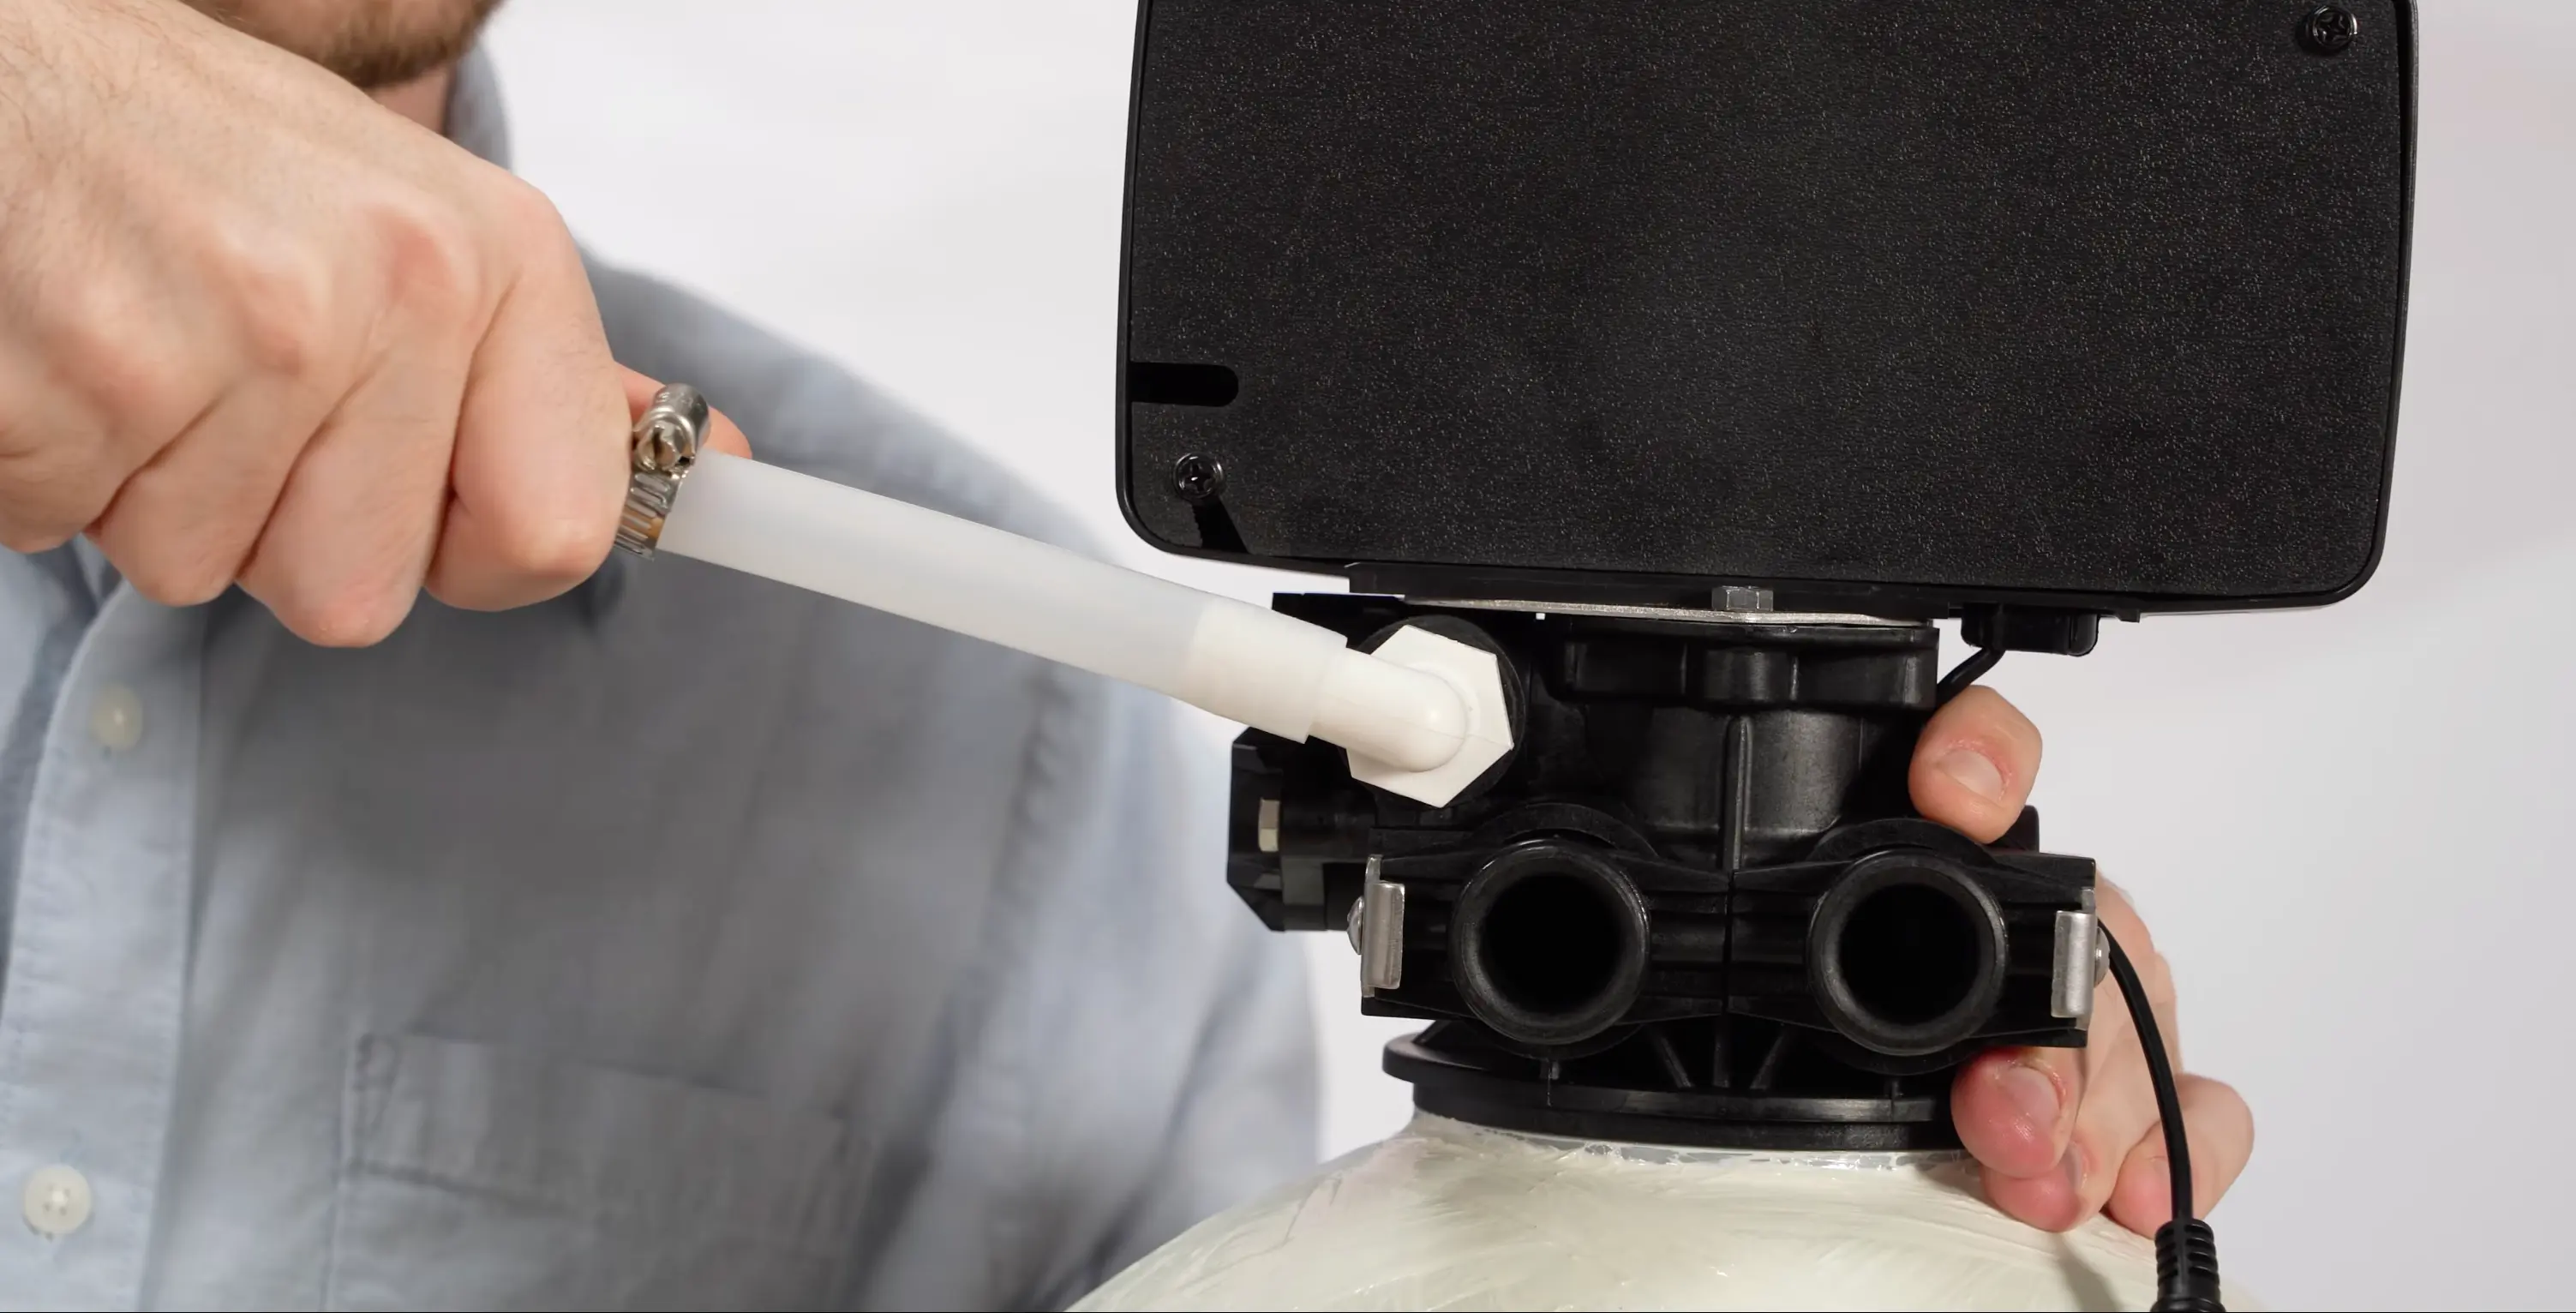
Locate the drain barb on the back of the Vtrol control head. Push the end of the drain tubing firmly onto the barb until it seats past the raised ridges. The barb is designed to grip the inside of the tubing, but the hose clamp provides the permanent hold.
Securing with the Hose Clamp
0:53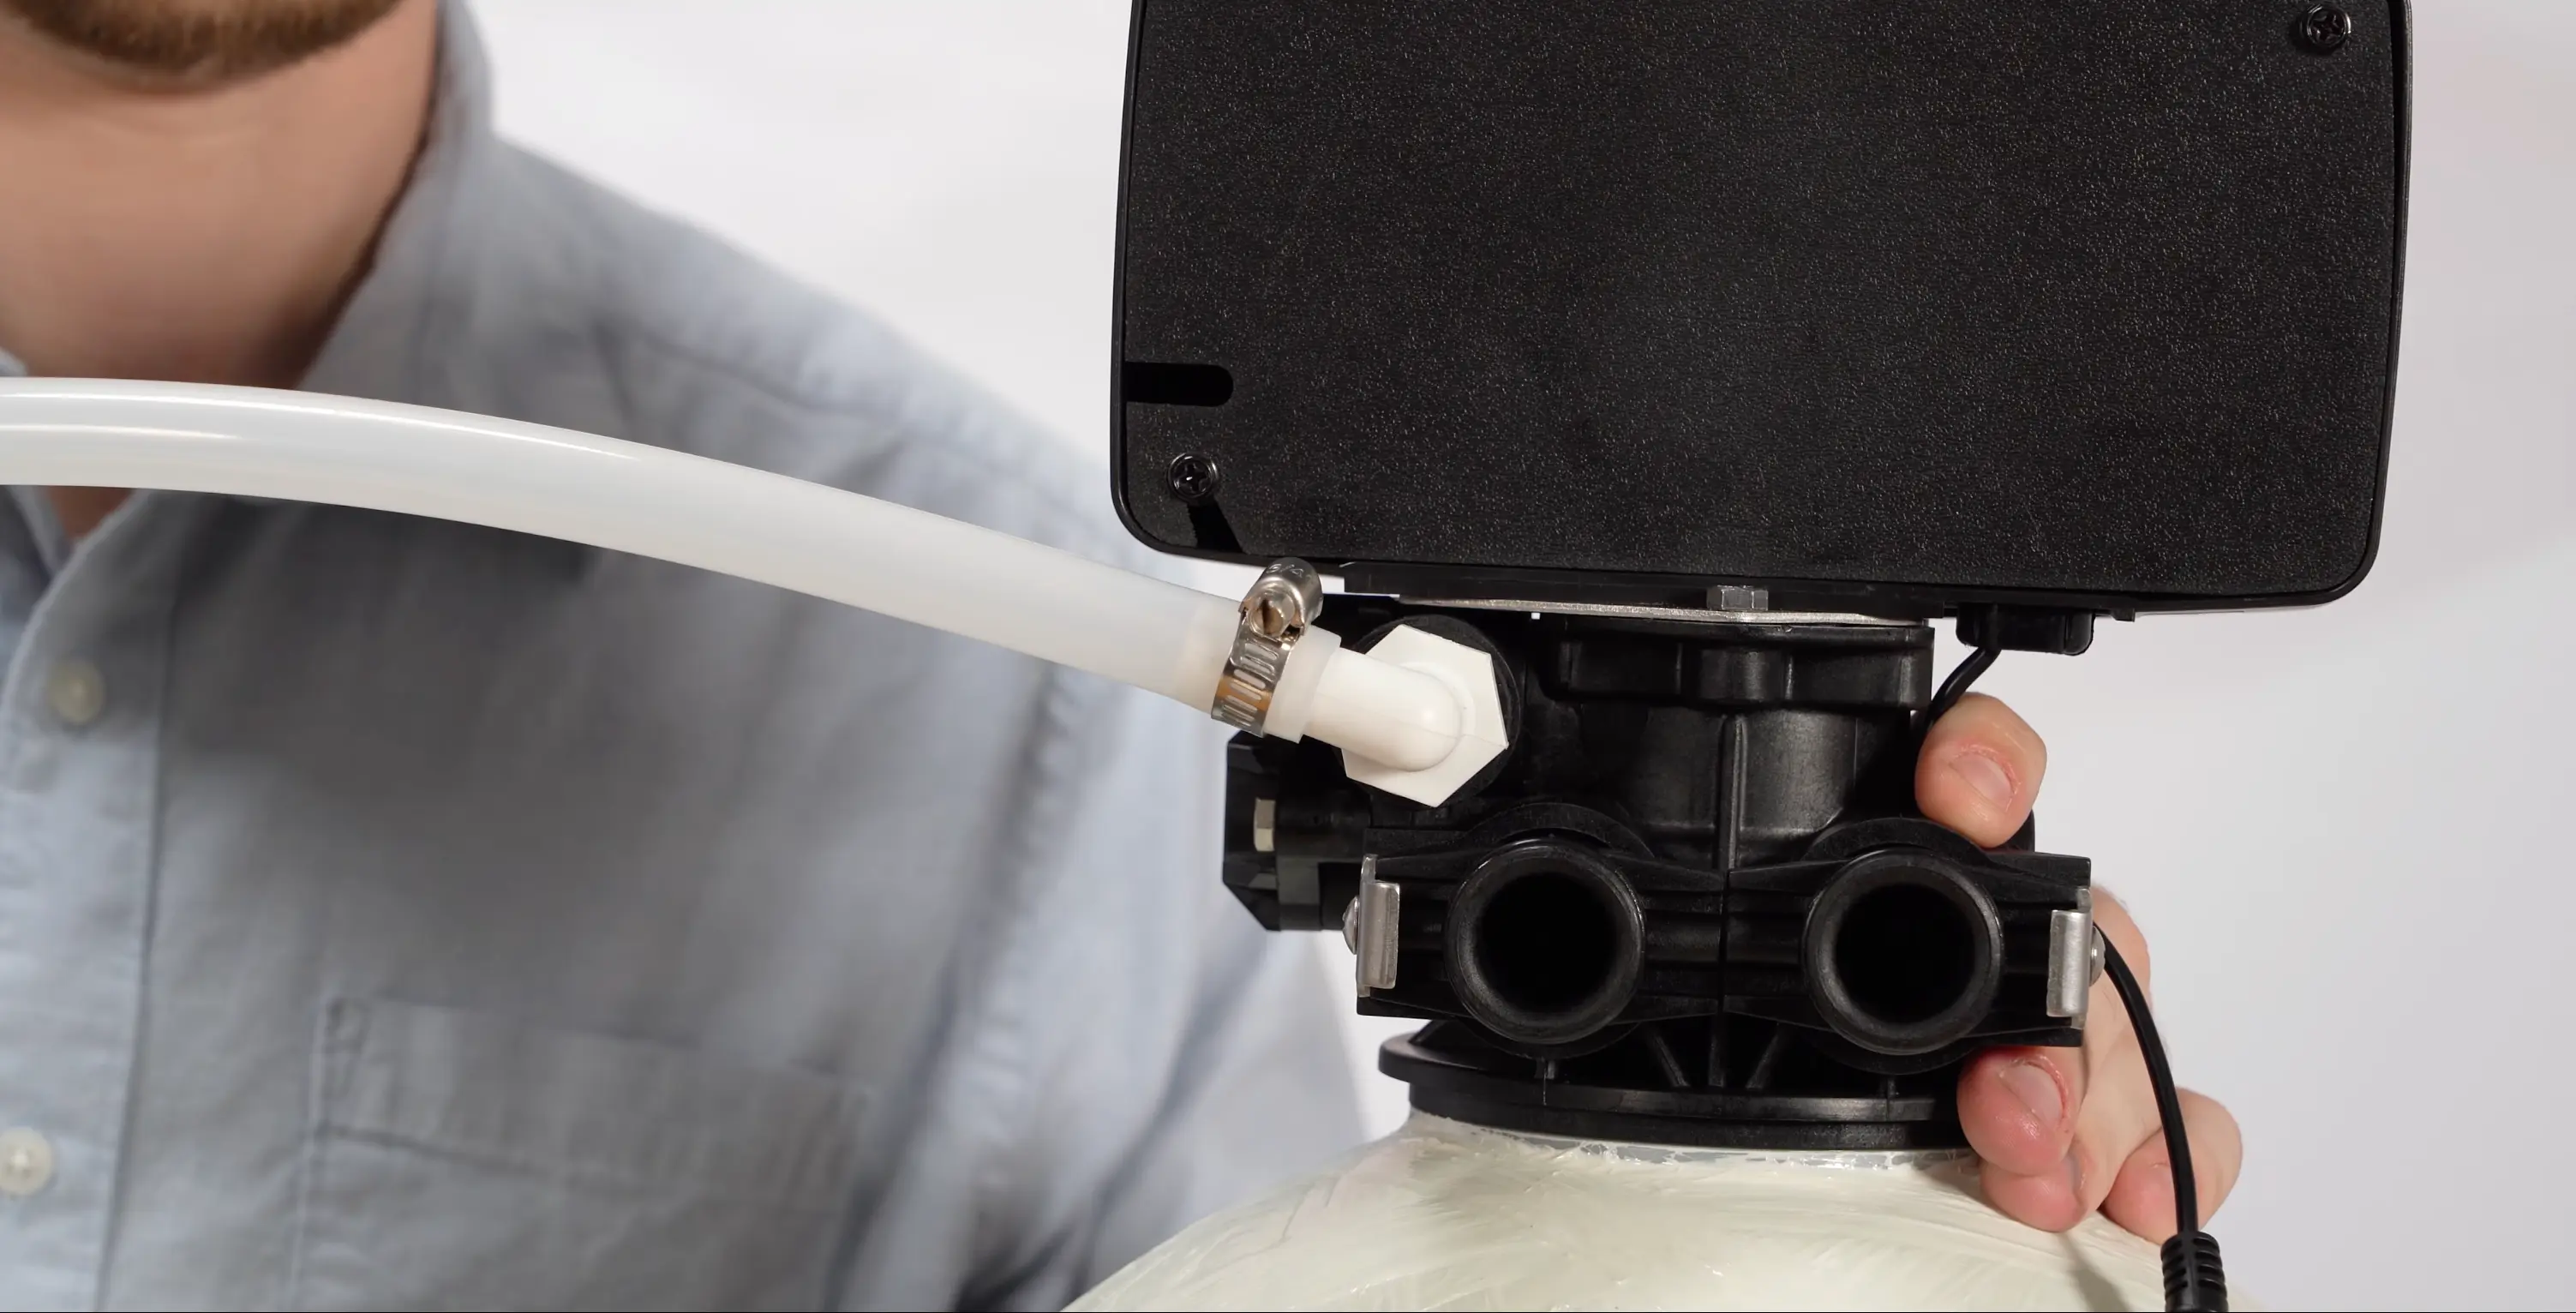
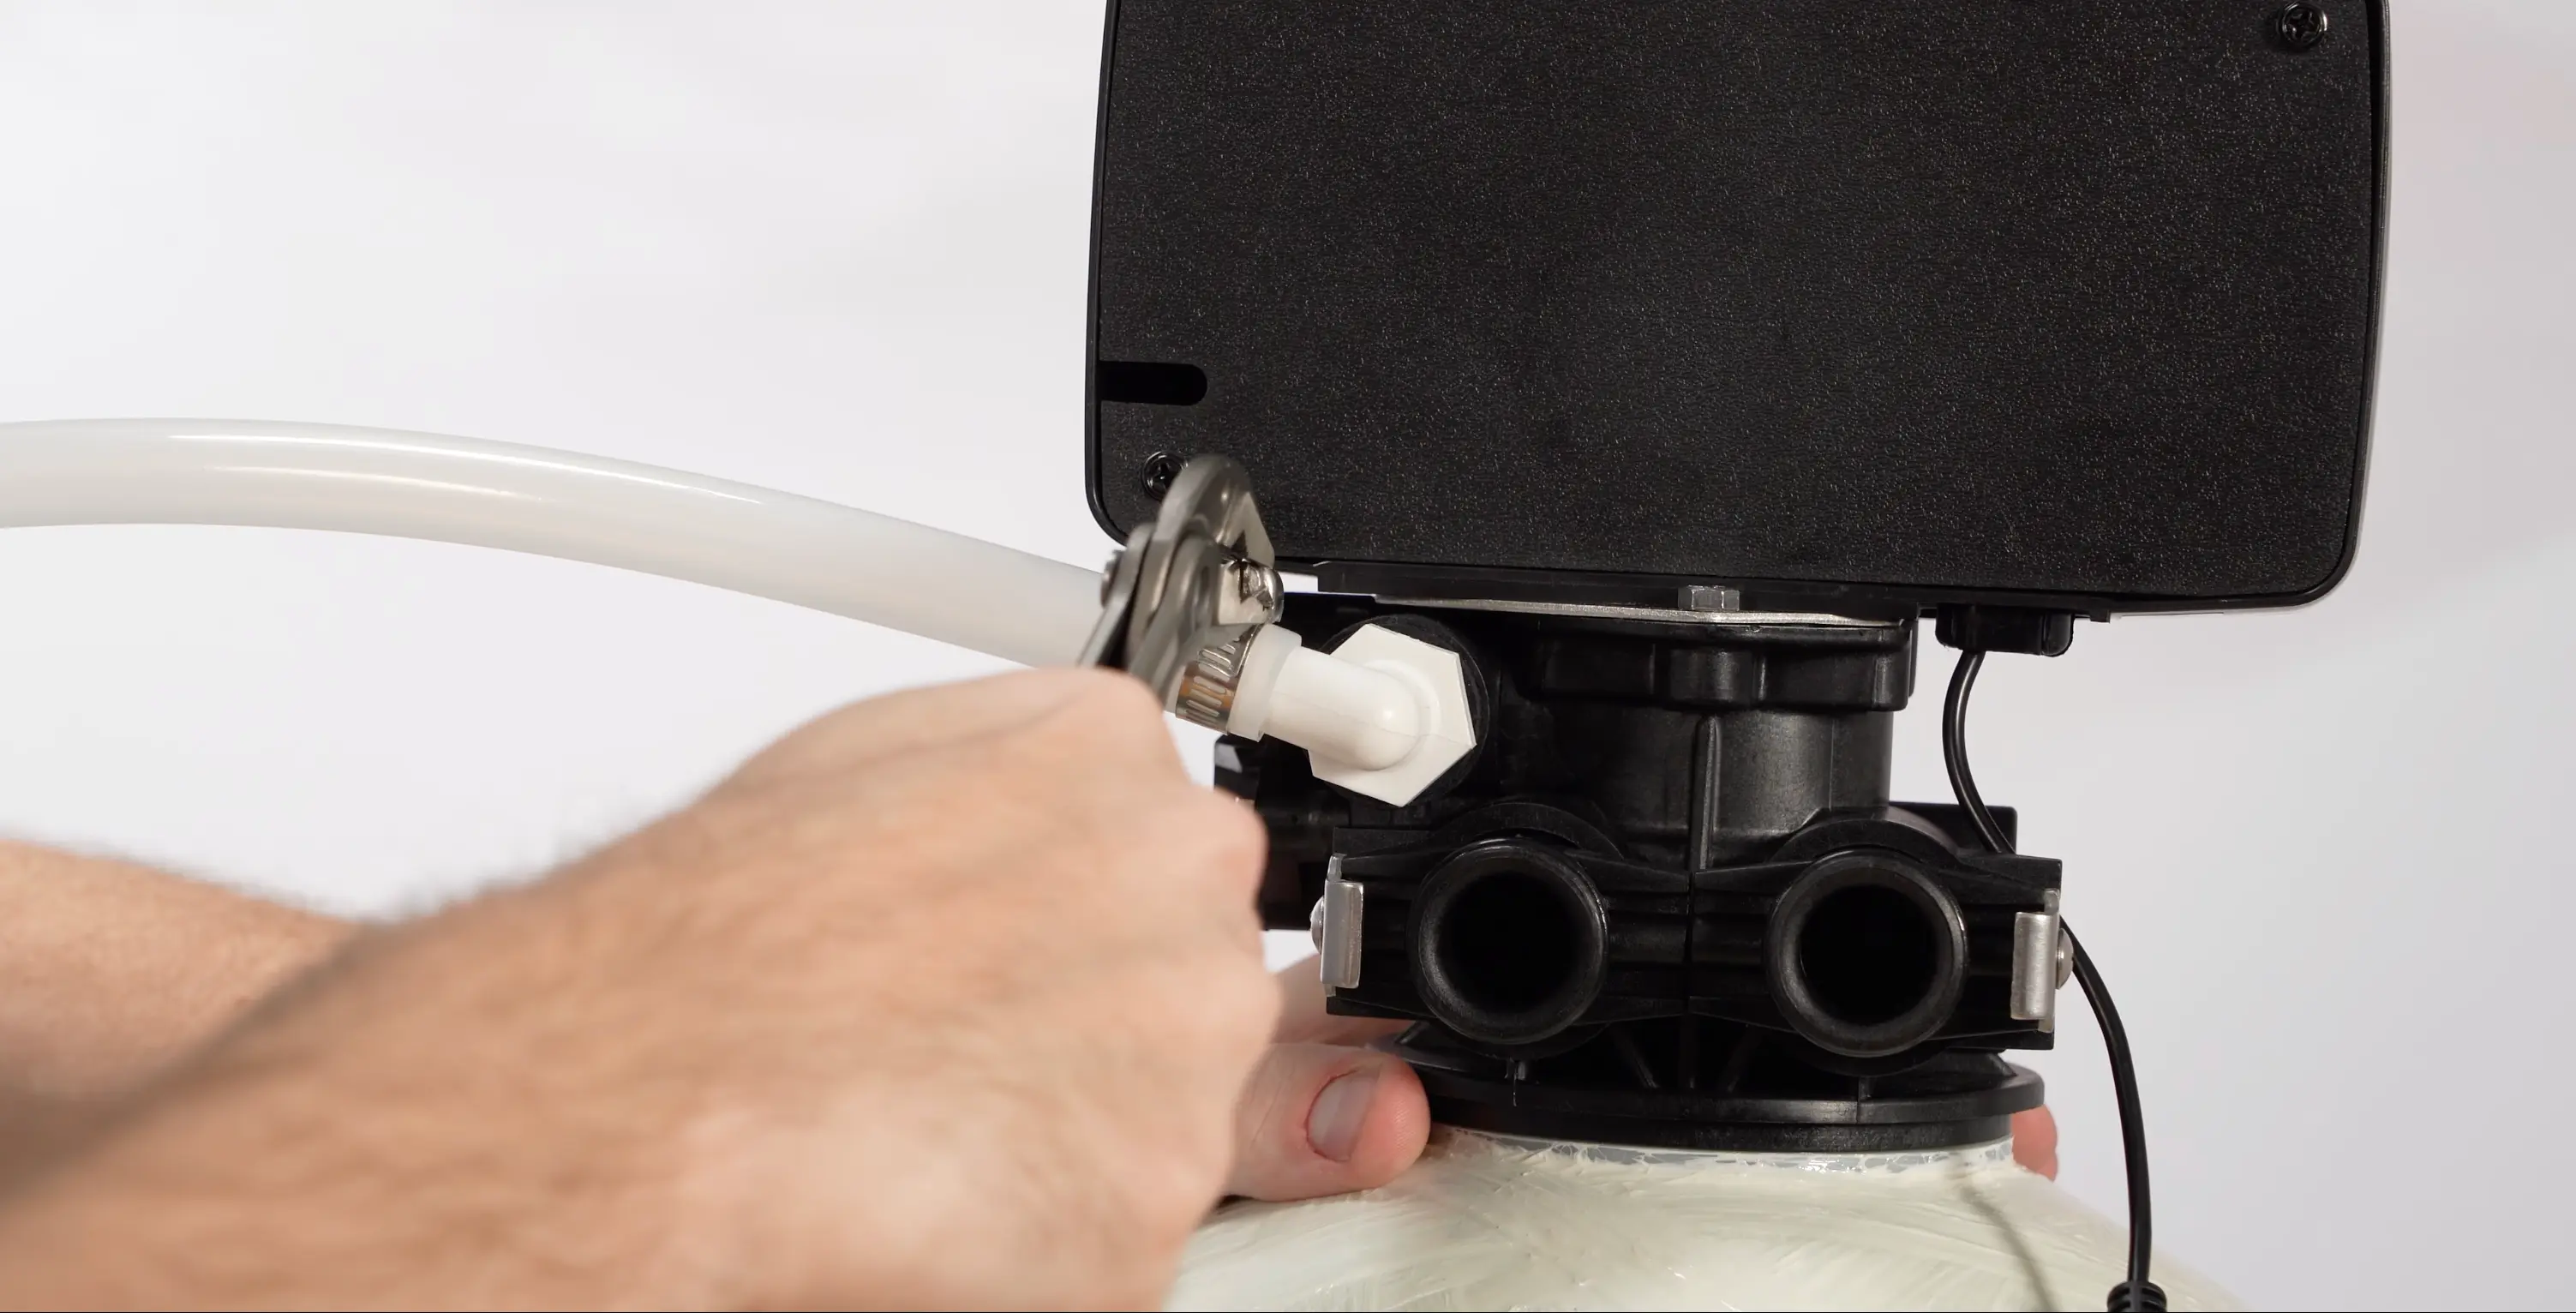
Slide the hose clamp up to the barb connection point and tighten it with your pliers or a screwdriver, depending on the clamp type. Tighten until the clamp compresses the tubing snugly against the barb. The connection should feel solid with no give when you tug on the tubing.
Routing to the Drain
1:12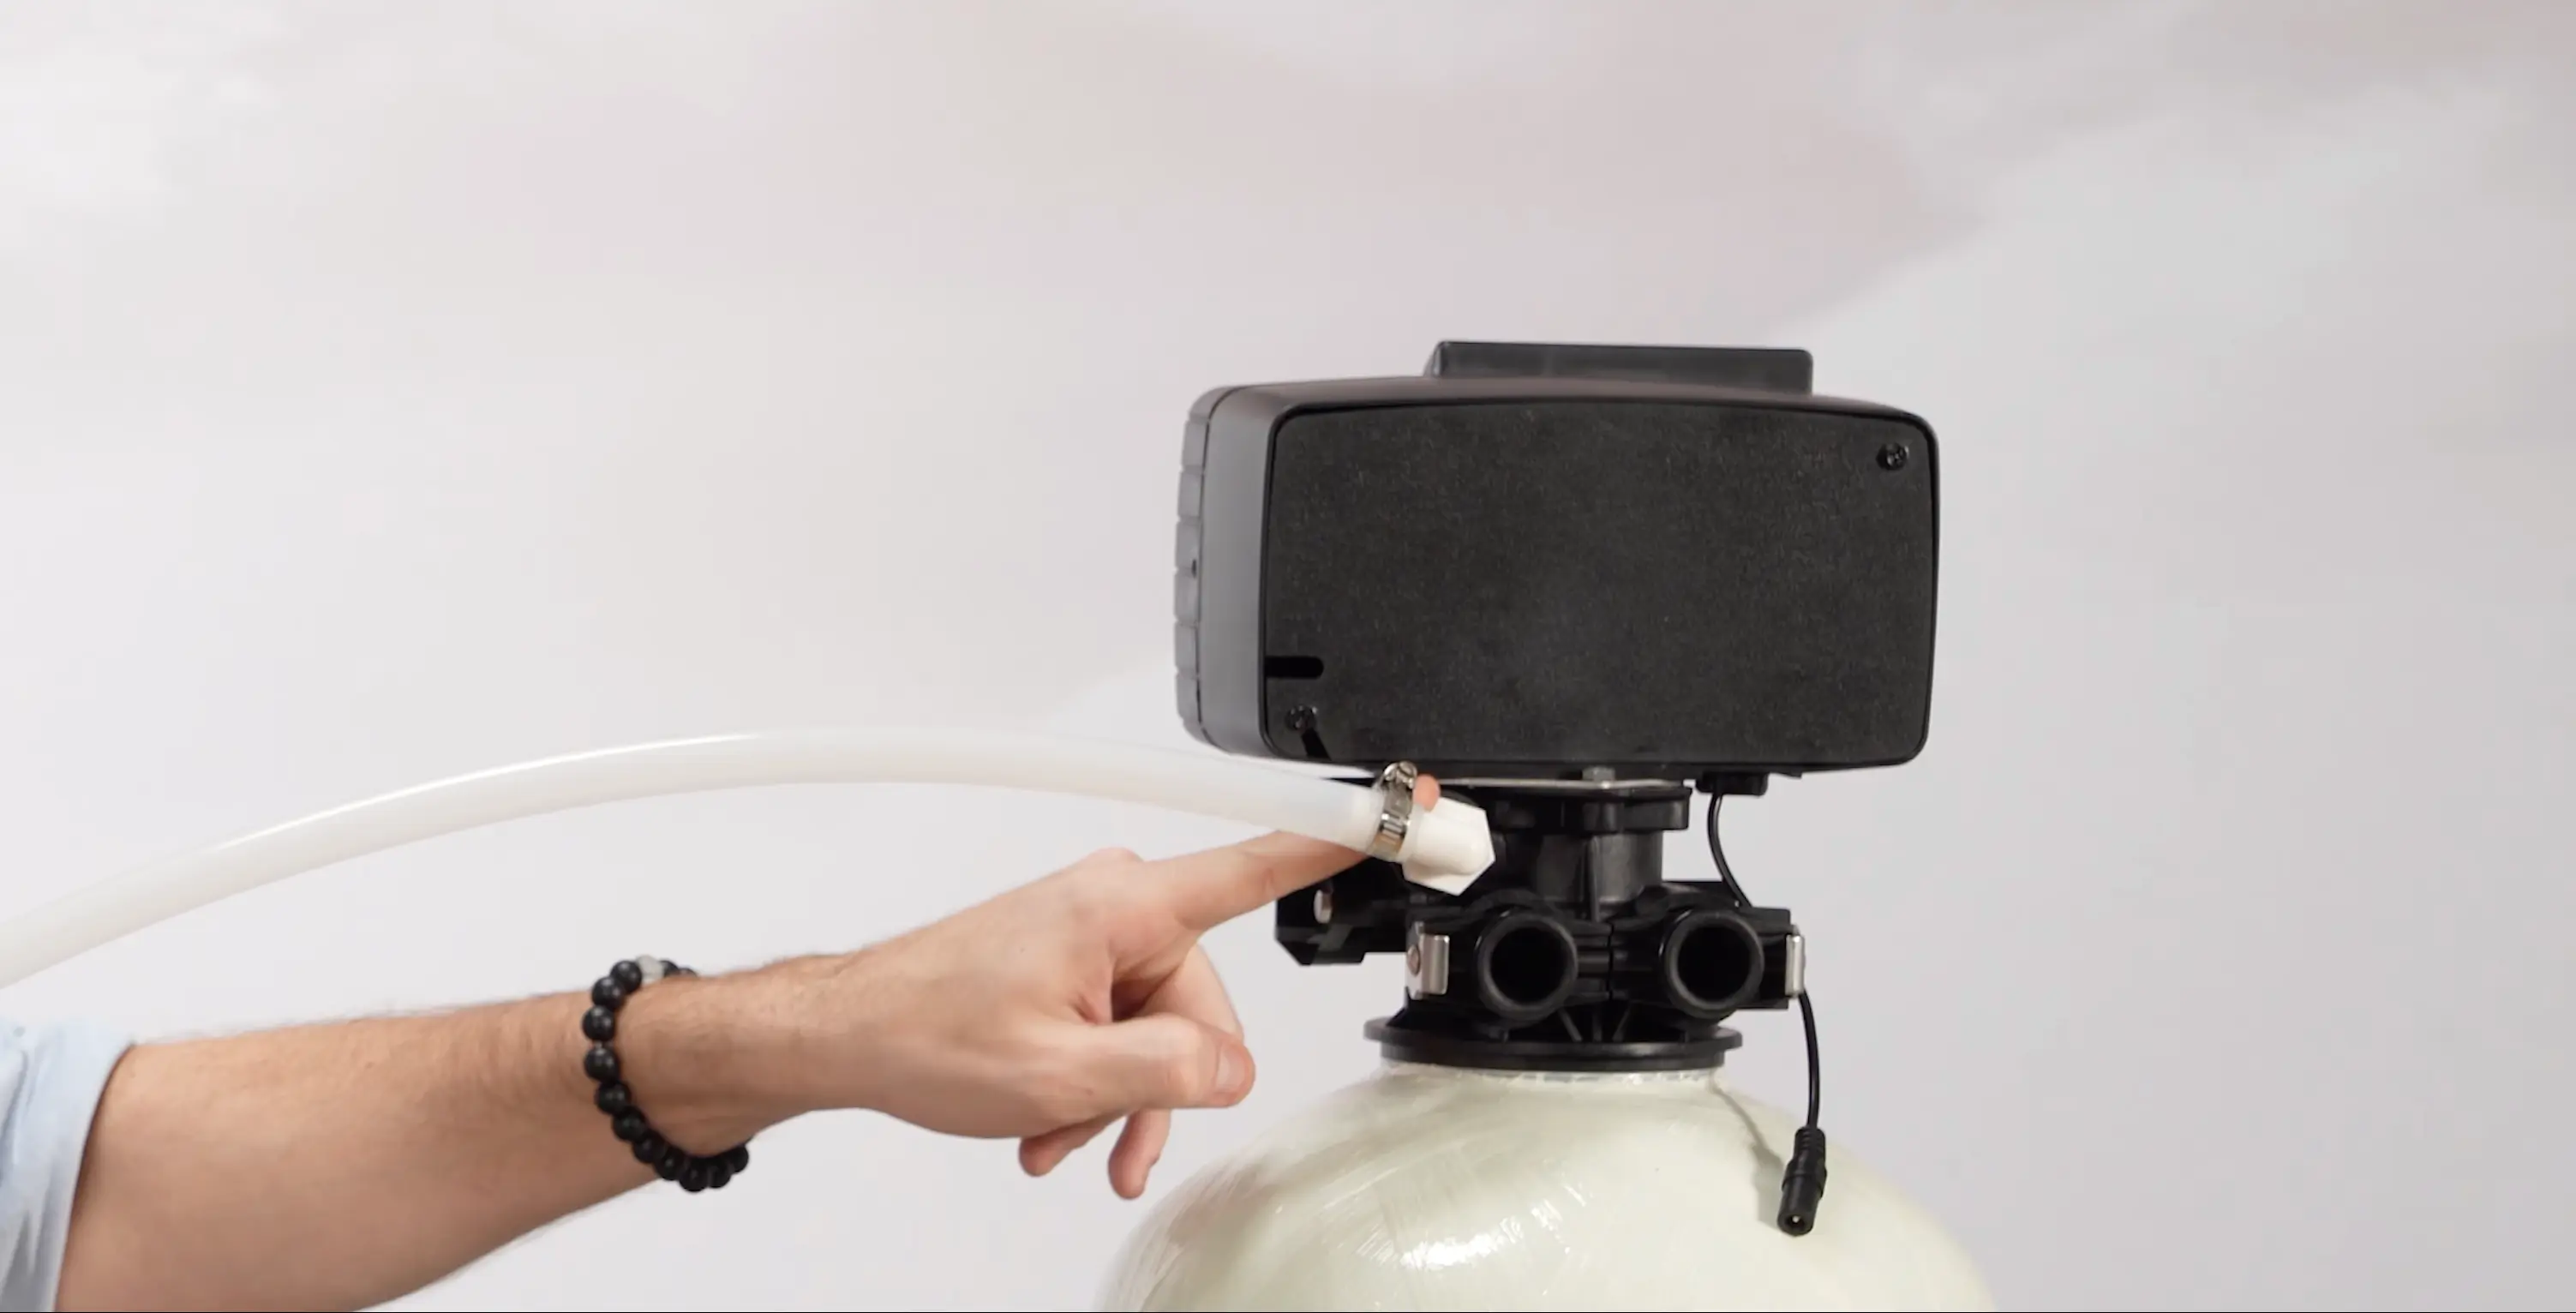
Route the other end of the drain tubing to your nearest floor drain, utility sink, or other approved drainage point. Avoid running the line uphill if possible, gravity-fed drainage is always more reliable. Secure the tubing along its route to prevent kinks or loops that could restrict flow.
Tip: If the drain run exceeds 20 feet, upsize from 1/2-inch to 3/4-inch tubing to maintain adequate flow during backwash and regeneration.
Transcript
Read the video transcript
Transcript
Read the video transcript
Hey everyone. Today we're going to be installing our drain line onto our 5600 control head. Let's get into it. Hey everyone, I'm Kevin with Crystal Quest. If you haven't already, go watch our other videos on how to install your 5600 control head onto your media tank.
But today, we're going to be tackling installing our drain line. For this, all we're going to need is a good pair of pliers and the provided hose clamp and drain tubing. First, we have to grab our hose clamp and put it around our tubing. And then, we're going to put our tubing around the barb on the back of our control head. And once your tubing is on, you want to slide your hose clamp up and tighten it down to secure your tubing.
Once you get your hose clamp tightened, you can go ahead and send the other end of your tubing to any drainage port in your house. Just make sure that if it's over 20 ft away, you're going to want to increase your line size from a/ inch to 3/4 of an inch. And that's it. You successfully installed your drain line onto your 5600. If you have any questions, feel free to leave a comment below, call us, or visit our website at crystalquest.com.
Thank you.