Float Switch Installation for Whole House RO
Float switches are essential for automating your whole house RO system. This detailed installation guide covers everything from drilling the tank to wiring both the high and low float switches.
Why Float Switches Are Essential
Without float switches, your whole house RO system has no way to know when the storage tank is full or empty. This leads to either overflowing tanks and wasted water, or a booster pump running dry and burning out, both expensive problems to fix.
Whole House Reverse Osmosis System
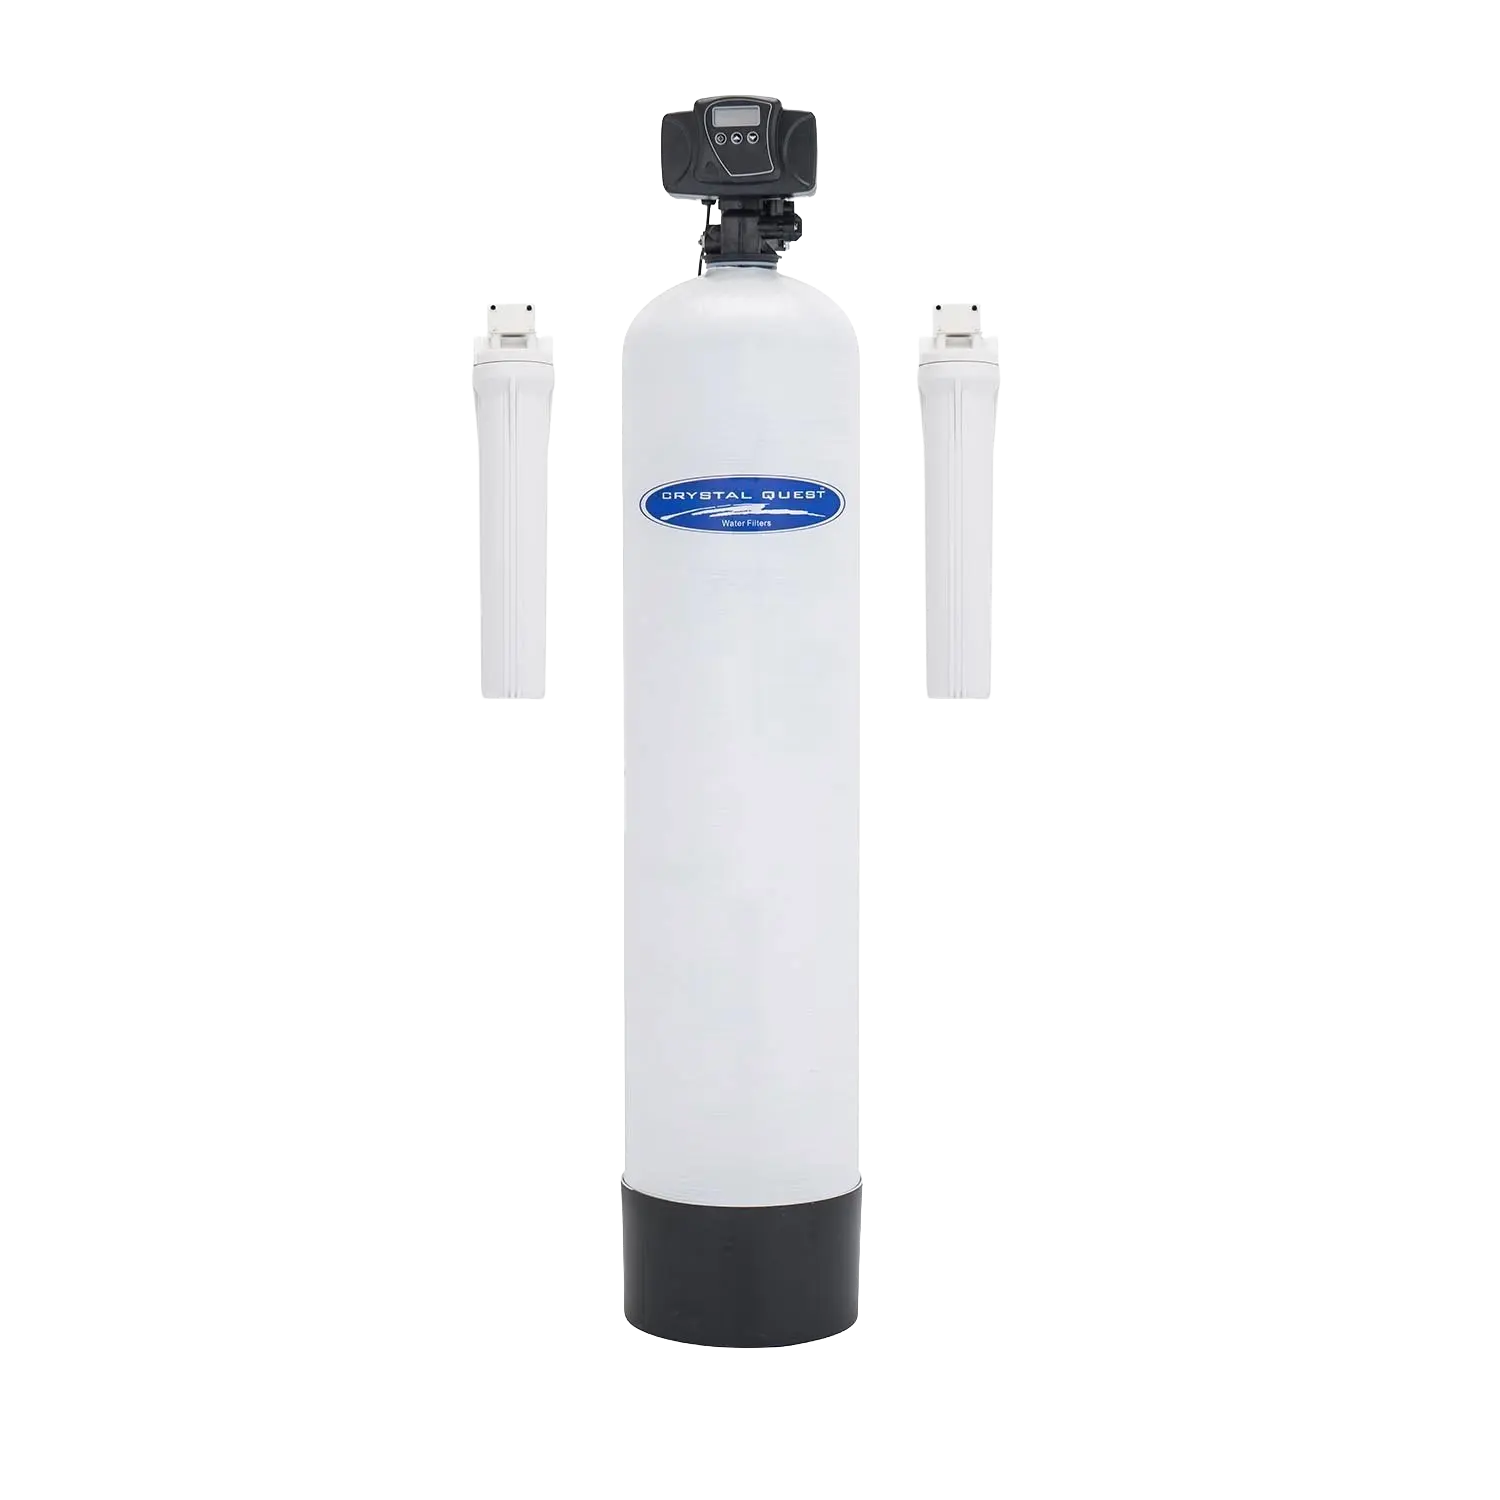
The Crystal Quest Whole House RO System provides purified water to every tap in your home. It includes pre-filtration, an RO membrane array, post-treatment, and a storage tank with booster pump. Float switches are a critical component that automate the fill and delivery cycle, protecting both the system and your home.
Step-by-Step
Complete Walkthrough
What Is a Float Switch?
0:20
A float switch is a simple mechanical device that opens or closes an electrical circuit based on water level. As the water rises, a buoyant float lifts and triggers a switch. When the water drops, the float falls and the switch returns to its default state. In an RO system, two float switches work together to automate the entire fill and delivery cycle.
High Float vs. Low Float
0:37
The high float switch mounts near the top of the storage tank and connects to the RO unit. When the tank fills to capacity, the high float signals the RO system to stop producing water. The low float switch mounts lower in the tank and connects to the booster pump. When the tank level drops below a safe minimum, it shuts off the pump to prevent it from running dry.
Tip: Label your float switch wires during installation, it makes troubleshooting much easier later.
Tools and Preparation
1:57
Before starting, gather the required tools: a drill with a hole saw bit sized for your cable glands, adjustable wrenches, Teflon tape, and wire strippers. You will also need the float switches themselves and the appropriate cable glands for sealing the tank penetrations. Make sure the tank is empty and depressurized before drilling.
Installing Cable Glands
3:22
Drill two holes in the tank, one near the top for the high float and one at the appropriate level for the low float. Insert the cable glands into the drilled holes and tighten them with the included lock nuts. These glands create a watertight seal around the float switch cables where they pass through the tank wall.
Tip: Apply a small amount of silicone sealant around the cable gland for extra leak protection.
Mounting the Float Switches
4:50
Thread the float switch cables through the cable glands from inside the tank. Position each float at the correct height, the high float near the top of the tank and the low float at the minimum safe water level. Secure the cable glands to lock the switches in position, then verify each float moves freely without catching on the tank walls.
Wiring the High Float to the RO Unit
6:17
The high float switch wires into the RO system's control circuit. When the tank reaches capacity, the float switch opens the circuit and the RO unit stops producing water. When the water level drops below the high float, the circuit closes and production resumes. Follow the wiring diagram included with your system, typically this is a normally closed circuit that opens when the float rises.
Wiring the Low Float to the Booster Pump
9:58
The low float switch connects to the booster pump's power circuit. When the tank level falls below the low float position, the switch opens the circuit and the pump shuts off, preventing it from running dry. When the RO unit refills the tank above the low float level, the circuit closes and the pump can operate again to deliver water to the house.
Final Testing and Tips
12:15
With both float switches installed and wired, fill the tank slowly and observe the system behavior. The RO unit should shut off when the high float triggers, and the booster pump should shut off when the tank drains below the low float. Check all cable gland penetrations for leaks and verify wire connections are secure.
Tip: Run the system through a complete fill and drain cycle before leaving it unattended.