How to Install a Shower Filter (Step-by-Step)
Installing a Crystal Quest shower filter takes under five minutes and requires no special tools. This guide walks through every step from unboxing to your first filtered shower.
Why a Shower Filter Matters
Your skin is your largest organ, and it absorbs chlorine and chemicals directly from shower water. Hot water opens pores and creates steam you inhale, making shower exposure a significant, and often overlooked, source of chemical contact.
Crystal Quest Shower Filter
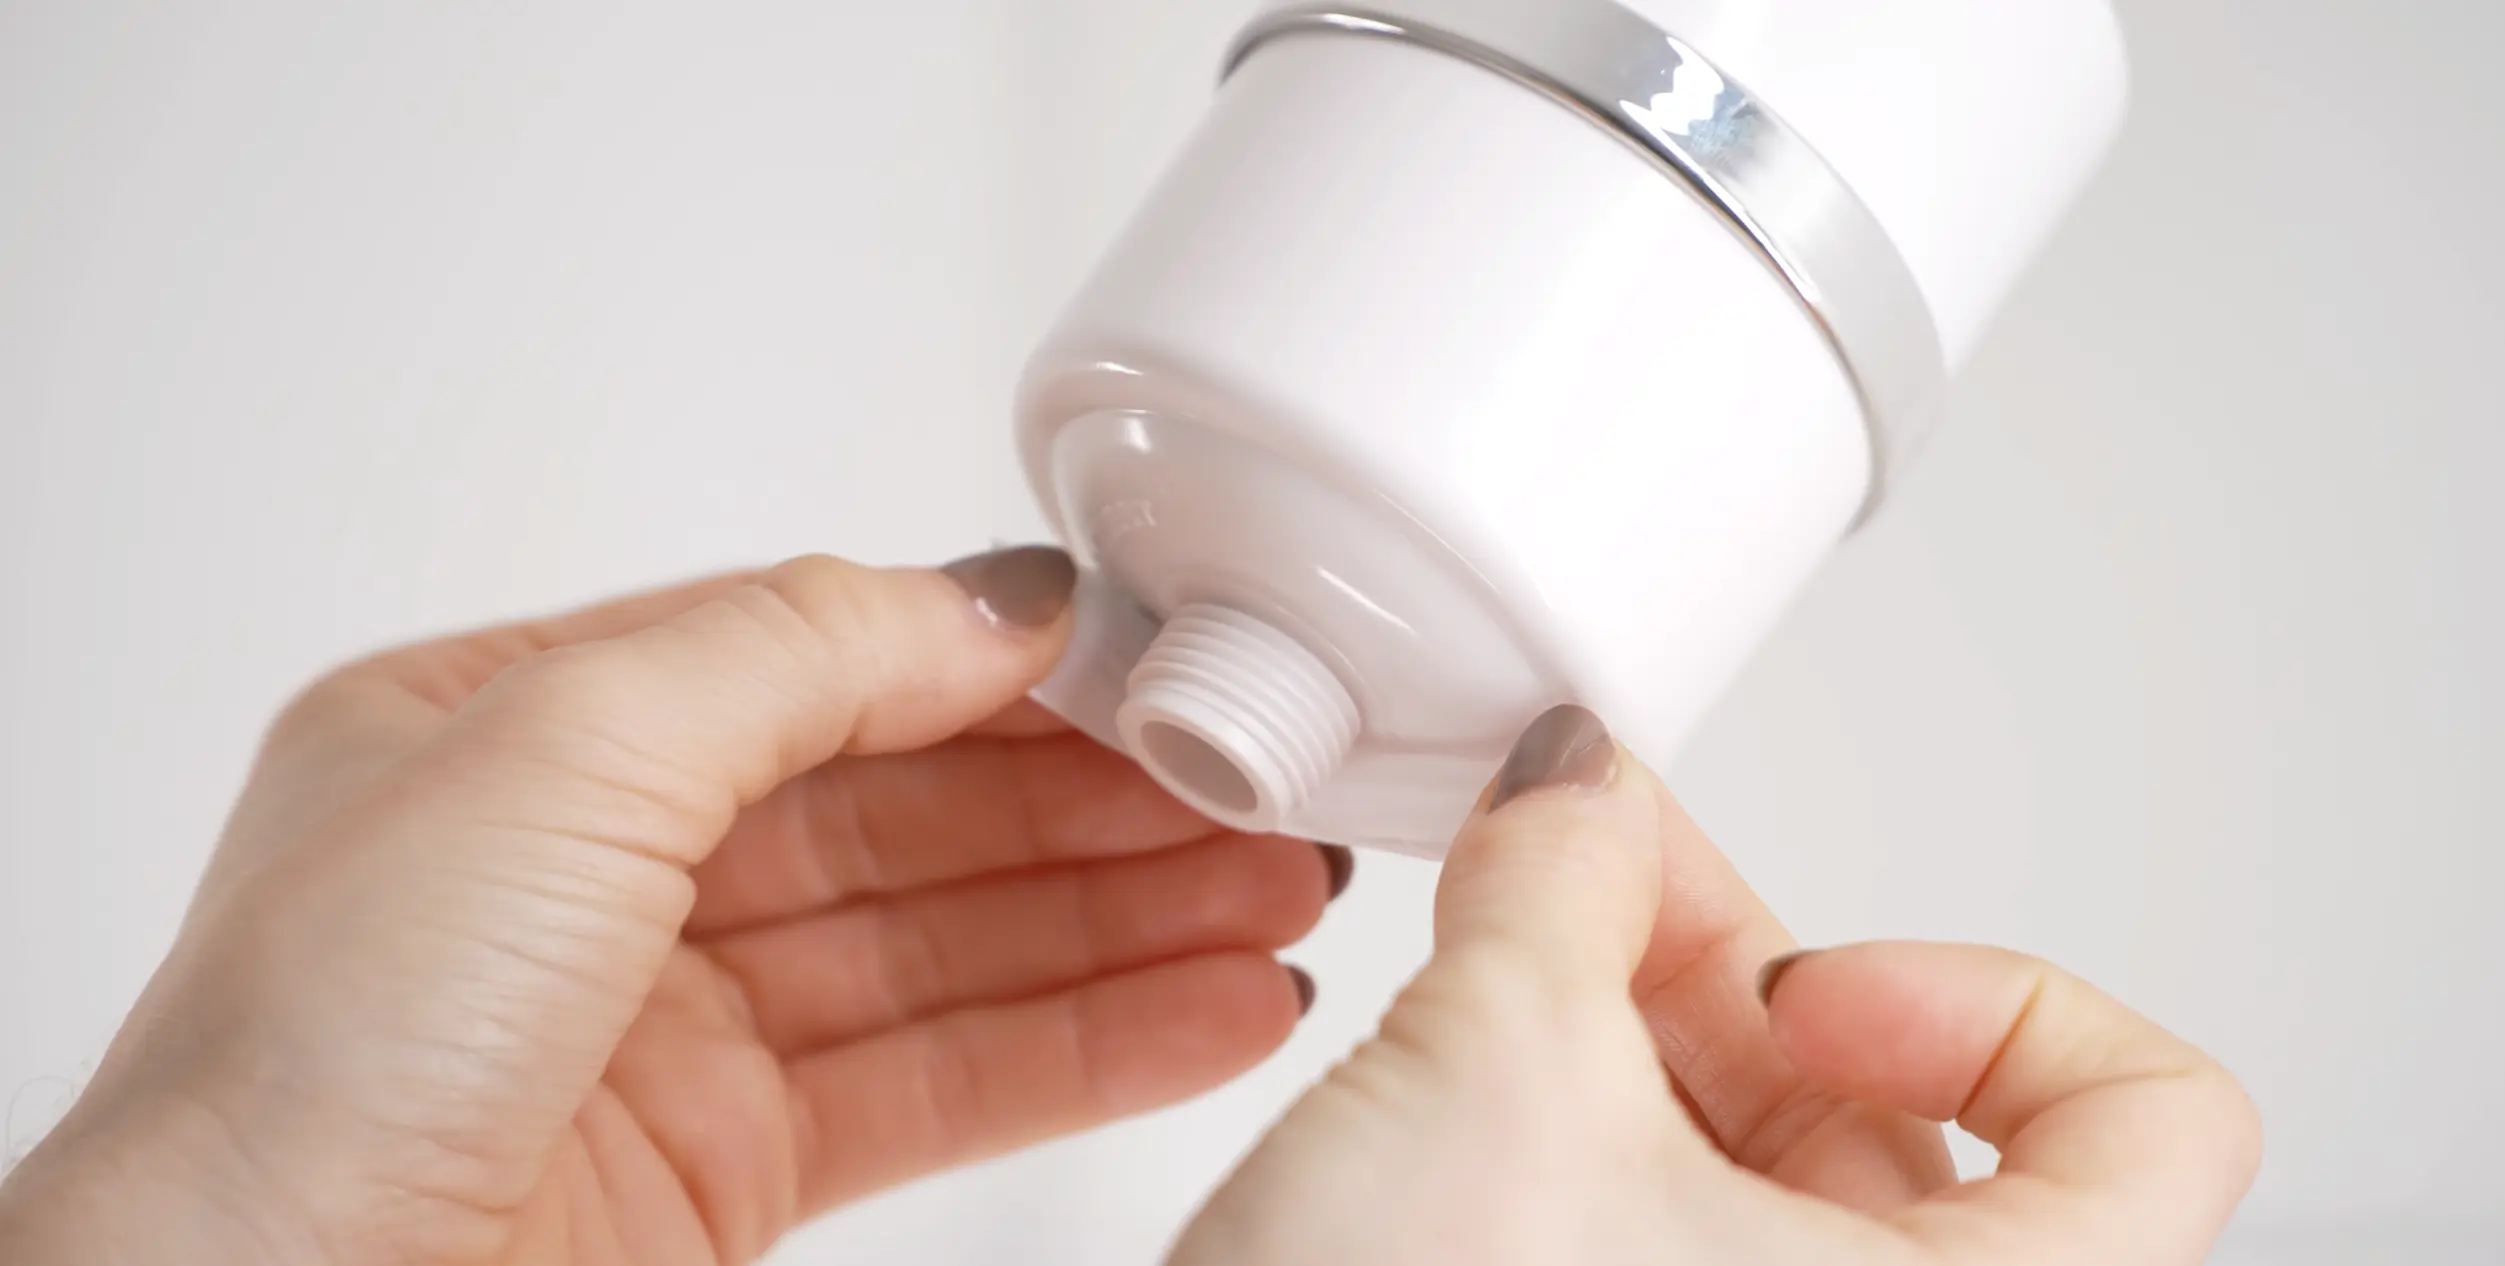
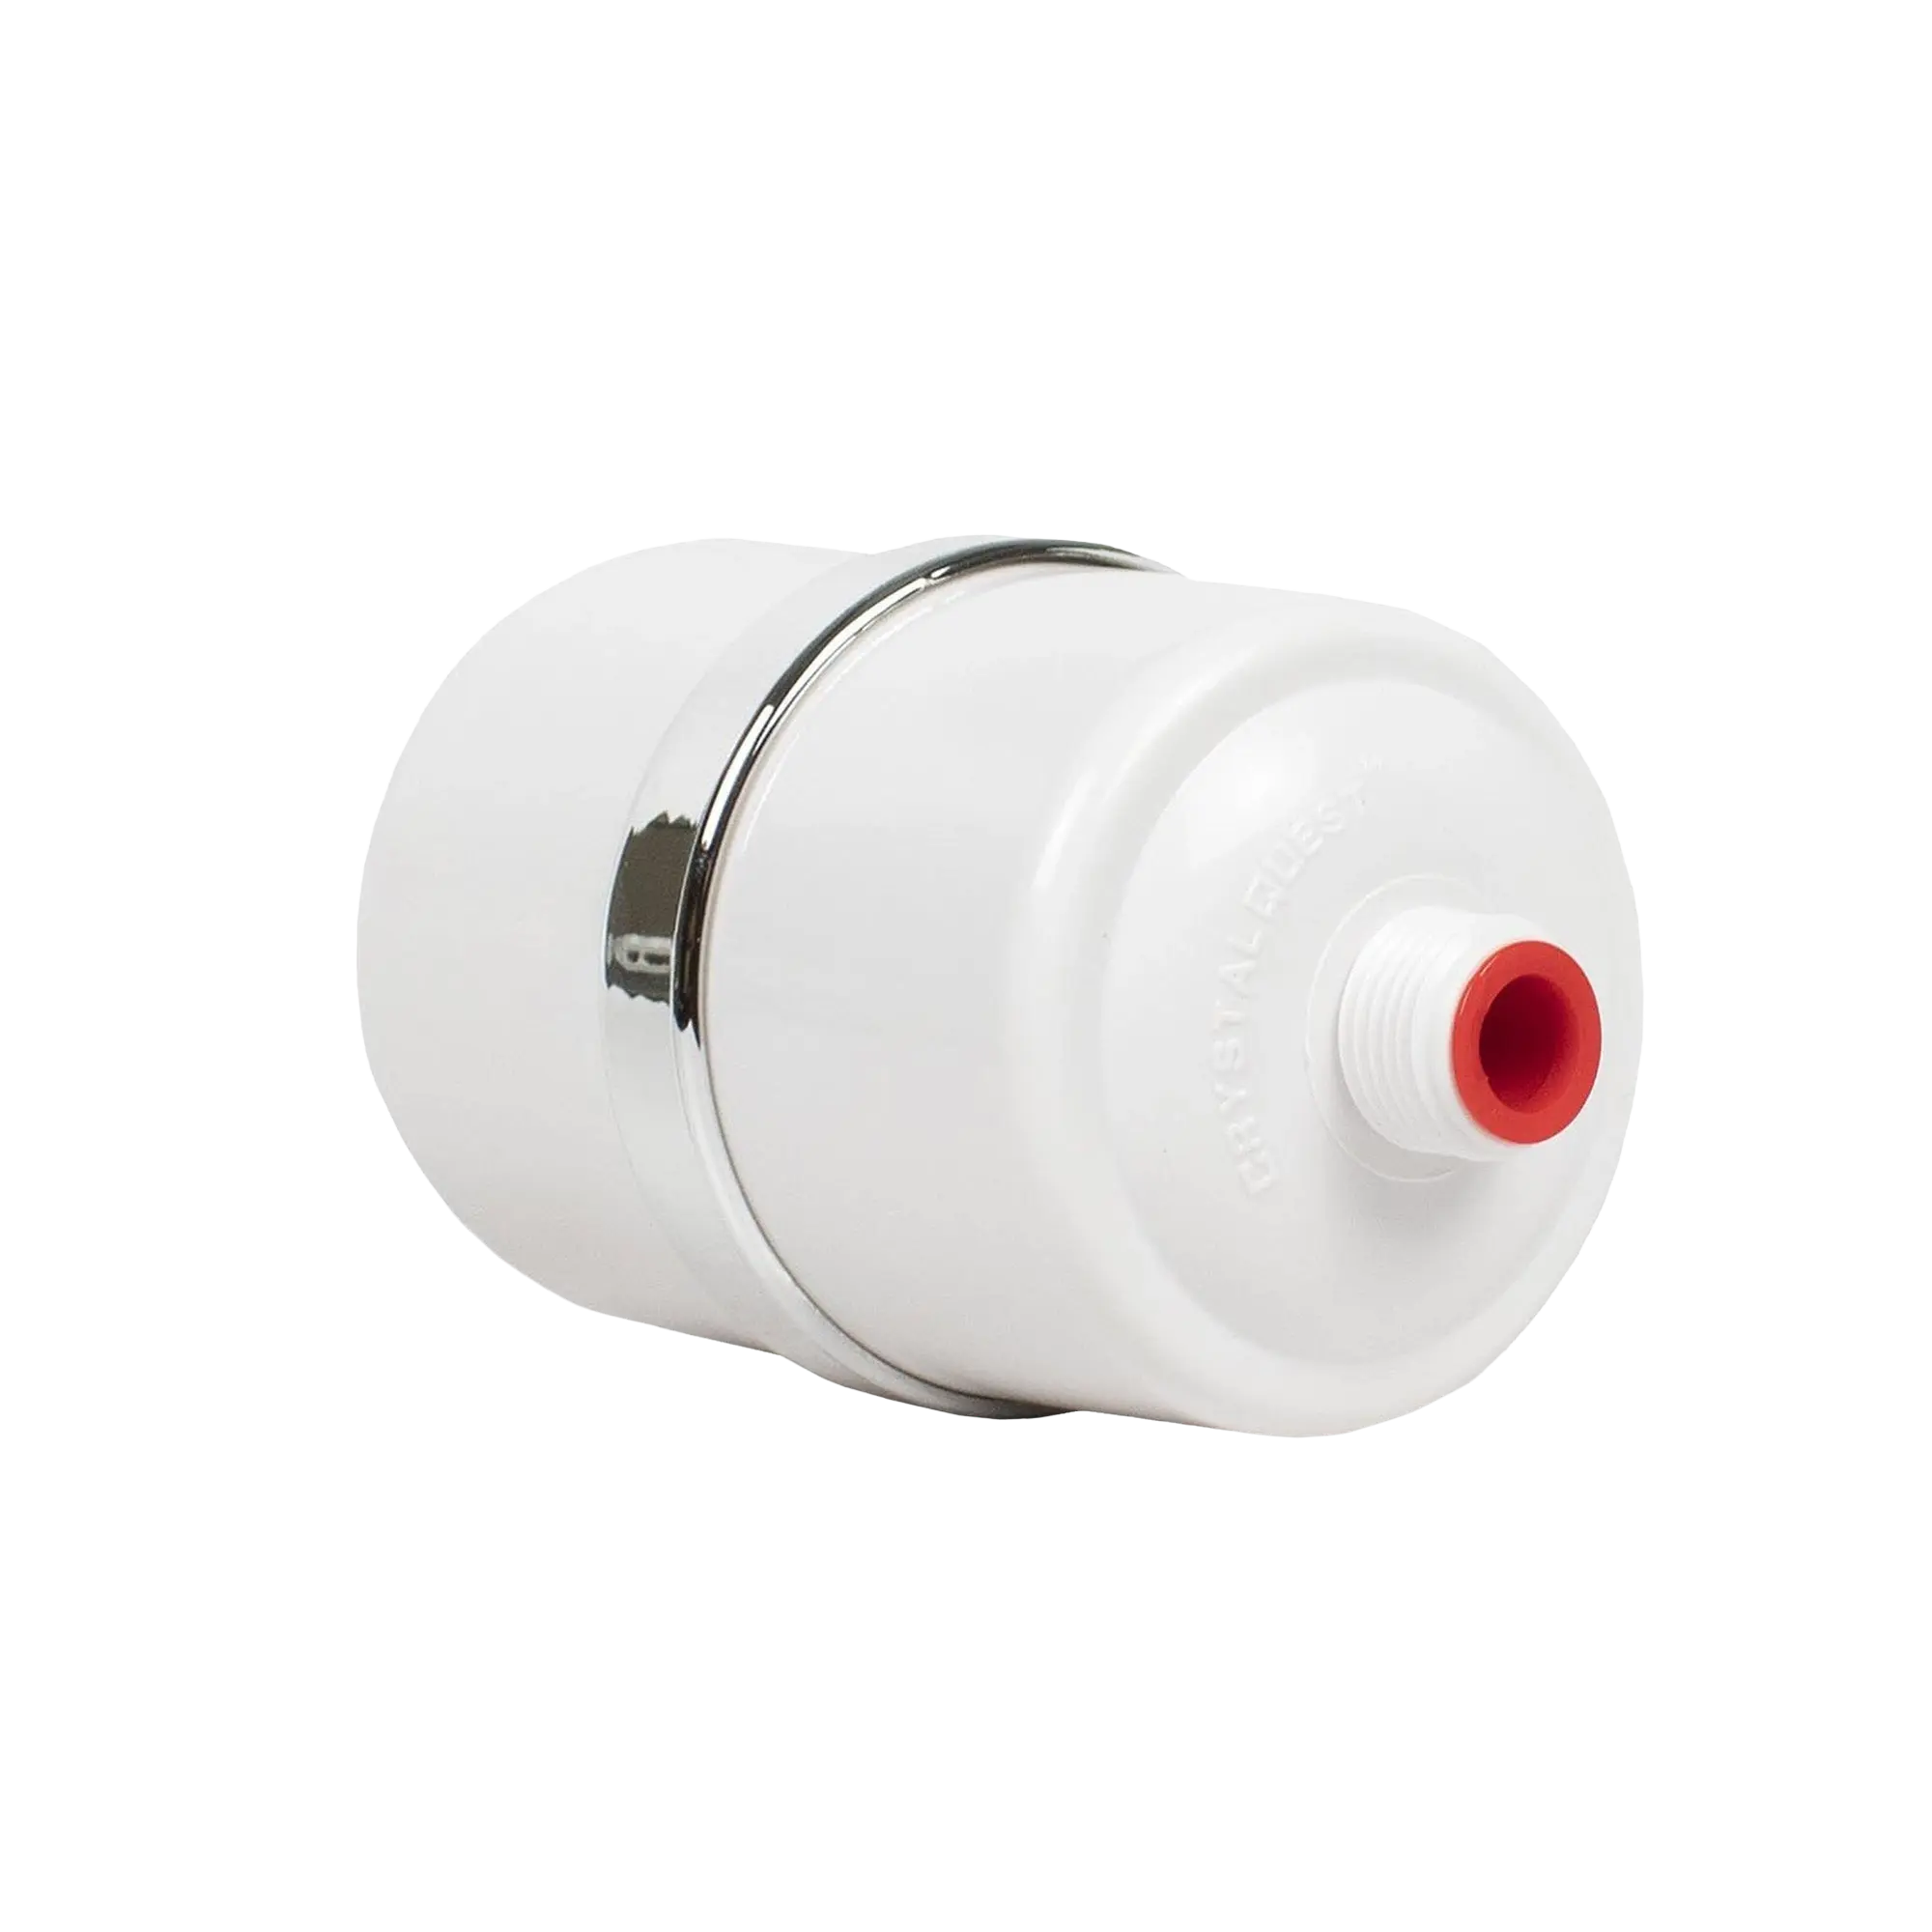
The Crystal Quest Shower Filter installs between your water pipe and shower head, filtering every drop before it touches your skin. The multi-stage cartridge reduces chlorine, heavy metals, and chemical vapors. Installation is tool-free and takes just minutes, the filter housing connects with standard shower pipe threading.
Step-by-Step
Complete Walkthrough
Unboxing and Preparation
0:07Open the package and identify the components: the filter housing, cartridge (pre-installed), gasket, and instruction sheet. Remove the red protective caps from both ends of the filter housing. These caps are shipping protectors only and must be removed before installation.
Insert the Gasket
0:31
Place the rubber gasket into the inlet end of the filter housing. This gasket creates a watertight seal between the filter and your shower pipe. Make sure it sits flat and centered, a misaligned gasket is the most common cause of drips at the connection point.
Tip: The gasket goes on the inlet (pipe) side only. The outlet side seals against the shower head with Teflon tape.
Remove the Old Shower Head
0:38
Unscrew your existing shower head from the pipe coming out of the wall. If it is stuck, wrap a cloth around the pipe and use pliers for grip. Clean any old Teflon tape or debris from the pipe threads before proceeding.
Apply Teflon Tape to the Pipe
0:44
Wrap Teflon tape around the exposed shower pipe threads. Wrap clockwise (when looking at the end of the pipe) so the tape tightens rather than unwinds when you screw the filter on. Apply 3 to 5 wraps for a proper seal, keeping the tape tight against the threads with no wrinkles.
Tip: Clockwise wrapping direction is critical. Wrapping the wrong way causes the tape to bunch and leak.
Mount the Filter Housing
1:19
Thread the filter housing onto the shower pipe by hand. Turn it clockwise until it is snug and hand-tight. Do not use pliers or over-tighten, the gasket and Teflon tape provide the seal, and excessive force can crack the housing.
Attach the Shower Head
1:27
Apply Teflon tape to the filter housing's outlet threads using the same clockwise technique. Then screw your shower head onto the filter outlet and hand-tighten. The filter now sits between the pipe and your shower head, treating all water that passes through.
Flush Carbon Fines
1:44
Turn on the shower and let water run for 20 to 30 seconds before your first use. You may notice slightly gray or dark water, these are harmless carbon fines from the new cartridge. Once the water runs clear, the filter is fully activated and ready for daily use.